
Jun
okay so alien amigurumi
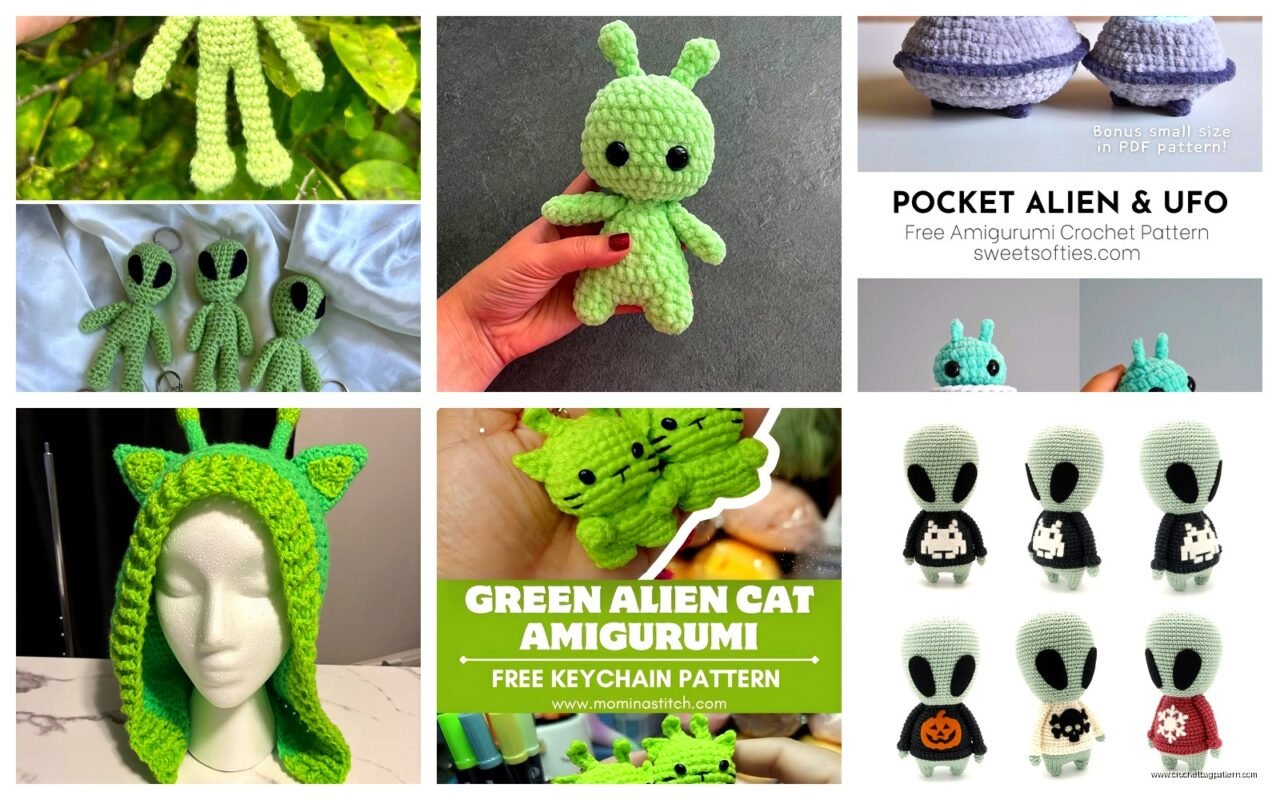
I made this green alien thing back in spring 2022 when I was obsessed with that show Resident Alien and honestly it turned out way cuter than I expected. The pattern isn’t complicated but there’s this one part with the antenna that drove me absolutely nuts and I’ll get to that.
So basically you’re gonna need worsted weight yarn. I used Red Heart Super Saver in “Spring Green” for the body because it was what I had leftover from another project, and then some black for the eyes. You could use safety eyes but crocheting the eyes gives it more of that handmade alien vibe, less like a teddy bear situation. Also grabbed some white for eye highlights which I think was Caron Simply Soft? That stuff is way softer than Red Heart but sometimes too slippery when you’re trying to keep tension.
what you actually need
A 3.5mm or 4mm hook depending on how tight you crochet. I use 3.5mm because I crochet loose and if you use bigger the stuffing shows through the stitches which looks bad. Polyfil stuffing, stitch markers (or just use a piece of different colored yarn), yarn needle for sewing pieces together, and scissors obviously.
The basic body shape is just like most amigurumi – you start with a magic ring and work in continuous rounds. No joining, no turning, just spiraling upward which is why the stitch marker matters or you’ll lose track of where your rounds start.
the head part
Start with a magic ring and 6 single crochet into it. Pull it tight. Then you’re gonna increase every round for a bit to make the head big and round. Round 2 is 2 sc in each stitch around so you end up with 12 stitches. Round 3 is *sc 1, inc* repeated around for 18 stitches. Round 4 is *sc 2, inc* for 24 stitches.
Keep going with this pattern – basically adding one more single crochet between increases each round until you get to like 48 or 54 stitches depending on how big you want the alien head. I did 48 because bigger heads are harder to stuff evenly and mine always end up lumpy.
Then you work straight with no increases for maybe 10-12 rounds. This forms the middle section of the head. My cat kept trying to steal my yarn ball during this part which was annoying because I had to keep stopping.
After that you start decreasing the same way you increased but in reverse. *Sc 2, dec* around, then *sc 1, dec*, then *dec* all around. Before you close it up completely you gotta stuff it firm but not rock hard. Too much stuffing makes it hard to close and too little makes it floppy.
the eyes situation
For alien eyes I made them big and oval shaped. Start with a chain of like 6, then work around the chain in rounds, increasing on the ends to make that oval shape. Do 2 in black yarn – one slightly bigger than the other if you want that cartoonish look where one eye is bigger. Then do tiny white highlights, just a magic ring with 6 sc, fasten off and sew onto the black eyes.
Position them on the head wherever looks alien enough to you. I put mine kind of on the sides of the head rather than front-facing because that looked more creature-like. Sew them on with the yarn needle, weaving the yarn through the head stitches and the back of the eye pieces.
body and limbs
The body is basically a smaller version of the head. Start the same way with magic ring and 6 sc, increase up to maybe 30 stitches, work straight for several rounds, then decrease back down. You want it shorter and rounder than the head though. More egg-shaped I guess? Stuff it before closing.
For arms I did these skinny little noodle arms. Chain 2, then work 4 sc in the second chain from hook (or you can do magic ring with 4 sc). Then just sc around in a spiral for like 15-20 rounds depending on how long you want the arms. Don’t stuff them or stuff them very lightly at the top only. I left mine unstuffed because floppy alien arms are funny.
At the end of the arm you can do a little hand by increasing for one round to maybe 6 stitches, work one round even, then decrease back. Or just leave them as tubes. I did the hand thing on one alien and not on another and honestly couldn’t tell much difference.
Legs are the same concept but thicker. Start with 6 sc in magic ring, increase to 12 stitches, work straight for however tall you want. I did maybe 18 rounds? Stuff these ones at least partially so the alien can sit up.
the antenna problem that annoyed me
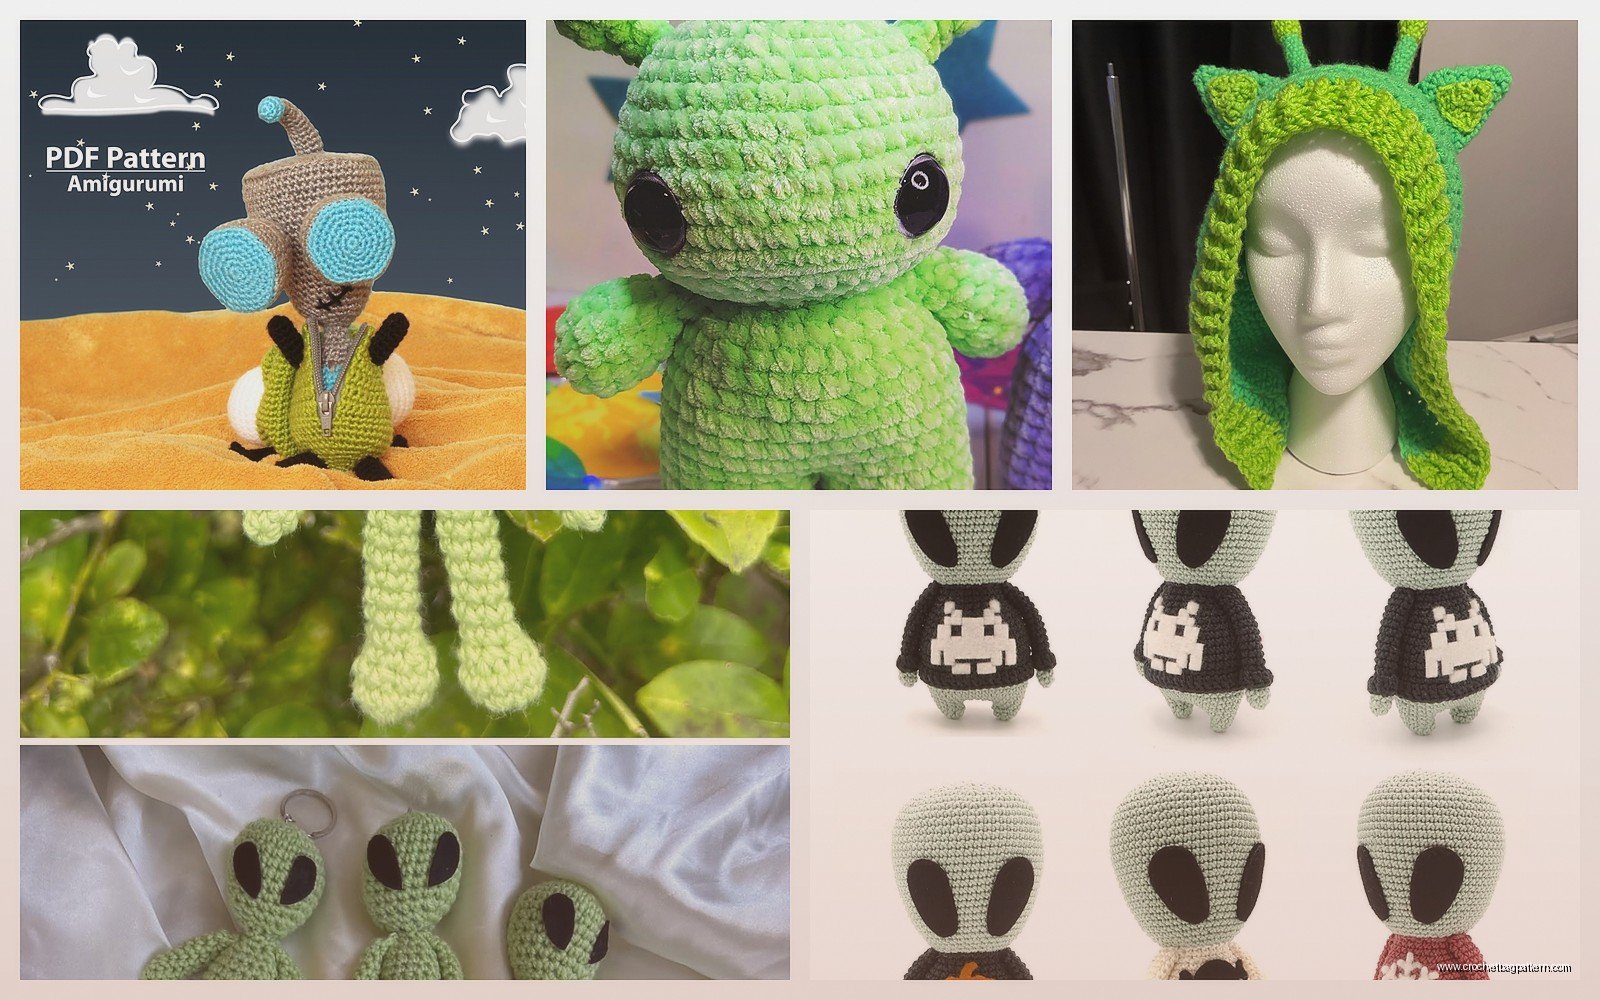
Okay so this is the part that drove me crazy. Antenna seem simple right? Just make two little stalks coming out of the head. WRONG. They kept flopping over no matter what I did. I tried making them with just yarn and they were too soft. Then I tried stuffing them really firm but they still bent.
What finally worked was pipe cleaners. Cut a pipe cleaner to the length you want, fold it in half for double strength. Then crochet around it – chain 2, work sc around the pipe cleaner by inserting your hook under the pipe cleaner and pulling up loops. It’s weird at first but you get the hang of it. Work up the pipe cleaner until you reach the top, then do a few sc in the very top to make a little ball end.
Or you could do the antenna without the pipe cleaner and just accept they’ll be floppy. Some people use wire but I don’t like wire in stuff because it can poke through eventually.
I made little balls at the ends of the antenna by doing a magic ring with 6 sc, increase to 12 sc, work one round, decrease back to 6, stuff lightly, close up. Then position this on top of your antenna stalk. The balls kept falling off when I tried to sew them so I ended up using fabric glue which probably isn’t the “right” way but whatever it worked.
assembly and details
Sewing everything together is pretty straightforward but takes longer than you think. Position the head on the body and use pins or just hold it where you want it, then sew around with your yarn needle. I go around twice to make sure it’s secure because having the head fall off would be tragic.
Arms and legs get sewn on wherever looks balanced. I usually hold the pieces up and move them around until it looks right before committing to sewing. The arms can go on the sides of the body or more toward the front. Legs at the bottom obviously but you can angle them different ways.
If you want your alien to have a mouth you can either embroider one with black yarn – just a straight line or a curve – or add a felt mouth. I usually skip the mouth honestly because I think aliens look funnier without them, just big eyes staring at nothing.
color variations and stuff
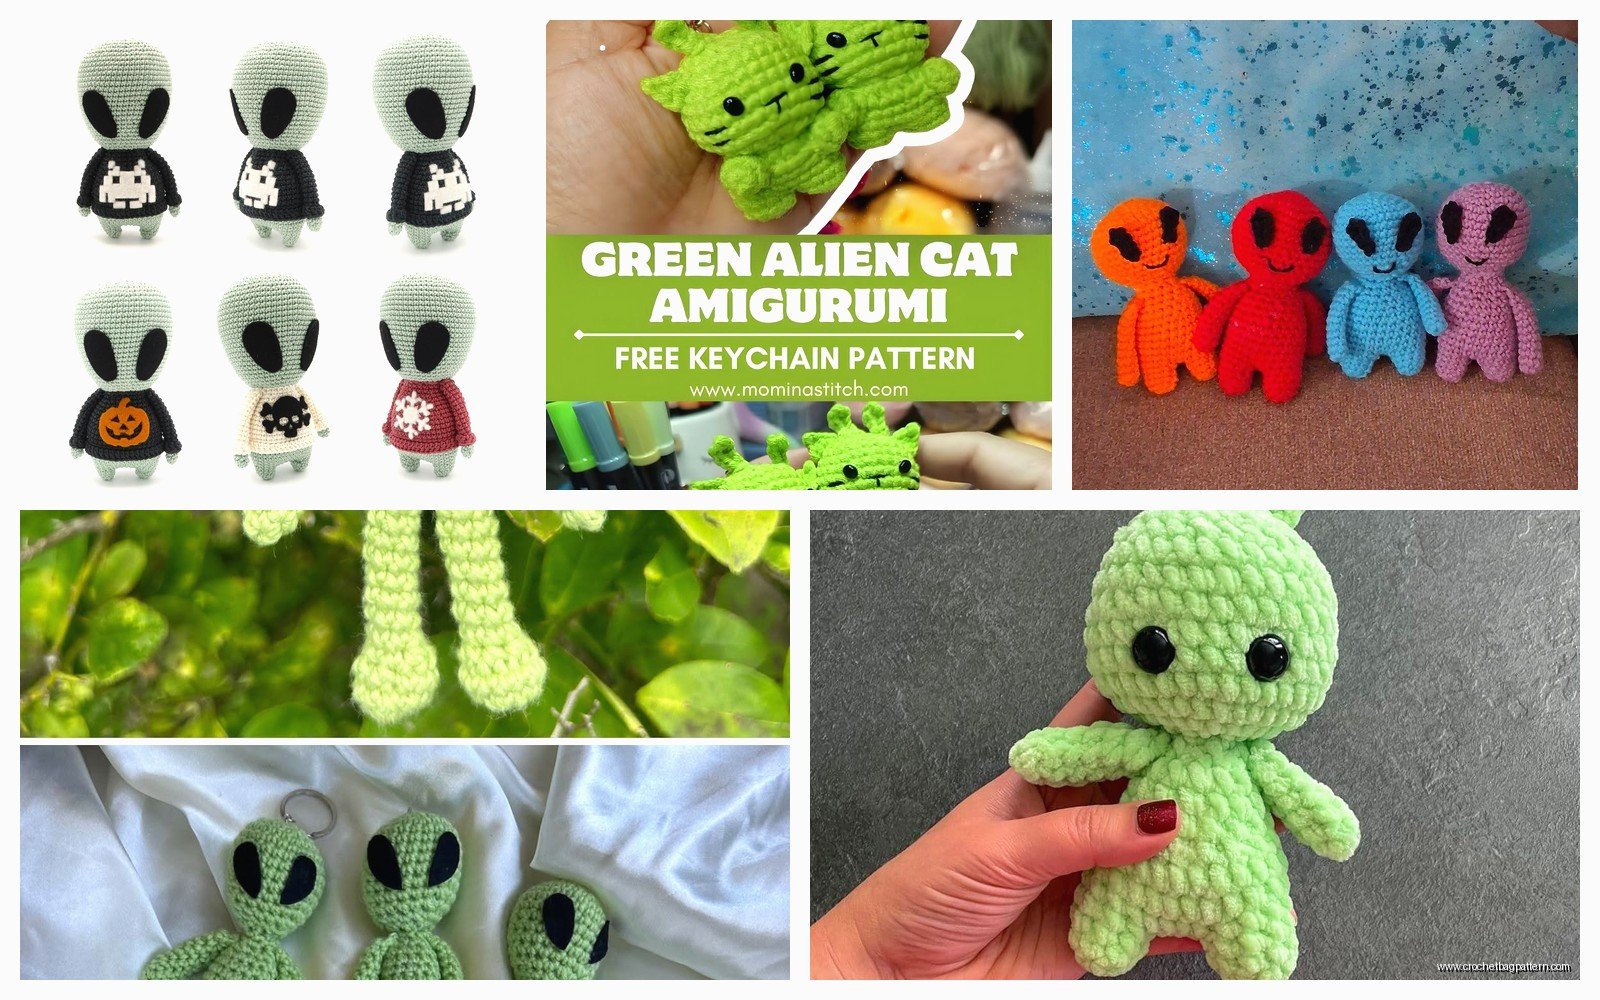
Spring green is classic alien color but you could do literally any color. I’ve seen people make purple ones, blue ones, even rainbow striped which looked cool but probably annoying to change colors that much. Red Heart Super Saver comes in like a million colors and it’s cheap so good for experimenting.
For a more “space creature” look you could add spots. Just crochet small circles in a contrasting color and sew them randomly on the body and head. Or stripes – change colors every few rounds while working the body. Or add spikes down the back by making small triangles (basically increase from 1 to 6 stitches then decrease back down) and sewing them in a line.
I thought about doing tentacles instead of arms but that seemed complicated and also I feel like tentacles would make it more octopus than alien? But you could do it. Just make several long skinny tubes and attach them.
tension and gauge things
Your tension matters more with amigurumi than like… a blanket or whatever because you don’t want gaps. The stitches need to be tight enough that the stuffing doesn’t peek through. When I first started doing amigurumi I crocheted way too loose and you could see white stuffing through all the stitches which looked terrible.
To check if your tension is tight enough, just make a small swatch and hold it up to the light. If you see a lot of light coming through the holes between stitches, size down your hook. The fabric should be pretty dense.
Also keeping consistent tension throughout the whole project makes it look better. If you crochet tighter when you’re stressed or looser when you’re relaxed (I do this), try to stay aware of it and adjust. Or just accept that handmade things have quirks, that’s part of the charm or whatever people say.
other alien features you could add
Extra eyes – just make more eye pieces and cluster them. Three eyes, four eyes, go nuts. Some people do eyestalks instead of eyes directly on the head which looks more bug-like but still alien. For that you’d make small tubes like the antenna but shorter and attach the eyes to the ends.
Wings if you want a flying alien. Crochet flat oval or teardrop shapes and sew them to the back. I used this pattern for butterfly wings once and adapted it – just chain 10 or so, then work in rows with increases and decreases to make a wing shape. Make two and attach them.
A tail could be cool. Same technique as arms basically but attach it to the back lower body. Could make it curly by working into the front loops only which makes the fabric curl, or add a pointy end by decreasing to a point.
Ears – flat circles or triangles sewn to the sides of the head. I did this on one and it looked more like a creature than an alien though, more forest goblin vibes.
common problems I ran into
The head being too heavy for the body – if this happens your alien tips forward. Solution is either make the body bigger or the head smaller in your next attempt. Or add weight to the bottom by putting some poly pellets in the body before stuffing, that helps balance it.
Lumpy stuffing – this happens when you stuff too much at once or don’t distribute it evenly. Add small amounts of stuffing at a time and push it into all the corners with your hook or a chopstick or something. The head is hardest to stuff evenly because it’s the biggest piece.
Losing count of stitches – use that stitch marker I mentioned. Move it up every round so you know where the round starts. I still miscount sometimes even with a marker if I’m watching TV but at least the marker helps you figure out where you messed up.
Pieces being different sizes – if you’re making two arms or two legs and they come out different lengths, you either miscounted or your tension changed. I usually just remake the wonky one rather than trying to fix it because unraveling and redoing is faster than trying to add or remove rounds from a finished piece.
how long does this take
For me it was maybe 4-5 hours total? But I crochet pretty fast and I wasn’t watching complicated TV. If you’re newer to amigurumi it might take longer, maybe spread over a few days. The head takes the longest because it’s the biggest. Arms and legs are quick, maybe 15 minutes each.
Assembly probably took me an hour because I’m slow at sewing and I kept repositioning things before committing. Also I lost my yarn needle halfway through and had to find it which wasted time.
You could probably knock this out in an afternoon if you’re focused. Or take your time and work on it over a week, doesn’t matter. It’s not like there’s a deadline for alien creation.
variations I’ve seen
Some people make their aliens really tall and skinny instead of round. For that you’d just work more rounds on the body without increasing as much in the beginning. Gives it more of a gray alien look, less cute and more… I don’t know, sci-fi movie style?
Baby aliens are cute – just make everything smaller, use a smaller hook or lighter weight yarn. I haven’t done this because small amigurumi is fiddly and harder to stuff but they look adorable.
Alien families where you make different sizes and colors. Could be a fun display piece if you’re into that.
Adding clothes to your alien – tiny vests or scarves or whatever. I think this is extra but some people love it. You’d just crochet a small rectangle for a scarf or adapt a doll clothes pattern for a vest.
The cool thing about aliens is there’s no rules really. Nobody can tell you your alien is wrong because who knows what aliens actually look like. So you can just make whatever seems alien-ish to you and call it done. That’s what I like about this pattern, it’s very flexible and forgiving.
