
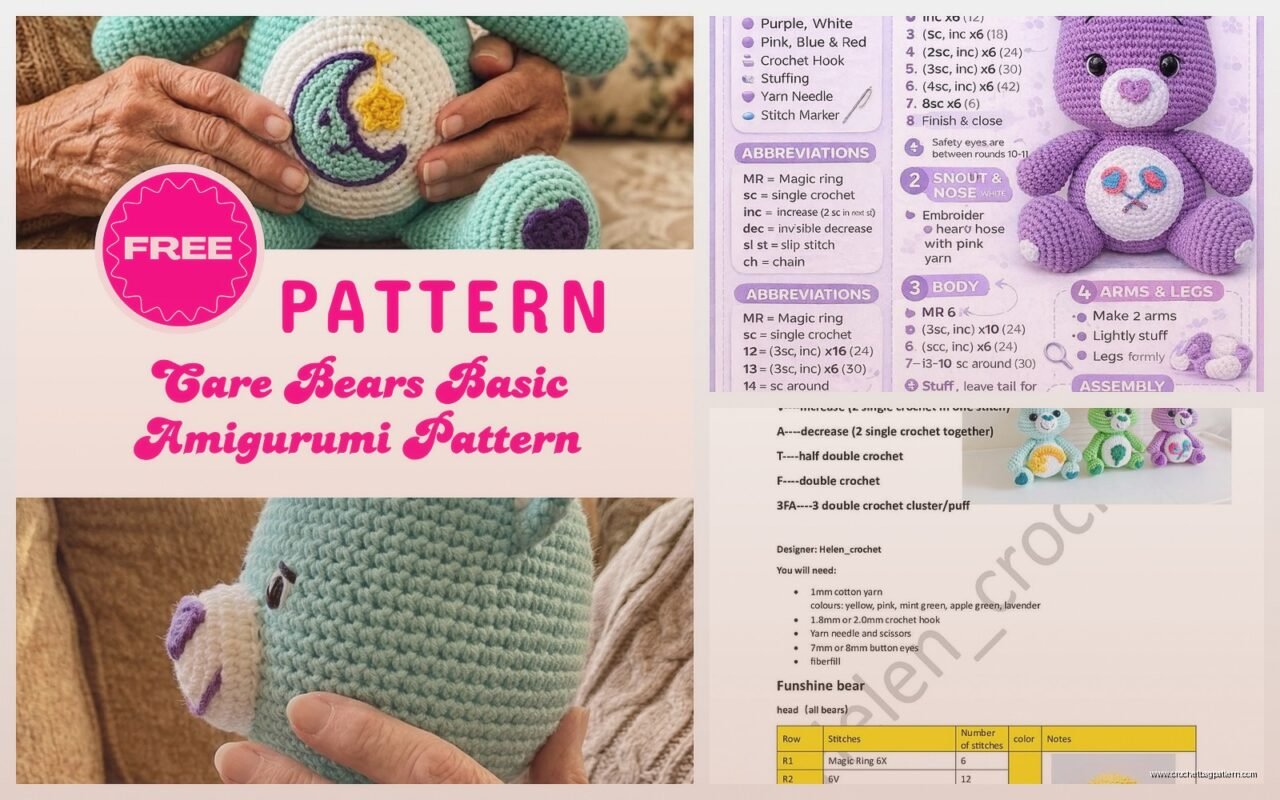
Jun
okay so you wanna make a Care Bear and honestly they’re not as hard as people think but there‘s definitely some stuff you gotta know first
I made my first one back in spring 2022 when I was basically living on my couch watching old episodes of The Office for like the third time and needed something to do with my hands. picked Tenderheart Bear because the heart seemed easier than some of the other belly badges and I wasn’t ready to attempt Cheer Bear’s rainbow or anything complicated
The main thing with Care Bears is they’re basically just a round blob with limbs so you’re making a sphere for the body, smaller sphere for the head, and then these chunky little arms and legs. the proportions are kinda weird if you think about it too much – their heads are huge compared to real bear anatomy but that’s the whole point I guess
Yarn Choice Actually Matters
So for the main body color you want something soft but not too fuzzy because you need to see your stitches. I used Red Heart Super Saver for my first one in that medium pink color and honestly it worked fine even though everyone online acts like you need fancy yarn. It’s cheap and it holds up which matters if you’re making these for kids who are gonna drag them everywhere
For the belly badge though I switched to Hobby Lobby’s I Love This Yarn in white because I needed something that would show up against the pink and it was what I had. The contrast needs to be really clear or the whole point of the Care Bear gets lost
You’ll also need black for eyes and nose, and depending on which bear you’re making, other colors for the belly badge. I keep a stash of Lily Sugar’n Cream in white around because it works for belly badges and it’s pretty cheap at Walmart
Basic Body Construction
Start with a magic ring which if you don’t know how to do one just look it up because it’s way better than chaining and joining. you’re gonna do 6 single crochet in the ring to start
Then you increase every round for a bit – round 2 is 12 stitches (increase in each), round 3 is 18 (sc, inc around), round 4 is 24 (sc in 2, inc around) and you keep going like that until you hit about 54 or 60 stitches depending on how big you want your bear
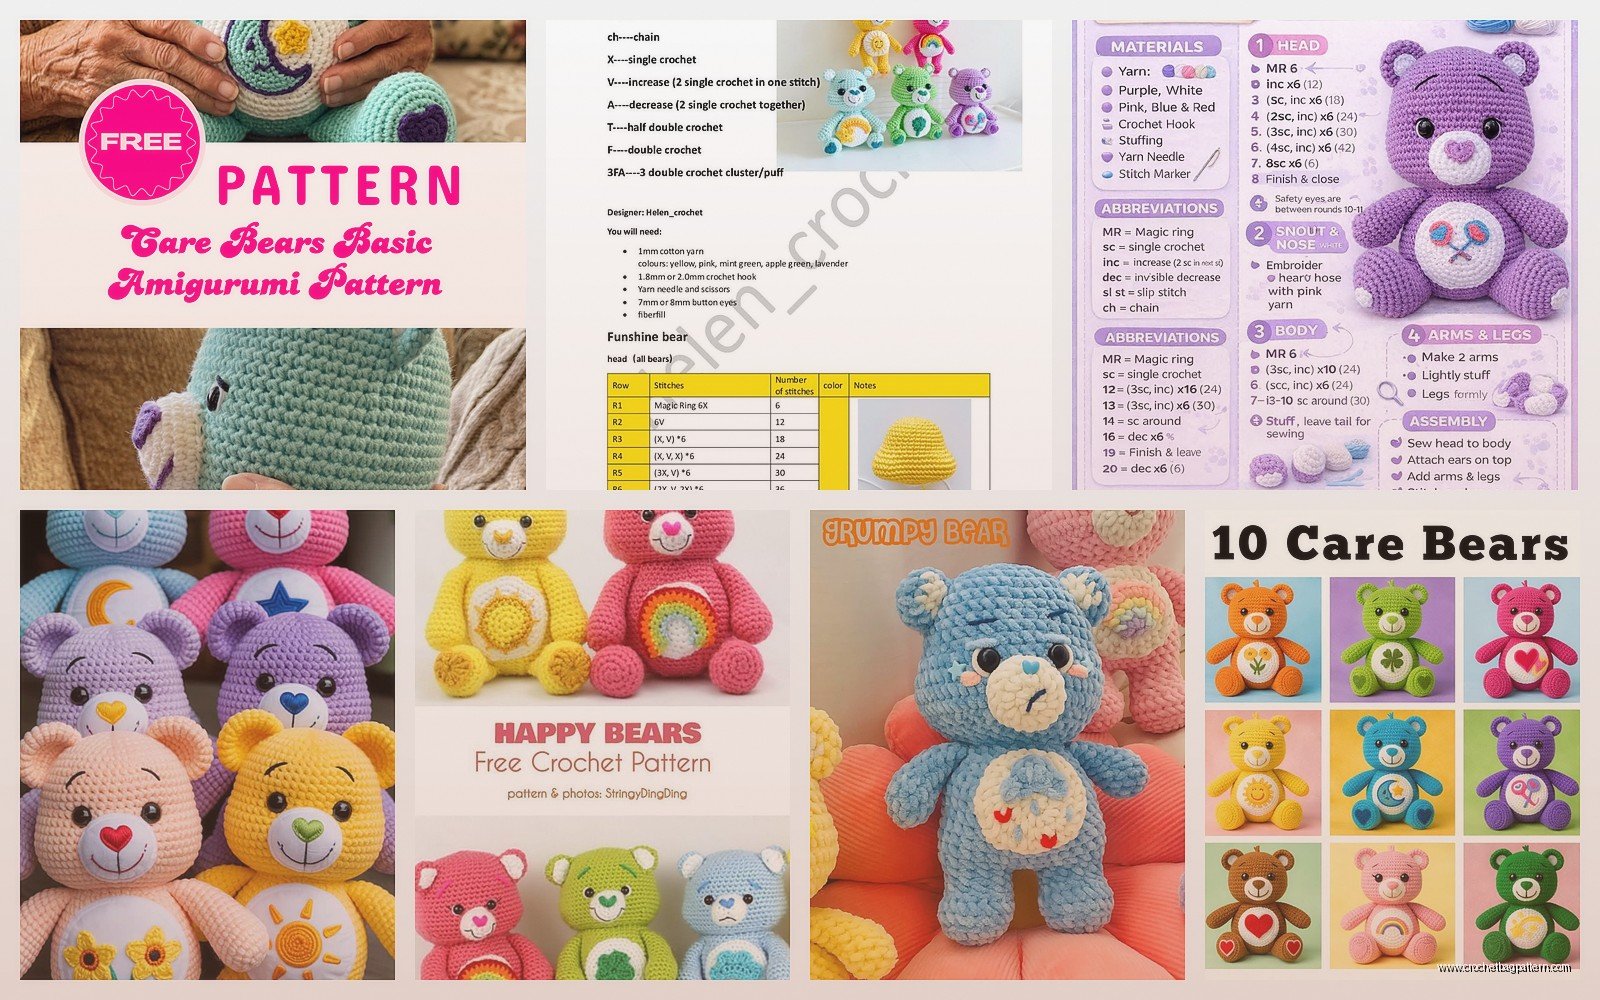
Work straight without increases for like 15-20 rounds to build up the body height. This is the boring part where you’re just going around and around and around and my dog kept trying to steal my yarn ball during this phase which was super annoying
One thing that really annoyed me was figuring out when to stuff the bear because if you wait too long the opening gets small and it’s hard to get stuffing in there evenly, but if you stuff too early it’s floppy and weird while you’re trying to decrease. I usually start stuffing when I’m about halfway through the decrease rounds
The Head Shape
The head is basically the same process but smaller. Start with magic ring, increase up to maybe 42 or 48 stitches, work some straight rounds, then decrease back down
The snout is where it gets specific to Care Bears – you need to make this rounded muzzle part that sticks out. I made a small oval shape by chaining like 6, then working around both sides of the chain in a spiral, increasing at the ends to make it rounded. worked a few rounds to build it up then stuffed it lightly and sewed it onto the face before attaching the head to the body
Position matters a lot here because if the snout is too high or too low the whole bear looks off. I usually place it so the top of the snout is about halfway down the head maybe slightly lower
Limbs Are Chunky
Arms and legs are pretty straightforward but they need to be chunky to look right. For arms I chain like 4, join, then work in continuous rounds increasing slightly at the paw end to make it wider than the shoulder
Make them long enough that they reach down past where the belly would be if the bear was standing up. Care Bears have these stubby proportions that look wrong if you think about it but right when you see the finished product
Legs are similar but wider and you need to make a flat bottom for the foot. I usually work the foot separately as an oval then attach it to the leg tube and stuff everything firmly so they can support the bear if someone wants to stand it up
The legs attach pretty low on the body almost at the bottom of the sphere and angle out slightly
Belly Badge Is The Whole Thing
okay so this is what makes it actually a Care Bear and not just a random teddy bear – the belly badge has to be recognizable
For Tenderheart’s heart I just crocheted a heart shape which there’s a million patterns for online. started with a magic ring, worked increases to make the rounded bottom, then split to work each bump of the top separately, decreased to make the point at the top of each bump. honestly just wing it until it looks heart-shaped, nobody’s gonna measure it
Sew it onto the belly before you close up the body completely because trying to sew through a fully stuffed bear is way harder than doing it when you can still get your hand inside
If you’re doing a more complex badge like Funshine Bear’s sun or Good Luck Bear’s four-leaf clover you might need to do applique or embroidery for details. I haven’t tried those yet because I’m lazy and also the simple shapes are more recognizable anyway
Face Details
Eyes are just black ovals or circles. you can crochet them flat or use safety eyes but I prefer crocheted because safety eyes on vintage-style amigurumi look kinda weird to me. make two matching ovals, sew them on with the wider part at the bottom so they look like Care Bear eyes and not just dots
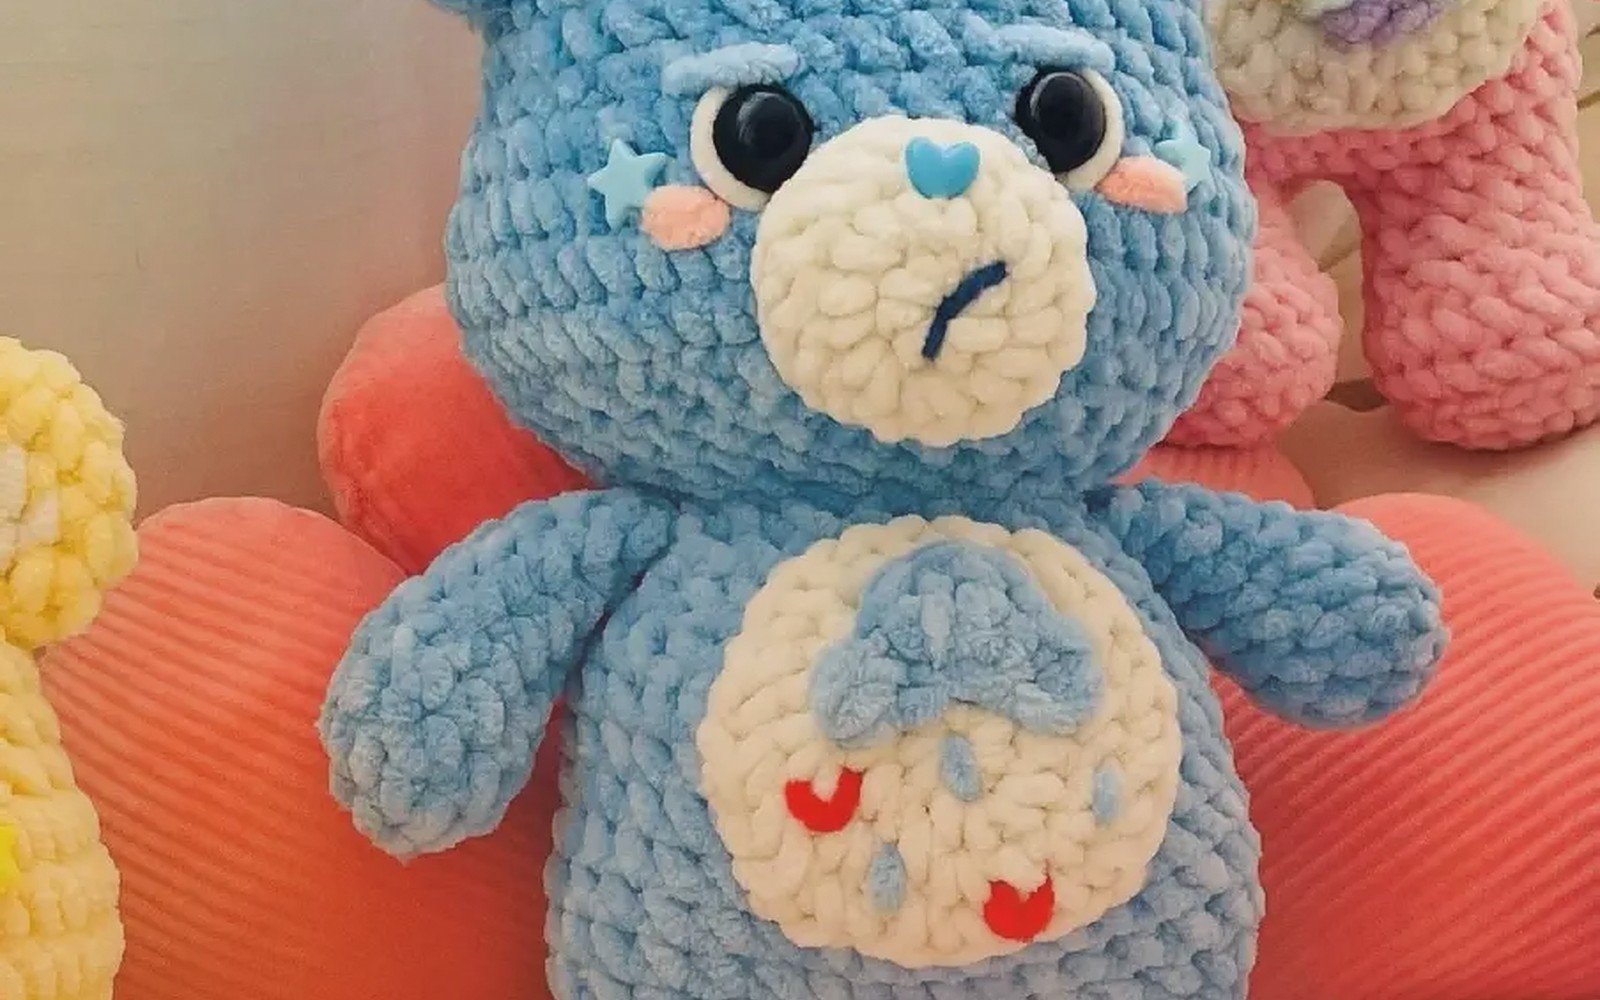
The nose is an upside-down triangle basically – I usually just embroider it with black yarn in a filled triangle shape on the snout. Add a line down from the nose and a curved smile underneath
Some people add white highlight dots to the eyes which does make them look more alive but I forget half the time and they still look fine without it
Ears Are Easy To Forget
make two small semicircles or rounded triangles for ears – chain 6 or so, work increases along one side to make the curve, then decrease back down or just sew it flat
Attach them to the sides of the head angled slightly outward. they’re small and kinda get lost in the overall shape but you need them or it doesn’t look like a bear it just looks like a round pink thing with a face
Assembly Tips
I always sew the head to the body first because that establishes the main shape. Use the same color yarn as the body and do a whip stitch around the neck making sure it’s secure because that’s where all the weight hangs
Then add arms at shoulder height angled forward slightly like the bear is ready for a hug or whatever. the positioning should be symmetrical but honestly eyeballing it works fine
Legs go on last and this is where you can adjust if the bear won’t sit or stand right. angle them more forward if you want it to sit better, more down if you want it to stand
I use a yarn needle and the same color yarn for all the sewing and just go around each attachment point twice to make sure nothing’s gonna fall off
Color Variations
Tenderheart is pink, Cheer Bear is also pink but lighter, Grumpy Bear is blue, Funshine is yellow – there’s like a million different Care Bears so pick whichever color you want honestly
The vintage 80s ones had simpler designs which is good for crochet. the newer versions have more complex belly badges and patterns that would be annoying to replicate
I’m thinking about making Grumpy Bear next because blue and also the rain cloud belly badge is just a cloud with lines which seems doable, but I keep getting distracted by other projects
Size Considerations
With a worsted weight yarn and a 4mm or 5mm hook you’ll get a bear that’s maybe 8-10 inches tall which is a good size for a stuffed toy. if you want bigger use bulky yarn and a bigger hook, smaller use sport weight or DK
The proportions stay the same regardless of size you just adjust your stitch counts proportionally. head should be like 70% the width of the body, arms should reach to mid-body, legs should be sturdy enough to support the weight
Common Problems
If your bear is lumpy you’re probably not stuffing evenly – really push the stuffing into all the corners and edges and add more than you think you need
If the limbs keep falling off you’re not sewing them securely enough. go around the attachment point multiple times and pull the stitches tight
If the belly badge looks wonky it’s probably because you attached it off-center or at an angle – use pins to position it before you sew and step back to look at it from a distance
The thing that annoyed me most was actually the decreasing rounds on the body because you’re trying to stuff and decrease at the same time and the whole thing is awkward to hold and your stitches get tight and it’s just… annoying. but you gotta push through that part
Stuffing Strategy
Use polyester fiberfill not cotton because cotton gets lumpy and heavy. I buy the big bags from Joann when they’re on sale and just keep it around
Stuff firmly but not so tight that the stitches stretch and show gaps. you want it to hold its shape but still be squishy
For the snout use just a tiny bit of stuffing because if you overstuff it it sticks out too far and looks weird
Pattern Notes
Most Care Bear patterns online are pretty similar because the basic shape is the same – it’s really just the colors and belly badges that change. you don’t need to follow a pattern exactly just understand the construction method and adjust as you go
I never write down what I do which sometimes means I can’t replicate it exactly but also means I’m not stuck following someone else’s pattern that might not work with my yarn or hook size
gauge doesn’t matter that much for stuffed toys as long as your stitches are tight enough that stuffing doesn’t show through. if you can see white fiberfill poking between your stitches go down a hook size
The whole thing takes maybe 6-8 hours spread across a few days depending on how much TV you’re watching while you work. my first one took longer because I kept messing up the belly badge and having to redo it but now I can knock one out pretty quick
anyway that’s basically how you make a Care Bear – it’s just spheres and cylinders sewn together with a face and a belly badge, nothing super complicated once you get the hang of increasing and decreasing in rounds
