
Jun
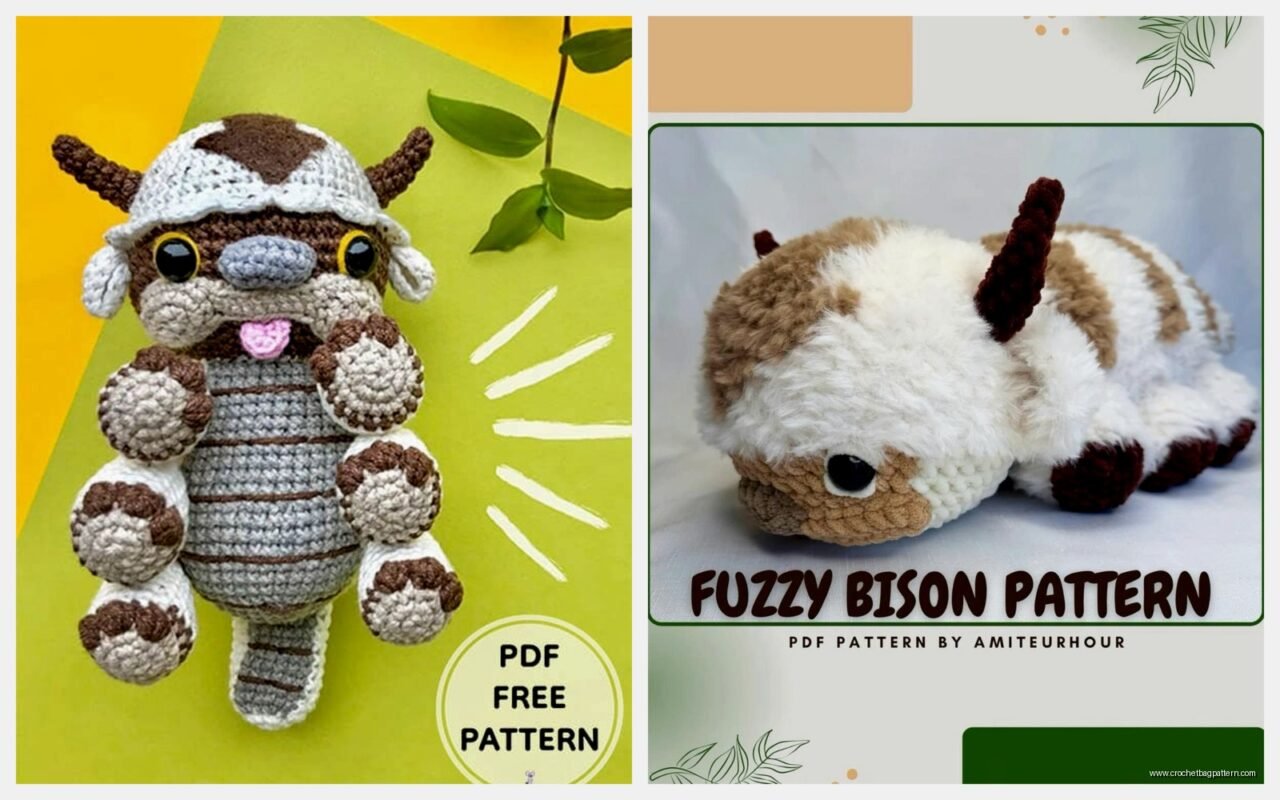
Getting Started With Your Appa Amigurumi
So you’re gonna need chunky yarn for this honestly, like when I made mine back in spring 2022 I used Red Heart Super Saver in white and it worked fine but the texture was kinda stiff. I also grabbed some Bernat Blanket yarn for a different version later because I wanted him fluffier but that made the stitches weird to see. The arrow on his head needs brown or that rust color, I think I used Caron Simply Soft in Taupe or maybe it was Chocolate? One of those.
You need a 5mm or 6mm hook depending on how tight you crochet. I’m a tight crocheter so I went with 6mm but if you’re loose with your tension maybe stick to 5mm so he doesn’t look all floppy and sad.
The Body Structure Thing
The body is basically a big oval shape. Start with a magic ring and do like 6 single crochets in it. Then you increase every other stitch for a few rounds until you get to maybe 36 or 42 stitches, depends on how big you want him. I didn’t really count properly the first time and he ended up lopsided which was actually fine because my cat kept knocking him off the couch anyway while I was watching Avatar again for like the third time.
Work straight without increases for maybe 15-20 rounds? This is the main body part. The thing that annoyed me SO MUCH about this was stuffing him evenly because the body is so big and round, and if you don’t stuff as you go, you’re gonna have a nightmare trying to shove polyfil up into the front end later. Trust me. Do it every few rounds.
Then you decrease back down the same way you increased, but leave a gap for stuffing more if needed. The tail end should be rounded but not pointy.
Those Six Legs Though
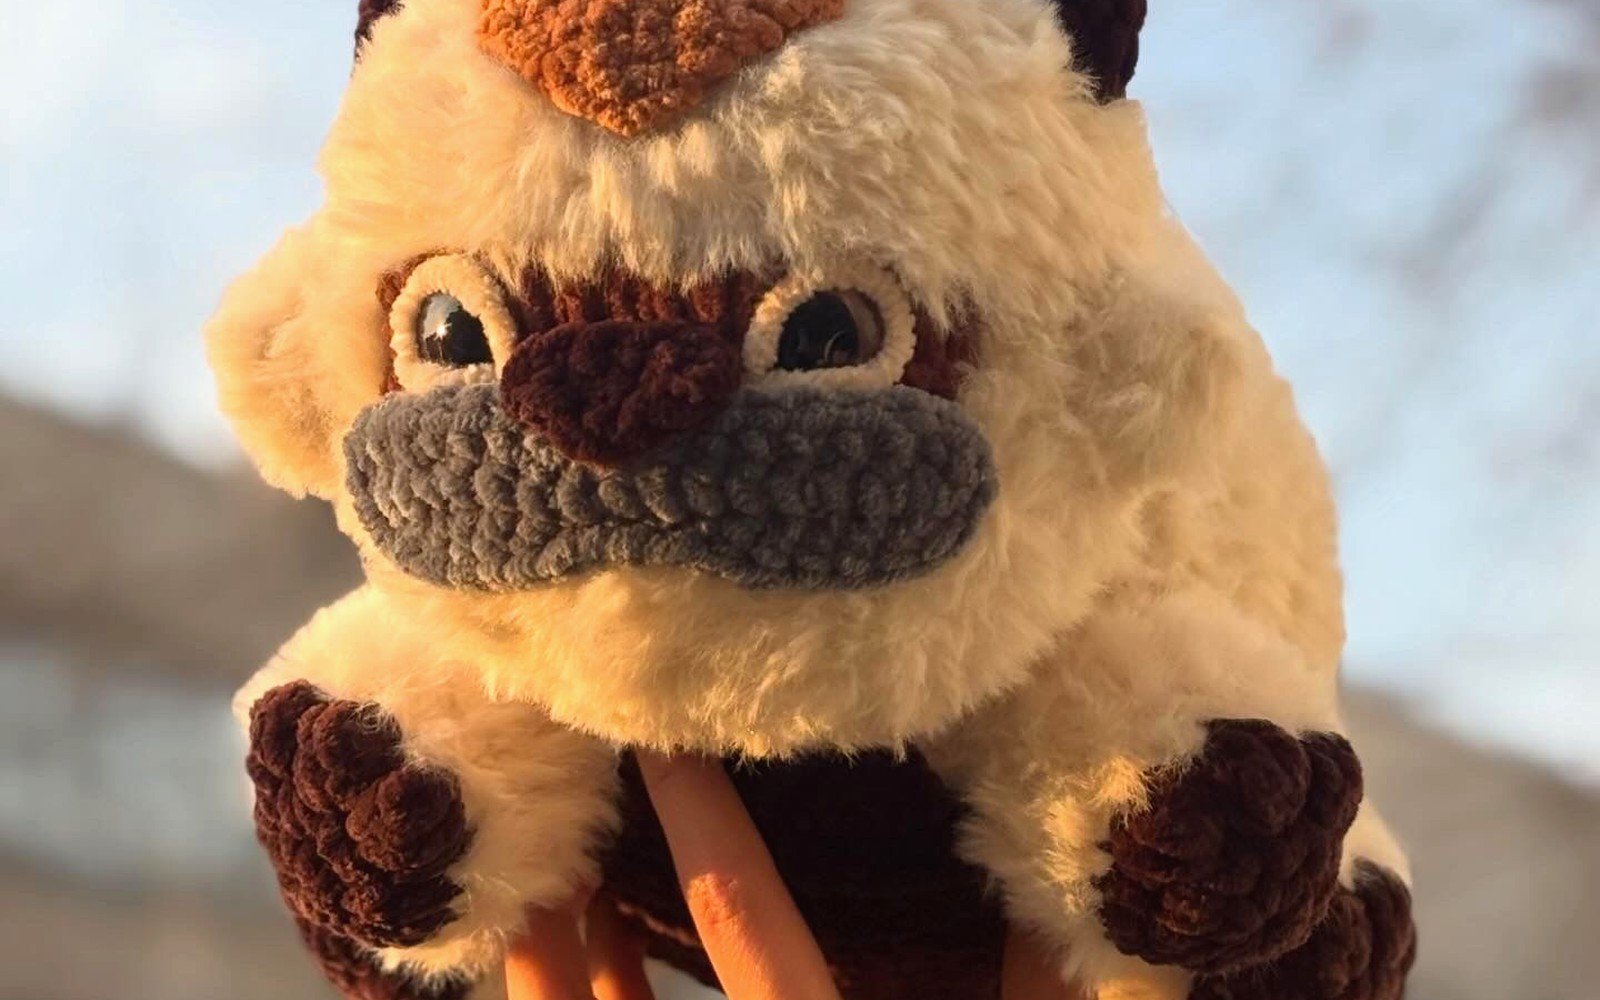
Appa has six legs and this is where it gets tedious. Each leg is basically a cylinder. Magic ring with 6 sc, then increase to 12 sc in the next round, then work straight for like 8-10 rounds depending on how long you want the legs.
I made all six legs the same size but honestly the back ones could be slightly shorter and it’d probably look more accurate? I didn’t think about that until after. You can stuff these pretty firmly so they stand up better.
Attaching them is weird because you gotta figure out the placement. I pinned mine first with regular sewing pins before actually stitching them on. Three on each side, spaced sort of evenly along the body. The front pair should be closer to where the head will go, middle pair in the middle (obviously), back pair near the tail end but not too far back or he tips over.
Leg Attachment Strategy
Use the same color yarn as the legs and a yarn needle. I did a whip stitch around the top of each leg going through both the leg and the body. Go around twice if you want them really secure. My first Appa had a leg fall off after my friend’s kid played with it too rough, so yeah, double stitching is worth it.
The Head Part
Head is similar to the body but smaller obviously. Magic ring, 6 sc, increase pattern up to maybe 24 or 30 stitches. Work straight for fewer rounds than the body, maybe like 8-10 rounds? Then start decreasing but not all the way closed because you need the neck opening.
The horns are just tiny cones. Magic ring with 4 or 5 sc, work straight for like 3 rounds, done. Make two of them. Sew them on top of the head kinda toward the back. I put mine too far forward the first time and he looked like a— well, it looked wrong.
For the snout you can either make a separate piece or just embroider it on. I made a separate little rounded triangle shape by doing increases and decreases in a specific way that I honestly can’t remember exactly. It was like… start with a chain, work in rows with increases on the ends to make it wider, then decrease back? You stuff it lightly and sew it onto the front of the head.
Eyes and Face Details
Safety eyes are easiest, like 15mm or 18mm black ones. Put them in before you stuff and close the head completely. They should be pretty far apart, Appa has a wide face. You can embroider eyes instead if you want but safety eyes are faster.
The arrow marking on his head is the most recognizable part so don’t skip it. I cut out the shape from brown felt first and stitched it on with regular thread, but you can also crochet a flat arrow shape and applique it on. The arrow should start between the horns and come down between the eyes, pointing toward the snout.
Attach the head to the body at an angle if you want him looking up slightly, or straight on. I stitched around the neck opening to the body multiple times because the head is heavy and wants to flop around.
Tail Situation
The tail is basically another cylinder but it tapers and has that flat paddle end. Start the same as a leg but keep it going for longer, maybe 12-15 rounds. Then you flatten it and work in rows to make the wide flat part at the end. This part is actually kinda fun because you increase on both sides of the row to make it fan out.
I think I did something like… chain across the flattened tube opening, then work back and forth in rows, increasing one stitch on each end every row until it’s wide enough. Maybe 6-8 rows? The edges can be a little wavy, that’s fine, gives it texture.
Sew the tail onto the back end of the body. It should stick out and up a little bit, not droop down. Add some extra stitches at the base so it has structure.
The Saddle If You’re Feeling Ambitious
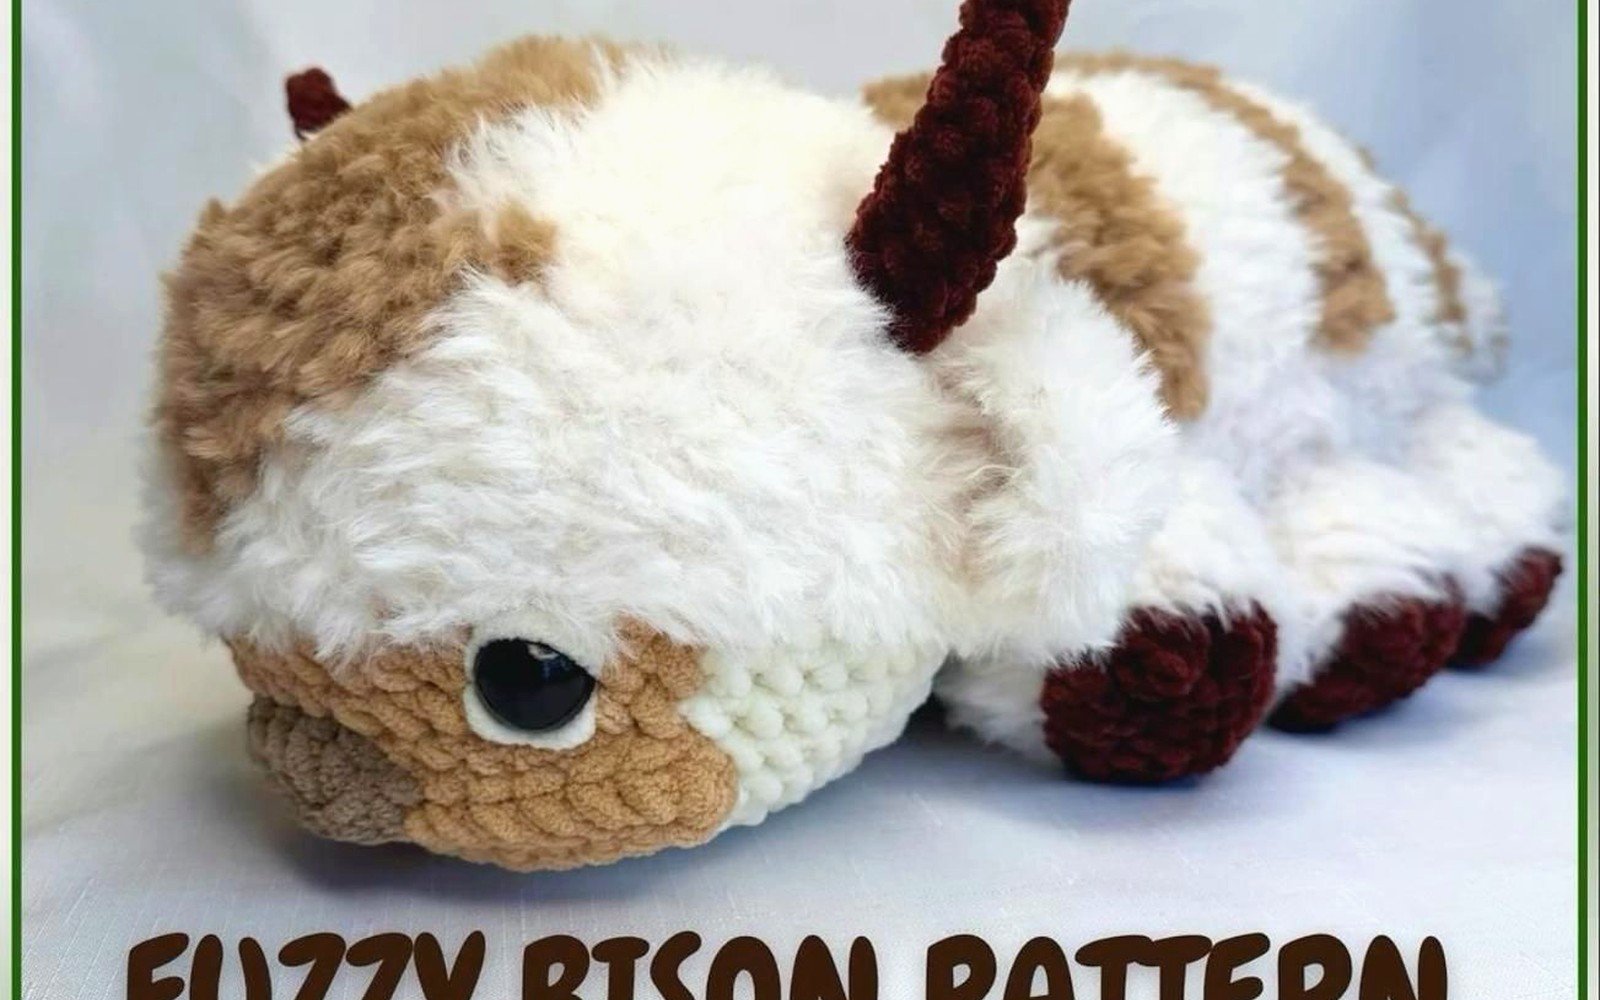
Okay so the saddle is optional but it makes it actually look like Appa and not just some generic six-legged bison thing. I used Caron Simply Soft in like a rust red color? Or maybe it was Red Heart again in Burgundy, I really don’t remember.
The saddle is basically a rectangle that drapes over his back. Chain enough to go across his back width, maybe 20-25 chains depending on your gauge. Work in rows of single crochet until it’s long enough to go from behind his head to partway down his back. You want it covering the middle section where the middle legs are.
I added a border around it in a contrasting color, just one round of single crochet around all the edges to make it look more finished. You can add little straps that go under the belly too if you want to actually secure it, but I just tacked mine down at the corners with a few stitches and called it done.
Decorative Saddle Details
Some people add tassels or fringe to the saddle edges. I didn’t because I was already tired of this project by that point and just wanted to be done. But if you cut pieces of yarn and attach them to the edge it does look cool.
Ears That I Almost Forgot
Oh right, ears. These are small and floppy. Make two flat oval shapes by chaining like 6-8, working around both sides of the chain with increases at the ends to make it oval. Do maybe 2-3 rounds of this. Leave them unstuffed so they’re floppy.
Sew them on the sides of the head, kinda toward the back near where the horns are. They should stick out to the sides a bit. I folded the bottom edge of each ear slightly when I attached it so they have that curved shape.
Yarn Amounts and Colors
You’re gonna need the most of the white or cream color for the body, probably like 2-3 skeins depending on size. Way less of the brown for the arrow and saddle, maybe one skein. The horns barely use any yarn.
I’ve seen people use I Love This Yarn from Hobby Lobby too and it worked fine. Lion Brand Vanna’s Choice is another option that’s pretty affordable. Honestly any worsted or aran weight yarn works as long as you’re consistent with the same weight throughout or he’ll look weird with different textures.
Assembly Tips That’ll Save Your Sanity
Pin everything before you sew it permanently. I cannot stress this enough because I didn’t do this on my first attempt and the legs were all crooked and uneven. Lay the body down and pin all six legs where they should go, then stand it up and see if it balances. Adjust as needed.
Same with the head, pin it at different angles to see what looks best before committing to stitching it on.
Use long pins or even stick markers poked through if you don’t have pins. Just something to hold pieces in place while you figure out the positioning.
Stuffing Strategy For Real
The body needs to be firm but not rock hard. If you overstuff it the stitches stretch out and look weird and you can see the stuffing through gaps. If you understuff it he’s all saggy and floppy.
I used Poly-Fil from Walmart, the cheap stuff in the big bag. Works fine. Some people use wool stuffing but that seems expensive for something this big.
For the legs, stuff them firmly so they support the body weight. The head can be medium-firm, and definitely don’t stuff the ears at all.
Size Considerations
With a 6mm hook and worsted weight yarn mine ended up being like 14 inches long and maybe 8 inches tall? Something around there. If you want a bigger one use a larger hook and thicker yarn. If you want a tiny one good luck because getting six tiny legs attached evenly sounds like a nightmare.
The nice thing about amigurumi is you can kinda just adjust as you go. If the body seems too small when you’re working on it, just add more increase rounds at the beginning and more straight rounds in the middle. There’s no perfect pattern you gotta follow exactly.
Troubleshooting Common Issues
If your Appa won’t stand up, the legs might be too loose or positioned wrong. Try restuffing them firmer or moving them slightly under the body more so they’re bearing the weight better.
If the head keeps falling forward, you didn’t attach it securely enough. Add more stitches around the neck area, maybe go around three times instead of two.
If the whole thing looks lumpy, you probably didn’t stuff evenly as you worked. Next time stuff every 4-5 rounds instead of waiting until the end.
Gaps between stitches showing stuffing means your tension is too loose or you need to size down your hook.
Time Investment Real Talk
This took me like three weeks working on it here and there in the evenings. If you sit down and focus you could probably finish it in a weekend, but the legs alone took me forever because doing the same thing six times is boring.
The body goes pretty fast, head is quick, tail is medium speed. Legs are slow just because there’s so many. Attaching everything takes longer than you’d think.
Making It Your Own
You can change colors obviously, I’ve seen people make Appa in blue or even rainbow colors which doesn’t make sense for the character but looks cool. Some people add spots or stripes to the body.
The saddle can be any color you want, doesn’t have to be red-brown. I’ve seen purple and green ones.
You could make the horns longer or add more decorative elements to the saddle like embroidered patterns or beads.
Some people make the arrow design more elaborate with multiple colors shading into each other but that seems like a lot of work for something that’s gonna end up as a shelf decoration anyway.
Just keep the basic structure the same so it’s recognizable as Appa and then customize whatever details you want. That’s the whole point of making it yourself instead of buying one.
