
Jun
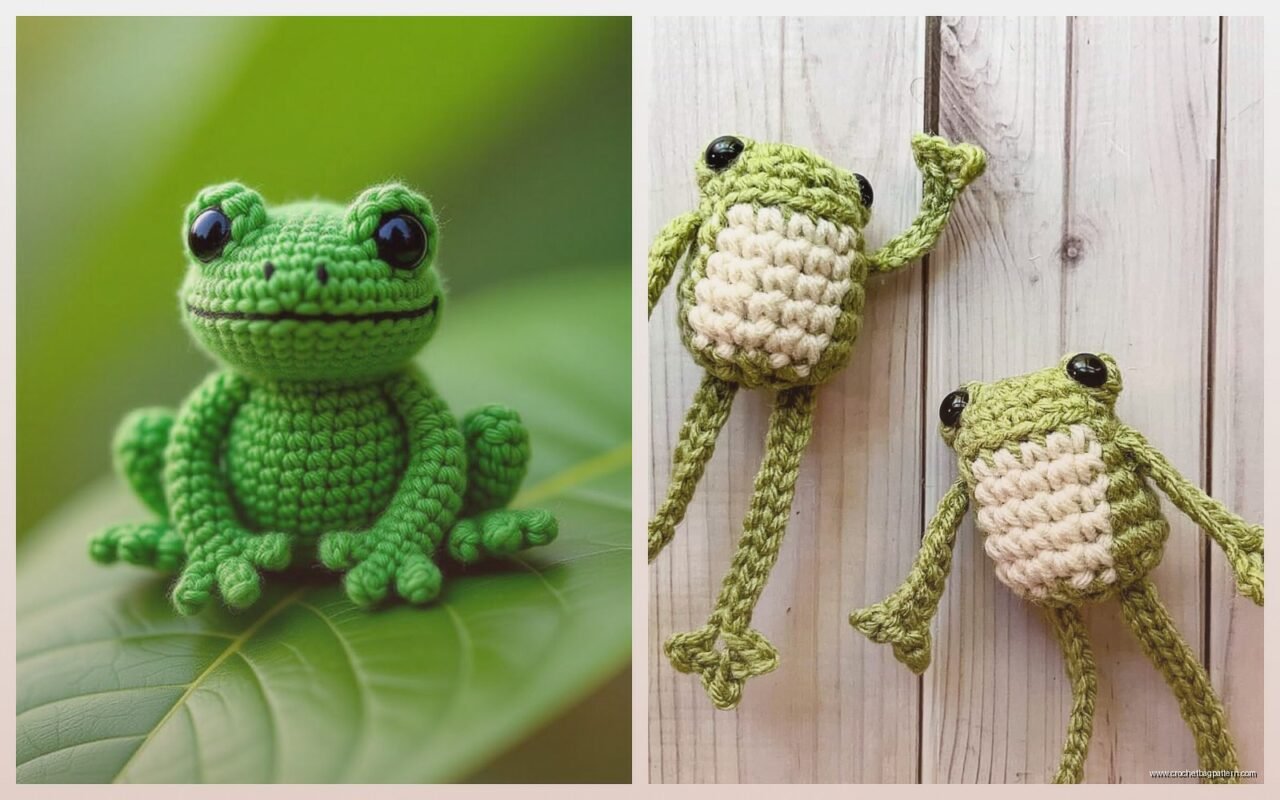
okay so frog amigurumi
so you want to make a frog right? I made one last summer, like June 2024 I think, when it was stupidly hot and I was sitting in front of the fan just crocheting because what else was I gonna do. turned out pretty good actually, even though halfway through I realized I’d made the legs way too long but whatever, long-legged frog
first thing you need is yarn obviously. I used Red Heart Super Saver in that bright green color, I think it was called Spring Green? it’s acrylic so it’s cheap and you can toss it in the wash if needed. for the eyes I had some white and black yarn laying around, probably also Red Heart but honestly could’ve been Loops & Threads from Michaels, I don’t remember. you’ll want a 3.5mm or 4mm hook depending on how tight you crochet. I use 3.5mm because my tension is kinda loose
what you’re actually making
the frog is basically just a bunch of spheres and tubes attached together. you got the body which is like an egg shape, the head which is another sphere, four legs that are little tubes, and then the eyes which sit on top. some patterns have you make a separate belly in white or yellow but honestly I skipped that because lazy
you’ll be doing everything in the round, so you need to know how to make a magic ring. if you don’t know magic ring just chain 2 and work into the first chain, it’s fine, just not as neat. single crochet is what you’re using for like 90% of this
starting with the body
magic ring, 6 single crochet into it. pull it tight. that’s round 1
round 2 is increase in every stitch so you end up with 12 stitches. round 3 is sc, inc repeated around so you get 18. you’re seeing the pattern right? each round you’re adding 6 stitches but spacing the increases out more
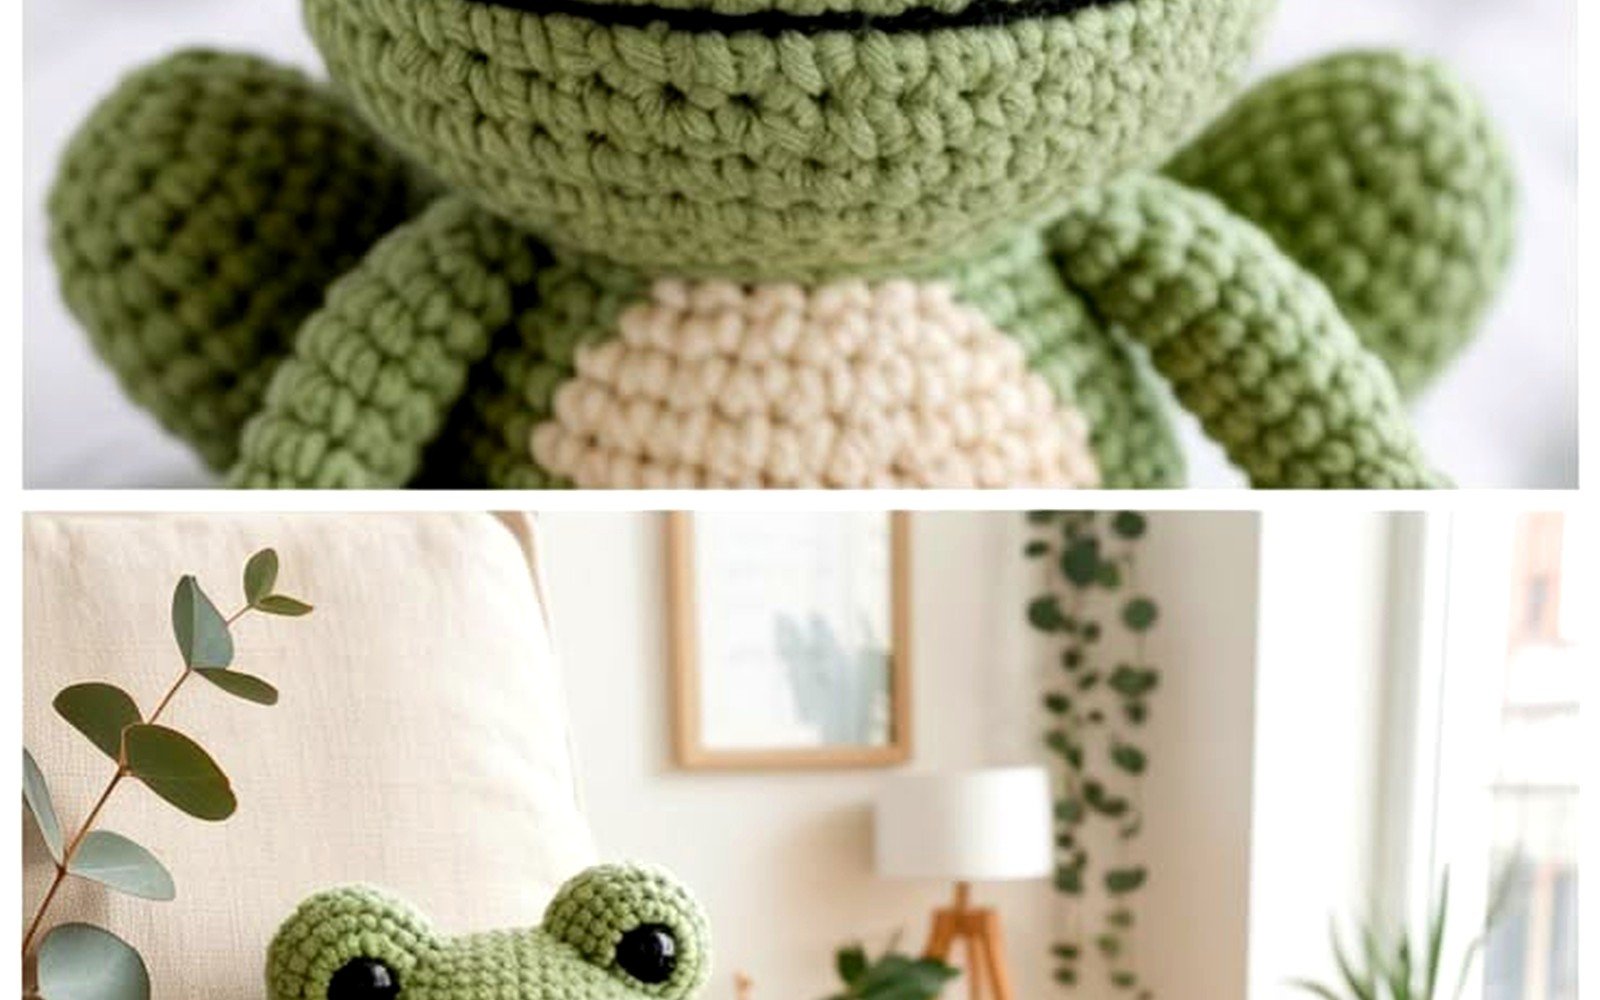
keep going: round 4 is sc 2, inc around for 24 stitches. round 5 is sc 3, inc for 30. round 6 is sc 4, inc for 36 stitches
then you work even for a while. I did like 8 or 9 rounds of just straight single crochet with no increases or decreases. this makes the body part. you want it to be kinda chubby
the thing that really annoyed me was stuffing it later because you have to stuff it WHILE you’re decreasing and it’s so fiddly trying to get the polyfil in there evenly while also trying to crochet. like your hook keeps catching on the stuffing and it’s just irritating
anyway after those even rounds you start decreasing. sc 4, dec around. then sc 3, dec. then sc 2, dec. you’re closing up the bottom of the body. stuff it before you close it completely obviously
the head part
head is similar but you make it rounder, less elongated. start same way with magic ring and 6 sc
increase rounds same as before but you don’t need to go as big. I stopped at like 30 or 32 stitches I think? then work even for maybe 5 rounds. the head should be noticeably smaller than the body
decrease it closed same way, stuff it firm. you want the head to hold its shape
my cat kept trying to steal the polyfil stuffing while I was working on this, she thought it was the best toy ever and I had to keep shoving her away
legs are weirdly important
okay so legs. you need four of them obviously. back legs are longer and thicker, front legs are shorter and thinner. this is what makes it look like an actual frog and not just… I don’t know, a green blob with eyes
for back legs: magic ring with 6 sc. increase every stitch for round 2 so you have 12. then work even for like 10-12 rounds. that’s the thigh part I guess? then you can decrease a bit, down to 9 stitches, and work even for another 8-10 rounds for the lower leg
for the foot you can get fancy. I made webbed feet by chaining and doing slip stitches back but honestly from a distance you can’t even tell, so you could just do a little flat oval shape. chain like 6, turn and sc back along the chain, that’s a foot
front legs are easier. magic ring with 6 sc, maybe increase to 9 stitches in round 2, then work even for like 8 rounds total. they’re basically just little arms. you can add tiny hands the same way as feet
make two of each leg. four legs total. stuff them lightly, you don’t want them super firm or they’ll stick out weird
eyes that actually look like eyes
this is where it goes from looking like craft project to looking like an actual frog. the eyes sit on top of the head and they’re what give it personality
with white yarn: magic ring, 6 sc. increase every stitch for 12. then sc, inc around for 18. work even for 2 rounds. that’s one eye base. make two
with black yarn make tiny circles for pupils. magic ring with 6 sc, fasten off, leave a long tail for sewing. you’re gonna sew these onto the white eye bases
some people use safety eyes and honestly that’s easier but I didn’t have any and didn’t feel like going to the store so crocheted eyes it was
putting it all together which is its own thing
so now you have all these pieces. body, head, four legs, two eyes. you need yarn needle and patience
sew the head to the body first. I positioned it so the frog is kind of sitting upright, with the head at an angle. use the same green yarn and whip stitch around where they connect. this takes forever and you’re gonna think you’re doing it wrong but just keep going
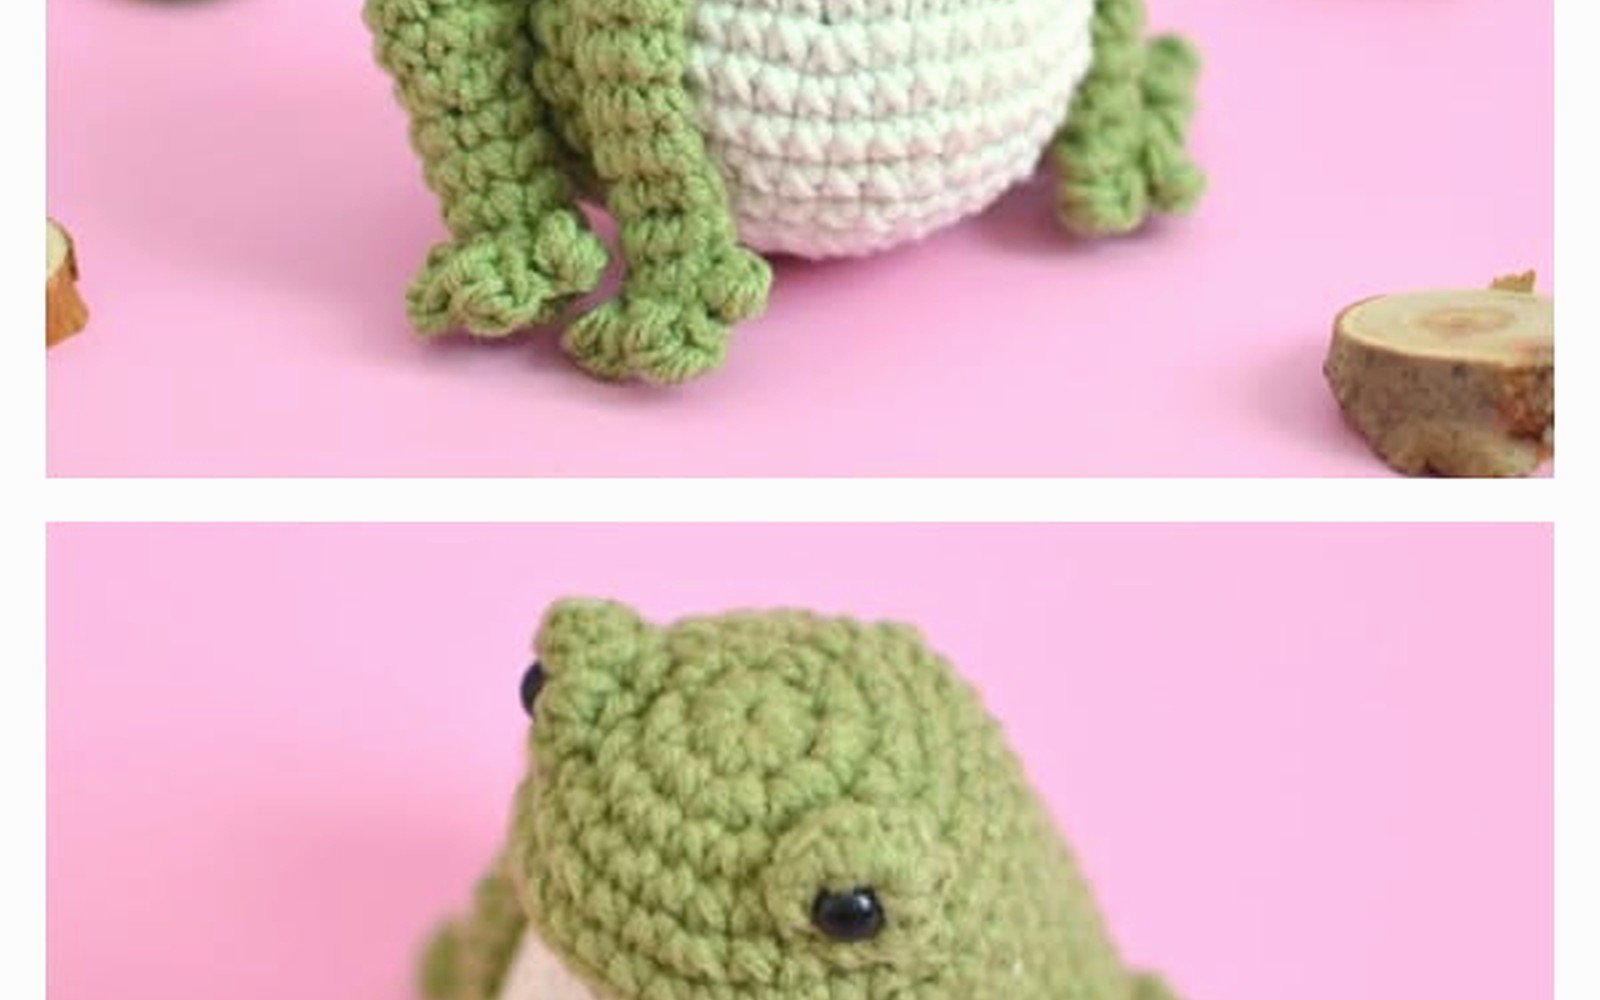
attach the back legs to the lower sides of the body. they should angle out and back like the frog is sitting. front legs go higher up, near where the head connects, and they can just hang down or you can position them forward
the eyes go on top of the head toward the front. leave space between them, like they’re on the sides of the head not right together in front. sew the black pupils onto the white bases first, then sew the whole eye assembly to the head
I was watching that baking show, the British one, while doing all this assembly and I kept getting distracted and losing track of which leg I was attaching where
random tips that might help
use stitch markers. like actually use them. I never used to and then I started and it makes counting so much easier, you just move the marker up as you go and you know where your round starts
when you’re stuffing, use small pieces of polyfil and really pack them in there. if you try to stuff big chunks it gets lumpy and looks weird. I learned this the hard way on my first attempt at amigurumi which was… not good
if your frog won’t sit up on its own, you either didn’t stuff it firm enough or the weight distribution is off. you can add more stuffing through the bottom before you close it completely, or you can just accept that it’s gonna flop over. my June 2024 frog flops to one side and honestly it’s kind of endearing
yarn choice matters more than you think. I tried making one with cotton yarn once and it was so much harder to work with, kept splitting, and the final product was stiff and weird. acrylic is really the way to go for amigurumi, it’s forgiving and soft and cheap
you can add details if you want. some people embroider a mouth with pink or red thread. you could add little spots on the back with a different color yarn, just sew them on as little circles. I’ve seen people add a tongue hanging out which is cute but also like… when would a frog have its tongue just hanging out, that’s not really how—anyway you can do whatever
size and gauge stuff
my frog ended up being about 4 inches tall sitting down, maybe 6 inches if you measure to the top of the eyes. this is with worsted weight yarn and a 3.5mm hook
if you want a bigger frog use a bigger hook or thicker yarn. bulky yarn with a 6mm hook would make like a 10 inch frog probably. if you want tiny frog use thread and a tiny hook but honestly that sounds terrible, too fiddly
gauge doesn’t matter that much for amigurumi as long as your stitches are tight enough that the stuffing doesn’t show through. if you can see stuffing between your stitches go down a hook size
different hook sizes will change how the fabric feels too. tighter stitches make it firmer and more structured, looser makes it softer and floppier. neither is wrong it’s just preference
trouble shooting common problems
if your pieces are twisting or spiraling as you crochet, you’re probably working into the wrong part of the stitch. you want to go under both loops of the V at the top of each stitch. just under the front loop or back loop will make it spiral
if you lose count of your stitches just count them again. it’s annoying but less annoying than getting to the end and realizing you’re off by 3 stitches and having to frog it back. frogging a frog, ha
if the legs keep falling off after you attach them, you didn’t sew them on secure enough. go around twice with the whip stitch and really pull it tight
if it looks wonky just embrace it. handmade stuff isn’t supposed to look perfect and honestly the wonky ones have more character. my long-legged frog looks kind of derpy but I like him better than if he was perfectly proportioned
variations you could try
tree frog version: use brighter green or even blue-green yarn, make the body smaller and the legs longer and thinner, add little suction cup type things on the feet with gray or white yarn
toad version: use brown or gray yarn, make the body wider and flatter, shorter legs, you could add bumpy texture by doing some popcorn stitches randomly on the back
poison dart frog: use really bright colors like yellow or red or blue, add black spots, make it tiny with thin yarn
you could also make a whole family of frogs in different sizes which sounds cute but also like a lot of work. I thought about it but then got distracted by wanting to make other stuff
the actual pattern written out properly
okay so if you want it in actual pattern format here it is, this is basically what I followed but I changed stuff as I went
Body:
- R1: 6 sc in magic ring
- R2: inc in each st (12)
- R3: sc, inc around (18)
- R4: sc 2, inc around (24)
- R5: sc 3, inc around (30)
- R6: sc 4, inc around (36)
- R7-14: sc around (36)
- R15: sc 4, dec around (30)
- R16: sc 3, dec around (24)
- R17: sc 2, dec around (18)
- stuff firmly
- R18: sc, dec around (12)
- R19: dec around (6)
- fasten off, weave in end
Head:
- R1: 6 sc in magic ring
- R2: inc in each st (12)
- R3: sc, inc around (18)
- R4: sc 2, inc around (24)
- R5: sc 3, inc around (30)
- R6-10: sc around (30)
- R11: sc 3, dec around (24)
- R12: sc 2, dec around (18)
- stuff
- R13: sc, dec around (12)
- R14: dec around (6)
- fasten off, leave long tail for sewing
Back Legs (make 2):
- R1: 6 sc in magic ring
- R2: inc in each st (12)
- R3-12: sc around (12)
- R13: dec around evenly to 9 st
- R14-22: sc around (9)
- stuff lightly, fasten off, leave tail for sewing
Front Legs (make 2):
- R1: 6 sc in magic ring
- R2: inc evenly to 9 st
- R3-10: sc around (9)
- stuff lightly, fasten off, leave tail
Eyes (make 2):
- with white: R1: 6 sc in magic ring
- R2: inc in each st (12)
- R3: sc, inc around (18)
- R4-5: sc around (18)
- fasten off
- with black: 6 sc in magic ring, fasten off, sew to white base
assembly is just sewing everything where it seems right. there’s no exact science to it
what yarn you actually need
for one frog you need maybe 100-150 yards of green yarn total. that’s like less than one skein of Red Heart Super Saver. you need tiny amounts of white and black for eyes, like 10 yards each maybe
I’ve also used Caron Simply Soft which is nice and soft but a bit more expensive. Bernat is fine too. honestly any worsted weight acrylic works, don’t overthink it
you’ll also need polyfil stuffing, like a handful. a whole bag costs like 5 bucks and lasts forever
yarn needle for sewing, scissors, stitch markers if you want them, that’s literally it for supplies
the whole thing takes maybe 3-4 hours if you’re going at a normal pace? less if you’re fast, more if you’re watching TV and getting distracted like I always do. it’s a good project for when you want to make something quick but don’t want to commit to like a whole blanket or whatever
