
May
Starting With the Magic Ring Thing
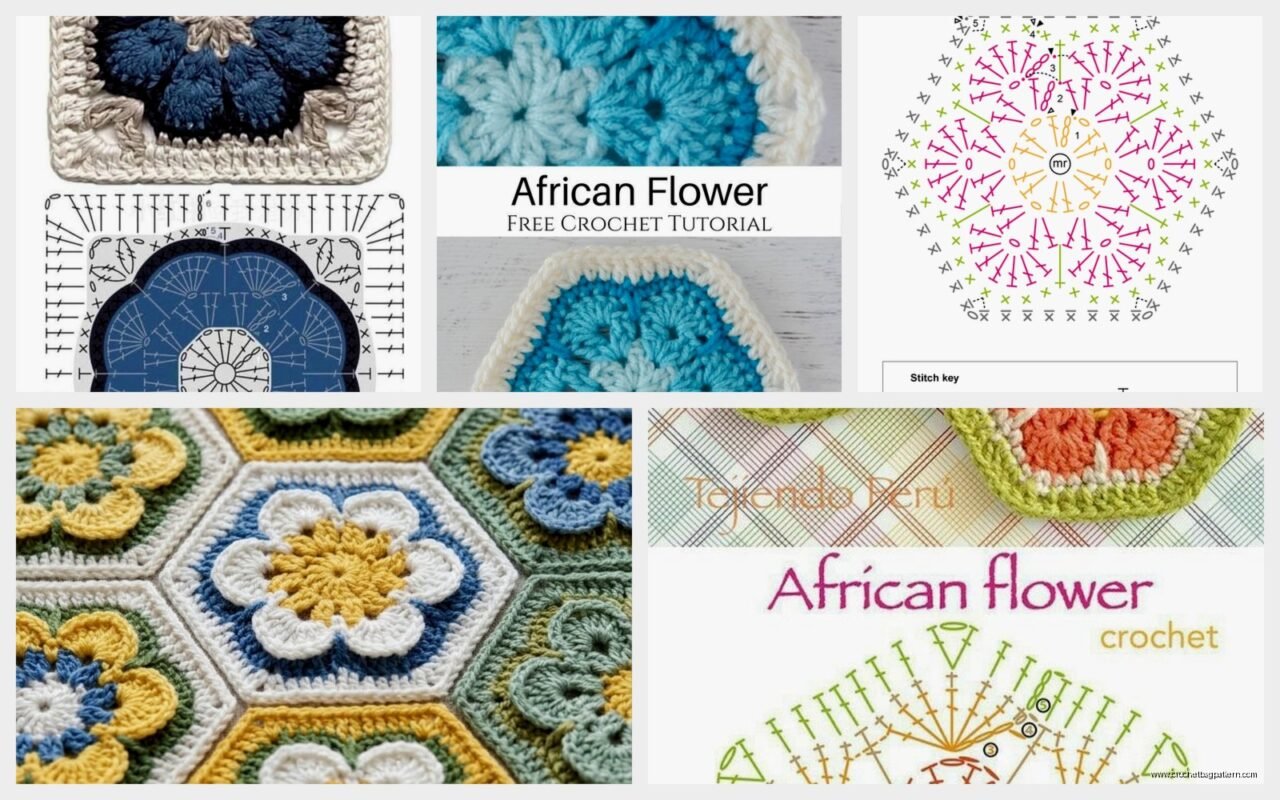
So the African flower hexagon starts with a magic ring which honestly I still mess up sometimes but whatever. You’re gonna pull up 3 chains to count as your first double crochet, then work 11 more double crochets into that ring. Pull it tight. That gives you 12 stitches total to work with.
I made my first real African flower project in spring 2022 when I was stuck at home with covid and binge-watching Severance. Needed something to do with my hands that wasn’t doomscrolling, and these hexagons seemed manageable even with brain fog.
The thing about this pattern is it builds in rounds and each round uses a different color usually. That’s what gives it that flower look. After your first round is done, you slip stitch to join and fasten off. Then you’re attaching new colors constantly which is… well I’ll get to that.
Round Two Gets Interesting
Attach your second color in any stitch. You’re making petals now basically. Chain 3, then work 2 double crochets in the same stitch. That’s your first petal cluster. Skip the next stitch, then slip stitch into the following stitch. This creates the space between petals.
Keep going around: chain 3, 2 double crochets in same stitch where you slip stitched, skip one, slip stitch. You’ll end up with 6 petals total. It should look like a flower shape at this point, which is pretty satisfying actually.
I used Red Heart Super Saver for my first batch because that’s what I had lying around. The colorway was called Aruba Sea or something tropical like that. Later I tried Caron Simply Soft which has a nicer drape but splits more easily if your hook is too sharp.
The Part That Actually Annoyed Me
Weaving in ends. Oh my god. Each hexagon uses like 4-6 colors depending on how many rounds you do, and that means 8-12 ends to weave in per hexagon. If you’re making a blanket you need like 100 hexagons or more and I just… the math on that is depressing. Some people weave as they go but I’m too lazy for that honestly.
I tried the Russian join method which helps reduce ends but it only works if you’re planning ahead with your color changes and I’m usually not. I just pick colors randomly based on what feels right in the moment.
Round Three Makes the Hexagon Shape
This is where it transitions from flower to hexagon. Attach your third color in the chain-3 space from any petal. You’re working into the spaces, not the stitches themselves.
Chain 3 (counts as first DC), work 2 more DC in that same space. Then chain 2 – this creates your first corner. In the next petal space, work 3 DC. Continue around: 3 DC in each petal space, but when you get back to where you started, you need to create the corner with chain 2 before joining.
Wait no, let me back up because I explained that wrong. You work (3 DC, chain 2, 3 DC) in each petal space for the corners. Between corners you’re working… actually this is where the pattern gets a bit weird because different versions do it differently.
The version I learned has you working 3 DC in the slip stitch spaces between the petals. So the pattern goes: corner (3 DC, ch 2, 3 DC) in petal space, then 3 DC in the slip stitch space, then next corner. That gives you 6 corners total for your hexagon.
Color Choices Matter More Than You Think
My cat kept attacking the yarn while I was working on these which made everything take twice as long. Had to lock her out of the room eventually.
Anyway, the color progression really changes how these look. I did some with dark centers and light outer rounds, some with bright rainbow progression, some monochromatic. The ones with high contrast between rounds show the flower pattern more clearly. Low contrast looks more subtle and geometric.
Lily Sugar’n Cream works great if you want cotton hexagons for like potholders or dishcloths. They get softer after washing. I made coasters once using that in spring 2023 and they’ve held up really well.
Adding More Rounds
Round four is basically the same as round three but bigger. Attach new color in any corner space. Chain 3, work 2 DC in same corner space, chain 2, then 3 DC again in that same corner. That’s your first corner done.
Along the sides between corners, you’re working 3 DC in each space from the previous round. So if you had 2 spaces between corners before, you still have 2 spaces but they’re bigger now. The hexagon is growing outward evenly.
You can keep adding rounds forever basically. Some people do like 8 or 10 rounds for a huge hexagon. I usually stop at 4 or 5 rounds because I get impatient and want to start a new one with different colors.
Gauge Doesn’t Really Matter Unless You’re Joining Them
If you’re making a blanket or bag where hexagons need to be the same size, then yeah, you gotta pay attention to gauge. Use the same hook size and similar yarn weight for all of them. I learned this the hard way when I made 20 hexagons with a 5mm hook and then switched to a 5.5mm hook and they were noticeably different sizes.
For reference I usually use a 4mm hook with worsted weight yarn, 5mm with chunky. The hexagons end up being about 4-5 inches across with 4 rounds at that gauge.
I tried making some with Bernat Blanket yarn once which is super bulky and they turned out enormous. Like 8 inches across. Would be good for a quick baby blanket or something but the detail of the flower pattern kind of gets lost when everything is so big.
Joining Hexagons Together
There are like a million methods for this. Whip stitch, slip stitch, single crochet, join-as-you-go. I hate all of them equally.
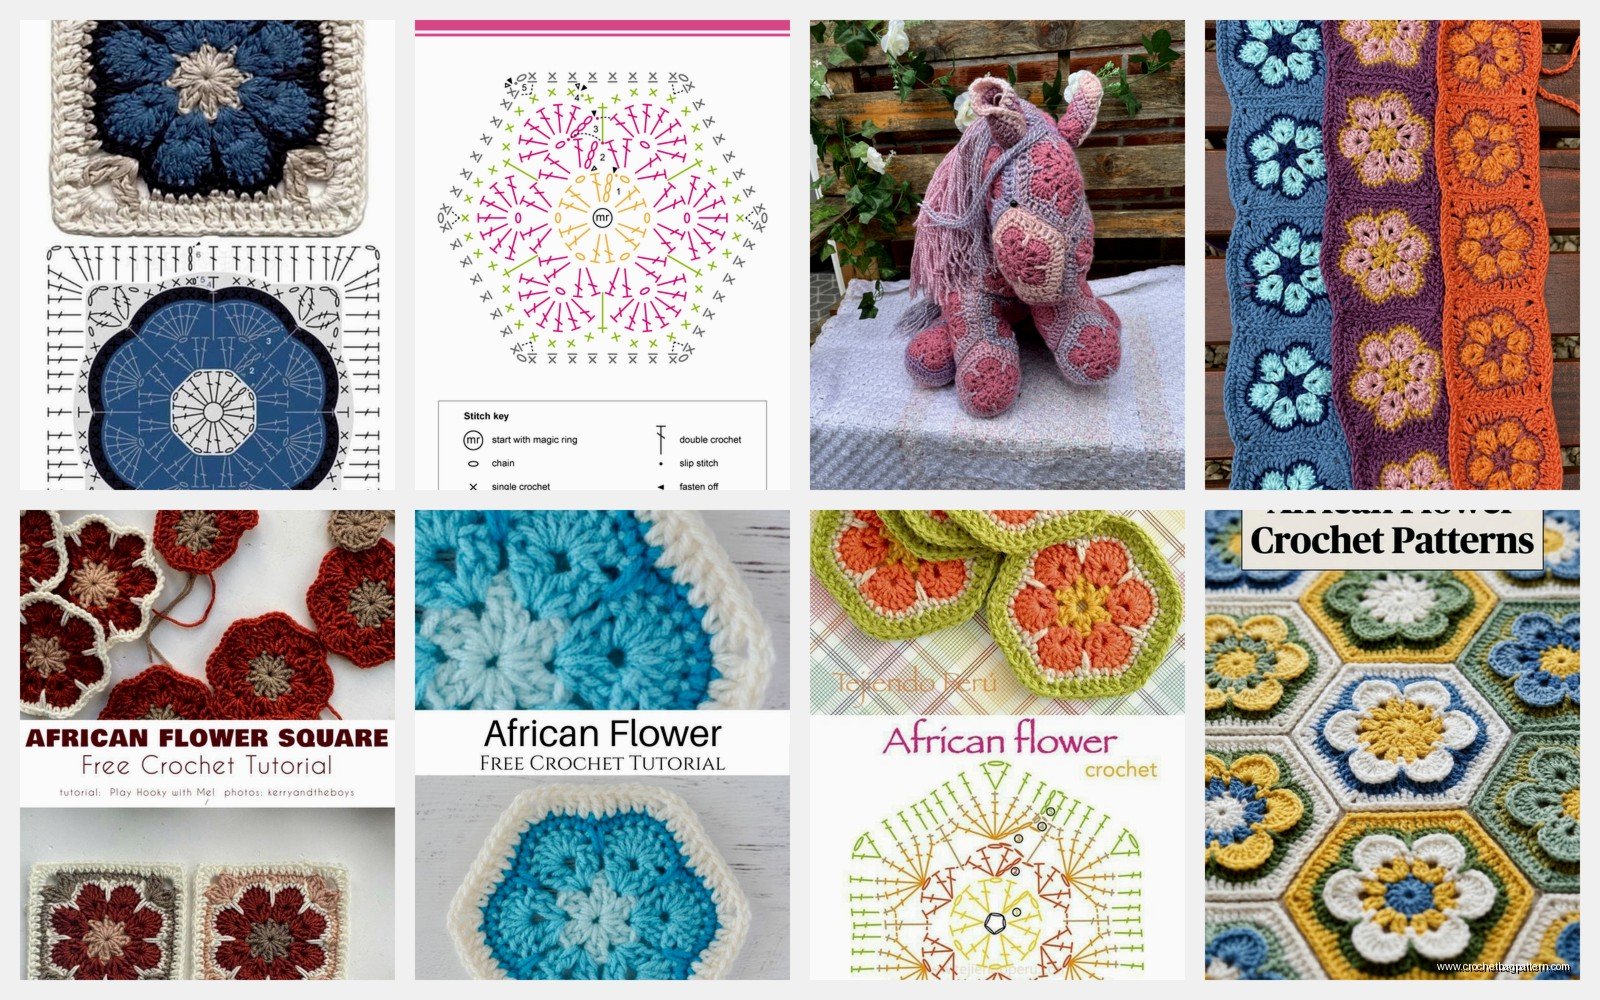
The join-as-you-go method is probably most efficient because you’re joining the last round of each hexagon to the previous ones as you complete them. But you have to plan your layout first and I’m terrible at planning. I usually just make a pile of hexagons and figure out the arrangement later.
For whip stitching I use a yarn needle and go through the back loops only of both hexagons. This creates a raised seam which some people like for texture. It’s pretty sturdy. Takes forever though.
Slip stitch joining is flatter but more visible. You’re basically crocheting them together from the right side. I hold two hexagons wrong sides together and slip stitch through both layers at once going around the edges where they meet.
The Actual Pattern Summary
Ok so to recap the basic pattern because I kind of scattered it around:
Round 1: Magic ring, ch 3, 11 DC in ring, join and fasten off
Round 2: Join new color, make 6 petals using (ch 3, 2 DC) in every other stitch with slip stitches between
Round 3: Join new color in petal space, work (3 DC, ch 2, 3 DC) in each petal space for corners, 3 DC between corners
Round 4+: Continue pattern of (3 DC, ch 2, 3 DC) in corners, 3 DC in each space along sides
That’s the basic structure. There are variations where people do treble crochets instead of double, or different stitch counts, but this is the standard version.
Yarn Weight Stuff
I’ve made these with everything from fingering weight to bulky. Fingering weight takes absolutely forever and your hands cramp up but they’re delicate and pretty. Good for a shawl maybe or… I don’t know, I only made like three before giving up on that idea.
DK weight is nice if you want something between worsted and fingering. Paintbox Yarns Cotton DK works great and comes in a ton of colors. The hexagons are smaller but not tediously small.
Worsted is the sweet spot I think. Big enough to work up reasonably fast, small enough to show detail. This is where Red Heart Super Saver, Caron Simply Soft, Knit Picks Brava all work well.
I tried acrylic, cotton, wool, and cotton blends. Acrylic is cheapest and most practical for blankets since you can throw them in the washing machine. Cotton is better for summer stuff or things that need to breathe. Wool is warmest obviously but also most expensive and requires hand washing usually.
What I Actually Made With These
That first batch in spring 2022 became a lap blanket. About 50 hexagons arranged in a weird organic shape instead of a rectangle because I didn’t make enough for a rectangle and didn’t feel like making more. I backed it with fleece fabric to hide all the messy wrong-side stuff and the weaving job I did which was not great.
Made a bag in summer 2024 using maybe 20 hexagons. Lined it with fabric and added handles. It’s holding up okay but the bottom is getting a little stretched out because I didn’t think about structure. Should’ve used a sturdier yarn or maybe added a cardboard insert or something.
Also made a cushion cover which was just hexagons joined into two flat pieces and seamed around three sides with a zipper on the fourth. That one actually turned out nice. Used Caron One Pound in various colors which is basically Super Saver but you get more yardage.
Troubleshooting Common Problems
If your hexagon is ruffling or not laying flat, you might be working too many stitches or your tension is too loose. Count your stitches carefully especially in the early rounds.
If it’s cupping or curling up, opposite problem – too few stitches or tension too tight. I tend toward tight tension so my first hexagons always curled until I learned to relax my grip on the yarn.
If your corners aren’t pointy enough, make sure you’re doing the full (3 DC, ch 2, 3 DC) in each corner space. That chain 2 is important for creating the angle.
If colors are showing through from previous rounds in a weird way, you might need to carry the yarn differently or use more opaque yarn. Light colors over dark colors can be tricky. Sometimes I double up on light colored rounds to hide what’s underneath.
Variations I’ve Seen
Some people do African flower pentagons for making balls or spheres. Same concept but with 5 petals instead of 6. You can join 12 pentagons into a soccer ball shape which is kind of cool.
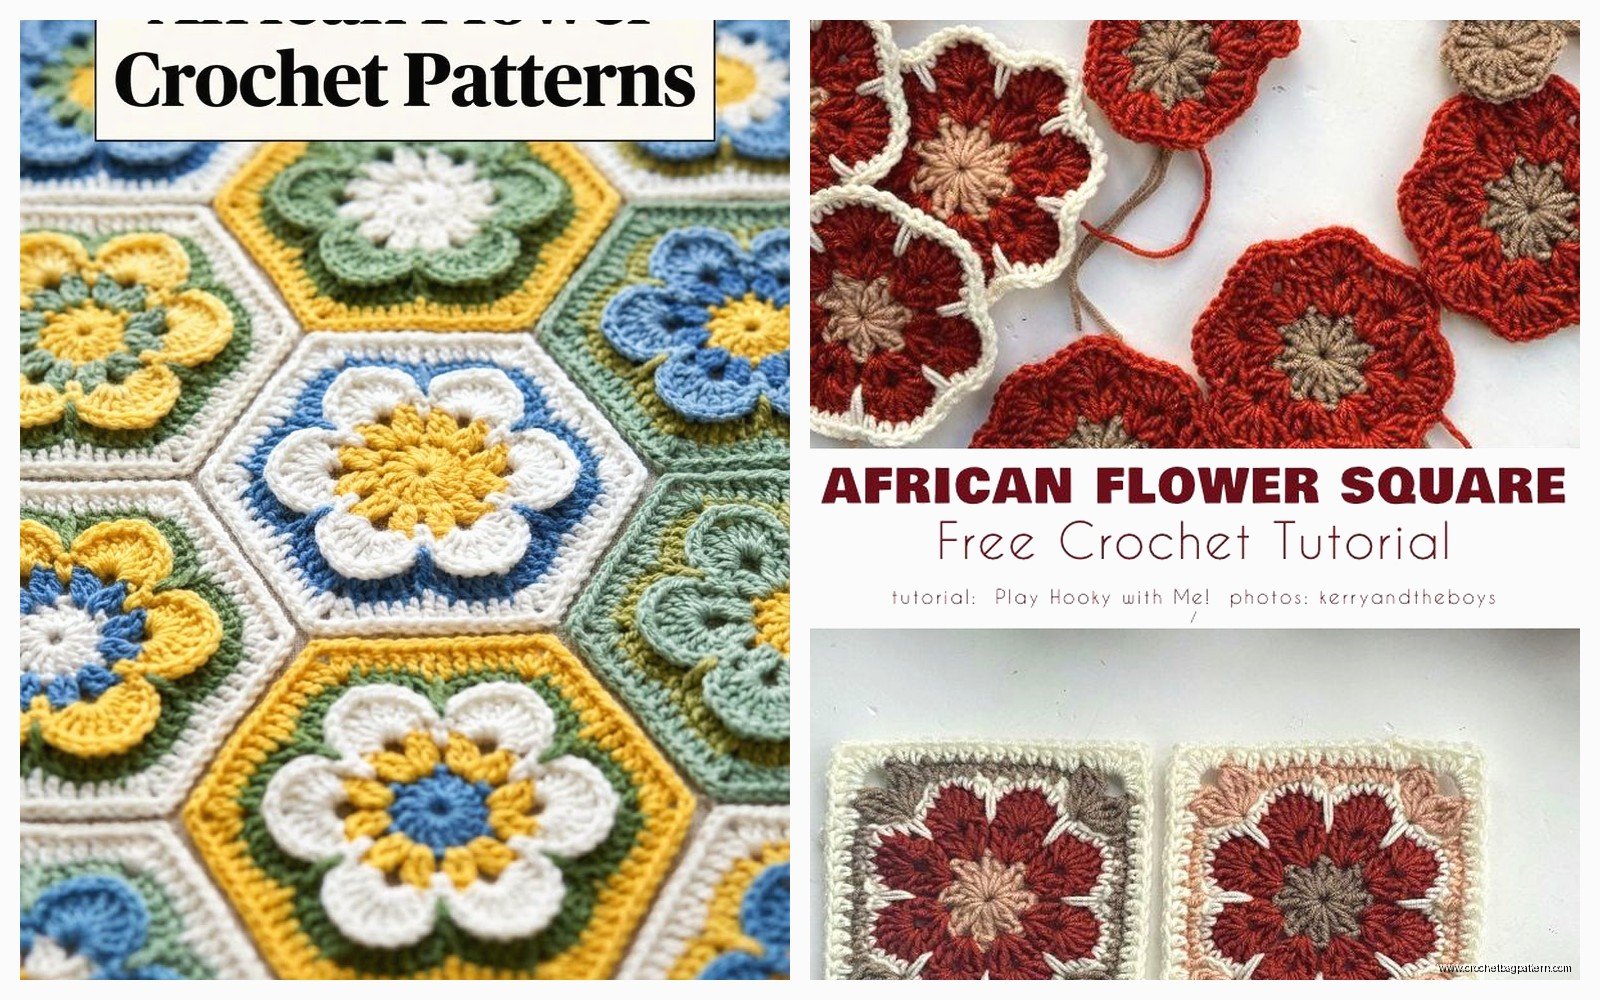
There’s also African flower squares where you’re building the flower pattern but into a square shape instead of hexagon. Uses the same petal technique for round 2 but then you make 4 corners instead of 6.
Solid colored versions where you use the same color throughout look more geometric and modern. The flower pattern is less obvious but you get this interesting texture from all the clusters.
I saw someone doing them in variegated yarn once and it looked… fine I guess? The color changes were random instead of controlled which gave a different vibe. Not my preference but could work for certain projects.
Final Random Tips
Keep your beginning yarn tail long enough to weave in easily but not so long it gets tangled. About 6 inches works for me.
If you’re doing a lot of color changes, organize your yarn before you start. I use a shoe organizer hanging on the back of my door with different colors in each pocket. Saves time searching for the color you want.
The wrong side of these hexagons is messy no matter what you do. Either embrace it, back your project with fabric, or make sure the wrong side faces inward if you’re making something like a bag.
You don’t have to follow a strict color pattern. Some of my favorite hexagons happened when I just grabbed random colors without overthinking it. Trust your instincts or whatever.
Blocking helps if your hexagons are wonky. Pin them out to shape while damp and let dry. Makes a bigger difference than you’d think especially with natural fibers.
If you mess up a round, it’s usually easier to just rip it out and redo it than try to fix it in place. I know that’s annoying but trying to fix mistakes in the round usually makes things worse.
