
Jun
Getting Started With Your Capybara
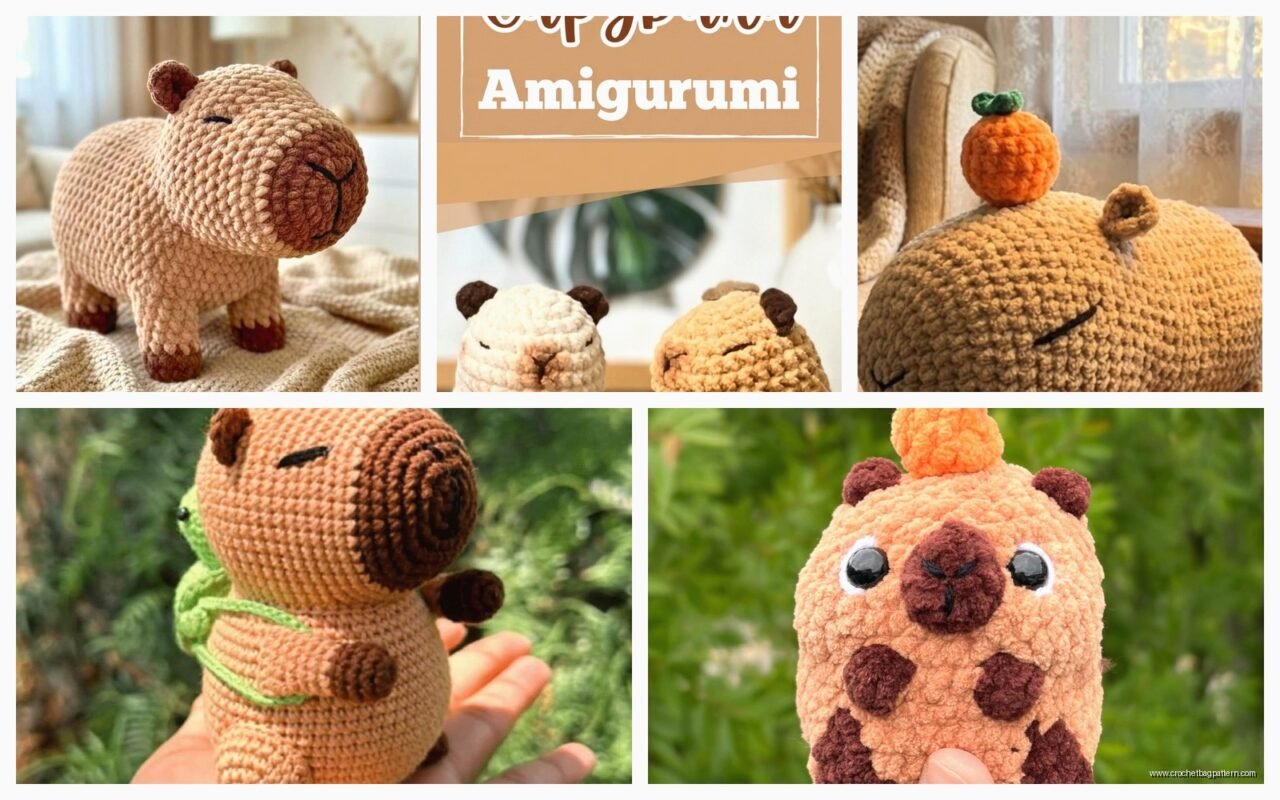
So the main thing with making a capybara is that you’re basically creating an oval body with stubby legs and a kinda flat rectangular face. I made my first one in spring 2022 when I was binge-watching The Office for like the third time and honestly the repetitive stitching was perfect for that.
You’re gonna need a decent amount of brown yarn. I used Red Heart Super Saver in Cafe Latte which worked pretty well because capybaras are that specific brown-tan color that’s hard to describe. Some people use Bernat Blanket yarn if they want it really chunky and huggable but honestly that gets expensive fast and the definition on your stitches kinda disappears. For a medium-sized capybara like maybe 10-12 inches long you’ll need probably 2-3 skeins depending on how tight you crochet.
The Body Shape Thing
Start with a magic ring and work in continuous rounds. The body is basically a cylinder that’s fatter in the middle. You’ll increase for the first maybe 8-10 rounds until you get to the widest part of the body then work even for a while then decrease. I usually do:
- Round 1: 6 sc in magic ring
- Round 2: inc in each stitch (12)
- Round 3: sc, inc around (18)
- Round 4: 2 sc, inc around (24)
- Keep going with this pattern until you hit like 60-72 stitches depending on how chonky you want it
The thing that really annoyed me about making capybaras is that the proportions are SO specific. Like if the legs are too long it looks like a weird dog, too short and it’s just a potato with feet. You gotta get that low-slung belly look where they’re basically rectangular from the side.
Those Stubby Little Legs
The legs are probably the easiest part honestly. Make four identical cylinders. I usually do about 12 stitches around and maybe 8-10 rounds tall. You want them thick enough to support the body weight without flopping over but capybaras don’t have delicate deer legs or whatever they’re chunky all the way down.
Stuff them firmly like REALLY firmly especially at the bottom where they’ll be bearing weight. I use polyfil but you could use wool roving or whatever. My cat kept trying to steal the stuffing while I was working which was… a whole situation.
Attach the legs to the body before you close up the body completely. Some people sew them on after but I find that if you position them while you can still get your hand inside the body you can reinforce the attachment points better. The back legs go pretty much straight under the back end and the front legs are more forward obviously but not like right at the front edge.
The Head Is Where It Gets Tricky
Okay so capybara heads are weird shaped. They’re not round like most amigurumi animals. It’s more like a rounded rectangle from above and the snout part is pretty flat and wide. This is where people mess up the most because we’re all trained to make cute round heads for teddy bears and bunnies.
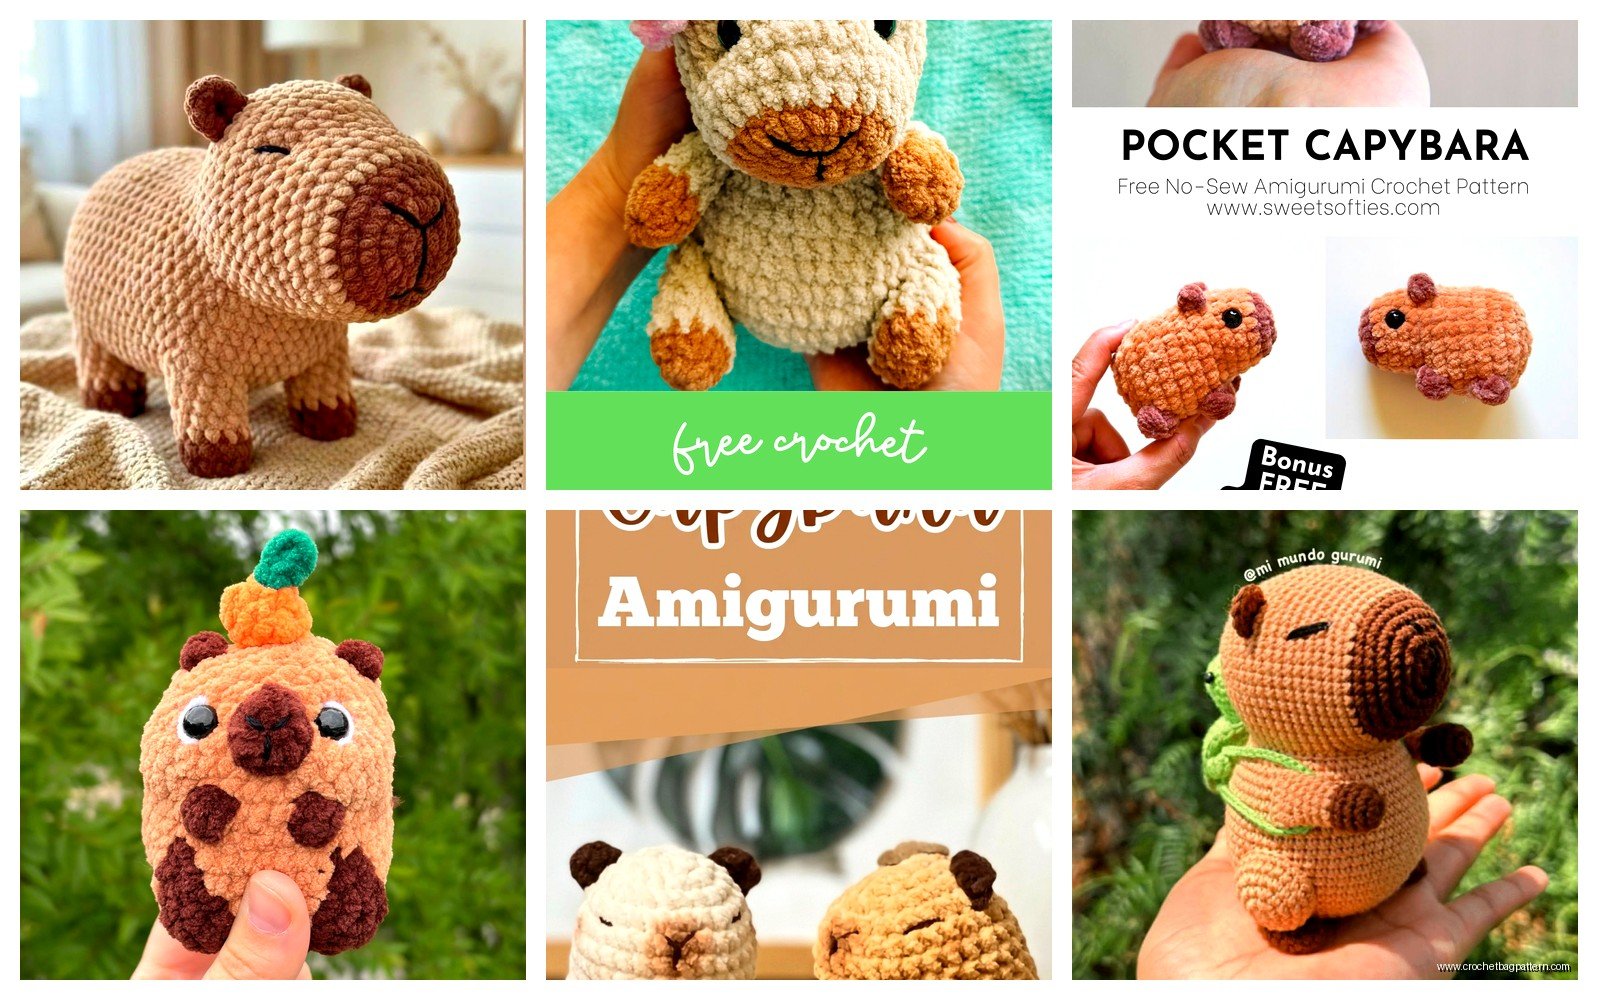
I make the head in two parts sometimes or like one piece but with increases that aren’t evenly distributed. You want more width than height. Start with the same magic ring technique but when you’re increasing focus on adding stitches to the sides more than the top and bottom if that makes sense.
The snout needs to be flat. I usually crochet a separate small rectangular piece and sew it onto the front of the head. Make it maybe 8 stitches wide and 6 rows tall. Stuff it lightly so it’s got some dimension but isn’t poofy.
Ears That Actually Look Right
Capybara ears are small and oval and sit on top of the head pretty far back. They’re not on the sides like mouse ears. Make two small ovals – I chain like 4, then sc around the chain working 3 sc into each end stitch so you get that oval shape, then do one or two more rounds of sc around.
Don’t stuff the ears. Just sew them flat onto the top of the head. Position them far enough back that there’s a good amount of forehead showing. If you put them too far forward it starts looking like a beaver or something.
Face Details Because This Makes Or Breaks It
For eyes I used 12mm black safety eyes. You could go bigger like 15mm but I think that gets into cartoon territory. Position them on the sides of the head more than the front because capybaras have that prey animal eye placement. They should be pretty far apart and slightly toward the top of the head.
The nose is just embroidery. Use black yarn and make like an upside down triangle shape or even just a little oval. Keep it small. Capybara noses aren’t huge.
Some people add a mouth line but I usually skip it because it either looks grumpy or weird. The charm of capybaras is that they look chill and unbothered so a neutral expression works better than trying to make them smile.
Assembly Is Actually Important
Once you’ve got all your pieces you need to think about how they go together. The head attaches to the front of the body but not like straight up and down – angle it slightly upward so the capybara looks like it’s holding its head up normally not staring at the ground.
I use the same yarn I crocheted with for seaming because it blends in better than thread. Whip stitch is fine for most seams but for the legs I do a ladder stitch because it’s stronger and you really don’t want a leg falling off.
Before you close everything up make sure you’ve stuffed it enough. Capybaras should feel solid and heavy-ish for their size not squishy and floppy. Add more stuffing than you think you need especially in the body.
Optional Details That People Always Ask About
Okay so if you want to get fancy you can add little toes. I make tiny rounds of 4-6 sc and sew three or four of them to the bottom front of each foot. It’s cute but also tedious and honestly from most angles you can’t even see them so like… your choice.
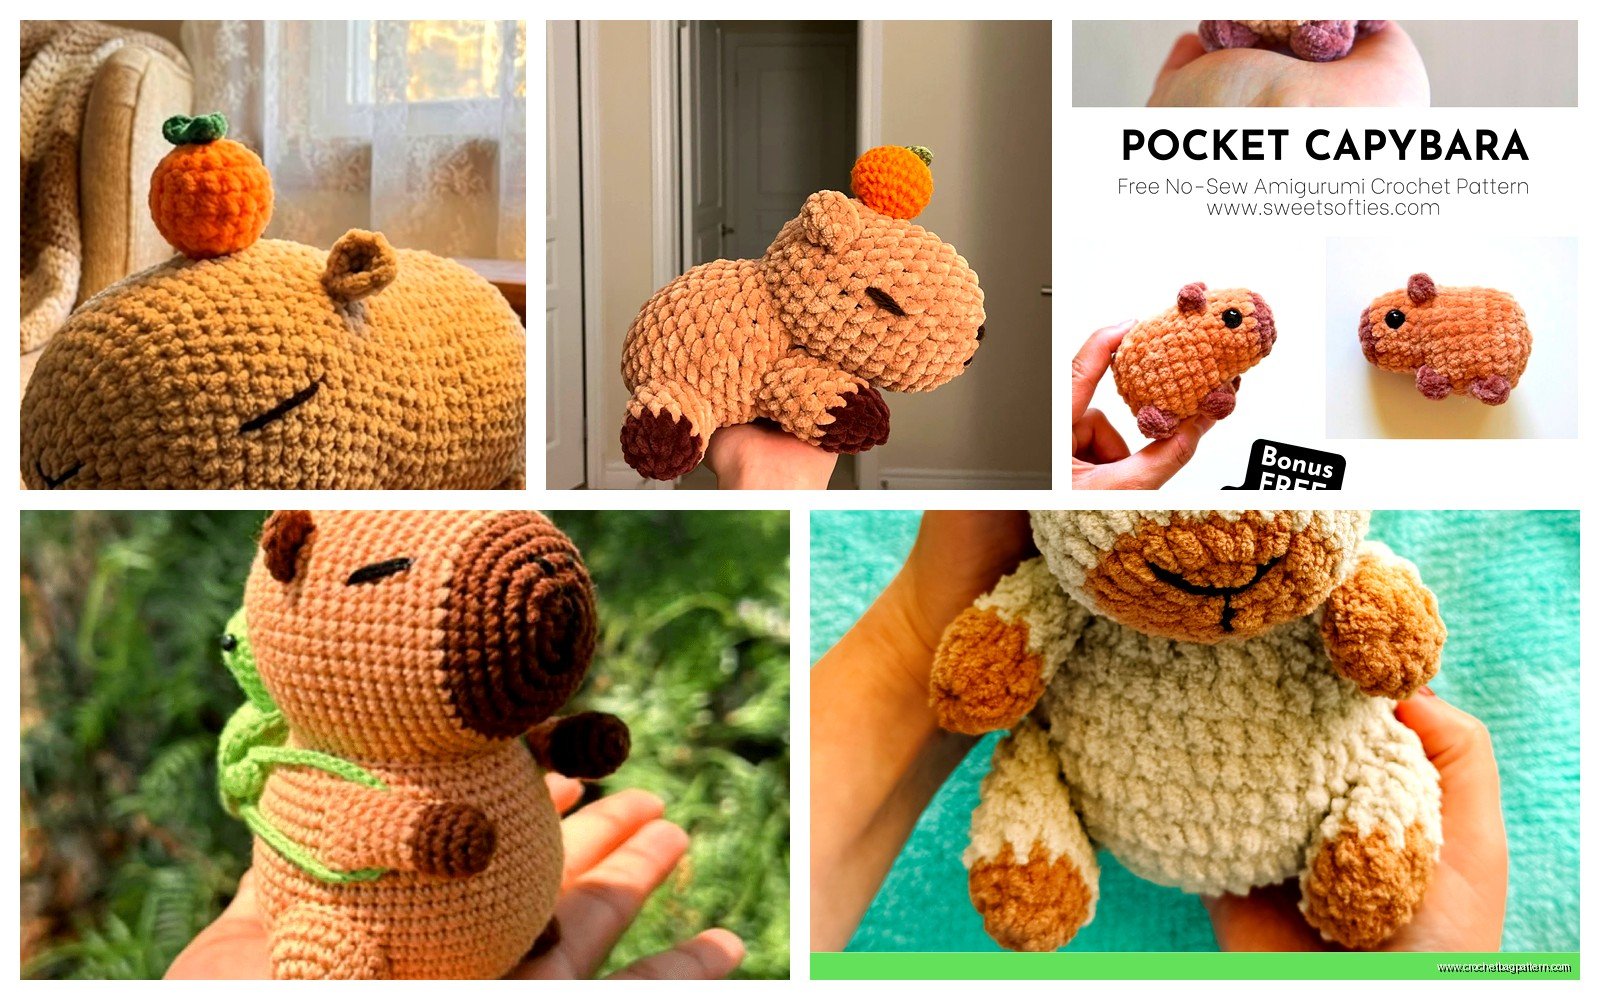
Some people crochet little orange slices or tiny birds to put on the capybara’s head because there’s that whole thing about how birds sit on them in real life. I made an orange slice once using Lily Sugar’n Cream in orange and white and it was adorable but also if you’re making this as a gift people might not get the reference.
You could also make it slightly wet-looking by using a fuzzy yarn or brushing out the finished piece with a pet brush but that gets into territory where you’re spending way too much time on details.
Size Adjustments
If you want a bigger or smaller capybara just adjust your hook size and yarn weight together. I’ve made them with worsted weight and a 4mm hook for like a palm-sized version and also with chunky yarn and an 8mm hook for a massive one that was nearly two feet long.
The proportions stay basically the same regardless of size. Body should be about twice as long as it is tall. Legs should be maybe one-third the height of the body. Head is roughly the same width as the body at its widest point but shorter.
Yarn Choices Matter More Than You’d Think
I mentioned Red Heart Super Saver already but Lion Brand Vanna’s Choice in Taupe also works really well for the main color. The problem with capybaras is finding that perfect brownish-tan that’s not too yellow and not too gray.
Avoid anything too fuzzy for your first one because you need to be able to see your stitches clearly. Homespun or other eyelash yarns will make you want to quit halfway through trust me.
For the nose and eyes if you’re embroidering instead of using safety eyes just use whatever black you have. I’ve used Red Heart black, Caron Simply Soft black, even some random acrylic from the craft store clearance bin.
Common Problems I’ve Seen
The biggest issue people have is making the body too round instead of elongated. You want it to look like a barrel laying on its side not a ball. If you’re working in continuous rounds and it’s getting too round just work some rounds without any increases to add length.
Another thing is neck problems – like where the head connects to the body sometimes there’s this weird gap or it looks too thin. Make sure when you’re attaching the head you’re sewing it securely around the entire circumference and maybe add some extra stuffing right in that connection area.
Legs falling off is usually because people don’t reinforce the attachment enough. I go around each leg connection at least twice with the sewing yarn and I pull it tight enough that it dimples the body slightly.
How Long This Actually Takes
A medium capybara probably takes me like 6-8 hours total? That’s spread over a few days usually because I can’t sit and crochet for eight hours straight without my hands cramping up. The body goes pretty fast because it’s just rounds and rounds of sc. The annoying parts are making four identical legs and doing all the assembly.
If you’re newer to amigurumi it might take longer especially the shaping parts. Don’t stress about it taking multiple sessions or even weeks if you’re only crafting here and there.
Pattern vs. Winging It
I’ve never actually followed a written capybara pattern all the way through. I kind of just understand the general shape and make it work. But if you want an actual written pattern there are some on Etsy and Ravelry. The free ones on Pinterest are hit or miss – some are great and some will give you something that looks more like a guinea pig or a weird dog.
The thing with amigurumi is once you understand how increasing and decreasing creates shapes you can pretty much make anything by looking at reference photos and figuring out what shapes you need. Capybaras are basically ovals and cylinders so they’re actually not that complex.
Finishing Touches
Once it’s all assembled weave in your ends properly because nothing’s sadder than a handmade thing that’s coming apart at the seams after a few weeks. I use a yarn needle and weave through the stuffing in multiple directions before cutting the yarn tail.
Some people like to give their capybaras a little brush to make them fluffy but I usually leave mine smooth. The texture of the single crochet stitches gives it enough visual interest without adding fuzz.
You can also position the legs in different ways before you sew them on – like all four sprawled out for a lounging capybara or tucked under for a sitting one. The sitting position is actually easier because you don’t have to worry as much about balance and it’ll stand up on its own better.
Anyway that’s basically everything I’ve figured out about making these things. They’re pretty forgiving as amigurumi projects go and people always think they’re hilarious so like good gift option or whatever.
