
Jun
Getting Started With The Tiger Shape
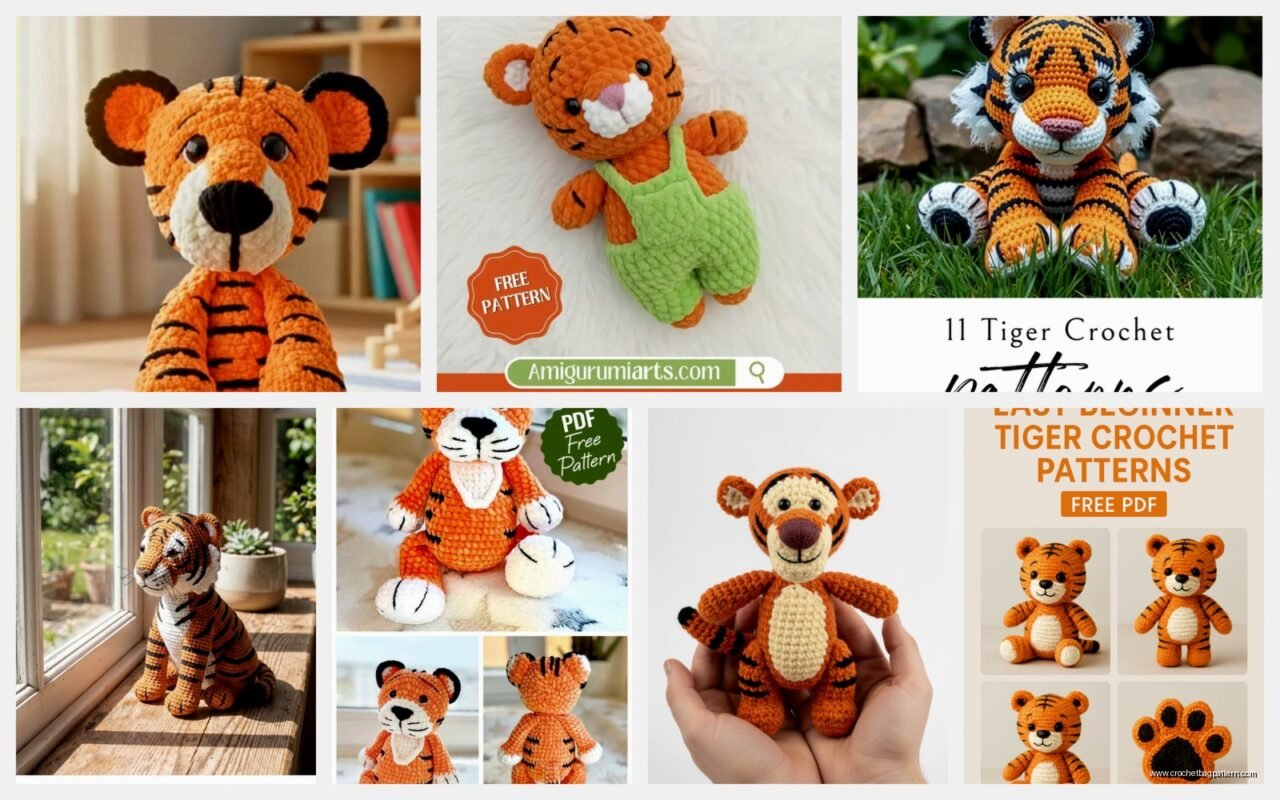
So you want to make a crochet tiger and honestly it’s not as scary as it looks but you gotta be ready for all the orange. Like so much orange. I made my first one in summer 2022 when I was house-sitting for my sister and her cat kept trying to sit on my yarn which was super annoying, but anyway the basic shape is just a bigger version of most amigurumi patterns you’ve probably seen.
Start with the head. You’re gonna want a 3.5mm or 4mm hook depending on how tight you crochet. I used Red Heart Super Saver in Carrot back then because it was cheap and I wasn’t sure if this would even work out. Make a magic ring with 6 single crochets, then do the normal increase rounds. Round 2 is 12 stitches, round 3 is 18, keep going until you hit like 54 or 60 stitches depending on how big you want the head.
The thing that really annoyed me was stuffing the head evenly because tiger heads need to look kind of powerful and majestic but if you stuff it wrong it just looks lumpy and sad. Work in rounds without joining if you can keep track of your stitches, or use a stitch marker. I always lose my stitch markers though so I just use a piece of different colored yarn.
The Body Is Pretty Straightforward
For the body you’re basically making a bigger oval shape. Start the same way with a magic ring, increase up to maybe 48 stitches or so, then work even for like 15-20 rounds depending on if you want a chonky tiger or a sleeker one. I made mine pretty round because it felt more cuddly even though real tigers are obviously muscular and lean.
Decrease gradually at the bottom. The body should be bigger than the head but not like ridiculously bigger. You want it proportional or it’ll look weird when you attach everything. I used Bernat Super Value in Pumpkin for one tiger I made in spring 2024 and the color was actually better than the Red Heart, less neon looking.
Legs and Paws Are Repetitive But Important
Make four legs obviously. Each leg starts with the paw which should be in cream or off-white. Lily Sugar’n Cream in Ecru works if you want cotton, or just use any cheap white/cream acrylic. Do a magic ring with 6 sc, increase to 12, then maybe one more round to 18 stitches for the paw pad.
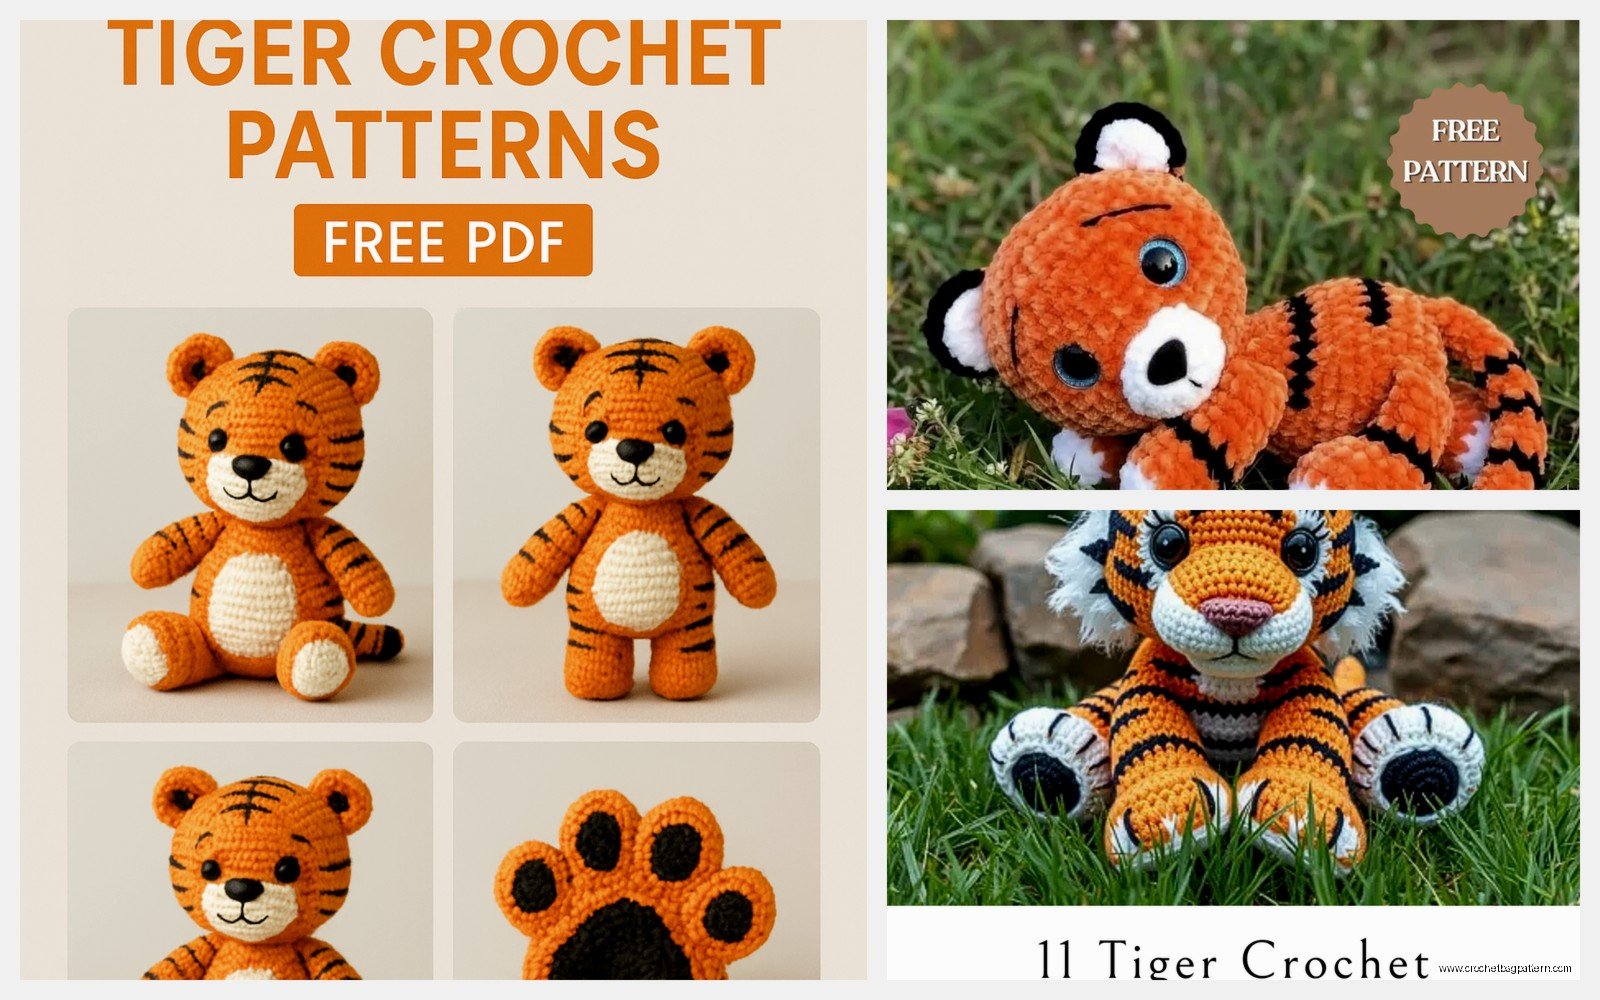
Work even for 2 rounds on those 18 stitches, then switch to your orange and decrease back down to like 12 or 14 stitches for the leg. This creates that little paw shape. Then just work even in orange for however long you want the legs. I made mine about 12 rounds long but you could go shorter or longer.
Stuff as you go. This is important because if you wait until the end you’ll never get the stuffing down into those paws properly and they’ll be all floppy. The back legs can be the same as front legs or you can make them slightly thicker if you want to get fancy. I usually just make them all the same because who’s gonna notice honestly.
The Tail Needs Weight
Tigers have those thick powerful tails with the black tip. Start with black yarn, make a magic ring with 6 sc, increase to 12, work even for like 4 rounds. Switch to orange and increase gradually up to maybe 18 or 20 stitches, then work even for a long tail. Like 25-30 rounds maybe? I always made mine too short the first time.
The tail needs good stuffing or it’ll just droop sadly off the back of your tiger. I learned this the hard way. Pack that stuffing in there firmly but not so hard that it gets lumpy or the stitches start pulling apart.
Ears Are Quick At Least
Make two triangular ears with orange. There’s different ways to do this but I just chain 2, then work increases and decreases to make a triangle shape. Or you can do a flat circle and fold it. Whatever works. Make them proportional to the head size, don’t make them tiny or huge.
Some people add pink or black inside the ears but I usually skip that step because I’m lazy and also it doesn’t show that much once they’re attached. If you want to add inner ears, just make smaller triangles in pink and sew them on before attaching the whole ear to the head.
Face Details Make Or Break It
Okay so this is where it gets tricky. You need safety eyes, like 15mm or 18mm depending on your tiger size. Put them in before you finish stuffing and closing up the head. Position them kind of far apart and slightly angled, not straight forward like a person.
The muzzle is… well I always struggled with this part. You can make it as a separate piece with cream yarn and sew it on, or you can embroider it directly onto the face. I tried both ways and honestly the separate piece looks better but it’s more work. For a separate muzzle, make an oval shape by chaining like 6, then working around the chain in a spiral, increasing on the ends. Work even for a few rounds to give it some dimension.
Stuff the muzzle lightly before sewing it onto the face. Position it below and between the eyes. The nose goes on top of the muzzle and you can use black yarn to embroider a triangle shape, then add a line down and a mouth if you want. I was watching this true crime documentary while doing the face details on my summer 2022 tiger and I kept messing up the mouth because I wasn’t paying attention.
Stripes Are The Most Time-Consuming Part
Here’s the thing nobody tells you about tiger stripes: they take forever and they’re annoying to figure out. You can either crochet them in as you go by switching colors, or you can embroider them on at the end. I’ve done both and embroidering is actually easier even though it sounds harder.
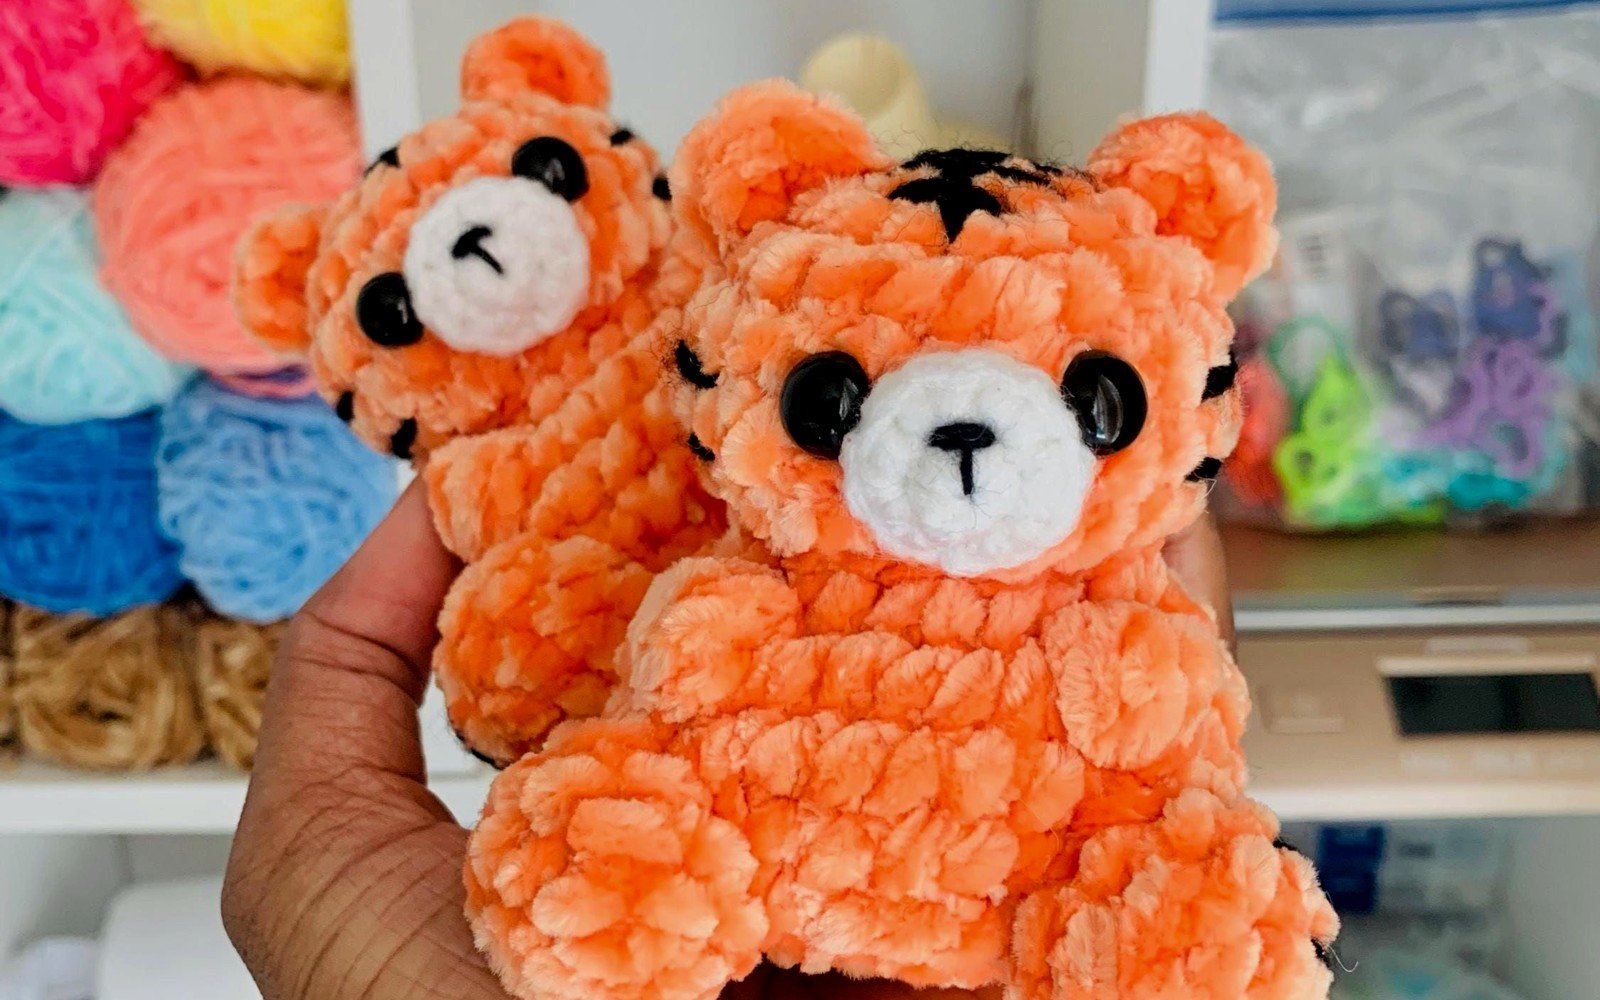
Use black yarn and a yarn needle. Look at reference photos of real tigers because the stripe pattern matters for it to actually look like a tiger and not just a orange blob with random lines. Tigers have these broken stripes that go around their bodies, not straight across. The head has stripes radiating from like the center, kind of.
Start with the body stripes. Make them go around the sides, not across the belly. The belly should stay mostly plain orange or cream. I usually do like 6-8 stripes on the body, varying the lengths and thicknesses. Some can be thick, some thin. Don’t make them all the same or it looks too uniform and fake.
For the head, do stripes on the forehead going back toward the ears. Add some on the cheeks going down from the eyes. The back of the head can have stripes too. Reference photos are your friend here because I can’t really explain the exact pattern, it’s more of a… you know when you see it thing.
Legs get horizontal-ish stripes wrapping around, maybe 3-4 per leg. The tail gets those black rings, maybe 4-5 of them getting closer together toward the tip since the tip is already black.
Assembly Time
Pin everything in place before you start sewing if you’re smart, which I never am so I always end up with wonky leg placement. The head attaches to the body at a slight angle, not straight up. Tigers kind of have their heads forward and down a bit.
Sew the legs on with the front legs more forward under the chest area, back legs further back obviously. Make sure they’re even on both sides unless you want a lopsided tiger. The tail goes on the back end, angled slightly up or straight back, not pointing down.
Ears go on top of the head angled slightly out to the sides. Sew them on firmly because they can pop off if a kid plays with this thing roughly.
Use the same color yarn as whatever you’re attaching for sewing, so orange yarn for most of it. Whip stitch or ladder stitch works fine. I use whip stitch because it’s faster and I don’t have the patience for ladder stitch even though it’s supposedly invisible.
Yarn Amounts And Colors You’ll Need
For a medium-sized tiger (maybe 12-14 inches long) you’ll need probably 2 skeins of orange, 1 skein of cream or white, and 1 skein of black. Maybe less black, you might only use like a third of a skein for the stripes and tail tip and nose.
I’ve used Caron Simply Soft in Pumpkin and it worked great, softer than the Red Heart. Lion Brand Vanna’s Choice in Mustard is another option but it’s more yellow-orange. For the cream I’ve used Red Heart in Aran which is like an off-white that looks good against orange.
Black is just any black, doesn’t really matter. Red Heart, Caron, whatever’s cheap. You’re not using that much of it.
Sizing And Hook Stuff
If you want a bigger tiger, use bulky weight yarn with a 5mm or 6mm hook. For a smaller one, use sport weight with a 3mm hook. The pattern stays basically the same, just adjust your stitch counts proportionally. Like if you’re going bigger, maybe the head goes up to 72 stitches instead of 60.
Keep your tension tight for amigurumi so the stuffing doesn’t show through. If you crochet loose naturally, go down a hook size or two. The fabric should be pretty dense.
Optional Details That Add Character
You can add whiskers with black embroidery thread or fishing line. Poke them through the muzzle and secure with a knot on the inside before you stuff it. I usually skip this because they get bent or pulled out anyway.
Some people add toe beans to the paws with pink or black yarn, just little circles embroidered on the bottom of each paw. It’s cute but you only see it if you flip the tiger over so like… up to you if you wanna spend the time.
Claws can be embroidered on the paws too, just little white or cream stitches at the front of each paw. Again, optional and kinda fiddly.
If you want to make it a cartoon-style tiger instead of realistic, you can add a big smile embroidered in black, make the eyes bigger and rounder, maybe add eyebrows. The stripes can be simpler and more stylized too.
Common Problems I’ve Run Into
The head being too heavy and flopping forward – this means you need more stuffing in the neck area and a stronger attachment to the body. Or make the head smaller.
Lumpy stuffing showing through – your tension is too loose, go down a hook size or crochet tighter.
Stripes looking messy – use a smaller yarn needle and try to follow the rows of stitches instead of going diagonally through the fabric. Also don’t pull too tight or the fabric will pucker.
Legs splaying out weird – you attached them at the wrong angle or too far apart. They should be kind of under the body, not sticking straight out to the sides.
The whole thing looking more like a orange cat than a tiger – you need those stripes and the face shape matters. Tiger faces are broader than cat faces, muzzle is wider.
This pattern isn’t like official or anything, it’s just how I figured out to make tigers that look decent. You can adjust pretty much anything to suit what you want. Make it striped differently, change the colors for a white tiger or whatever, make it bigger or smaller. The basic construction works for lots of big cats actually – you could do a lion by adding a mane, or a leopard with spots instead of stripes.
Just start with the head and see how it goes, you can always frog it if it’s not working out the way you want.
