
Jun
okay so wolf amigurumi patterns
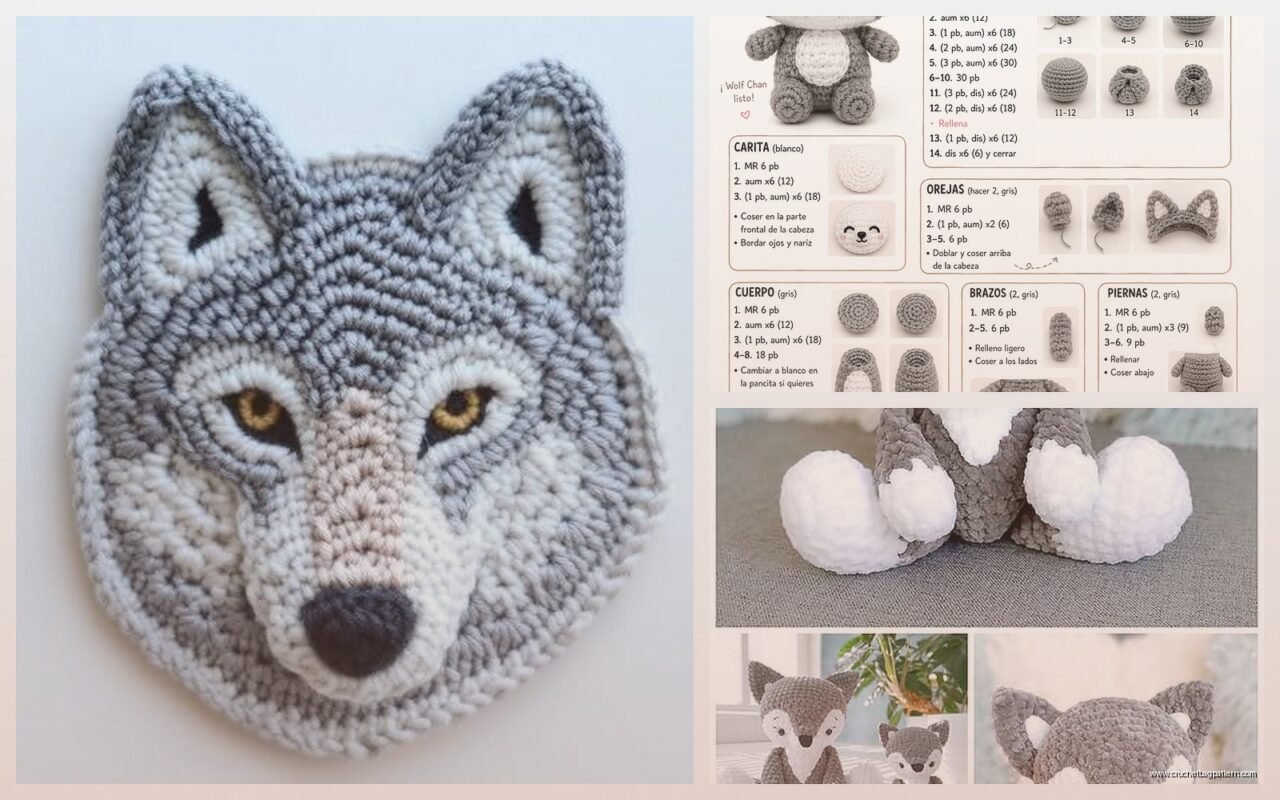
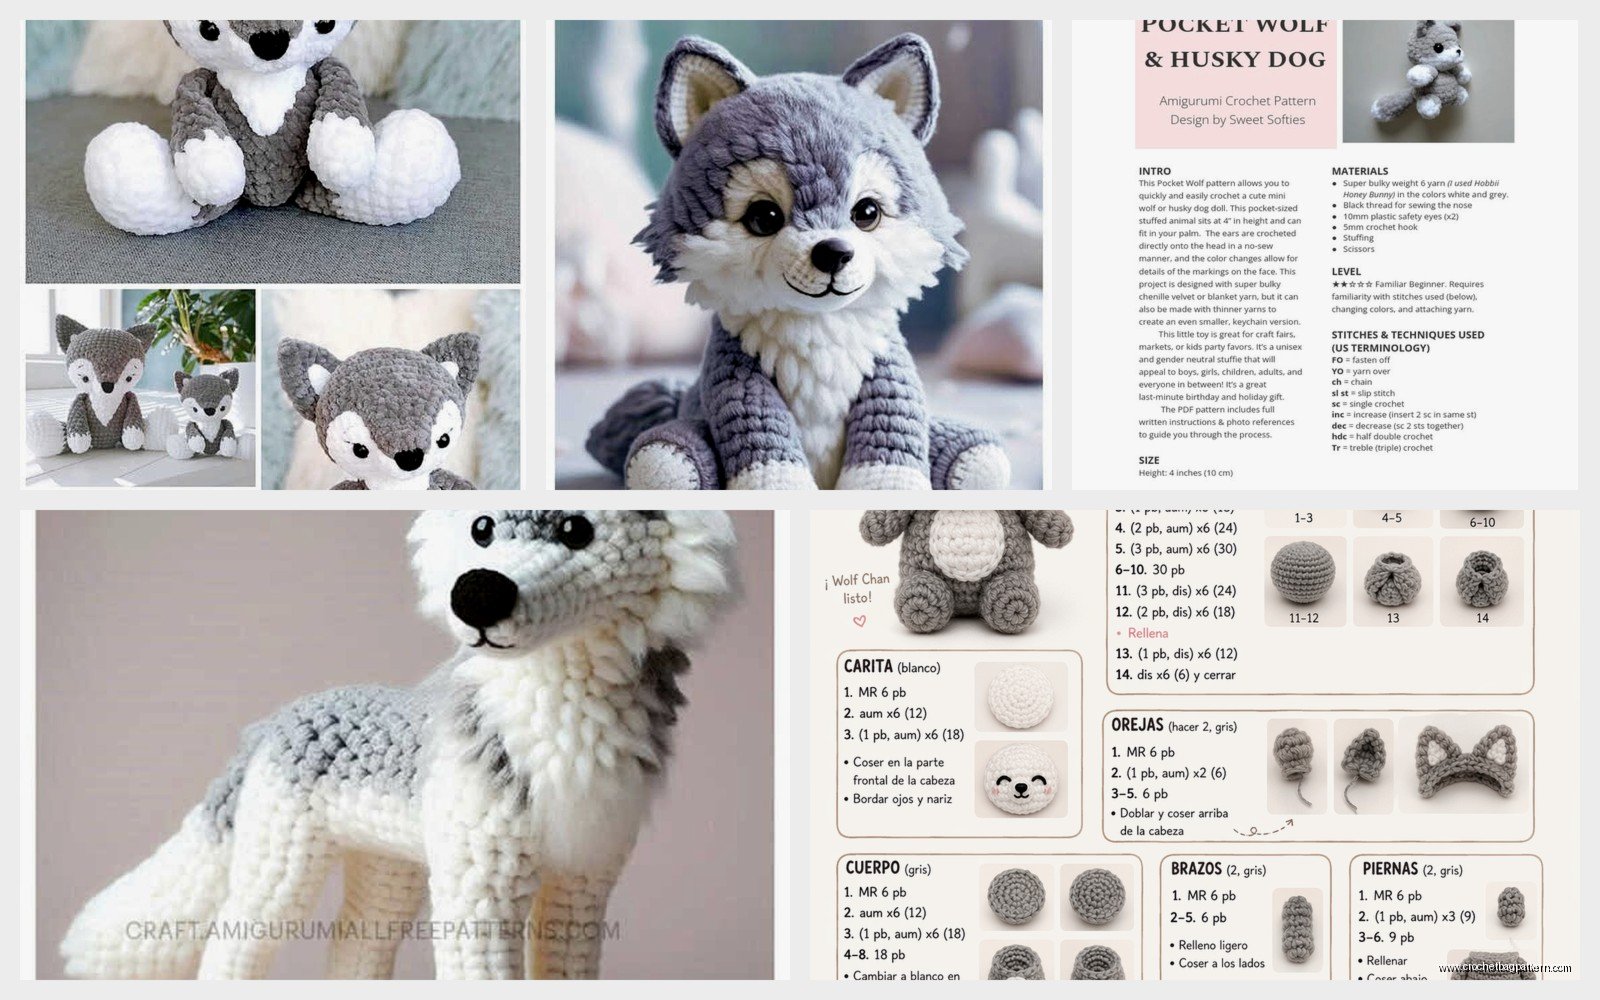
Right so I made this wolf back in spring 2022 when I was binge-watching some crime documentary series and honestly the whole thing took way longer than I expected but it turned out pretty decent. The main thing with wolf patterns is they’re basically just dogs but you gotta make the snout more angular and the ears need to be pointier than like a regular stuffed dog pattern.
Start with the head obviously. You’re gonna do a magic ring with 6 single crochets. I used Lion Brand Wool-Ease in like this grey heather color because it actually looks furry without being that annoying fuzzy yarn that splits every two seconds. Then you increase every round until you get to about 42 stitches around, maybe 48 if you want a bigger head. The pattern I loosely followed said 36 but that looked too small when I tested it.
For rounds you do:
- Round 1: 6 sc in magic ring
- Round 2: inc in each stitch (12)
- Round 3: sc, inc around (18)
- Round 4: 2 sc, inc around (24)
- Round 5: 3 sc, inc around (30)
Keep going with that pattern until you hit your number. Then you work even for like 8-10 rounds depending on how long you want the head to be front to back.
the snout part that was annoying
Okay so the snout. This is what makes it actually look like a wolf and not just some random grey blob. You make a separate piece and sew it on. Start with a magic ring again but only do like 4 sc this time. Then increase more gradually than the head.
The thing that really annoyed me was getting the snout placement right. I pinned it on like four different times before I actually committed to sewing it. If you put it too high it looks like a teddy bear, too low and it looks weird and droopy. You want it basically in the lower third of the head, slightly off to one side if you’re positioning the head at an angle.
I used Red Heart Super Saver in white for the snout tip and chest area. Yeah I know people say it’s scratchy but whatever it’s cheap and it works fine for amigurumi since nobody’s wearing it. The white snout needs to be smaller, maybe start with 3 sc in a magic ring and only increase to like 12 stitches, then work even for 2 rounds. Sew this onto the grey snout piece before you attach the whole thing to the head.
ears are pretty straightforward actually
The ears are triangular and pointy. Chain like 8, then sc back down the chain but decrease on each row so it makes a triangle shape. Or you can do it in the round if you want them more 3D but honestly flat ears worked fine for mine. Make two obviously.
Position them on top of the head angled slightly outward. Not straight up like a cat, more like they’re listening to something off to the sides. I sewed mine on around round 8 or 9 from the top of the head.
body construction
The body is just a bigger oval basically. Start the same way as the head with a magic ring, increase up to like 48 or 54 stitches depending on how chunky you want your wolf. Work even for most of the body length then decrease back down at the bottom.
I made mine about 15 rounds of even stitches before decreasing. You can make it longer if you want a more realistic wolf proportion but honestly the stubby body looks cuter in my opinion even though I wasn’t really going for cute.
My cat kept trying to steal my yarn ball while I was working on the body section which was super annoying but also kind of funny because she’d bat it across the room and I’d have to go retrieve it.
legs and paws
Legs start with white for the paws. Magic ring with 6 sc, increase one round to 12, then work even for like 3 rounds. Switch to your grey color and continue working even for another 8-10 rounds depending on how long you want the legs.
Don’t stuff the legs super tight or they won’t pose well. I use polyfil stuffing, whatever brand is at the craft store honestly. Fill them about 70% full so they’re firm but still have some give.
Make four legs the same. You can make the back legs slightly thicker if you want by increasing to 15 stitches instead of 12 but I didn’t bother with that level of detail.
The paws need little toe indents which you can do by just making a few stitches with black embroidery floss. Three lines on each paw. Takes like two minutes per paw.
tail situation
The tail is probably the easiest part. Start with white at the tip, magic ring with 4 sc, increase gradually over several rounds until you get to about 10 or 12 stitches. Then switch to grey and work even for like 10 rounds, then start decreasing slowly back down.
You want it kind of tapered at both ends but fatter in the middle. Stuff it lightly, same as the legs. The tail should be about 2/3 the length of the body or it looks out of proportion.
I actually made my tail too short the first time and had to redo it which was frustrating because I’d already woven in the ends and everything. So maybe make it longer than you think you need.
assembly is where it gets real
Okay so assembly. This is where you need actual pins and patience. I used regular sewing pins to position everything before I committed to sewing.
Attach the head to the body first. I sewed it on at a slight angle looking to the left because straight on looked too stiff. Use the same color yarn as your body and do a whip stitch all the way around the neck. Go around twice if the connection feels loose.
Then pin all four legs where you want them. Front legs go on the upper sides of the body, back legs on the lower sides angled slightly back. Make sure your wolf can actually sit or stand with the leg placement before you sew them on permanently. I’ve definitely made stuffed animals before that just fall over because I didn’t think about center of gravity or whatever.
The tail attaches at the back bottom of the body angled downward. You can position it up or curled if you want but down looks more natural for a wolf that’s just standing there.
face details that actually matter
Eyes are safety eyes, probably 9mm or 10mm. I used black ones. Position them on the head before you stuff it because you need to access the inside to put the backs on. They go above the snout, kind of wide set, not close together like a person.
The nose is embroidered with black yarn. Just make a triangle shape at the tip of the snout. You can do a couple horizontal stitches under it for the mouth if you want but I didn’t because it was starting to look too cartoonish.
Some people do eyebrows or eye whites but I think that makes them look too human. Just the black safety eyes on grey looked more animal-like which is what I was going for since it was supposed to be like an actual wolf not a character.
color variations if you want
You don’t have to do grey obviously. I’ve seen people make them in brown using Caron Simply Soft in like Taupe or something. White wolves look cool too but they show dirt really easy. Black wolves are dramatic but then you need lighter colored eyes so they don’t disappear into the face.
If you want to get fancy you can do different shades of grey for shading, like darker grey on the back and lighter on the belly, but that requires way more color changes and weaving in ends which I personally think is the worst part of crochet so I just stuck with two colors.
yarn weight and hook size stuff
I used worsted weight yarn (number 4) for the whole thing with a 3.5mm hook. Some patterns say to use a smaller hook than the yarn recommends so the stitches are tighter and the stuffing doesn’t show through. I think 3.5mm worked fine, maybe could’ve gone down to 3.25mm but it wasn’t a problem.
The tighter your stitches the firmer your finished animal will be. If you crochet loose you might need to go down a hook size or two.
Whole project probably took like 6 or 7 hours spread over a few days? I wasn’t timing it but it’s not a quick thing. The body and head are pretty fast but all the little pieces and assembly take forever.
common problems I ran into
The head was lopsided at first because I wasn’t counting my stitches carefully and I’d accidentally done like 44 stitches in one round and 42 in another. Use a stitch marker, seriously. I just use a piece of different colored yarn looped through but actual stitch markers work too.
Stuffing lumpy parts is annoying. I ended up using the back end of my crochet hook to push stuffing into the snout and legs because my fingers were too big. You can also use a chopstick or whatever.
The neck connection between head and body always feels unstable until you’ve gone around it like three times with your needle. Don’t skimp on this part or the head will wobble.
My wolf ended up being about 8 inches tall sitting down, maybe 10 inches long from nose to tail. Size obviously depends on your yarn weight and how many stitches you use but that’s a decent medium size that doesn’t take too much yarn.
other detail stuff
You can add claws to the paws with black embroidery floss same as the toes. Just little straight stitches extending from each paw.
Some patterns have you make ears with wire in them so they stand up better but I think that’s overkill for a stuffed animal. Just sew them on firmly and they’ll be fine.
If you want your wolf to have an open mouth you need to plan that when you’re making the head, like leave a gap in the rounds and crochet a separate lower jaw piece. I didn’t do that because it seemed complicated and mine was just gonna sit on a shelf anyway.
Whiskers could be cool, just use some fishing line or clear thread and sew it through the snout. I didn’t add them but that would make it look more realistic probably.
The whole thing used like maybe one and a half skeins of the grey yarn and little bits of white and black. Not a super expensive project material-wise.
Oh and tension matters way more than I thought it would. My first few rounds were really tight because I was concentrating hard, then the middle got looser when I was just watching TV and not paying attention, then the end got tight again. Try to keep your tension consistent throughout or it’ll look wonky. That’s something I’m still working on honestly because my natural tension is all over the place depending on my mood or whatever.
