
Jun
Getting Started With Your Triceratops Pattern
So I made this triceratops back in spring 2022 when my niece was obsessed with dinosaurs and honestly it turned out way cuter than I expected. The main thing you need to know is that the head is gonna be the bulkiest part and you’ll spend most of your time on that because of the horns and frill.
First off, yarn choice matters more than you think. I used Red Heart Super Saver in grey heather for the body because I had like three skeins lying around, and then some random green (I think it was Caron Simply Soft?) for accents. The Super Saver worked fine but it’s a bit stiff for amigurumi honestly, so if you want something softer maybe go with Paintbox Yarns Cotton DK or that Hobbii Rainbow Cotton stuff everyone raves about. You’ll need maybe 150-200 yards total depending on how big you make it.
For the hook size, I used a 3.5mm because that’s what gave me tight enough stitches that the stuffing wouldn’t show through. Some patterns say 4mm but I dunno, felt too loose to me.
The Body Structure
Start with the body as an oval shape. You’re basically doing a magic ring with 6 single crochets, then increasing every other stitch for a few rounds until you get to like 36 or 42 stitches. The exact number depends on how chubby you want your dino. I did 36 and it looked proportional but not too round.
Work straight (no increases or decreases) for about 15-18 rounds. This creates the length of the body. The pattern I loosely followed said 12 rounds but that seemed stubby so I added more. You can always adjust as you go, that’s the nice thing about amigurumi.
Then you’ll decrease gradually back down. I did decrease rounds every other row until I got to 12 stitches, then stuffed it firmly and closed it up. Use polyfil stuffing, not that cheap stuff from the dollar store because it gets lumpy.
The Legs Are Repetitive But Quick
Make four legs, obviously. Each one starts with a magic ring of 6 stitches. Increase to 12 in the next round for the foot part, then work 2 rounds straight on those 12 stitches. This creates a little platform foot.
Then decrease back to 9 stitches and work straight for like 8-10 rounds depending on leg length. Don’t stuff the legs too firm or they won’t pose well. I learned this the hard way on my first attempt and the triceratops just stood there all stiff looking.
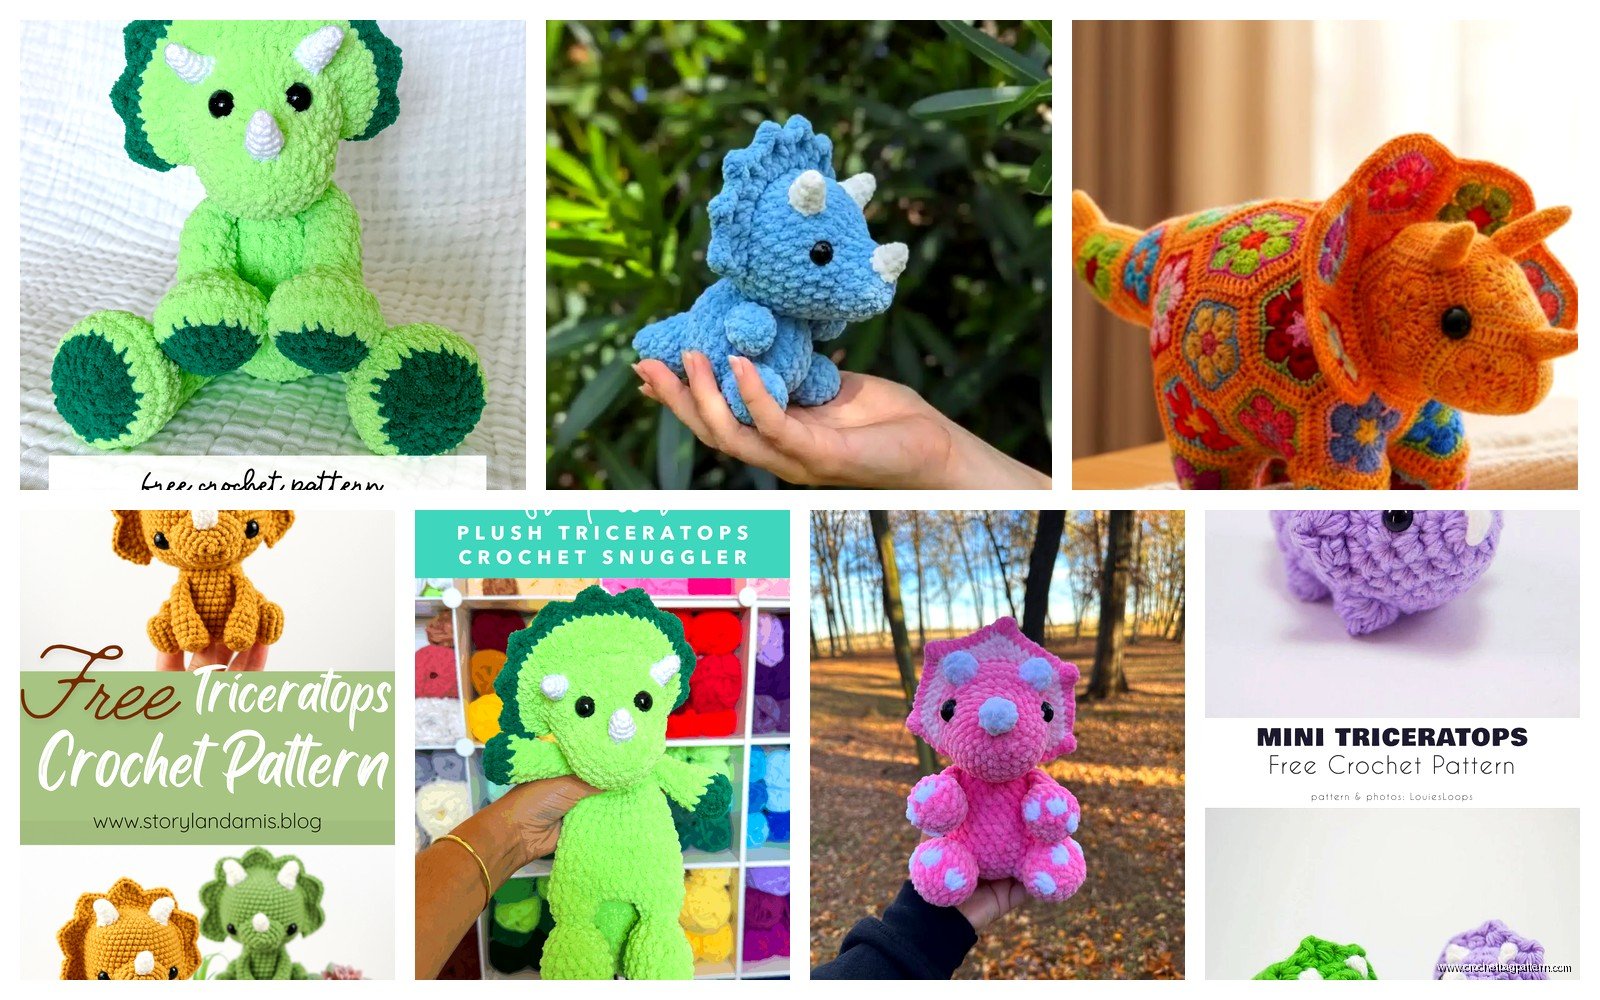
One thing that really annoyed me was attaching the legs to the body because no matter how I positioned them, they looked weird at first. I ended up sewing them on, removing them, and resewing them like three times before I got the stance right. The front legs should be slightly forward and the back legs angled just a bit backward so it looks natural. Pin them first with regular sewing pins before you commit to stitching them on permanently.
The Head Is Where It Gets Complicated
Okay so the head is similar to the body but rounder. Magic ring with 6, increase to 12, then 18, then 24, then 30, then 36. Work straight on 36 stitches for about 8 rounds. This makes the main skull part.
But here’s where the triceratops gets tricky – you need to add the beak/nose area. Around round 9 or 10, you’re gonna work only on the front half of the stitches (like 18 of them) and create a little snout protrusion. Work back and forth in rows for about 4 rows, then continue around the whole head again. This creates that beak shape they have.
I was watching that baking show with the British judges while doing this part and kept losing count of my stitches because I got distracted during a dramatic elimination.
The Horns Are Actually The Fun Part
You need three horns total – one nose horn and two brow horns. The nose horn is shorter and sits right above the beak area. Start with a magic ring of 4 stitches, increase to 6, then work straight for about 6-8 rounds. Stuff it lightly and sew it onto the nose.
The brow horns are longer. Magic ring of 4, increase to 6, work straight for 12-15 rounds. These should curve slightly if you stuff them right – pack the stuffing tighter at the base and lighter at the tip. Sew these onto the head above where the eyes will go, angling them slightly outward and upward.
Some patterns tell you to make the horns in a cone shape by decreasing gradually but I think that looks too pointed and aggressive. The straight tube method with light stuffing gives a better natural curve.
Eye Placement Matters More Than You Think
I used 9mm safety eyes and positioned them on the sides of the head, not the front. Triceratops had side-facing eyes like most prey animals. Put them between rounds 12 and 13, about 8 stitches apart. Attach them before you stuff the head completely or you’ll never get your hand in there to secure the backs.
You could embroider eyes instead if you’re giving this to a small kid, probably safer that way actually.
The Frill Is What Makes It Look Like A Triceratops
This was the part I was most worried about but it’s actually not that bad. You’re making a flat circular piece that attaches to the back of the head. Start with a magic ring of 6, then increase aggressively – like every stitch – for the first few rounds so it fans out quickly.
I did: Round 1: 6 stitches, Round 2: 12 stitches, Round 3: 24 stitches, Round 4: 36 stitches, Round 5: 48 stitches. Then I worked one more round straight to give it a little rim.
For the decorative edge, I did a round of (single crochet, chain 2, single crochet in same stitch) around the whole thing. Creates a scalloped edge that looks more interesting than just a plain circle. Some people do picot stitches or even little spike stitches around the edge to make it look more… I dunno, prehistoric? But the scallop worked fine for me.
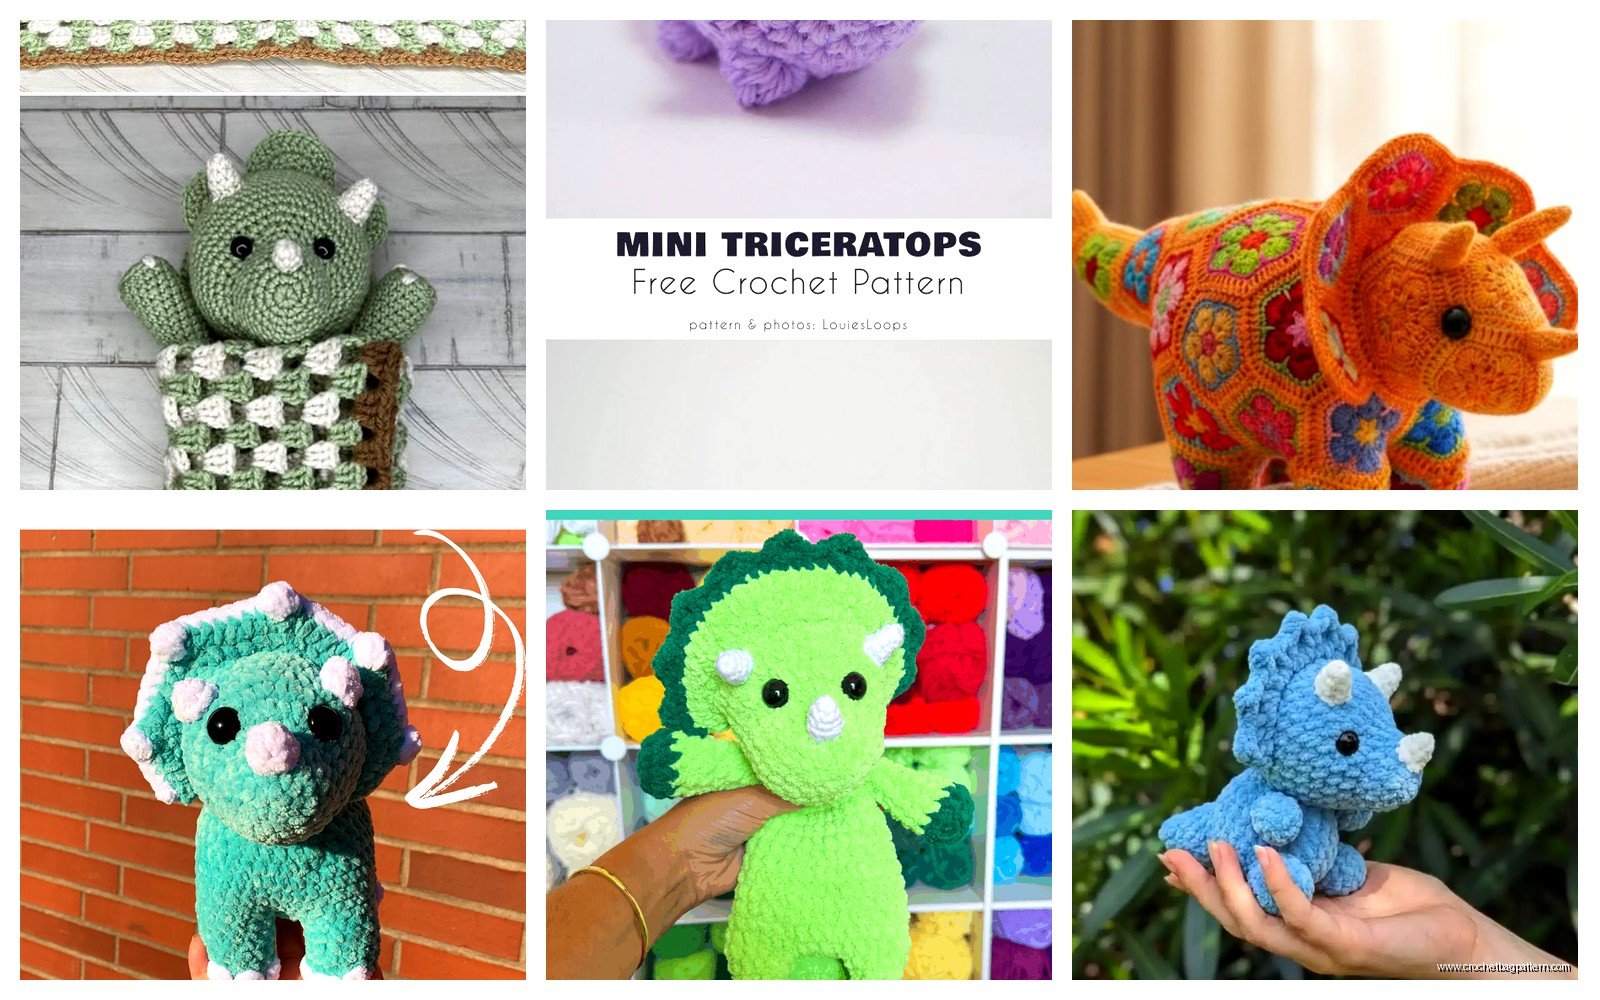
The frill attaches to the back of the head covering where you decreased to close up the head. Sew it on firmly because it’s a big piece and can flop around if it’s not secured well. I used regular sewing thread in a matching color and did a whip stitch all the way around the inner edge.
The Tail Is Simple
The tail is just a tapered tube. Start with a magic ring of 6, increase to 9, then work straight for like 12 rounds, then start decreasing every 3rd round until you’re down to 3 stitches. Stuff it lightly – if you overstuff it it’ll stick straight out instead of having a natural droop.
Attach it to the back of the body centered between the back legs. My cat kept trying to attack it while I was sewing it on which made the process take way longer than necessary.
Assembly Tips That Actually Help
Assemble in this order: legs to body first, then head to body, then tail, then horns to head, then frill to head. If you do the frill before attaching the head to the body you’ll have a harder time maneuvering everything.
Use the same yarn you crocheted with for sewing pieces together. It blends better than regular thread and is stronger. I go through each stitch like twice when attaching limbs because I’m paranoid about them falling off.
The head is heavy because of the frill and horns, so really secure it well to the body. I sewed it on, then went around a second time reinforcing it because I could feel it wobbling.
Color Variations And Modifications
You can obviously make this in any color. I’ve seen people do them in bright rainbow colors which looks cool for kids. Realistic grey or brown works too. Some patterns add spots or stripes by changing colors every few rounds but that creates a lot of ends to weave in and honestly I’m too lazy for that most of the time.
If you want to add texture, you could do the body in half double crochets instead of single crochets – it’ll work up faster and have a slightly different texture. Or do a round of back loop only stitches somewhere to create a ridge line down the back.
Size-wise, you can adjust by changing hook size and yarn weight. I used worsted weight with a 3.5mm hook and got a triceratops that was about 7 inches long. If you used bulky yarn and a 5mm hook it’d probably come out closer to 10-11 inches.
Common Problems I Ran Into
The main issue I had was the whole thing looking lopsided at first because I didn’t position the legs evenly. Measure the distance from the head to each leg before sewing them on permanently. They should be symmetrical or it’ll look drunk.
Another thing – if your stitches are too loose, the stuffing will show through and look messy. Go down a hook size if this happens. Better to have tight stitches and slightly stiffer fabric than to have visible stuffing peeking out.
The frill can curl if you made it too tight or too loose compared to the head. If it curls backward away from the head, you might need to block it (spray it with water and pin it flat to dry) or just accept it as character. Mine curled slightly but I decided it looked fine.
How Long This Actually Takes
From start to finish, this took me probably 6-7 hours total? I did it over three evenings. The body and legs are maybe 2 hours, the head is another 2 hours with all the shaping, the frill is 45 minutes, horns are quick maybe 30 minutes total, and assembly is at least an hour because attaching everything takes forever.
If you’re a faster crocheter than me you could probably knock it out in 4-5 hours. I’m not super fast and I also got distracted a lot.
What To Do With It After
These make good gifts for dinosaur-obsessed kids obviously. They’re sturdy enough to be actual toys if you use safety eyes and secure everything well. I gave mine to my niece and last I heard it’s still intact after two years of play, so that’s pretty good.
You could also make a whole set of different dinosaurs – like a t-rex, stegosaurus, brontosaurus – and they’d all follow similar construction methods just with different head shapes and features. The triceratops is probably medium difficulty because of the frill and multiple horns, but once you figure out the basic amigurumi techniques it’s all just variations.
Anyway that’s basically how you make a crochet triceratops. The pattern isn’t super complicated once you break it down into parts, it’s just a matter of making each piece and putting them together in a way that looks like an actual dinosaur instead of a lumpy blob with horns.
