
Jun
Getting Started with Your Sea Turtle
okay so the main thing with sea turtle amigurumi is you’re basically making a flat-ish oval for the shell and then attaching flippers and a head, it’s not as complicated as it looks but there’s definitely some parts that’ll make you wanna throw it across the room
I made my first one in spring 2022 when I was stuck at home with a sprained ankle and honestly it kept me from going completely insane. The shell pattern is usually worked in rounds starting from a magic ring, and you’re gonna increase pretty quickly to get that wide turtle shell shape. Most patterns I’ve seen start with like 6 stitches in the magic ring, then you double it to 12, then increase every other stitch to get 18, and you keep going until you hit whatever diameter the pattern calls for
Yarn Choices That Actually Matter
For the turtle I made I used Hobby Lobby’s I Love This Yarn in like a teal color for the shell and then some cream colored Red Heart Super Saver for the underbelly. The Red Heart was honestly kind of squeaky to work with which annoyed the hell out of me but it held up really well. Some people swear by using cotton yarn like Lily Sugar’n Cream because it has better stitch definition and you can actually see what you’re doing, but acrylic is fine if you’re not planning to give it to a baby who’s gonna chew on it
The thing about sea turtles is they’ve got those distinctive flippers that are like elongated and flat, not round like regular turtle legs. So you’re usually making these oval shapes that start narrow at the body attachment point and then widen out. I’ve seen patterns that do this different ways but the one that worked for me was basically making a chain of like 8-10 stitches, then single crocheting around the whole chain so you get that flat paddle shape
The Shell Construction
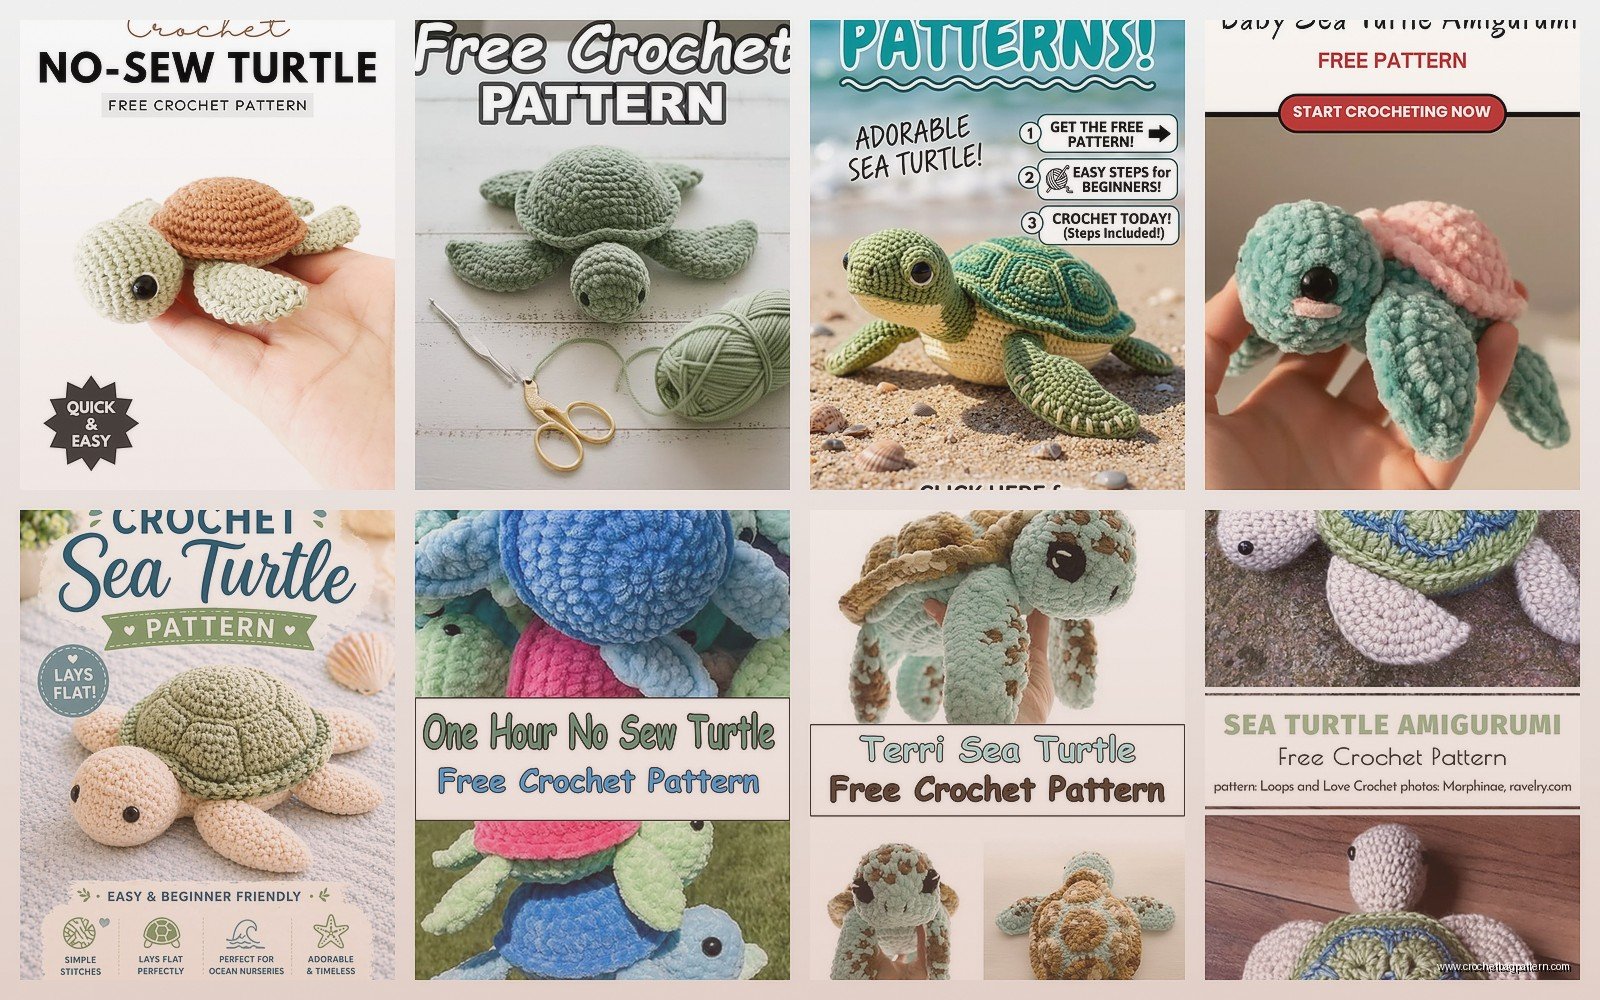
The top shell or carapace I think it’s called is where you can get creative with colors. I did mine in solid teal but my friend did one with brown and tan stripes that looked way more realistic. You work it flat in continuous rounds usually, and here’s the annoying part – you gotta count your stitches constantly because if you mess up an increase round the whole thing gets wonky and lopsided
Most patterns have you work increases until you get to about round 12 or 15 depending on how big you want your turtle, then you work a few rounds even with no increases to give it some depth. The shell shouldn’t be completely flat, it needs that slight dome shape. Then you start decreasing to bring it back in slightly at the edges
For the bottom shell you’re doing basically the same thing but usually in a different color and you make it slightly smaller. Like if your top shell ended at 60 stitches around, your bottom might only go to 54 or something. This is because when you stuff it the bottom naturally stretches a bit and you don’t want it bulging out past the top shell
Those Damn Flippers
okay so flippers were the part that really frustrated me because the first pattern I tried had you make them separately and then sew them on, but the attachment points were so floppy and weak looking. I was watching some true crime documentary at the time, can’t remember which one, and I kept having to rewind because I was so focused on trying to make these stupid flippers stay put
What worked better was finding a pattern where you crochet the flippers directly onto the body. You basically attach your yarn at the spot where the flipper should go, chain out however many stitches, then work back along the chain doing increases on the sides to make it wider. Then you can add another round or two around the whole flipper to define the shape better
Front flippers are longer than back ones on real sea turtles and honestly this makes a difference in how it looks. Don’t make them all the same size or it’ll look weird. Front flippers should be maybe 1.5 times the length of the back ones
The Head and Face Details
The head is usually just a oval shape worked in rounds, starting with a magic ring and increasing until you get the width you want. Then work even for a few rounds to give it length, and decrease at the end where it’ll attach to the body. Some patterns have you stuff the head really firmly but I actually prefer it a little softer so it has some give to it
Eyes are where people do all different things. You can use safety eyes which is the easiest option – just poke them through between stitches and snap the backing on inside before you stuff it. I used 9mm black safety eyes on mine. Or you can embroider eyes with black yarn, or use buttons, or felt circles glued on. Whatever honestly
The mouth is usually just a few straight stitches embroidered in a line or slight curve. Don’t overthink it. I’ve seen people try to do elaborate smiling mouths and it just looks creepy on a turtle
Assembly Is Where It Gets Real
So you’ve got all your pieces and now you gotta put this thing together without it looking like a disaster. I use regular sewing thread in a matching color instead of yarn for attaching pieces because it’s less bulky and you can’t see it as much. Yarn to yarn attachment always seemed too thick to me
Attach the bottom shell to the top shell first, but don’t sew it all the way around yet. Leave like a 2 inch opening so you can stuff it. I use polyfil stuffing, the cheap stuff from Walmart works fine. Don’t overstuff or it’ll be too firm and round, you want it to still look somewhat flat like an actual turtle shell
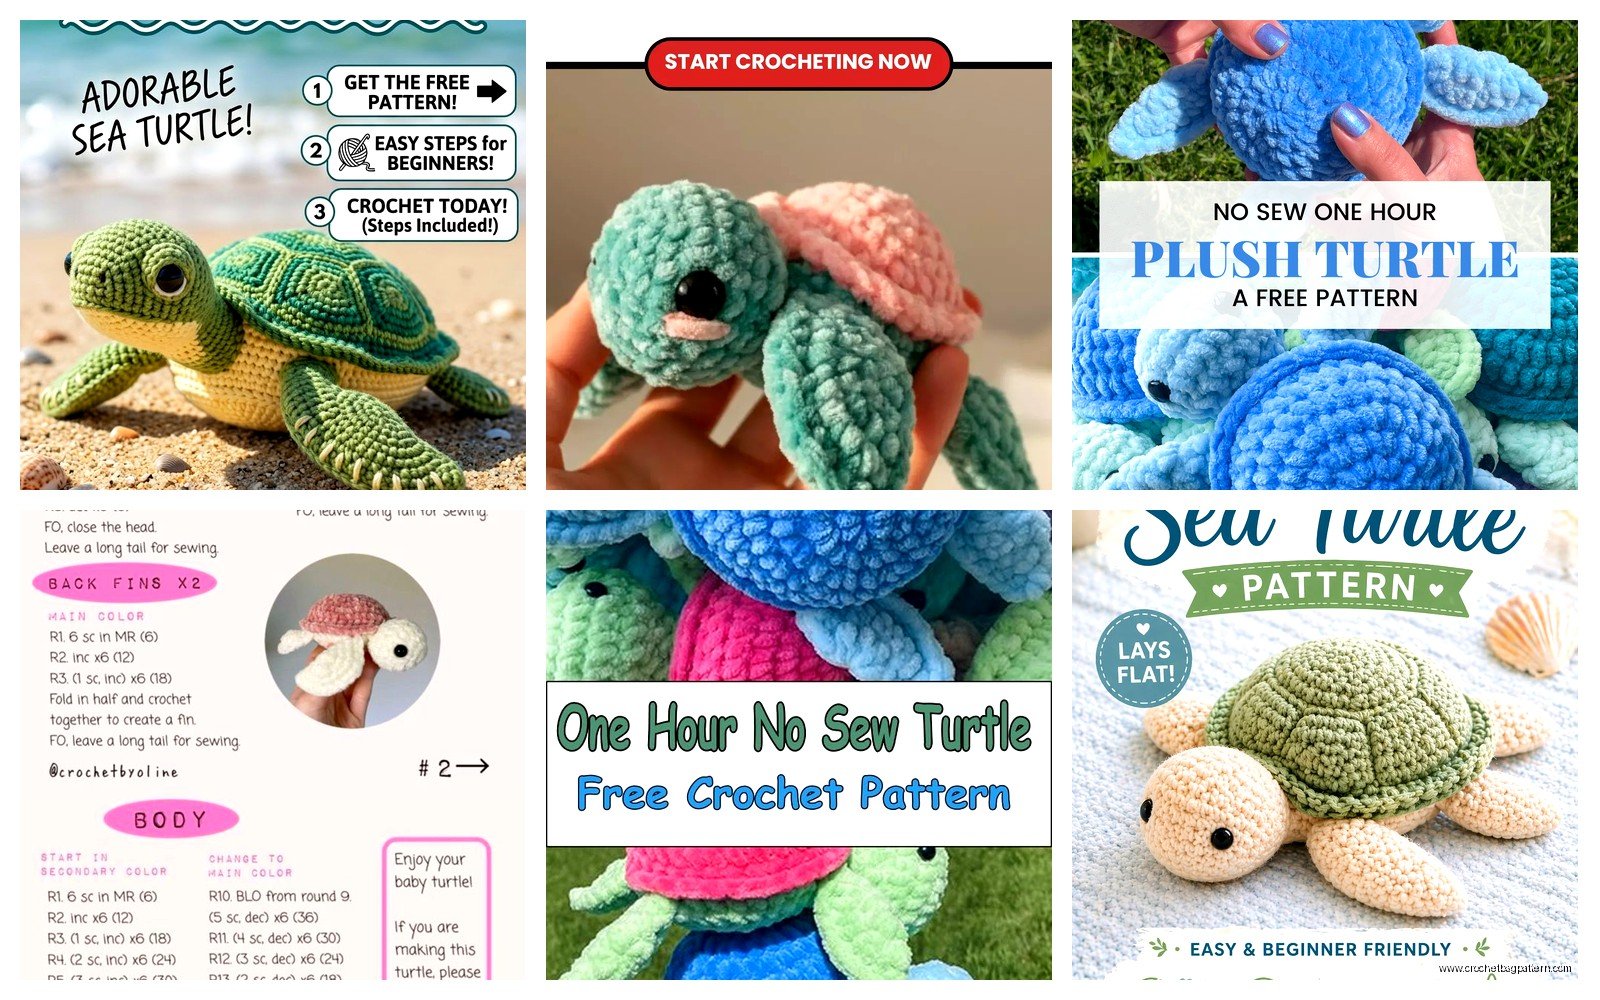
The head goes on centered at one end obviously. I pin everything in place first before sewing because my dog knocked over my whole project once and all the pieces went everywhere and I had to figure out where everything went again. Make sure the head is angled slightly upward not straight out to the side or it looks wrong
Flippers attach at the corners basically where the top and bottom shell meet. Front flippers angle forward and slightly down, back flippers angle backward. If you attach them straight out to the sides it looks stiff and unnatural
Details That Make It Look Better
Some patterns include a little tail which is just a small triangle or cone shape. It’s a nice touch but honestly optional, the turtle looks fine without it. I made one with a tail and one without and couldn’t really tell much difference
If you want to get fancy you can add texture to the shell by doing surface crochet in a hexagon or pentagon pattern to mimic the scutes on a real turtle shell. I never bothered with this because it seemed like too much work but I’ve seen people do it and it does look cool. You basically just slip stitch on top of your finished shell in geometric patterns
Color variations make a huge difference too. The turtle I made in 2022 was all one color which was fine but kind of boring. I’ve seen people do ombre effects going from dark green to light green across the shell, or do the flippers in a different color than the shell. Coral colored flippers on a green shell looks really pretty actually
Common Problems You’ll Run Into
The magic ring coming undone is probably the most common issue. Make sure you’re pulling that tail tight and weaving it in really well at the start. I’ve had turtles where the center of the shell started coming unraveled after a few weeks because I didn’t secure it properly
Uneven increasing is another thing – if you don’t space your increases evenly around each round you end up with a hexagon instead of a circle. Count your stitches and use stitch markers if you need to. I use those little plastic clips or just a piece of different colored yarn looped through
Flippers being different sizes happens all the time especially if you’re making them separately. I literally had to remake one flipper three times because I kept messing up the count and they didn’t match. Just pay attention and maybe write down exactly what you did for the first one so you can replicate it
Size Adjustments
Most patterns are written for a specific yarn weight and hook size but you can adjust. Using a smaller hook with the same yarn will give you a tighter, smaller turtle. Going up a hook size makes it bigger and the stitches more loose. I’ve made turtles anywhere from like 4 inches across to 10 inches across just by changing hook size and yarn weight
If you’re using worsted weight yarn a G or H hook is pretty standard (4mm or 5mm). For chunky yarn go up to a J or K hook. Sport weight or DK yarn use an E or F hook. The gauge doesn’t matter that much for amigurumi since you’re not wearing it, but you do want your stitches tight enough that stuffing doesn’t show through
Baby sea turtles are super cute and you can make them tiny by using thread and a steel hook but honestly that’s too fiddly for me. I tried it once and gave up after the head because I couldn’t see what I was doing
What About Different Sea Turtle Species
You can modify the basic pattern to make different types – like a leatherback has those ridges on the shell so you could add raised lines of surface crochet. Hawksbill turtles have that pointed beak so you’d make the head come to more of a point. Loggerheads have bigger heads proportionally so you’d increase the head size
Color wise green sea turtles are obviously green or olive colored, loggerheads are more brown or reddish brown, hawksbills have that tortoiseshell pattern which you could do with variegated yarn or by carrying two colors. I used Caron Simply Soft in like a chocolate brown for a loggerhead once and it turned out pretty good
The basic construction is the same though regardless of species, you’re just tweaking proportions and colors
Finishing Touches
Weave in all your ends really well because nothing’s worse than having them pop out later. I use a yarn needle and weave through at least 4 or 5 stitches in different directions before cutting the tail off. Some people add a dab of fabric glue to the ends but I’ve never bothered
If you want the turtle to be poseable you can put wire in the flippers before you attach them but be careful with this if a kid is gonna play with it. The wire can poke through eventually. I’ve only done this for display turtles that just sit on a shelf
You can also add little details like embroidering some lines on the shell for texture, or adding a tiny bit of pink embroidery where the flippers meet the body to show skin. These details are totally optional though and most people won’t notice them anyway
The one thing that really annoyed me about the whole process was how long it took to sew everything together. The actual crocheting of all the pieces went pretty fast, maybe 3 hours total, but then I spent like another hour and a half just assembling and weaving in ends. My hands were so cramped by the end of it
But yeah that’s basically it for making a sea turtle, once you’ve made one you can pump them out pretty quick and they make good gifts or whatever. Just don’t expect it to look exactly like the pattern photo because everyone’s tension is different and yarn colors never look the same in person as they do online
