
Jun
Getting Started with the Basics
okay so you wanna make stranger things stuff which honestly makes sense because I made a demogorgon amigurumi last summer 2024 while rewatching the whole series for like the third time and my cat would NOT stop batting at the yarn ball the entire time. super annoying but whatever
The thing about stranger things crochet is you’re mostly gonna be working with amigurumi style for characters or flat pieces for props like the alphabet wall. I used Red Heart Super Saver for most of my projects because it’s cheap and comes in basically every color you need. The brown for demogorgon was actually perfect straight from the skein.
Character Designs – The Main Kids
For making the kids like Eleven, Mike, Dustin, Lucas, Will – you want a basic amigurumi doll pattern as your foundation. I’m talking about those simple humanoid shapes, roughly 8-10 inches tall if you use worsted weight yarn and a 3.5mm or 4mm hook. The proportions are gonna be slightly oversized head (typical amigurumi style) with a smaller body.
Eleven is probably the easiest to make recognizable. You need a skin tone color (I used Caron Simply Soft in Soft Pink), and here’s the thing – her dress. That pink dress from season 1 is iconic so you either crochet a simple sleeveless dress shape or you can cheat and use fabric. I actually crocheted mine because I wanted it all yarn but it took forever and I was so annoyed at making the tiny stitches for the collar.
For her hair, dark brown yarn, and you’ve got options. Either do a short bob style with yarn sewn directly onto the head in layers, or do a buzz cut look from season 2 by using a shorter pile technique. The buzz cut is honestly easier – just do single crochets directly onto the head in tight rows.
Specific Character Details That Matter
Mike needs his shaggy black hair – I did this with loop stitches or you can cut yarn pieces and attach them. His striped shirt is recognizable so alternate white and black (or dark blue) every few rows when you make the body.
Dustin needs his curly hair which is the most annoying part honestly. I used a lighter brown Red Heart and did loop stitches all over his head then brushed them out a bit. His hat is easier – just make a basic beanie shape in red and white stripes, add a little brim.
Lucas needs textured hair too – black or very dark brown yarn with a shorter afro style. I did mine with a combination of bobble stitches and surface crochet to create texture.
Demogorgon and Creatures
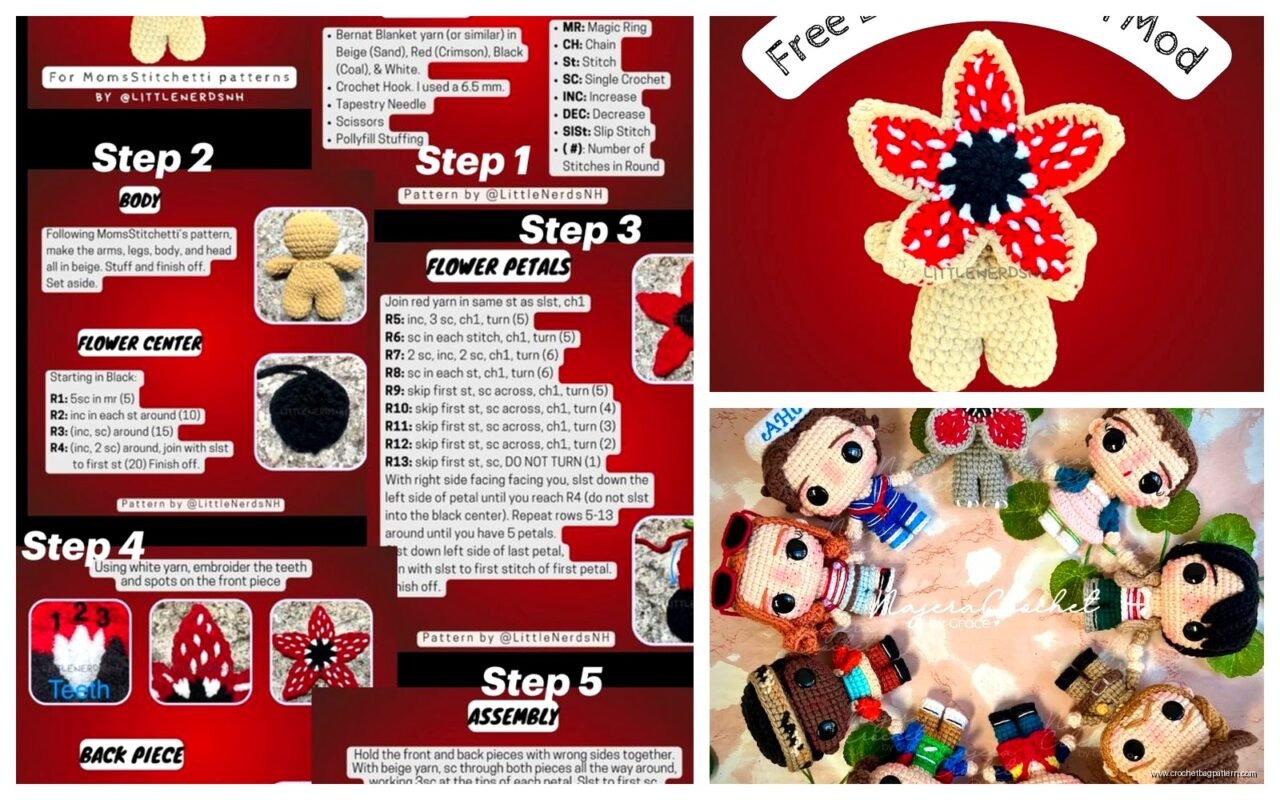
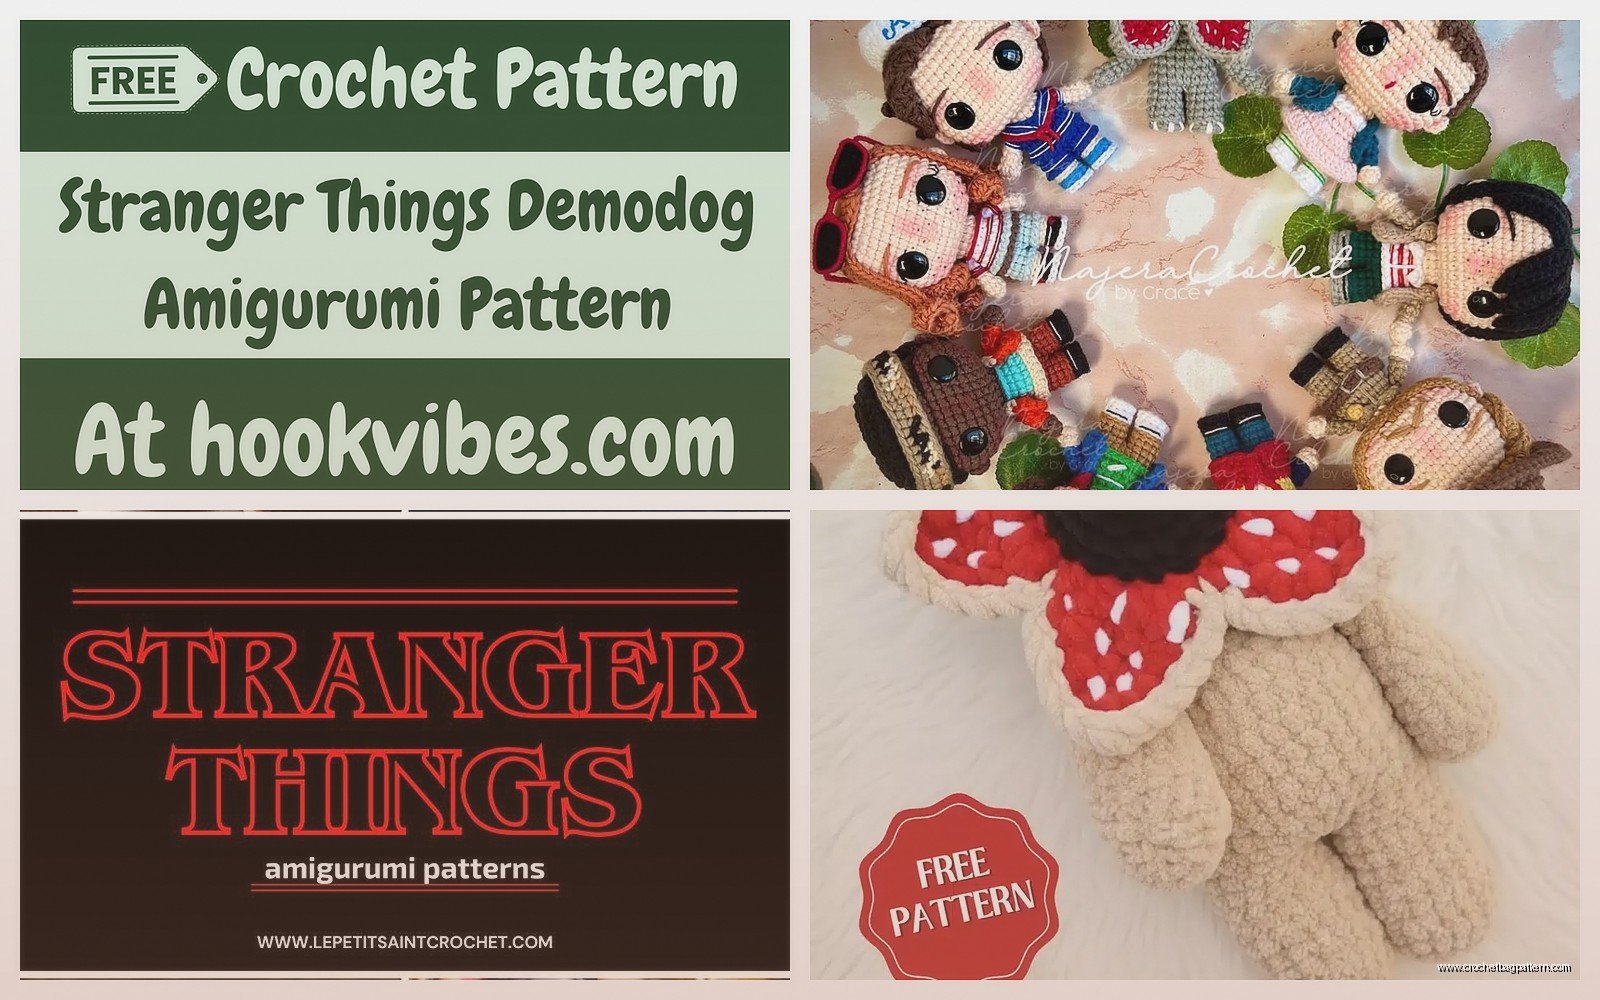
The demogorgon I made last summer was probably my favorite project even though it was complicated. You need multiple shades of brown and some pink or red for the inside of the mouth/petals. I used Red Heart Super Saver in Coffee, Tan, and Hot Red.
Start with a basic amigurumi body – kind of elongated and humanoid but slightly hunched. The arms and legs are thinner, and you want to stuff them firmly so they hold their shape. The head is where it gets interesting and also frustrating.
For the petal head thing, you’re basically making a round head base and then crocheting 5-6 petal shapes separately. Each petal is like a elongated oval that comes to a point. I worked them flat, then attached them around the top of the head so they can open outward. Inside the petals, add teeth – I just used white embroidery floss and made little straight stitches all around.
The thing that really annoyed me was getting the petals to stay in the “open” position because they kept flopping closed. I ended up using thin wire inserted into the petals which isn’t traditional crochet but it worked.
Mind Flayer and Shadow Monster
This one’s more abstract so you have creative freedom. I haven’t made a full mind flayer but I’ve seen patterns where people do a large spider-like body with multiple long tentacle legs. Use black or very dark grey yarn – Bernat Blanket in Coal Black works if you want something chunky and dramatic.
Each tentacle is basically a long tube of single crochet, stuff it lightly so it’s flexible but holds shape. You want like 6-8 tentacles coming off a central oval body. Some people add red details with embroidery or small red eyes.
Props and Iconic Items
The Alphabet Wall
This is actually fun to make and works as a flat piece – like a wall hanging or banner. You need a brown or beige background (representing the wall) and then multicolored string lights, plus letters.
Make a rectangular base in single crochet, maybe 12×16 inches or whatever size you want. Then for the lights, use embroidery or surface crochet in yellow/white for the wire part and small bobbles or french knots in different colors (red, blue, green, yellow) for the bulbs.
The letters can be embroidered on or you can crochet tiny letters separately and sew them on. I embroidered mine because crocheting individual tiny letters seemed like it would make me lose my mind. Spell out whatever message you want – “RUN” is classic, or you could do someone’s name.
Eggos Box
Make a rectangular box shape – yellow for the main body because that’s the eggo box color. You can work it in flat pieces and sew them together into a box shape, or work in the round if you’re comfortable with that.
The logo is the tricky part – I used fabric paint to add the Eggo logo details because trying to crochet that seemed impossible, but you could also print it on fabric and sew it on. The waffle texture on the box can be suggested with bobble stitches or you can just keep it flat.
Walkie Talkies
Small rectangular shapes in black or dark grey with a yellow or orange accent. These are pretty simple – just stuff a small rectangle firmly, add an antenna (pipe cleaner wrapped in yarn or just a stiff piece of yarn), and embroider some button details on the front.
Steve’s Bat
The nail bat is iconic and surprisingly easy. Make a cylinder in brown for the bat – Lily Sugar’n Cream in Jute or any brown cotton yarn works. Make it about 6-8 inches long, stuff it firmly so it’s solid.
For the nails, you can use toothpicks cut short and poke them into the top, wrapping them with grey yarn or just leaving them wood. Or use grey pipe cleaners cut into small pieces. Just stick them into the top end of the bat at angles.
Color Choices and Yarn Types
For character skin tones, Caron Simply Soft has good options – Soft Pink, Peach, Light Country Peach. Red Heart has some too but I find Caron softer for amigurumi that people might actually handle.
For clothing and details, Red Heart Super Saver is your friend because the color range is massive and it’s cheap. The texture is a bit scratchy but for decorative items it doesn’t matter.
If you want something that looks more polished, Paintbox Yarns Cotton DK has amazing colors and creates really clean stitches, but it’s more expensive so I usually save it for smaller details or special projects.
Assembly and Details
The most important thing with amigurumi characters is the face placement – eyes and mouth positioning literally makes or breaks whether it looks like the character or just a random doll. For stranger things kids, the eyes should be placed pretty close together and relatively low on the face since they’re supposed to be kids.
I use safety eyes mostly, 6mm or 8mm depending on the size of the head. Place them first before stuffing the head completely so you can position the backing washers. If you mess up the placement it’s really hard to fix so take your time here.
For mouths, I usually embroider with embroidery floss – just a simple line or slight smile. Some people get fancy with it but honestly simple works better for this scale.
Clothing and Accessories
Instead of trying to crochet intricate clothing details, sometimes it’s easier to use felt or fabric. Like for Hopper’s sheriff badge, I cut it from gold felt and glued it on rather than trying to crochet something that tiny.
Eleven’s blonde wig from season 2 – if you’re making that version you could use yellow yarn but honestly a small doll wig from a craft store might look better and save you time. I’m all about shortcuts when they make sense.
The thing about props and accessories is they don’t have to be perfect to be recognizable. A simple red rectangle with white stripes reads as Dustin’s hat. A black cylinder with nails reads as Steve’s bat.
Pattern Resources and Adapting
You probably won’t find official Stranger Things patterns because of licensing, but you can adapt basic patterns. Take any humanoid amigurumi pattern and modify the clothes and hair to match the characters. I started with a free basic doll pattern I found online and just changed all the colors and details.
For the demogorgon, I actually started with a slenderman pattern I found (which sounds weird but the proportions were right) and then completely redid the head section to add the petals.
The key is understanding basic amigurumi construction – how to increase and decrease to create shapes, how to stuff properly, how to attach pieces securely. Once you know that, you can basically make anything by breaking it down into simple shapes.
Common Problems I Ran Into
The main thing that annoyed me beyond the wire petal situation was getting the proportions right for character clothing. I made Mike’s body too long the first time and he looked weird and stretched out so I had to frog it and start over with fewer rows.
Also, stuffing consistently is harder than it seems – some of my pieces ended up lumpy or too soft. You gotta really push the stuffing in there firmly, especially for parts that need to stand up or hold shape like legs or the demogorgon’s arms.
Hair is always annoying no matter what character you’re making. It takes forever and uses way more yarn than you’d think. My dog actually stole a whole skein of brown yarn while I was working on Dustin’s curls and I found it in the backyard later all dirty.
Display Ideas
Once you make these things you need somewhere to put them – I have mine on a shelf with some actual stranger things funko pops which looks pretty cool. The alphabet wall piece I made hangs above my desk.
You could also make a whole set of the main characters and put them in a shadow box or display case. Or make the demogorgon and have it “attacking” the character dolls in a little scene setup.
Some people make them as ornaments by adding hanging loops, especially smaller versions of the props work well for that.
The nice thing about these projects is they work up relatively quick – a single character might take 4-6 hours depending on detail level, props can be done in an hour or two for simple ones. So you can make a whole collection without it taking months.
