
Jun
Getting Started with Angel Amigurumi
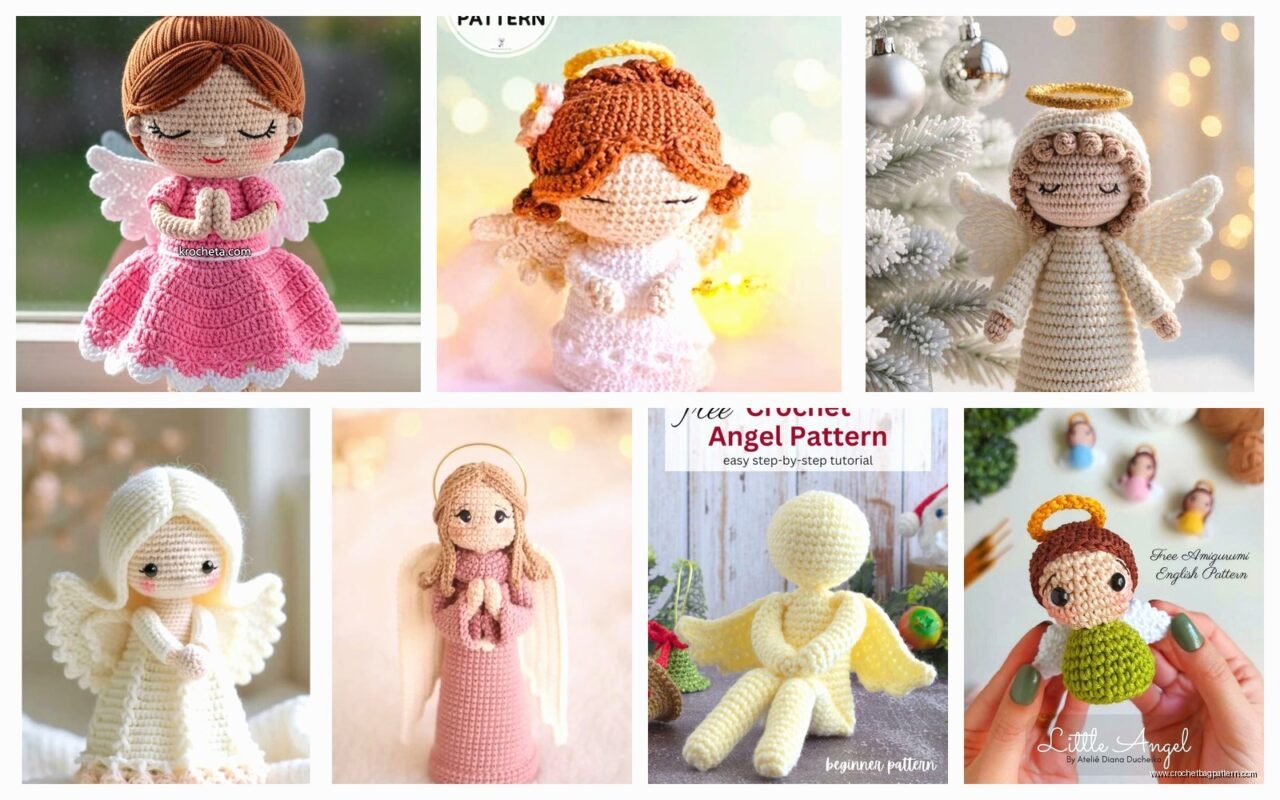
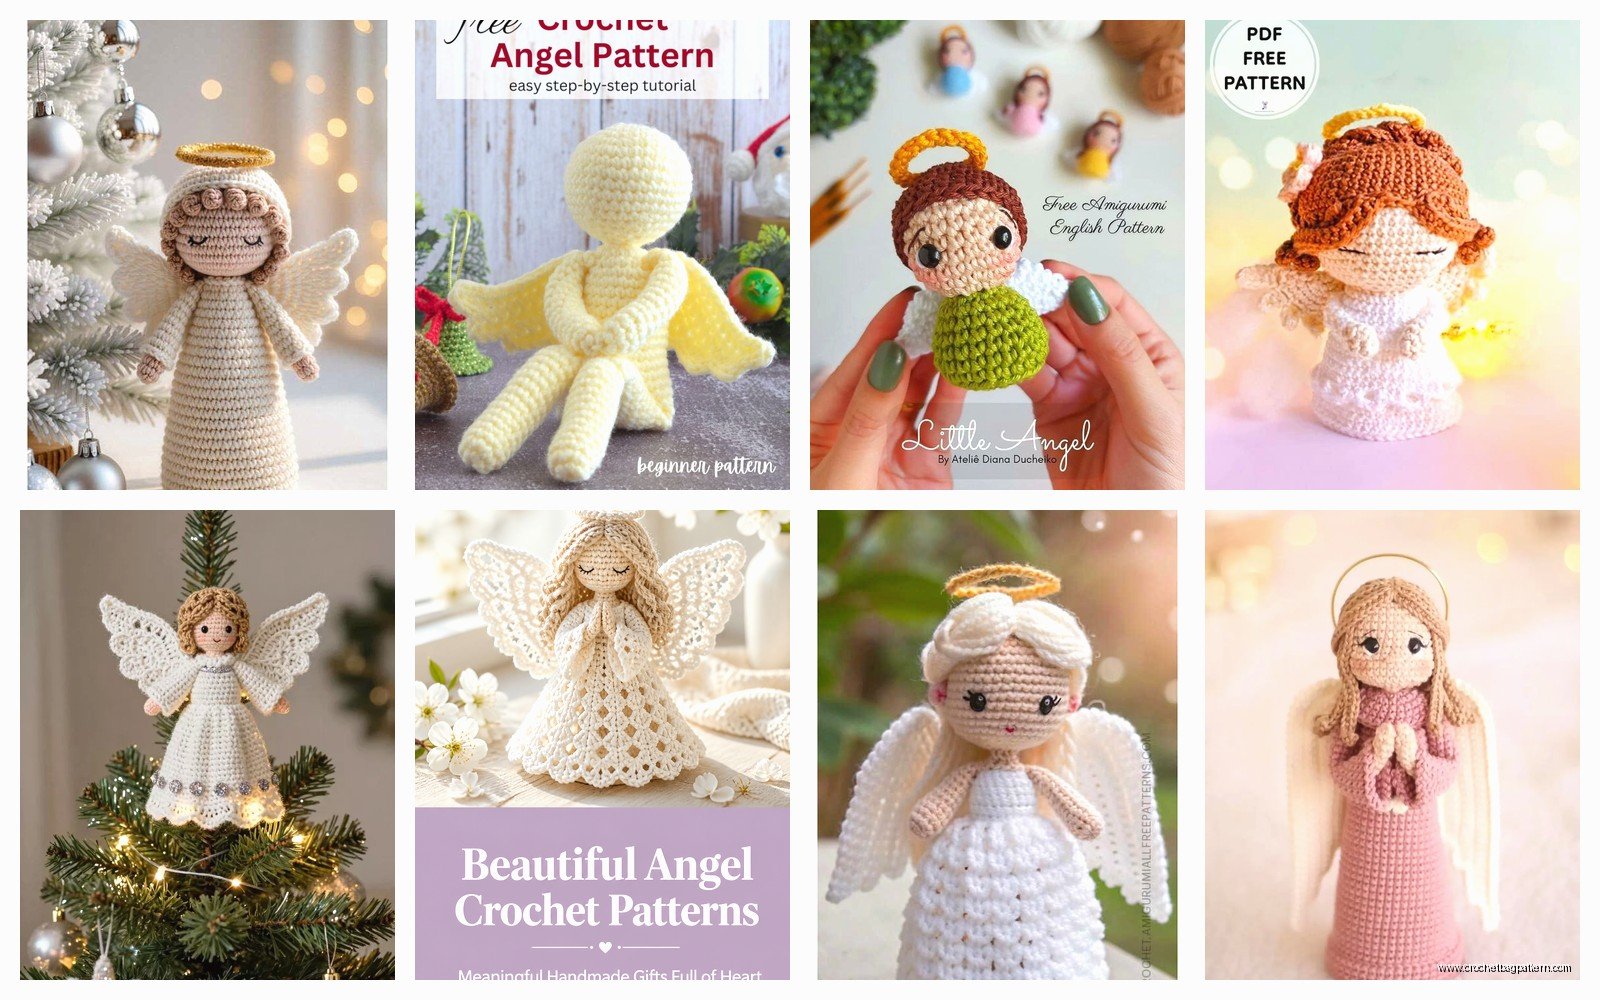
So angel amigurumi patterns are actually way easier than they look but you gotta know a few things before jumping in. I made my first one back in spring 2022 when I was basically living on my couch watching old episodes of The Office on repeat, and honestly it turned out better than expected even though I had no idea what I was doing with the wings.
The basic structure is pretty straightforward – you need a head, body, arms, wings, and usually some kind of halo situation. Most patterns work in continuous rounds which means you’re gonna be spiraling up instead of joining each round. This is actually easier once you get used to it but you NEED stitch markers or you’ll lose track of where you are. I learned this the hard way.
Yarn Choices Matter More Than You Think
For the body and head I usually grab Red Heart Super Saver in white or cream because it’s cheap and holds shape well. The stuff is literally everywhere at any craft store. For wings though, you want something that has a bit more drape – I’ve used Caron Simply Soft and it works really nice for feathery wing effects. The one thing that really annoyed me about making angels is that white yarn shows EVERY speck of dirt from your hands, so like… wash your hands more than you think you need to or the whole thing starts looking dingy.
Some people use cotton yarn like Lily Sugar’n Cream but honestly I find that too stiff for angels unless you’re going for a really structured standing figure. The acrylic blends give you more flexibility with posing and they’re way more forgiving if you mess up tension.
The Head and Body Construction
Start with a magic ring for the head. Usually you’ll do 6 single crochet into the ring, then increase rounds until you get to whatever size the pattern calls for – typically around 12-18 stitches depending on if you want a chunky angel or a more delicate one. The increasing pattern is pretty standard, you just double the stitches in round 2, then increase every other stitch in round 3, every third stitch in round 4, and so on.
What nobody tells you is that you should stuff the head BEFORE you finish it completely. Like when you’ve done your straight rounds and are about to start decreasing, stuff it then. Otherwise you’re trying to shove polyfil through this tiny opening and it never distributes evenly. I use Poly-Fil brand stuffing usually, the big bag from Walmart lasts forever.
The body is basically the same technique but usually more elongated. Some patterns have you make it dress-shaped which looks cute but adds complexity. For Christmas angels I actually prefer a simple cone body because then you can add a separate dress or robe over it with different colored yarn – makes it look more festive without having to follow a super complicated pattern.
Arms Are Weirdly Tricky
Arms seem like they should be the easiest part but they’re actually kind of annoying because they’re so small and fiddly. Most patterns have you make two tiny tubes, and getting them symmetrical is harder than it should be. I usually make them slightly understuffed so they’re poseable – you want them to be able to hold things or clasp together in prayer position if that’s the look you’re going for.
One trick I figured out is to make the arms and attach them BEFORE you finish stuffing the body completely. This way you can adjust the body stuffing around where the arms connect and everything sits more naturally. Also use matching yarn color for attaching them obviously, but go through the attachment point like three or four times because arms get pulled on a lot if you’re actually using these as decorations or if… well my cat knocked one off the shelf last December and the arm would’ve ripped right off if I hadn’t reinforced it.
Wings Are Where It Gets Interesting
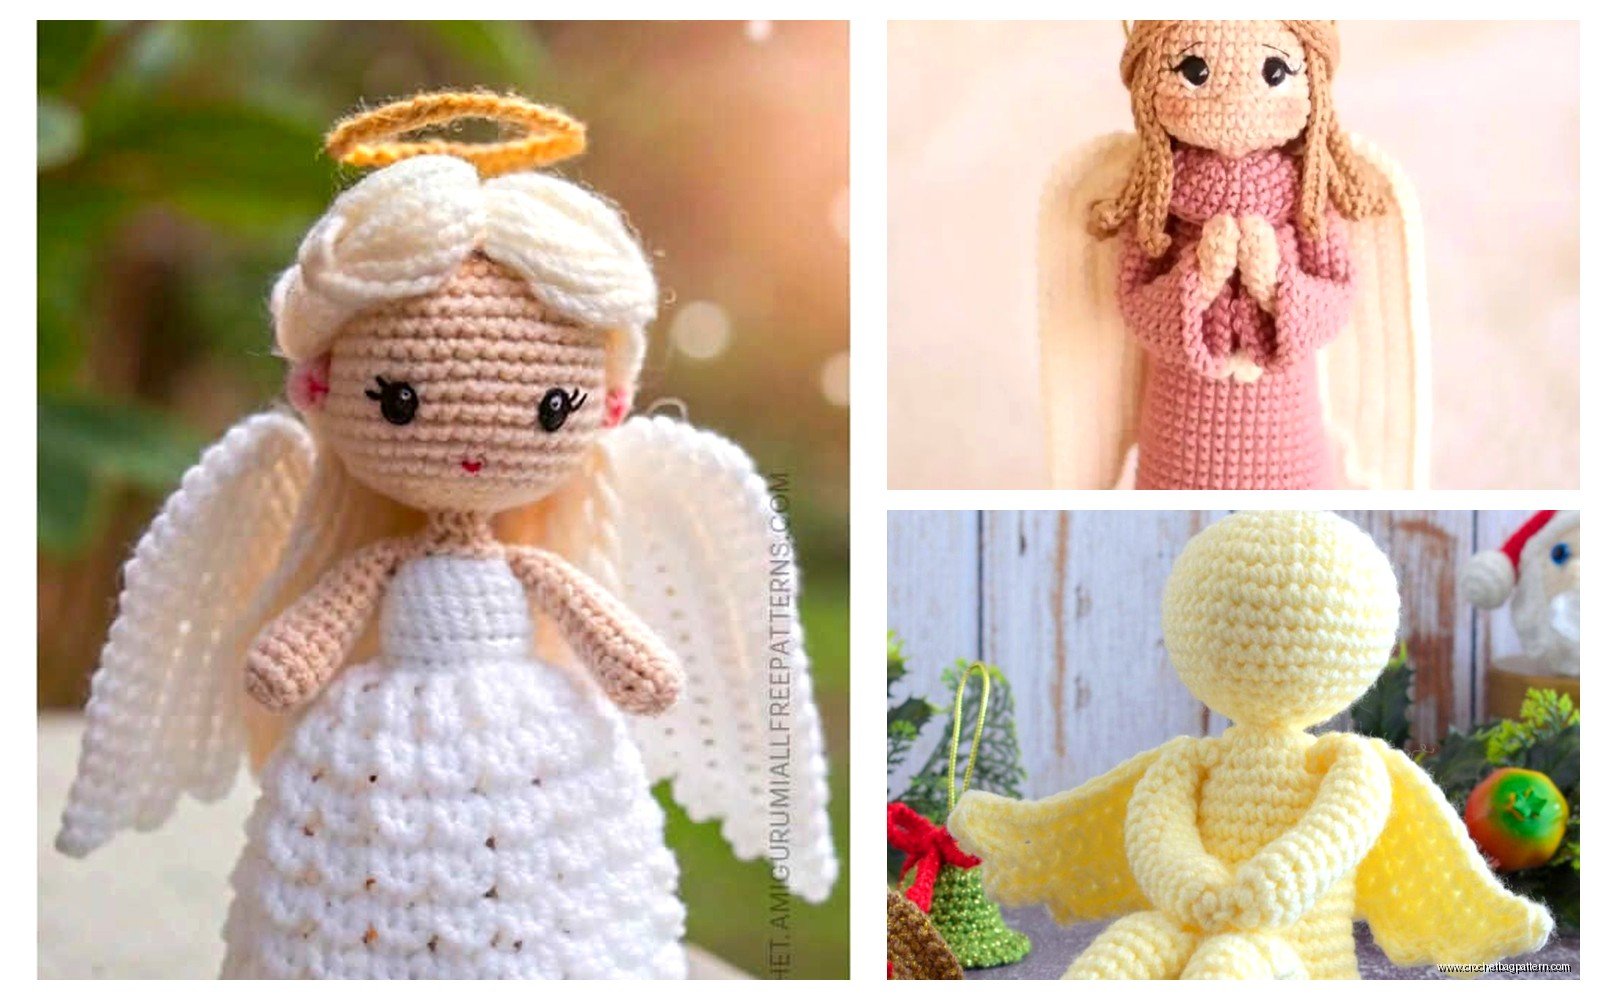
There’s basically three wing styles you’ll see in angel patterns: flat wings, 3D feathered wings, and simple oval wings. The flat ones are easiest – you literally just make two flat pieces in whatever shape, could be ovals or more detailed feather shapes, and sew them to the back. These work fine for small ornament-sized angels.
For bigger decorative angels though, the 3D wings look way better. These are usually made by creating a base shape and then adding rows of what are basically scallops or shells to mimic feathers. The pattern I used in 2022 had me do clusters of double crochet stitches that created this layered effect – it took forever but looked really good. You work from the bottom up usually, with each row of “feathers” slightly overlapping the previous one.
The simple oval wings are good if you’re in a hurry or making multiple angels. You just make two ovals, maybe add some surface crochet or embroidery to suggest feather details, and attach them. They read as wings from a distance which is all you really need for Christmas tree ornaments.
One thing about wings – make them bigger than you think you need to. I kept making wings that looked proportional while I was working on them but then when I attached them to the body they looked tiny and sad. Wings should be at least as long as the body, sometimes longer for that dramatic angel look.
Halos and Hair
Halos are usually just a ring of wire or a stiffened yarn circle. I’ve used both 20-gauge craft wire wrapped in gold or yellow yarn, and also just crocheted a small ring with fishing line worked in to keep it circular. The wire method stays in shape better but the fishing line one is less likely to poke through if kids are handling it.
You attach the halo to the back of the head with the same color yarn, stitching it in place so it hovers above. Some patterns have you make it float more, some have it sitting closer – depends on the style you want.
Hair is optional but adds personality. For summer 2024 I made a bunch of angels as gifts and gave them different hair – some with yarn curls made by wrapping yarn around a pencil and setting it with steam, some with straight yarn strands, one with a braid. Yellow or golden brown looks most traditional but honestly whatever works. The hair also helps hide where you attached the halo which is nice because that connection point can look messy.
Face Details and Embellishments
Safety eyes are the easiest option for faces – the 6mm or 8mm size usually works depending on your angel’s head size. Push them in before you stuff and close the head because you can’t add them after. If you’re making these for really small kids though, embroidered eyes are safer since there’s no choking hazard.
I usually just do two French knots for eyes and maybe a tiny smile with backstitch in pink or red embroidery floss. Some people get fancy with blush using actual makeup or chalk pastels but I’ve never bothered. The face is gonna be small anyway especially on ornament-sized angels so simple is better.
Christmas vs Decorative Styling
For Christmas angels obviously you want traditional colors – white, cream, gold, silver, red. I’ve made some with gold metallic yarn from Lion Brand mixed in with white for the dress part and it catches light really nicely on a tree. Red Heart Shimmer is also good for this if you can find it.
The decorative angels for year-round display can be any colors you want. I’ve seen people make them in pastels for nurseries, or jewel tones for general home decor. Spring 2022 when I made my first one I used a pale blue for the dress portion because I was… going through some stuff and wanted calming colors I guess, anyway it turned out nice and sits on my bookshelf now.
You can add other embellishments too – tiny ribbon bows, fabric scraps for dresses, felt cutouts, whatever. Some patterns include musical instruments or books for the angel to hold which is cute. I’ve made them holding tiny crocheted stars before using the same gold metallic yarn as the halo.
Common Problems and Fixes
The head flops forward a lot on these if your neck isn’t structured right. Some patterns don’t include a separate neck piece and just have you attach the head directly to the body, which never sits quite right. I usually make a small 4-5 round cylinder in the body color and stuff it really firmly, then attach the head to that. Gives more stability.
Wings falling off or sagging is another issue. You need to really secure them with multiple passes of yarn through the attachment points. I also sometimes add a tiny dab of fabric glue at the connection point after sewing them on – not enough to show but enough to keep everything in place.
Getting the proportions right takes practice. My first angel had a huge head and tiny body and looked kind of alien honestly. Most patterns will give you stitch counts but if you’re freestyling it or modifying a pattern, aim for the head being about 1/3 of the total height, body 2/3. Arms should reach to about mid-body when hanging down.
Pattern Resources and Modifications
There’s tons of free patterns online – Ravelry has like hundreds of angel patterns ranging from super simple to incredibly complex. I usually start with a basic pattern and then modify it because following patterns exactly stresses me out and also I inevitably lose my place or disagree with some design choice.
The basic formula once you understand it is: magic ring head with standard increase/decrease, tubular or cone body, small tube arms, wing shapes of your choice, halo circle, assemble. You can riff on this endlessly. Make the body longer for a more elegant angel, shorter for chunky cute ones. Add a dress overlay, don’t add one, whatever.
Size-wise you can make tiny ornament angels with sport weight yarn and a small hook – like 2.5mm or 3mm – or big statement piece angels with bulky yarn and a 6mm hook. The technique scales pretty easily. Just remember stuffing needs to be proportional – bigger angels need more stuffing obviously but also firmer stuffing to hold their shape.
Actually Using These Things
Christmas angels work great as tree ornaments – just add a loop of ribbon or yarn at the top of the head or halo. They’re also nice as gift toppers instead of bows, or strung together as a garland though that’s a lot of work. I’ve made sets of three in graduating sizes to sit on mantels or shelves which looks good.
For year-round decorative angels they’re nice in nurseries or kids rooms, on bookshelves, or even as car mirror hangings if you make them small enough. Some people make them as memorial pieces too which I think is sweet.
The nice thing about amigurumi angels versus like porcelain or resin ones is they’re soft and safe – won’t shatter if dropped, won’t hurt if a kid throws one, washable if they get dusty. Though honestly I’ve never actually washed mine, I just… haven’t needed to I guess.
Making multiples gets faster once you’ve done one or two. I can knock out a basic angel in maybe 3-4 hours now if I’m not doing anything fancy with the wings. More complex ones with detailed wings and embellishments might take 6-8 hours spread over a few days.
