
May
Getting Started with Hot Pads Because Your Counter Needs Protection
So hot pads are probably one of the easier things you can crochet when you’re starting out or just need a quick project. I made my first batch back in spring 2022 when I was really into making everything for my kitchen look coordinated and honestly it was right after my sister borrowed my good oven mitts and never returned them so I was like fine, I’ll just make my own.
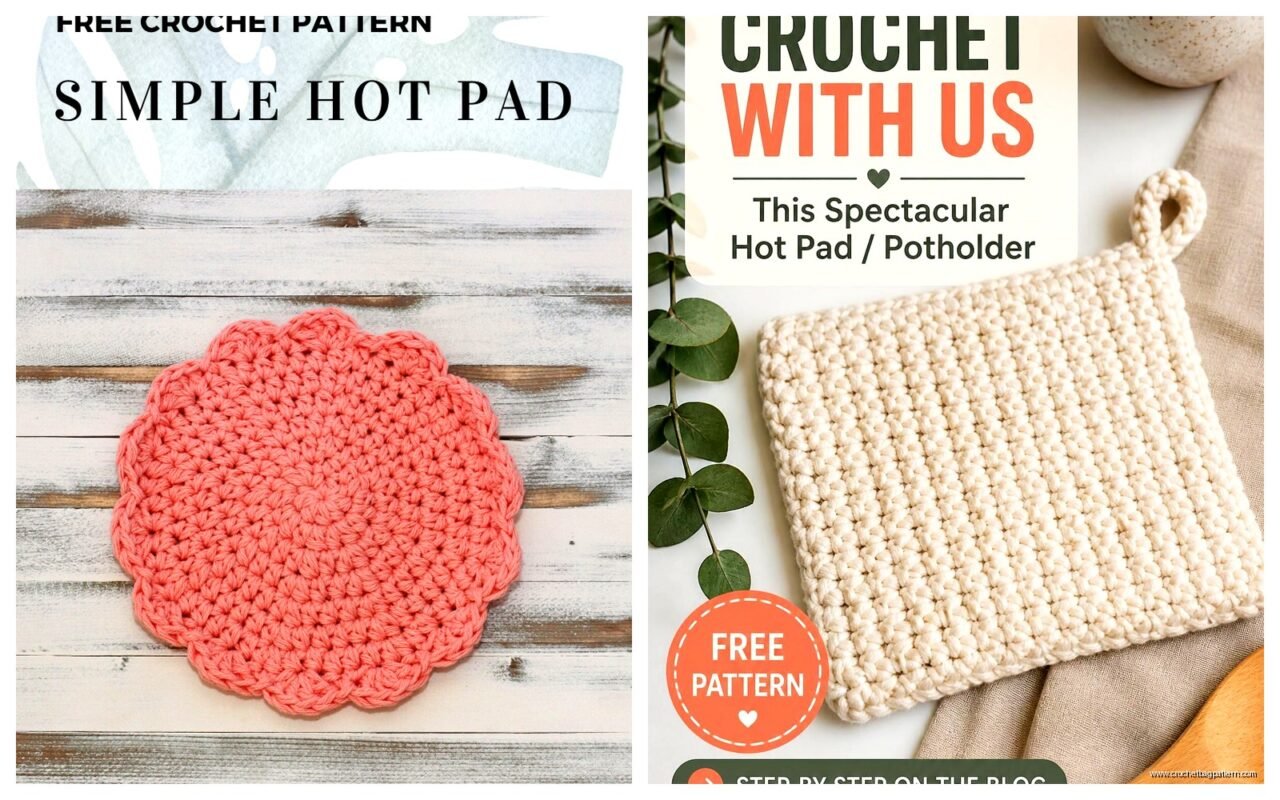
The basic idea is you want something thick enough to actually protect your hands or counter from hot pots but not so bulky that it’s annoying to store. Most patterns are gonna be either square or round because those are the easiest shapes to make when you’re working in rows or rounds.
Yarn Choices That Actually Matter
You need 100% cotton yarn for hot pads. This is not negotiable. Don’t use acrylic because it can melt if it gets too hot and that’s just dangerous and also smells terrible. I learned this the hard way with a potholder I made with Red Heart Super Saver (which is acrylic) and set a hot pan on it. The yarn didn’t catch fire but it definitely got weird and shiny in spots.
Good cotton yarns I’ve used:
- Lily Sugar’n Cream – this is the classic choice, super affordable, comes in a million colors
- Bernat Handicrafter Cotton – similar to Sugar’n Cream, maybe slightly softer
- I Love This Cotton from Hobby Lobby – if you shop there, it’s their house brand and works fine
- Peaches & Creme – basically the same as Sugar’n Cream, sometimes cheaper depending on sales
The worsted weight cotton is standard for most hot pad patterns. You can use a double strand of thinner cotton if that’s what you have but honestly just grab the worsted weight and save yourself the trouble.
Basic Square Hot Pad Pattern
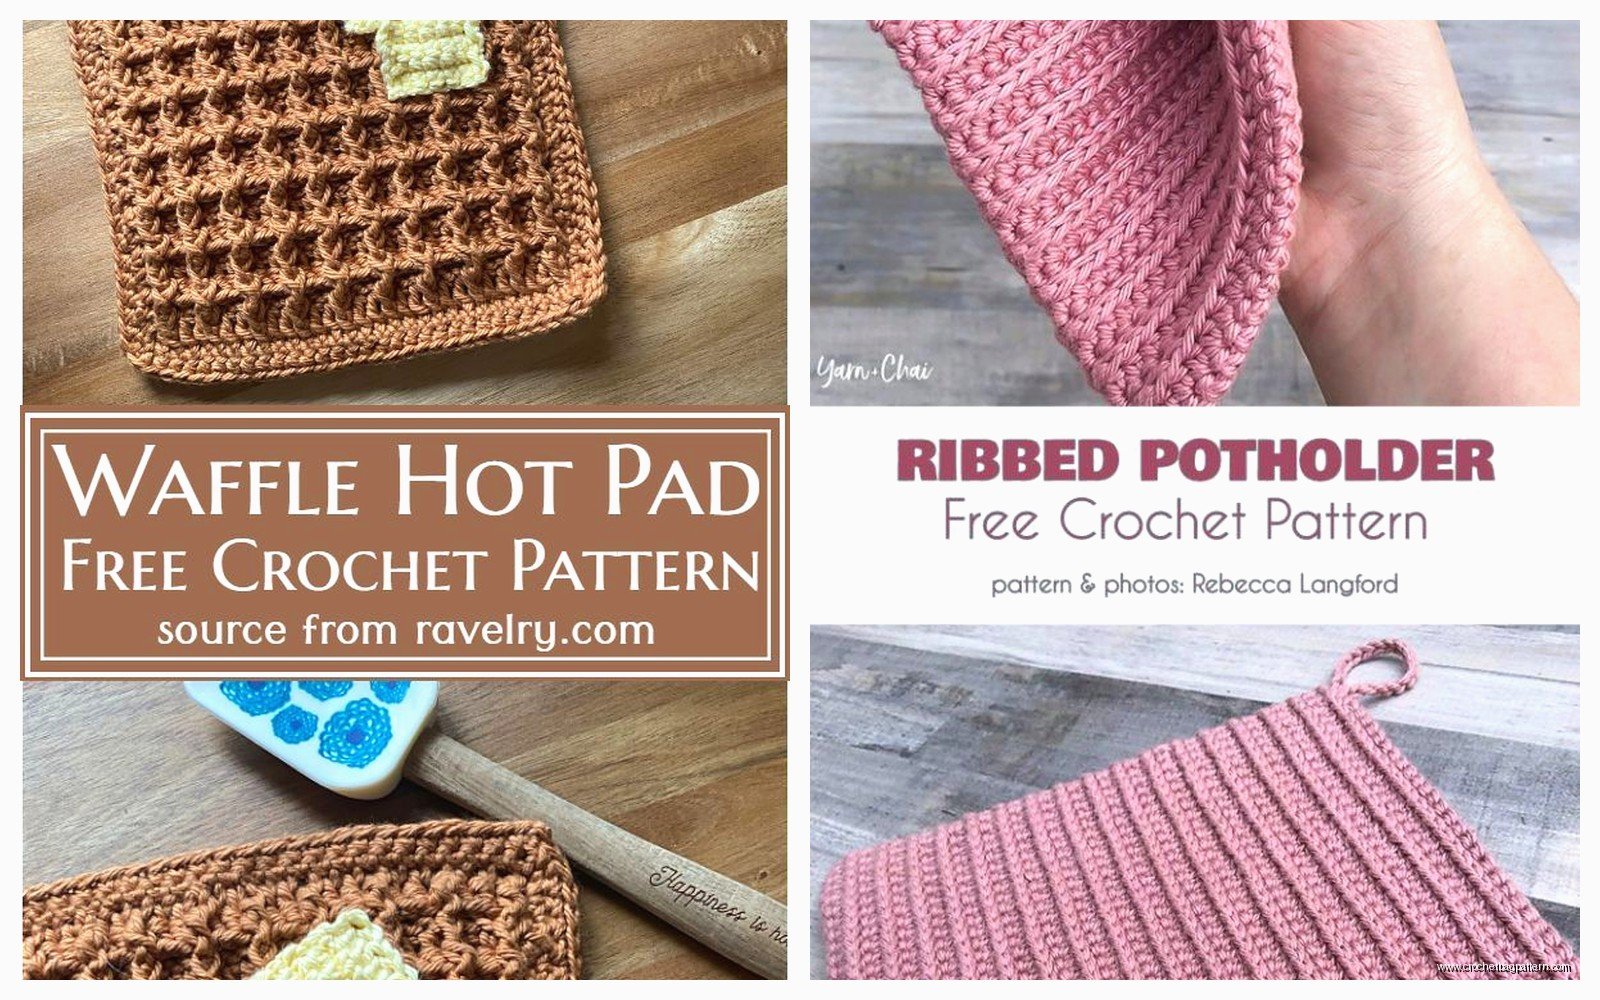
This is the simplest version and you can make it any size you want. I usually do about 8 inches square which is big enough for most pots.
Chain 25 (or however many you need for your desired width – just make sure it’s an odd number if you want a centered stitch pattern or whatever, though honestly it doesn’t really matter for a hot pad).
Row 1: Single crochet in second chain from hook, single crochet across. Chain 1, turn.
Row 2 and beyond: Single crochet in each stitch across. Chain 1, turn.
Keep going until it’s square. That’s it. That’s the whole pattern.
The thing that annoyed me most about making hot pads is that you really need to make them double thickness or use a thicker stitch to get proper heat protection, which means they take longer than you’d think for something so small. I thought I’d whip out like 6 of them in an evening but nope.
Making It Thicker for Better Protection
A single layer of single crochet in worsted cotton isn’t thick enough for serious heat protection. You’ve got a few options:
Option 1: Make two squares and crochet them together. Just line them up and single crochet around the edges, going through both layers. You can add a loop in one corner for hanging if you want.
Option 2: Hold two strands of yarn together while you work. This makes it thicker automatically but uses way more yarn obviously.
Option 3: Use a thicker stitch pattern like half double crochet or double crochet. These create more loft but you might need to do two layers anyway depending on how tight your tension is.
I usually do option 1 because I like having control over each layer and making sure they’re even.
The Loop Situation
If you want a hanging loop (which is useful for storage), chain about 10-15 when you’re doing the edging on one corner, then continue your edging. Or you can sew a separate small chain onto the corner after. I always forget to add the loop while I’m working and have to go back and attach one later which is annoying but whatever.
Round Hot Pad Pattern
Round ones are nice because they look a bit fancier and there’s no corners to deal with. Plus they work well under round pots obviously.
Start with a magic ring or chain 4 and join with a slip stitch to form a ring.
Round 1: Chain 1, work 8 single crochet into the ring. Join with slip stitch to first single crochet.
Round 2: Chain 1, work 2 single crochet in each stitch around. Join. (16 stitches)
Round 3: Chain 1, *single crochet in next stitch, 2 single crochet in next stitch* repeat around. Join. (24 stitches)
Round 4: Chain 1, *single crochet in next 2 stitches, 2 single crochet in next stitch* repeat around. Join. (32 stitches)
Keep increasing every round by working one more single crochet between increases until your circle is the size you want. Usually about 8 inches diameter is good.
Same deal with thickness – make two and join them together.
Textured Patterns That Still Work
You don’t have to stick with plain single crochet. Some texture patterns actually make better hot pads because they create more thickness.
The bobble stitch pattern works great – you make little bumps across the surface which adds dimension and heat protection. I made a set of these in summer 2024 while watching that show The Bear (the kitchen chaos was somehow relaxing?) and they turned out really nice. The bobbles are just [yarn over, insert hook, pull up a loop, yarn over pull through 2] repeat 4-5 times in the same stitch, then yarn over and pull through all the loops on your hook.
The waffle stitch is another good one – it creates a thick, squishy texture. You alternate front post and back post double crochets to make the raised pattern.
Granny squares can work too if you do them tight enough and double layer them, but I find they’re not quite as protective because of all the spaces in the pattern, even when you use solid rounds instead of chain spaces.
Color and Design Stuff
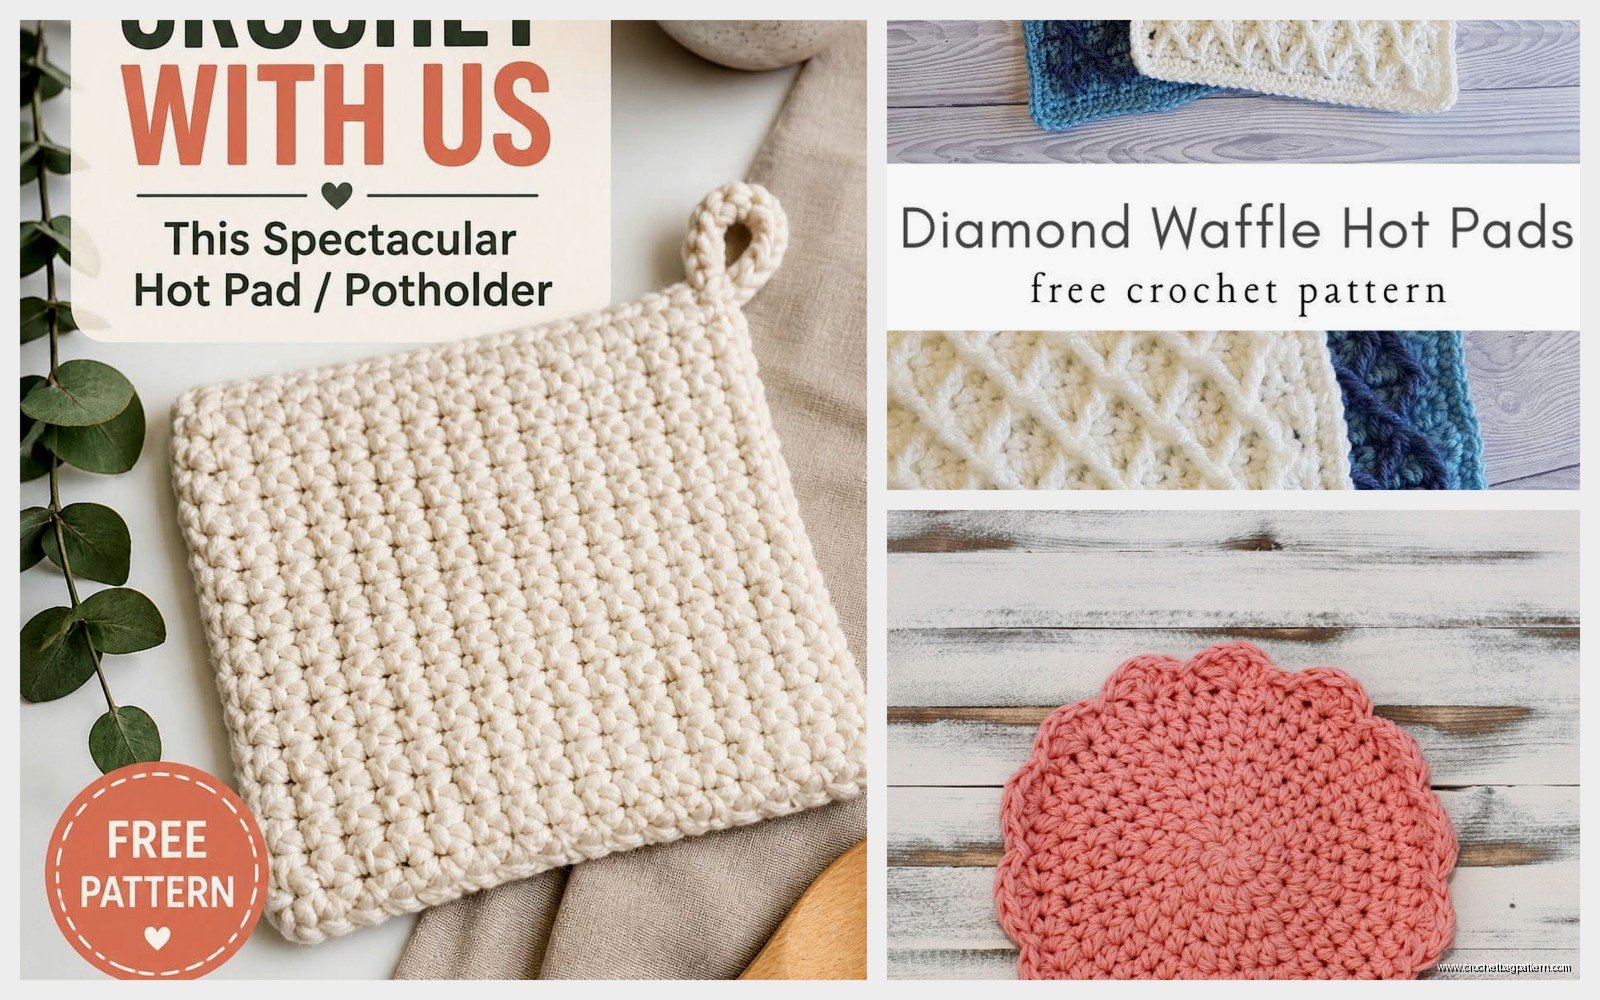
Since you’re using cotton yarn you’ve got tons of color options. I usually make mine in colors that match my kitchen or just use up whatever cotton yarn I have sitting around.
Stripes are easy – just change colors every row or every few rows. Carry the unused color up the side if you’re doing thin stripes so you don’t have a million ends to weave in.
You can do color blocks by working in sections or using the tapestry crochet method but honestly for a hot pad that seems like more effort than it’s worth unless you really want a specific design.
Variegated Yarn
The variegated colorways in Lily Sugar’n Cream are fun for hot pads because you get color variation without having to change yarns. The “Beach Ball” colorway is particularly popular and looks summery. I used “Mod Ombre” once and it came out looking like a sunset which was cool.
Size Considerations
Most hot pads are between 7-9 inches square or in diameter. That’s big enough for standard pots and pans but not so huge they take up your whole drawer.
If you’re making them as trivets for the table you might want to go bigger – like 10-12 inches – so they can hold a casserole dish or large serving bowl.
Smaller 5-6 inch ones work as coasters for hot mugs or small pots but they’re kinda in that awkward middle ground where they’re too thick for regular coasters but too small for actual pot holding.
Edge Finishing
The edges of your hot pad matter more than you’d think. A sloppy edge looks unfinished and can curl up.
For square hot pads, I usually do one round of single crochet around the entire edge, working 3 single crochet in each corner to keep it flat. You can do a second round if you want a more defined border.
For round ones, a simple single crochet edge works fine. Some people like to do a picot edge or shell edge for decoration but that’s really not necessary for something functional like a hot pad.
Make sure you’re going through both layers if you’ve made a double-thickness pad.
Washing and Care
Cotton hot pads can go in the washing machine which is good because they’re gonna get dirty. I usually wash mine with kitchen towels on warm or hot and tumble dry on low.
They might shrink a tiny bit the first wash but not much. The colors in Lily Sugar’n Cream have been pretty colorfast in my experience – I haven’t had any major bleeding issues even with dark colors.
If you get grease or food stains on them, treat them like any other kitchen textile. A little dish soap directly on the stain before washing usually does the trick.
Common Mistakes I’ve Made
Making them too thin – seriously you need that double layer or thick stitch pattern or you’ll burn yourself
Using fuzzy or textured yarn thinking it would be fine – nope, stick with smooth cotton
Not blocking them after making – cotton can get kinda wonky shaped and a quick steam block or wet block makes them lay flat and look more professional
Making the loop too short – if you’re gonna hang them you need at least a 3-4 inch loop or it won’t fit over most hooks
Quick Project Ideas
Hot pads make good gifts if you’re into that. I made a set of 4 matching ones for my mom’s birthday once with some Bernat Handicrafter Cotton in this teal color she likes and she actually uses them which is rare for handmade gifts.
They’re also good for craft fairs if you sell your work – people will pay like $8-12 for a nice handmade hot pad set and they don’t take forever to make once you get into a rhythm.
You can make seasonal ones too I guess… like orange and black for Halloween or red and green for Christmas but I’ve never been that organized about my kitchen accessories.
When You Mess Up Mid-Project
If you’re working on a hot pad and realize you miscounted or your edges are wonky, just frog it. The yarn isn’t wasted – cotton is super reusable and doesn’t get damaged from frogging like some fibers do. I’ve reused the same ball of Sugar’n Cream for like three different hot pads before I finally made one I was happy with.
If your tension is uneven that’s gonna show up really obviously on something flat like a hot pad, so this is actually good practice for getting consistent tension. My cat knocked my hook off the table once right in the middle of a round hot pad and I lost track of where I was… ended up just starting over because trying to figure it out was more annoying than just remaking it.
The nice thing about hot pads is they’re small enough that starting over isn’t a huge time investment. Unlike a blanket where you might cry if you have to frog 20 hours of work.
Pattern Resources
Ravelry has thousands of free hot pad patterns if you want something more specific than what I’ve described here. Just search “crochet hot pad” or “crochet potholder” and filter for free patterns.
YouTube has tons of video tutorials too if you’re more of a visual learner. Watching someone make a round hot pad helped me understand the increasing pattern better than written instructions did.
A lot of the vintage crochet patterns from like the 70s have great hot pad patterns too – those avocado green and harvest gold ones your grandma probably had. The patterns themselves are usually solid even if the color choices are dated.
