
May
Getting Started with the Fork Thing
So hairpin lace is basically this weird technique where you use a U-shaped fork tool instead of just your regular hook and it creates these loopy strips that look way fancier than the effort you actually put in. I made my first real piece back in spring 2022 when I was stuck at home with nothing to do and kept seeing these vintage patterns online.
The fork itself – some people call it a hairpin lace loom but honestly it’s just a fork – is literally two parallel metal prongs held together by a bar at top and bottom. You can adjust the width on most of them. Mine’s adjustable from like 1 inch to 4 inches between the prongs. Got it off Amazon for maybe $15, nothing fancy. Red Heart brand I think? No wait, that’s yarn. The fork was just generic.
What You Actually Need
You need the fork tool obviously, and a crochet hook that’s comfortable for you. I used a size G hook mostly because that’s what I grab for everything. Yarn-wise I’ve used Red Heart Super Saver (the burgundy color for a scarf), some Caron Simply Soft in like a cream color, and this one time I tried Lion Brand Wool-Ease but it was too splitty and annoyed me. The Caron worked best honestly because it had enough grip to stay put but slid around the prongs easily enough.
Don’t use anything too slippery or you’re gonna hate your life. I tried some acrylic blend that I can’t remember the name of and the loops kept sliding off the bottom before I could secure them.
The Basic Process
Okay so you start by making a slip knot on your hook like normal. Then you’re gonna place that loop onto the left prong of the fork. The working yarn goes behind the fork, around the right prong, and back to where your hook is. You insert the hook under the front loop on the left prong, yarn over, pull through, then yarn over again and pull through both loops on your hook. That’s basically a single crochet but you’re doing it around the prong.
Here’s where it gets weird – you turn the entire fork toward you, like rotating it 180 degrees. The loop that was on the left prong is now on the right prong, and you’ve got the working yarn coming from behind again. You always work on the left prong. Always. Even though you keep switching which side that actually is by turning the fork.
So you insert your hook under the front loop on the left prong again, single crochet, turn the fork. Insert hook, single crochet, turn. Over and over. My cat kept trying to bat at the yarn while I was doing this and I had to lock her out of the room because she kept making the tension all wonky.
The Thing That Drove Me Crazy
The most annoying part is that the loops start piling up on the prongs and you have to slide them off the bottom periodically. But you can’t just yank them off because then they twist or you lose your place. You have to gently slide them down while keeping tension on the working yarn and making sure the bottom bar of the fork is removed or loosened. I definitely dropped loops more than once and had to frog back like twenty rows because I couldn’t figure out where I was anymore.
Also your hands get tired from turning the fork constantly. Nobody tells you that part. I was watching The Crown while doing my first strip and my wrist started aching after like an hour.
Counting and Keeping Track
Each time you turn the fork, that’s one “stitch” or one loop added to each side. So if you want 100 loops on your strip, you turn 100 times. I used a row counter for a while but honestly I just started marking every 20 turns with a stitch marker woven through the loops on one side. Way easier than clicking that little counter thing constantly.
The strips can be whatever length you want. For a scarf I made probably 200 loops? Maybe more. I wasn’t being precise which is very on-brand for me. You can make short strips for joining together into blankets or shawls, or one really long strip that you coil or fold.
Taking It Off the Fork
When you’re done with your strip length, you gotta secure the last loop or the whole thing unravels. Cut your yarn leaving a tail, yarn over and pull through the loop on your hook to fasten off. Then carefully slide alllll those loops off the bottom of the fork. Remove the bottom bar first obviously.
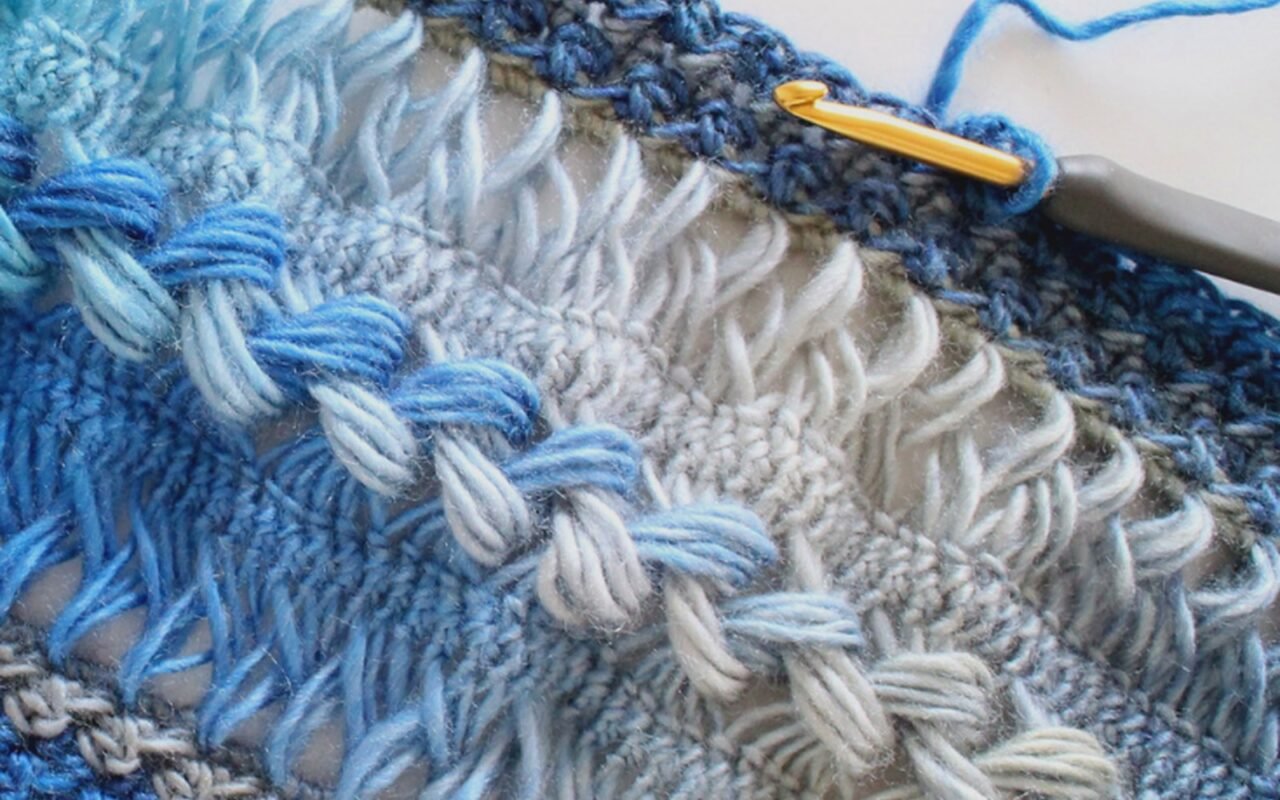
Now you have this long strip with loops hanging off both sides and a single crochet spine down the middle. It looks like a weird caterpillar or something. This is normal.
Joining and Finishing
This is where hairpin lace actually becomes something usable. You can join strips together side by side, or you can work stitches through the loops to create different patterns and close up the lacey gaps.
The most basic way is to take groups of loops – like 3 or 4 loops at a time – and single crochet them together. So you’d insert your hook through 3 loops on one side, yarn over, pull through, then yarn over and pull through the loop on your hook. That bunches the loops together and creates this fan effect.
You can also join two strips by working through loops from both strips at the same time. Take 2 loops from strip A and 2 loops from strip B, single crochet through all 4 together. Keeps going down the length.
For my spring 2022 scarf I did the thing where you work back along the same strip – so I took 4 loops at a time and did slip stitches through them, which created this really dense gathered edge on both sides. It looked almost like ruffles? The center stayed open and lacey. I used that burgundy Red Heart Super Saver and it actually turned out decent even though that yarn usually looks kinda cheap.
Variations on the Basic Stitch
Instead of single crochet for the center spine, you can do half double crochet or double crochet. This makes the spine wider and the loops sit differently. I tried half double crochet with the Caron Simply Soft and it made the strip floppier, more drape-y. Good for lightweight shawls probably.
Some people do multiple stitches between turns? Like single crochet twice before turning the fork. I tried this once and couldn’t figure out what the point was, it just made everything bunchy. Maybe I did it wrong.
You can also change colors as you go which creates stripes down the spine. Just fasten off one color and join the next like you would in regular crochet. The loops will be different colors on different sections.
Problems I Ran Into
Besides dropping loops off the fork, the other issue is tension. If you crochet too tight, the spine gets scrunched up and the whole strip curves instead of laying flat. Too loose and the loops are all different sizes and it looks sloppy. You kinda have to find a middle ground.
Also the fork width matters more than you’d think. I started with the prongs set at 2 inches apart and the loops were SO big that when I tried to join them it looked ridiculous, like clown ruffles. I redid it at 1.5 inches and it was way better. Now I usually work at 1.5 or 1.75 inches depending on the yarn weight.
Splitty yarn is your enemy here. The Lion Brand Wool-Ease I mentioned? Every single stitch the yarn would split when I pulled through and I’d end up with uneven loops or I’d accidentally only catch half the yarn strand. Drove me insane. Stick with smooth yarn that’s tightly plied.
What to Make
Scarves are the obvious choice because they’re just one long strip with the edges finished. I’ve made probably three scarves total and they work up faster than you’d think once you get the rhythm down.
Shawls are popular – you make multiple strips and join them, or make one really long strip and fold it in specific ways. I haven’t tried this yet because shawls seem complicated and I lose interest in projects that take too long.
Some people make blankets from like a million small strips joined together. That sounds like hell to me but maybe you’re more patient than I am.
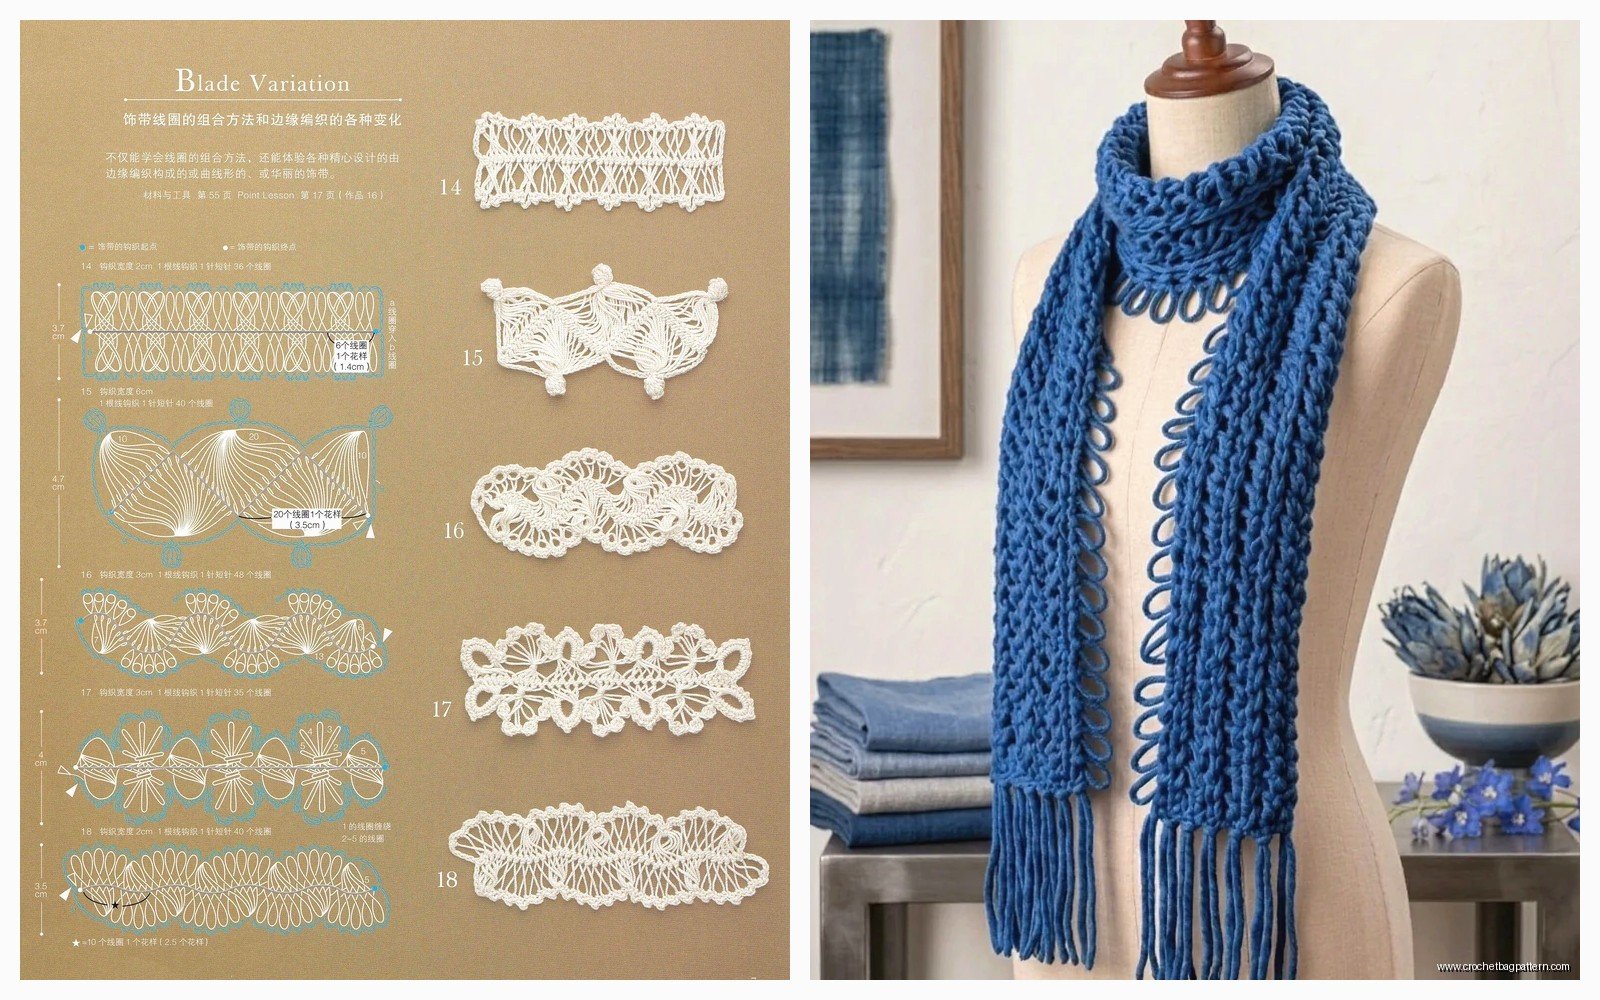
I’ve seen people make trim or edging using hairpin lace – like a narrow strip with small loops that you sew onto the edge of a regular crochet blanket or sweater. That actually seems smart because it’s a small amount of hairpin work but adds texture.
Reading Vintage Patterns
If you go looking for hairpin lace patterns online you’ll find a ton from like the 1950s and 60s. They’re written weird compared to modern patterns. They’ll say things like “make a strip of 150 loops, 2-inch spacing” and then “join loops in groups of 5 with chain 3 between” and you just gotta figure out what that means.
Usually they expect you to know the basic fork technique already and they only explain the finishing and joining. Which is annoying when you’re starting out but once you’ve made a couple strips you can decode them.
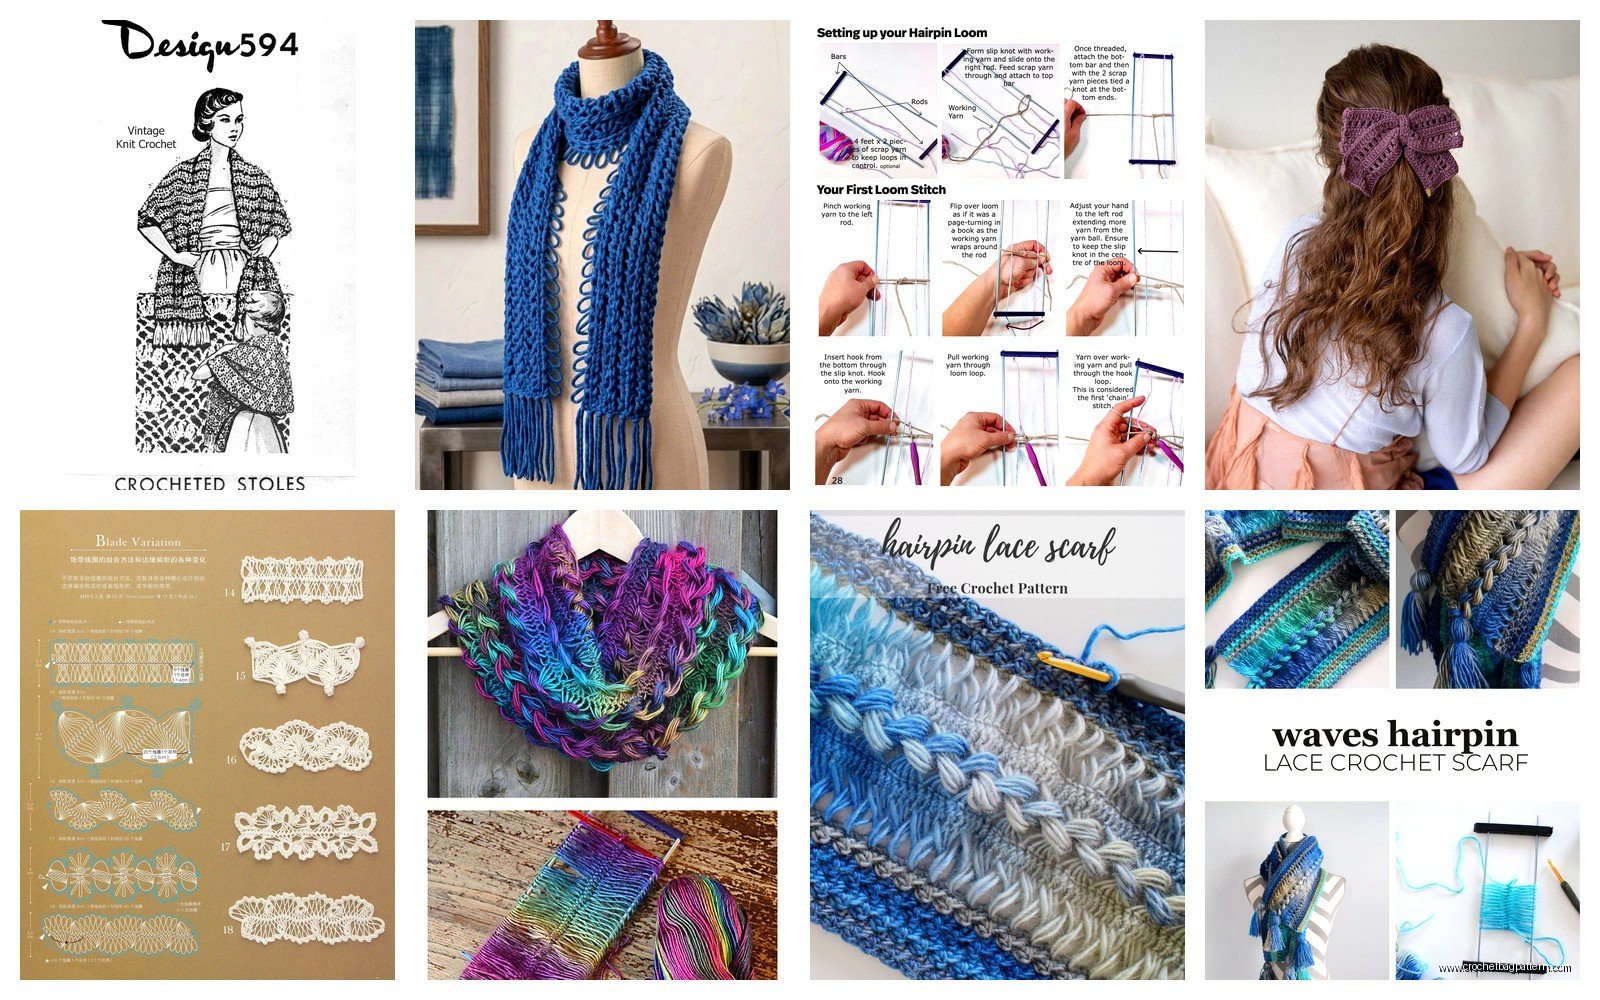
The diagrams in vintage patterns are actually more helpful than the written instructions sometimes. They’ll show you exactly how many loops to grab and where to put your stitches.
Adjusting Fork Width While Working
You can technically change the width of your fork mid-strip if you’re careful. Like if you want a tapered effect or something. You have to slide all the loops off, adjust the prongs, then slide the loops back on in the same order. I did this once by accident when my fork came loose and honestly it worked fine, the loops just got gradually wider. Could be useful for shaped pieces maybe.
Blocking Matters
I don’t usually block my crochet stuff because I’m lazy but hairpin lace really does need it. The strips tend to twist or curl and blocking straightens everything out and opens up the lace pattern. I just pin it to a foam board, spray it with water, and let it dry. Takes like a day but makes it look way more professional.
That burgundy scarf I made looked kind of sad and twisted until I blocked it and then suddenly it looked like something I could actually wear in public.
Combining with Regular Crochet
You can use hairpin lace strips as inserts in regular crochet projects. Like crochet a rectangle in single crochet, then add a hairpin lace strip down the middle for texture. Or use narrow hairpin strips as the straps on a tank top or something.
I keep meaning to try this but haven’t gotten around to it. Seems like it would be cool though – mixing the dense regular crochet with the open lacey hairpin parts.
Forking Without a Fork
Apparently you can do this technique with just a ruler or a piece of cardboard cut to width if you don’t wanna buy the actual tool. I haven’t tried it because I already have the fork but I’ve seen people mention it online. You’d need to be more careful about the loops sliding off since there’s no bottom bar to hold them.
Some people use a knitting needle or a really big crochet hook as a makeshift fork for narrow strips? Thread the working yarn around it instead of using two prongs. Seems fiddly but could work in a pinch.
Yarn Weight Considerations
I’ve only used worsted weight yarn (the medium #4 weight) because that’s what I usually have around. Supposedly you can use any weight but you’d need to adjust your fork width and hook size accordingly.
Thinner yarn would need narrower prong spacing or the loops would be too droopy. Bulky yarn would need wider spacing and probably wouldn’t work well for delicate lace looks – more like chunky decorative strips.
The Caron Simply Soft I used was perfect weight-wise, not too thick or thin, and it has a nice sheen that made the finished piece look more elegant than the Red Heart which is kinda matte and flat-looking.
Speed and Time
Once you get the motion down it’s pretty mindless and goes quick. You can watch TV or listen to podcasts easily while doing it since you’re just repeating the same motion over and over – crochet, turn, crochet, turn. I got through like four episodes of that show while making strips for the scarf.
A 100-loop strip maybe takes me 30-40 minutes now? When I first started it was more like an hour because I kept messing up and having to redo sections.
The joining and finishing takes longer than making the strips honestly, especially if you’re doing anything decorative with the loops instead of just bunching them together simply.
Anyway that’s basically hairpin lace crochet. Make loops on a fork, slide them off, do something with them to create an actual item. It’s weird at first but once your hands figure out the turning motion it’s actually pretty relaxing and you end up with something that looks way more complicated than it actually was to make.
