
Apr
Finding Free Patterns That Actually Work
So the first thing you gotta know is that not all free patterns are created equal. I learned this the hard way back in spring 2022 when I decided to make a basic beanie for my sister and ended up with something that looked like a deflated balloon. The pattern said “easy” but didn’t mention that you needed to understand tension or that different yarn weights would completely change the size.
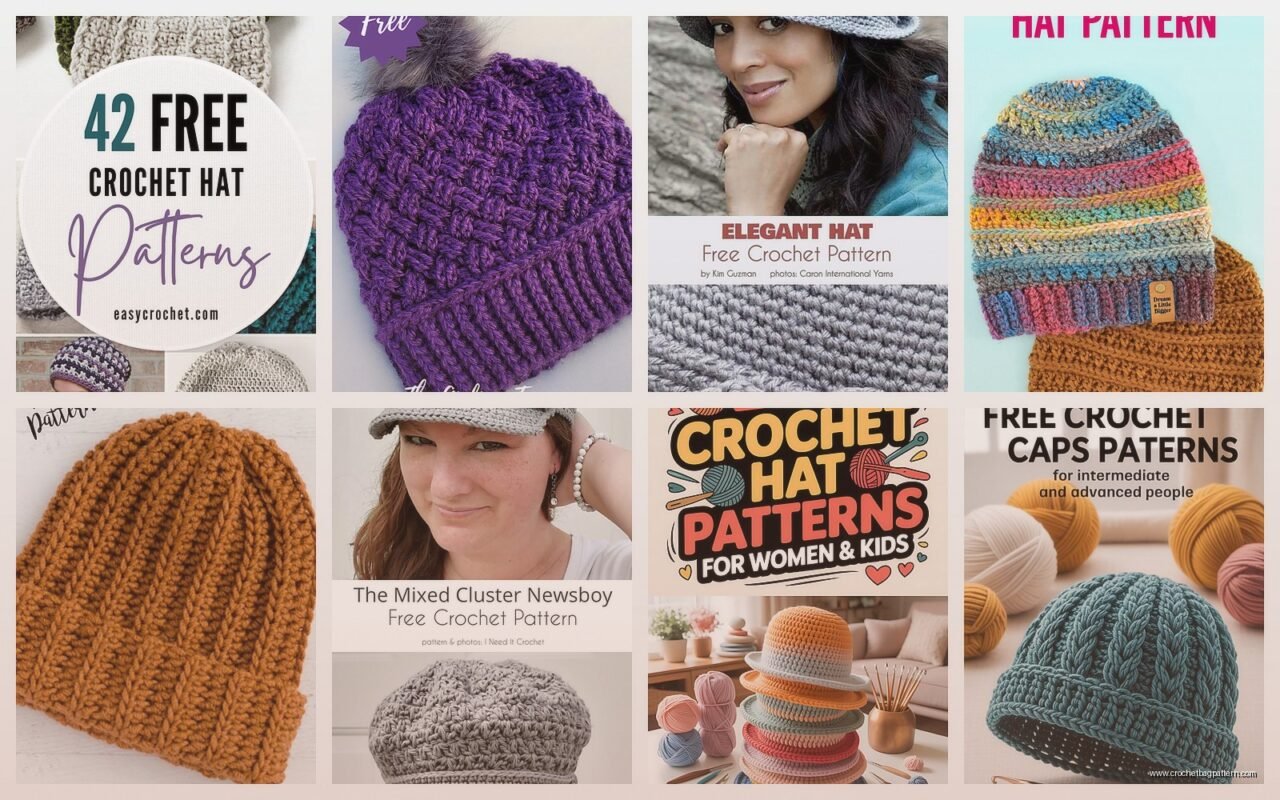
Best places I’ve found for free patterns are Ravelry obviously, and then random blogs where people just share their stuff. YouTube is actually better sometimes because you can see what the finished hat is supposed to look like on an actual human head. I made this really cute slouchy beanie last summer 2024 using a pattern from some blog I found at like 2am while my cat was yowling at nothing in the corner—that was annoying but the pattern turned out great.
Picking Your First Pattern
If you’ve never made a hat before just start with a simple beanie that works up from the bottom. The ones that start at the crown and work down are actually harder even though some people say they’re easier because you can try it on as you go or whatever.
Look for patterns that have:
- Actual stitch counts written out not just “continue in pattern”
- Photos of multiple steps not just the finished product
- A gauge swatch recommendation even if you’re gonna ignore it
- Comments or reviews from other people who made it
The thing that annoyed me most about free patterns is when they assume you know what they mean by “work even” or “continue as established” like no Karen I need you to tell me exactly how many stitches.
Yarn Choices That Won’t Make You Hate Everything
I’ve used a bunch of different yarns for hats and honestly the cheap stuff works fine for learning. Red Heart Super Saver gets a bad rap but it’s literally fine for a basic beanie and it comes in every color. I made probably five hats with that before I moved on to fancier stuff.
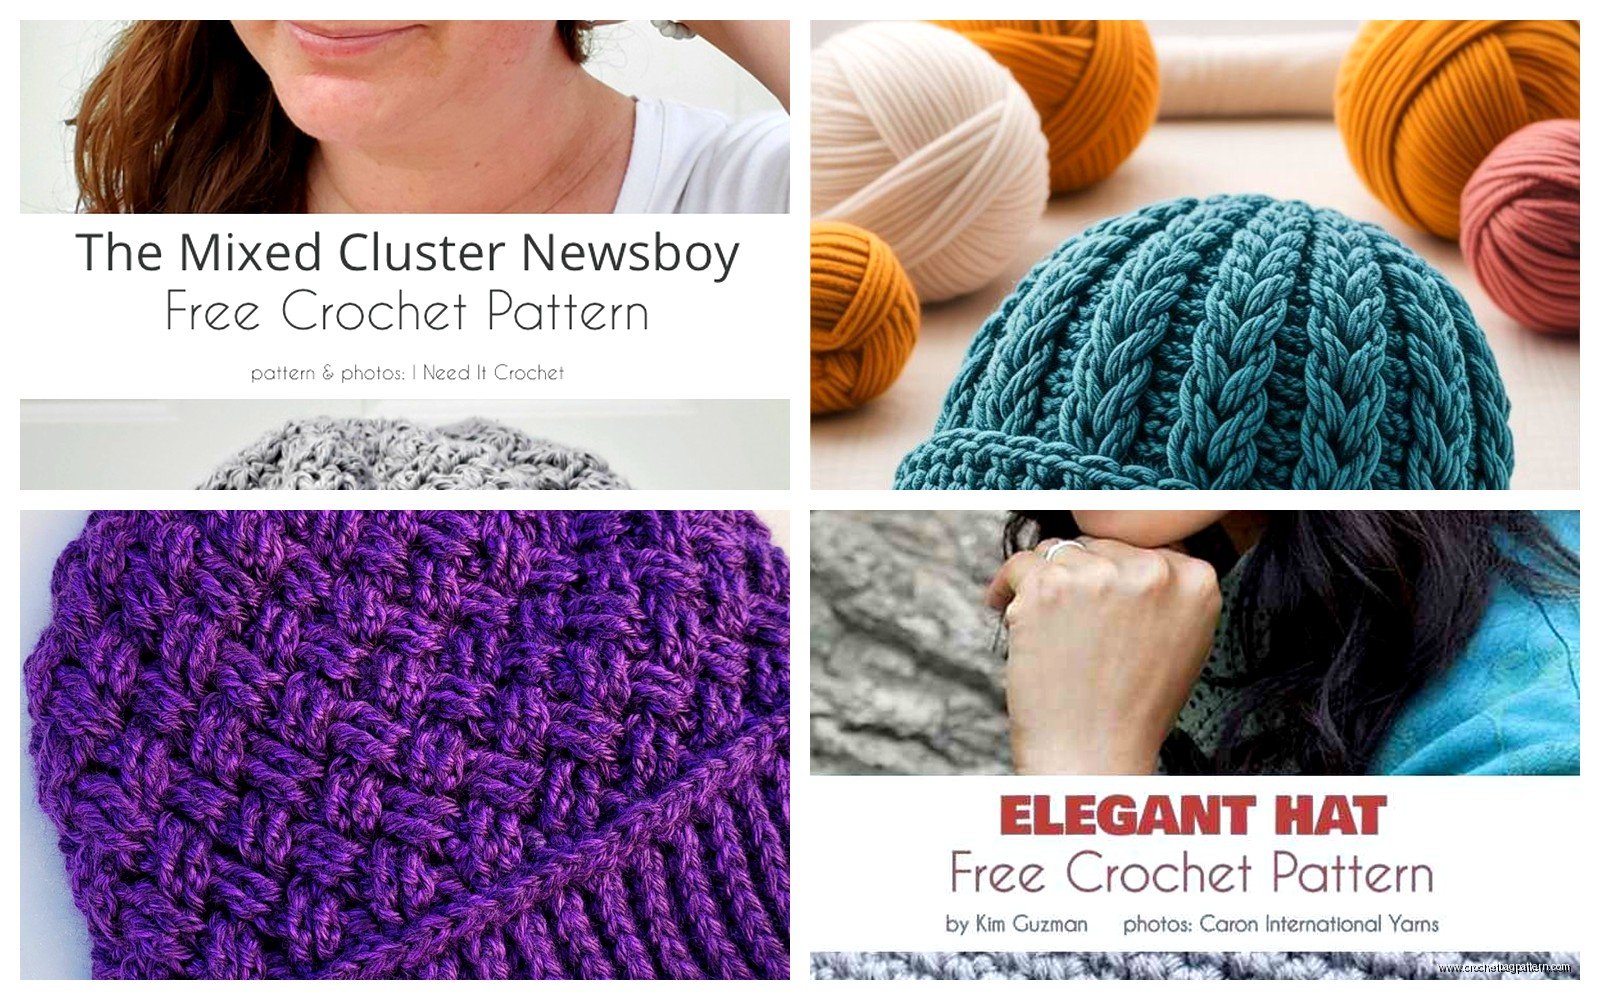
For something softer that still doesn’t cost a million dollars, Lion Brand Wool-Ease is pretty good. It’s acrylic and wool mixed so it’s warm but also machine washable which matters if you’re making hats for other people who won’t hand wash things. I used the Fisherman color for a hat I made during a really bad breakup in fall 2023 and just worked on it every night while watching Love Island or… anyway it held up really well.
If you want to get fancy, Caron Simply Soft is nice and squishy. The colors are better than Red Heart too. I made a dark gray beanie with it and wore it constantly until I lost it somewhere.
How Much Yarn You Actually Need
Most adult beanies take between 150-250 yards depending on the style. A slouchy hat needs more obviously. I always buy two skeins of worsted weight because I hate running out and having to match dye lots. Plus then you have leftover yarn for like a matching scarf or whatever.
The pattern should tell you yardage but add a little extra if:
- You crochet tightly
- You’re making it for someone with a big head
- You tend to make mistakes and have to rip out sections
- The pattern includes a pompom or other decoration
Basic Beanie Construction
Okay so most simple beanies work the same way. You make a ribbed brim by working in the back loop only or doing some kind of post stitch, then you switch to regular stitches for the body, then you decrease at the crown.
The brim is usually about 2-3 inches of ribbing. I do half double crochet in the back loop only because it’s stretchy and looks like knit ribbing kind of. You work this flat and then seam it into a circle, or you can work in the round if you don’t mind a little jog at the beginning of each row.
For the body you’re just going around and around in whatever stitch the pattern calls for. Half double crochet is my go-to because it works up faster than single crochet but isn’t as holey as double crochet. You want the fabric tight enough that wind doesn’t go through it but not so tight that it won’t stretch over someone’s head.
The Crown Decreases
This is where patterns get weird and everyone does it differently. Some patterns have you decrease evenly around, some do it in sections to create a spiral effect, some make a flat circle on top.
The easiest method I’ve found is to divide your total stitches by 6 or 8, then decrease in those sections every other round until you have just a few stitches left. Then you cut the yarn and pull it through all the remaining stitches and cinch it tight.
I messed this up SO many times when I was learning. The hat would be perfect and then the top would be pointy like an elf hat or it would be too flat and look weird. You kind of have to feel it out honestly.
Specific Pattern Types
There are like a million variations but here are the main ones I’ve made:
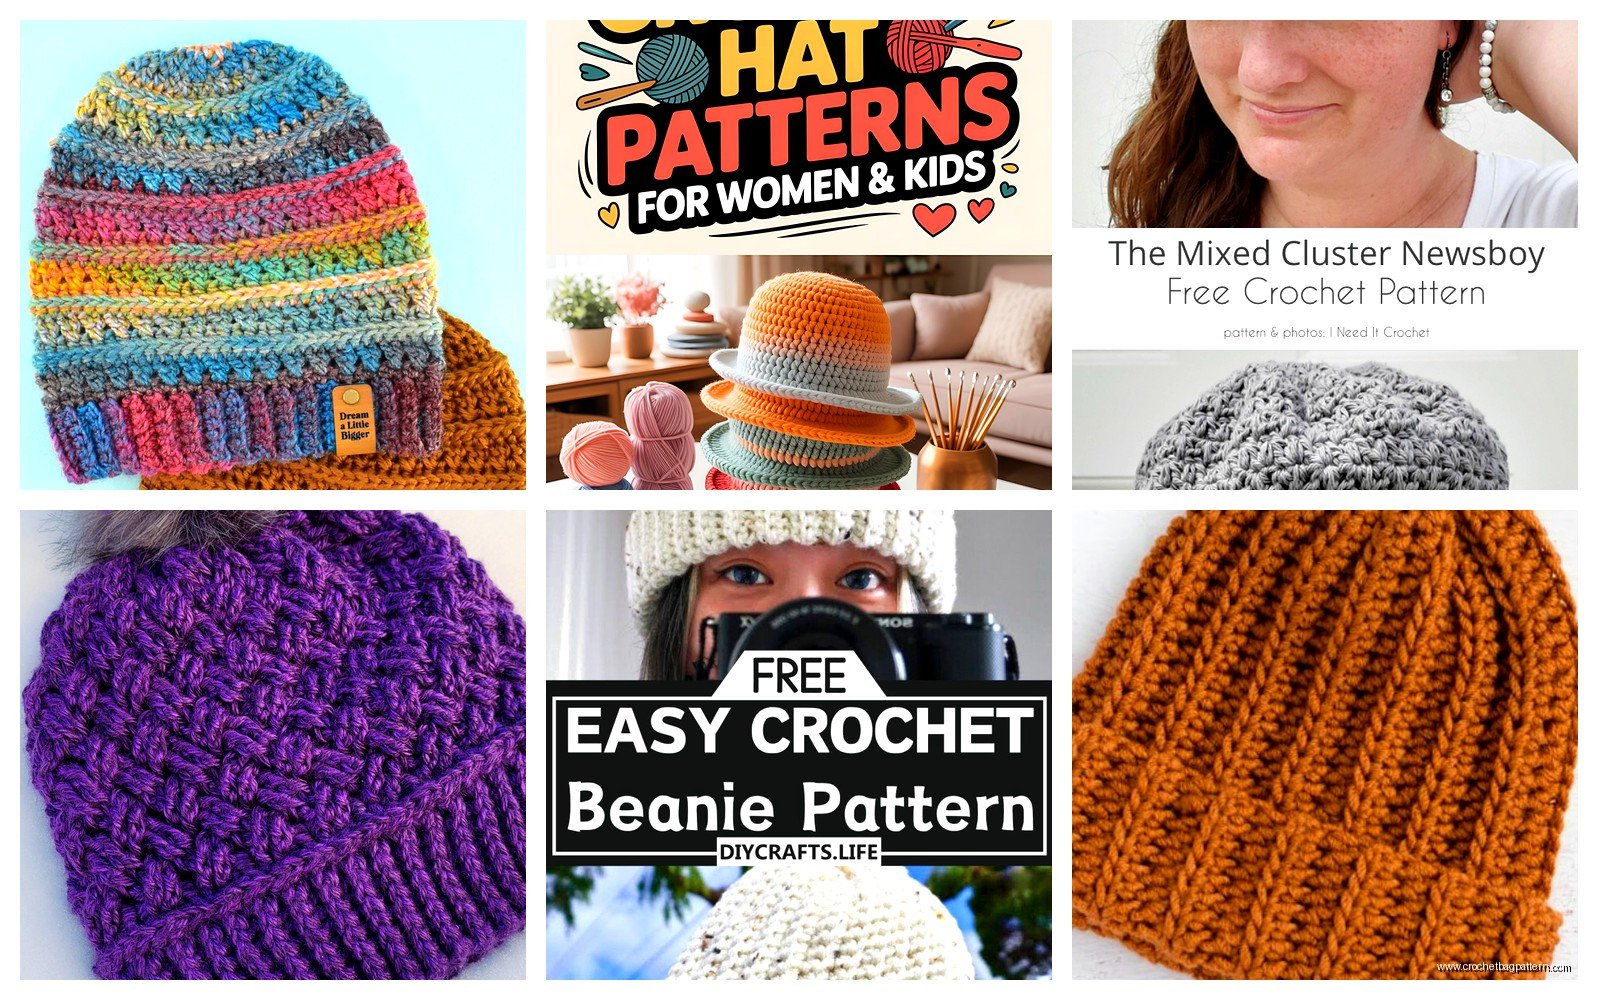
Classic Ribbed Beanie
This is your basic everyday hat. Ribbed brim, simple stitch body, basic decreases. Takes maybe 3-4 hours if you’re not stopping to watch TV or whatever. I made one of these in summer 2024 even though it was hot because I was testing out this new yarn I got on sale at Michaels—I think it was their house brand Loops and Threads in some blue color.
These are good for gifts because they’re neutral and fit most people.
Slouchy Beanie
Same construction but you make the body section longer before you start decreasing. Like instead of 6 inches you do 8-9 inches. Then it has that slouchy thing in the back that people either love or hate.
I personally think slouchy hats look sloppy on me but I’ve made them for friends who requested them specifically. You need more yarn for these obviously.
Messy Bun Hat
These have a hole at the top so you can pull a ponytail through. They got really popular a few years ago. The free patterns for these are everywhere but honestly they’re kind of annoying to make because you have to figure out the right hole size and placement.
I made one and the hole was too small so it pulled my hair weird. Never made another one.
Ear Flap Hats
You make the basic beanie and then add flaps that go over your ears, usually with braids or ties. These are cute for kids or if you live somewhere really cold.
The pattern I used for this had you make the flaps separately and then attach them but I think it would be easier to work them as you go. More planning involved though.
Common Problems and How to Fix Them
The hat is too small—this happened to me constantly at first. Either go up a hook size or add more stitches to your starting round. I usually add 6-8 stitches and it fixes it.
The hat is too big—go down a hook size or decrease your starting stitch count. Also check your tension because if you’re crocheting loosely that’ll make everything bigger.
The brim won’t stay down—you need more ribbing or you need to make the ribbing tighter. I add an extra inch of ribbing usually and that helps it grip your head better.
There’s a weird gap at the beginning of rounds—this is just how crochet in the round works unless you do an invisible join which is fiddly and I never bother with it for hats. Just make sure the gap is at the back of the hat where no one will see it.
The top is pointy—you decreased too fast. Rip it out and decrease more gradually. I know ripping out sucks but a pointy hat looks ridiculous.
Adding Stuff to Make It Less Boring
Once you can make a basic beanie you can mess around with it. I’ve added:
- Pompoms made from yarn or those fake fur ones from the craft store
- Stripes in different colors—just change yarn at the end of a round
- Different stitch patterns like shells or clusters for texture
- Brims that fold up
- Buttons or patches sewn on
The pompom thing is actually really easy and makes a plain hat look more finished. You can buy pompom makers or just use your fingers or a fork. I use the Clover pompom makers because I got them as a gift and they work fine.
Color Changes
If you want stripes just drop the old color at the end of a round and pick up the new color. Carry the unused color up the inside of the hat if the stripes are close together, or cut it and weave in ends if they’re far apart.
I made a hat with Red Heart Super Saver in like four different colors—gray and white and black and this burgundy color—and it actually looked pretty cool even though I was just using up scraps.
Sizing for Different People
Baby hats are obviously smaller, like 14-16 inches in circumference. Toddler is 16-18 inches. Kids are 18-20 inches. Adults are usually 20-23 inches depending on head size.
The pattern should tell you the finished size but you can adjust by adding or removing stitches from the starting round. Every 6 stitches is roughly an inch but that depends on your gauge and yarn weight.
I made a baby hat once for my friend’s kid and it was so tiny and fast, took like an hour. Used some soft acrylic yarn, might have been Bernat Baby something? It was nice because you could actually finish a project in one sitting instead of spreading it out over a week.
Tools You Need
You don’t need much. A hook in the right size—usually H/5.0mm or I/5.5mm for worsted weight yarn. Scissors. A yarn needle for weaving in ends. Stitch markers are helpful for marking the beginning of rounds but you can use a piece of scrap yarn instead.
I have a whole bag of hooks in different sizes but for hats I mostly use the same two or three. The ergonomic handles are nice if you’re gonna crochet for hours but the basic aluminum ones work fine too.
Measuring
You need a tape measure to check your work as you go. Measure the circumference of the hat by laying it flat and measuring across, then multiply by two. Measure the height from brim to crown.
I usually try the hat on as I go even though that stretches it out a little. Better to know it fits than to finish the whole thing and have it be wrong.
Free Pattern Resources
Ravelry has thousands of free hat patterns. You can filter by difficulty, yarn weight, style, all that. I find patterns there and then usually modify them because I can’t follow directions exactly for some reason.
YouTube channels like Bella Coco and The Crochet Crowd have video patterns that are free. Watching someone make it helps more than reading sometimes especially for decreases.
Random blogs are hit or miss but sometimes you find really good ones. I found this pattern for a textured beanie on some blog called Make and Do Crew or something like that and it was actually well-written and worked perfectly.
AllFreeCrochet has a big collection but the patterns are mixed quality. Read the comments before you start because people will tell you if the sizing is off or if there are errors.
Time Investment
A basic beanie takes me like 3-5 hours depending on distractions. If I’m watching TV and crocheting it takes longer because I keep messing up and having to recount stitches. If I’m just sitting and focusing I can knock one out in an afternoon.
More complicated patterns with lots of texture or color changes take longer obviously. That textured one I mentioned took probably 8 hours because I kept having to check the pattern.
The first hat you make will take forever because you’re figuring everything out. Don’t get discouraged, it gets way faster once you understand the construction.