
Mar
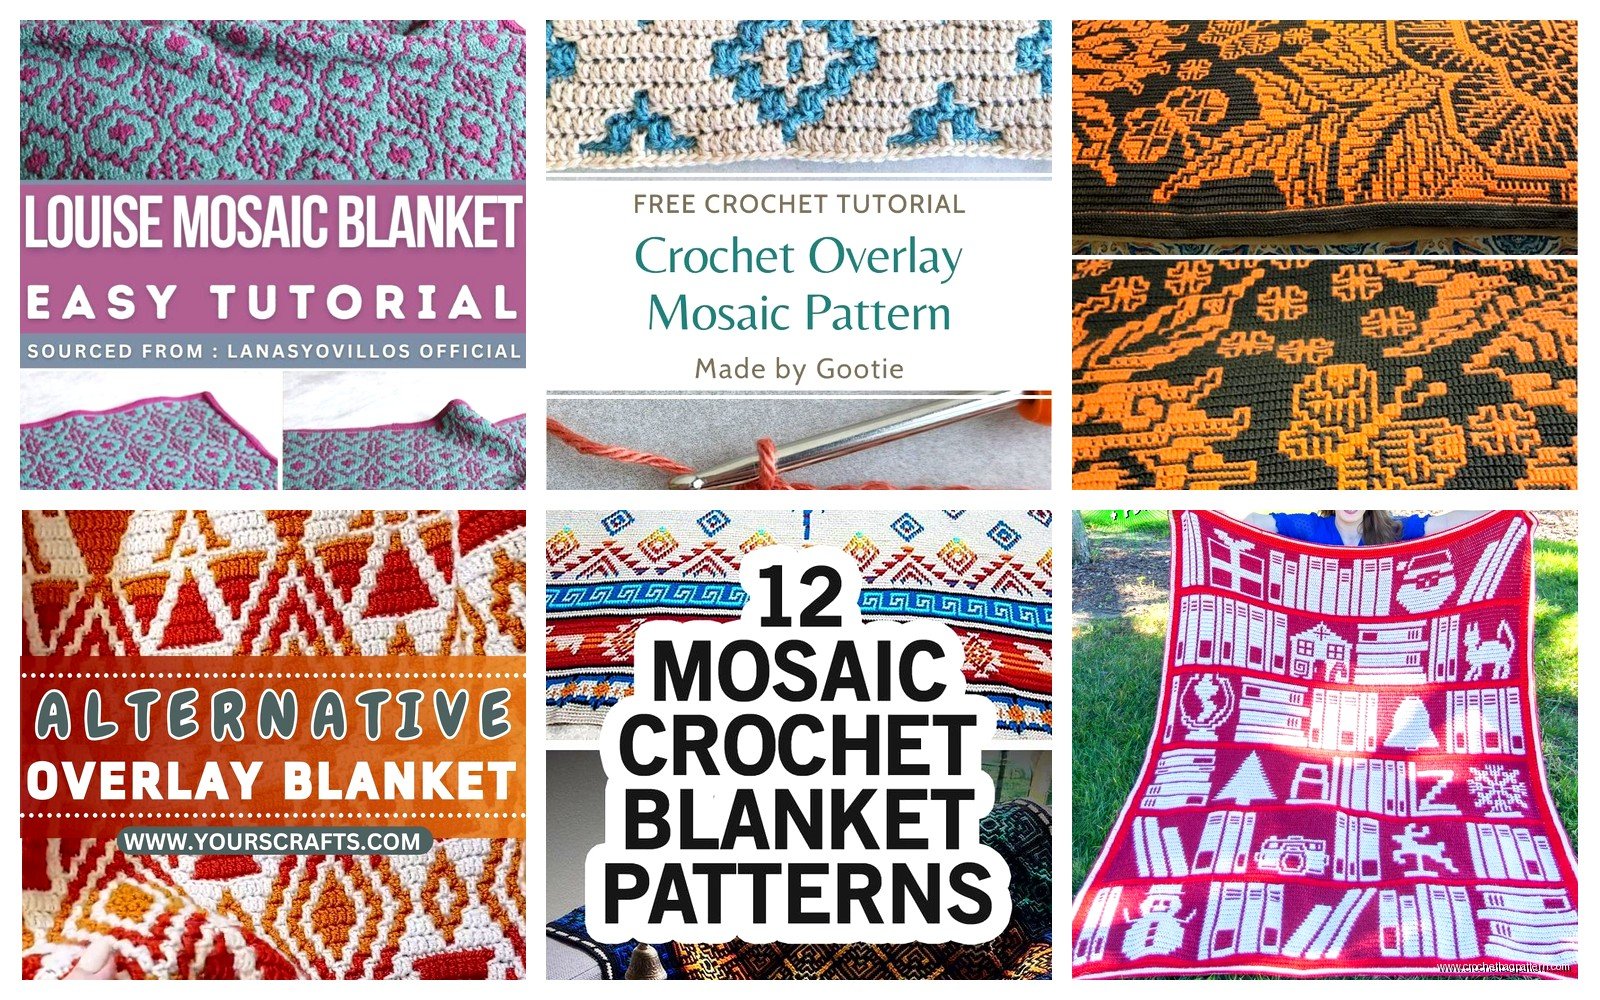
so you wanna make a mosaic crochet blanket
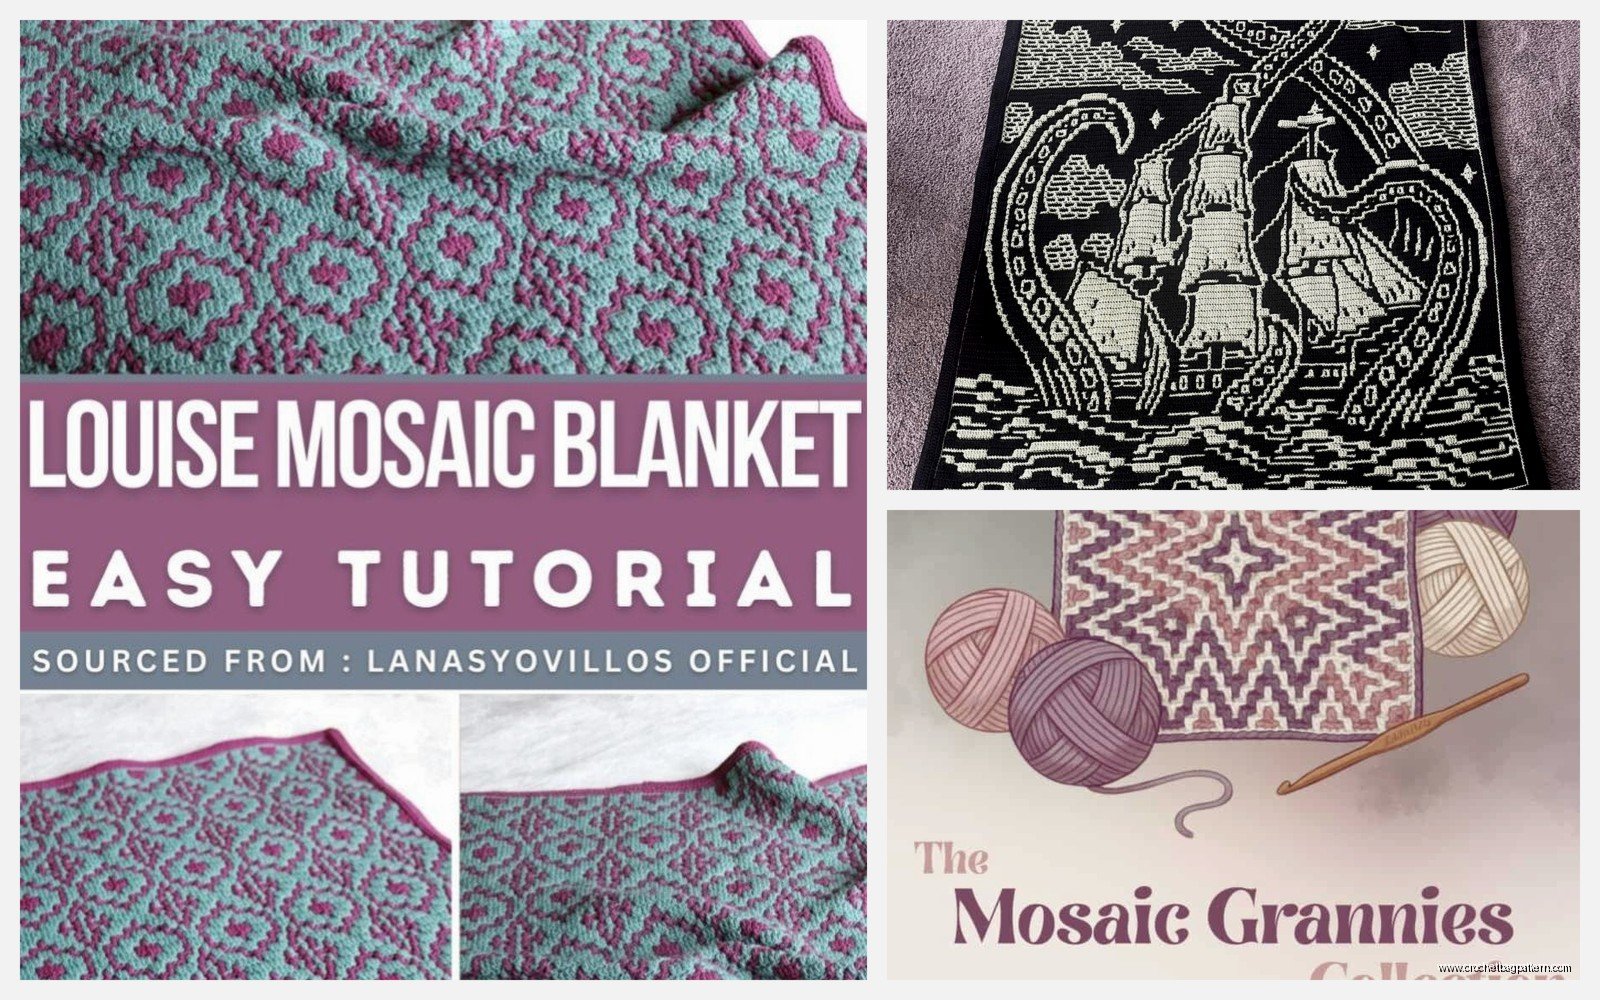
okay so last spring 2024 I finally sat down and made one of those mosaic overlay blankets everyone kept posting about and honestly it’s not as complicated as it looks but there ARE some things I wish someone had told me before I started. I used Lion Brand Wool-Ease for mine because I had like 6 skeins sitting in my closet from another project I abandoned.
The basic idea with mosaic crochet is you’re only working with one color per row but it LOOKS like you’re doing fancy colorwork. It’s basically strategic skipping of stitches combined with working into rows below. The overlay part means you’re creating this textured pattern on top of a foundation.
what you actually need
You need two colors minimum but you can do more once you get the hang of it. I’d say grab at least 4 skeins of each color for a throw-size blanket, maybe more depending on your pattern. For my first one I used a 5.5mm hook which worked fine with the Wool-Ease but if you’re using something thicker like Bernat Blanket you’ll want to size up.
The foundation chain needs to be pretty long and you gotta make sure it’s an even number or whatever your pattern calls for. This is where I messed up the first time because I wasn’t paying attention while my cat was knocking stuff off the coffee table and I had to start over.
the foundation rows
Start with color A. You’re gonna chain whatever length your pattern says plus like 2 or 3 for turning. Then you work a foundation row which is usually just single crochet or double crochet across the whole thing. Nothing fancy yet.
Row 2 is typically the same as row 1, still in color A. This gives you a solid base to work your overlay stitches into later. Don’t skip this part even though it feels boring because trust me you need that foundation to be sturdy.
After those two rows you switch to color B but here’s the thing that annoyed me SO MUCH about this process – you don’t cut color A. You just drop it at the side and pick it up later. Which means you have these long strands running up the side of your work and they get tangled and twisted and it drove me crazy for the first like 20 rows until I figured out to just twist them around each other every few rows to keep them managed.
how the overlay pattern actually works
So with color B you’re reading your pattern chart. Most mosaic patterns use a chart where filled squares mean you work a stitch and empty squares mean you skip. When you skip a stitch you’re literally just not working into that stitch from the previous row.
But here’s where it gets interesting – when you come to the next filled square after skipping some you work what’s usually called a “spike stitch” or an overlay stitch. You insert your hook into the row BELOW the current row, like you’re reaching down past the skipped stitches. Then you pull up a loop and complete your stitch normally.
The spike stitch is what creates that elongated vertical look. You’re pulling yarn up from a lower row which makes it stretch over the skipped stitches and that’s what creates the pattern. It sounds weird but once you do it a few times it clicks.
reading the chart
Mosaic charts are read differently than regular crochet charts which messed me up initially. You read right-side rows from right to left and wrong-side rows from left to right. Each row on the chart is actually TWO rows of crochet – one row in each color.
So like chart row 1 would be your color A rows (the foundation) and chart row 2 would be color B working the overlay pattern, then chart row 3 is back to color A with its own pattern. The colors alternate every two rows basically.
I printed out my pattern and used a magnetic board to keep my place because I was watching The Bear while crocheting and kept losing track of which row I was on.
the actual stitch technique
When you’re working a spike stitch you insert your hook into the indicated stitch from the row below. If the pattern says “dc2below” that means double crochet into the stitch 2 rows below. You skip over the current row entirely and go down to find that stitch.
Insert hook, yarn over, pull up a loop – but you’re pulling it up TALL so it reaches to your current working height. Then complete the double crochet normally. Yarn over, pull through 2 loops, yarn over, pull through remaining 2 loops.
The skipped stitches from the previous row just sit there behind your spike stitch. They don’t go anywhere they’re just hanging out creating negative space in the pattern.
color changes and tension
Every time you switch colors you pick up the dropped yarn from the side. Don’t pull it too tight or your blanket will curve and pucker on that edge. I learned this the hard way and my first attempt looked like a warped potato chip until I frogged it back and started again with looser edge tension.
Also with the Wool-Ease I used it had a tendency to split if I wasn’t careful with where I inserted my hook. Red Heart Super Saver probably would’ve been more durable honestly but I was using what I had.
Your tension needs to stay pretty consistent because the spike stitches will show ANY variation in how tight or loose you’re working. I had to redo a whole section in the middle where I apparently got really tense during an argument with my sister on the phone and those 8 rows were noticeably tighter than everything else.
common patterns to start with
The easiest mosaic pattern is probably a simple geometric one with blocks or diamonds. There’s this one called “Linen Stitch Mosaic” that’s super beginner friendly because the repeats are only like 4 stitches wide.
I started with a herringbone mosaic pattern which was maybe medium difficulty? It had a 12-stitch repeat and once I got through the first repeat I could kind of do it without looking at the chart constantly. The pattern looked like those chevron zigzags but more subtle.
There are also really complex ones with like Celtic knots or mandala designs but I haven’t attempted those yet because the charts alone make my brain hurt.
managing your working yarn
Since you’re only using one color per row you only have one working yarn at a time which is nice. But you do have to be careful about how you carry the unused color up the side. Some people crochet over the carried strand every few rows to secure it but I just twisted them together loosely.
If you crochet over the carried yarn make sure you’re not pulling it too tight or again you get that puckering issue. Just lay it along the edge and work your first stitch over it gently.
what to do when you mess up
You WILL miss a spike stitch or work into the wrong row at some point. I definitely did multiple times. The good news is mosaic crochet is pretty forgiving visually – small mistakes often don’t show up much because there’s so much texture and pattern happening.
If you catch a mistake within a few stitches just frog back to it. If you don’t notice until several rows later you have to decide if it bothers you enough to undo all that work. For my blanket I had one spike stitch that was definitely in the wrong place in row 23 or something and I just… left it. You can’t even tell unless you’re looking for it.
The annoying thing is if you mess up the stitch count because then your whole pattern shifts and nothing lines up anymore. Count your stitches at the end of each row especially in the beginning until you get a rhythm going.
size and finishing
I made mine about 40 inches wide and kept going until I ran out of yarn basically which ended up being around 55 inches long. It’s not a huge blanket but it’s decent for a lap blanket or throw.
For finishing I just did a simple single crochet border around the whole thing in one of the main colors. Some people do fancy borders with scallops or whatever but I was so done by that point I just wanted it finished.
Weaving in ends wasn’t too bad since you only have ends at the beginning and end of each color section. I used a yarn needle and wove them into the back of the work horizontally for a few inches then doubled back for security.
washing and blocking
I didn’t block mine which maybe I should have but the Wool-Ease held its shape pretty well without it. I did throw it in the wash on delicate with cold water and laid it flat to dry. The texture actually looked even better after washing because everything kind of settled into place.
If you use acrylic like Red Heart or Caron Simply Soft you definitely don’t need to block. Natural fibers like cotton or wool blends might benefit from blocking to even out any tension issues.
random tips that helped me
Use stitch markers at the beginning and end of each pattern repeat. This saved me so many times when I lost my place because I could count back to the marker and figure out where I was in the chart.
Work in good lighting. The spike stitches require you to see which row you’re going into and if you’re working with dark colors in bad light you’re gonna have a bad time. I had to move from my couch to the kitchen table because the lamp wasn’t bright enough.
Take breaks. Your hands will get tired from the spike stitches because you’re pulling loops up further than normal stitches. I could only do like an hour at a time before my fingers started cramping.
If you’re using variegated yarn the pattern might not show up as clearly. Solid colors work best for mosaic crochet because you want that contrast between the two colors to really pop.
Also maybe don’t start with white as one of your colors if you have pets because the cat hair situation was real and I spent way too much time lint-rolling my work in progress.
is it worth the effort
Honestly yeah it looks really impressive when you’re done and people always think it’s way more complicated than it actually is. Once you get past the first few pattern repeats and understand how the spike stitches work it goes pretty quick.
It’s definitely more time-consuming than a basic granny square blanket but not as tedious as like tapestry crochet where you’re carrying multiple colors per row. The one-color-per-row thing makes it pretty relaxing once you get into the rhythm.
Would I make another one? Yeah probably but I’d pick a pattern with a smaller repeat next time because keeping track of a 12-stitch repeat across a whole row got old. Something with an 8-stitch or even 6-stitch repeat would move faster and be easier to memorize.