
May
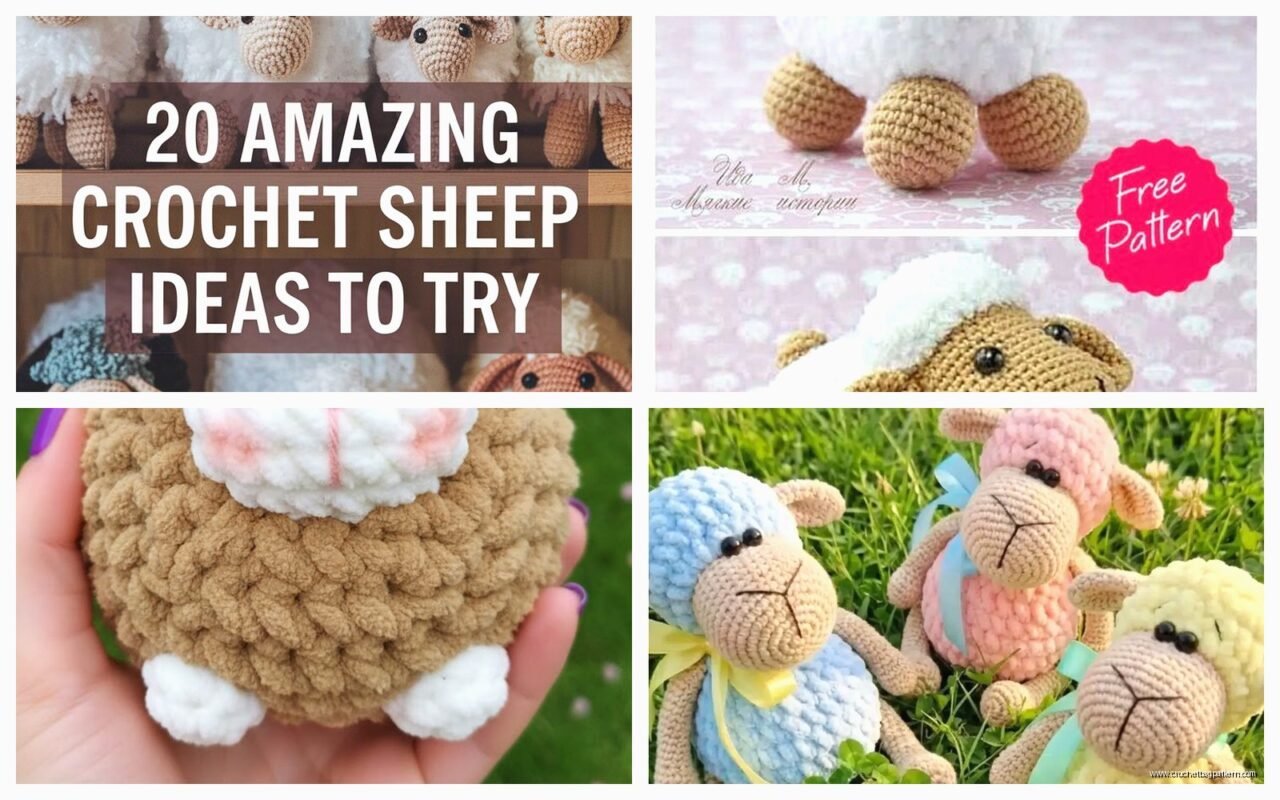
okay so sheep amigurumi
I made my first crochet sheep in spring 2022 when I was visiting my sister and she had this whole farm animal theme going on in her baby’s nursery. She showed me a picture of this expensive stuffed lamb from some boutique and I was like yeah I can probably make that, which was maybe overconfident but whatever.
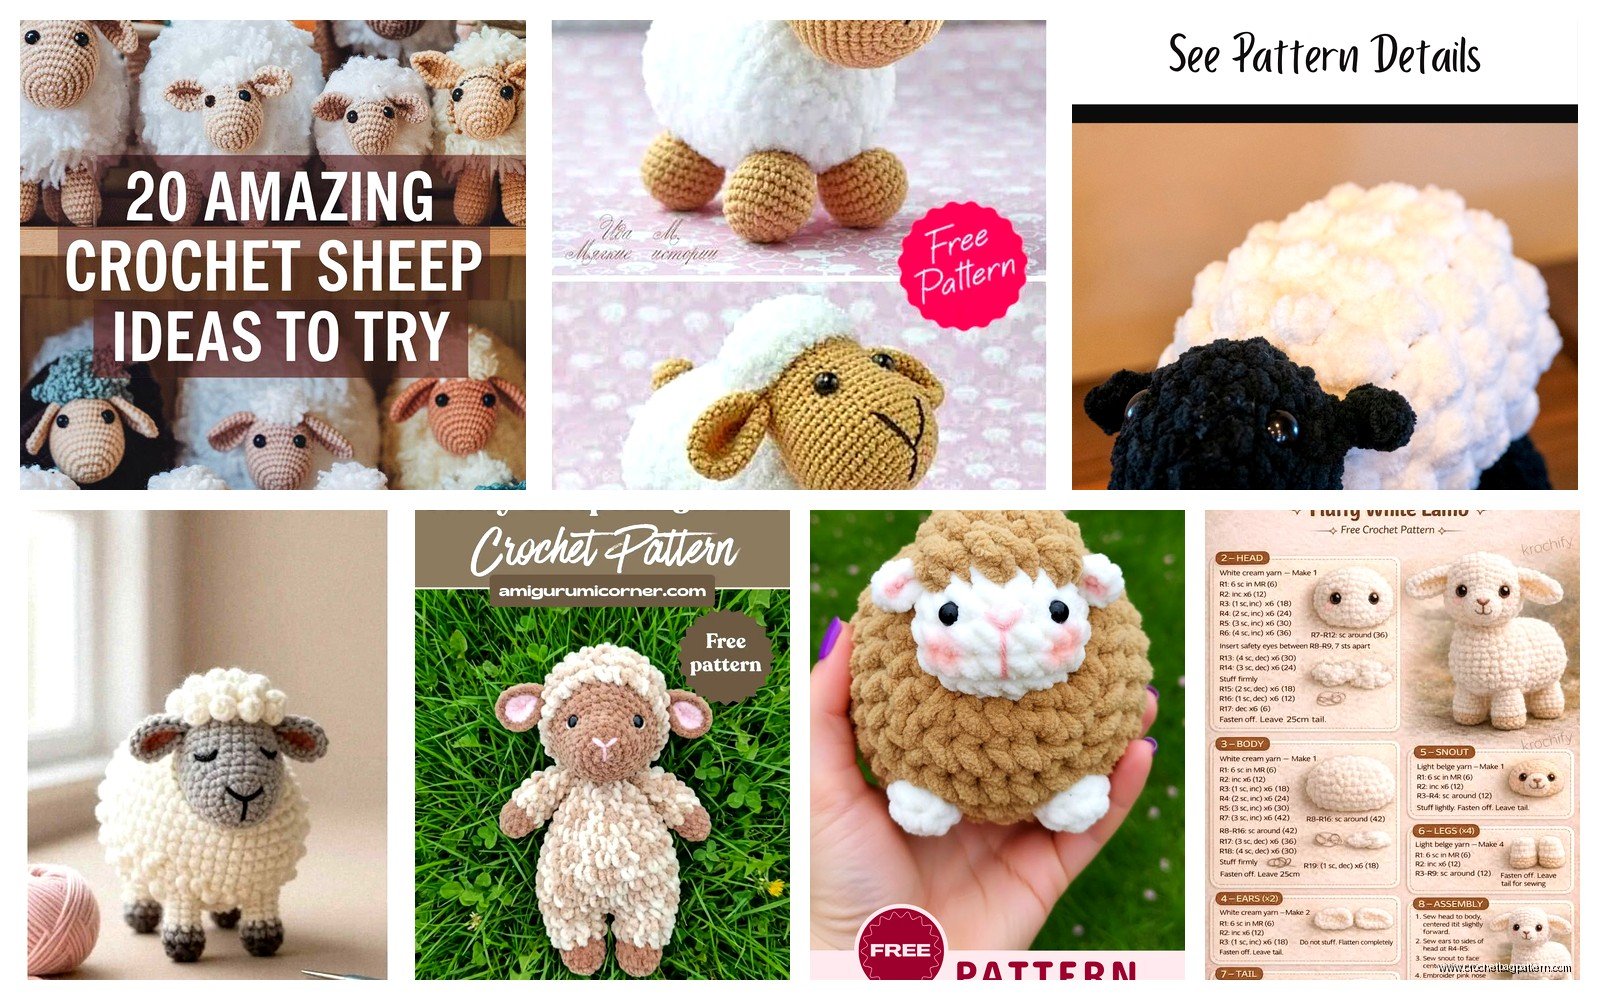
The basic concept is you’re making a round body, four legs, a head, and then adding texture for the wool. Most free patterns online follow this structure but honestly once you get the hang of it you can kinda wing the proportions. I used Red Heart Super Saver in white for the body because I had like three skeins left over from a blanket project, and then Lily Sugar’n Cream in black for the face and legs. The Sugar’n Cream is cotton so it was actually a different texture than the acrylic body but it worked fine.
starting with the body
The body is basically just a sphere or oval shape. You start with a magic ring, which if you don’t know how to do that there’s like a million videos but it’s basically a loop you can tighten to close up the center hole. I do 6 single crochet into the magic ring for most amigurumi projects.
Then you increase every round for a few rounds. So round 2 would be 2 sc in each stitch around (12 stitches total), round 3 would be *sc 1, inc* repeated (18 stitches), round 4 would be *sc 2, inc* repeated (24 stitches). I usually go up to about 36 or 42 stitches depending on how big I want the sheep.
Once you hit your max width, you work even (no increases or decreases) for several rounds to build up the body height. For a sheep I did maybe 8-10 rounds of just straight single crochet. Then you start decreasing in the reverse of how you increased. The pattern’s usually *sc 2, dec* around, then *sc 1, dec* around, and so on until you’re back down to 6 stitches.
Before you close it up completely you gotta stuff it. I use polyfil stuffing, whatever brand is at Michael’s usually. Pack it pretty firm because it’ll compress over time and you don’t want a saggy sheep.
the legs are straightforward but annoying
This is the part that annoyed me honestly – making FOUR identical legs. Like why did sheep need four legs, couldn’t they have evolved with less. I was watching Stranger Things season 4 while making these and I kept losing count of my stitches because I’d get distracted during the Vecna scenes.
Each leg starts the same way, magic ring with 6 sc. Then you can either work even for a tube shape or do a couple increase rounds if you want the hooves wider. I did *sc 1, inc* for one round to get 9 stitches, then worked even for about 8-10 rounds. That gives you a leg that’s maybe 2.5 inches long depending on your tension.
Don’t stuff the legs completely full or they won’t pose well. I learned this the hard way on my first attempt – overstuffed legs just stick straight out and the sheep can’t stand properly. Fill them maybe 60% of the way, enough to give them shape but still have some flexibility.
When you finish each leg, leave a long tail for sewing. And this is important – mark one side of each leg with a stitch marker or safety pin so you know which way they face when you attach them. Otherwise you’ll end up with legs pointing in weird directions and your sheep looks like it’s doing yoga or something.
the head shape
The head is smaller than the body obviously. I start with the same magic ring method, 6 sc, then increase to about 24 or 30 stitches max. The face part needs to be a different color, so this is where it gets slightly complicated.
Some patterns have you make the whole head in white and then embroider or sew on a black face piece. I found it easier to actually crochet the color change right into the head. You start with black yarn for the snout/face area, work that up for maybe 4-5 rounds, then switch to white for the rest of the head.
To change colors you basically work the last stitch of the old color until you have 2 loops on your hook, then pull through with the new color. Carry the old color along inside if you’re gonna switch back, or just cut it and weave in the end later.
For the snout to stick out a bit, I did short rows or basically just worked back and forth on one side for a few extra rows before continuing in the round. This makes the face more dimensional instead of just flat. Stuff the head firmly, especially the snout area so it keeps its shape.
ears are optional but recommended
Sheep ears are pretty simple. Chain 4, turn, sc back down the chain starting in the second chain from hook. That gives you a tiny oval-ish shape. Make two of those in black. You can also do them in white if you want a different look, I’ve seen both.
Attach them to the sides of the head, positioned slightly back from the face. I used the same yarn color to sew them on so the stitches blend in. If you use contrasting thread it shows and looks messy.
adding the fluffy texture
This is what makes it actually look like a sheep instead of just a generic round animal. There’s a few different ways to do the wool texture and honestly this is where patterns vary the most.
The method I used in 2022 was loop stitch, where you basically create loops of yarn on the surface. You insert your hook, but before pulling up a loop, you wrap the yarn around your finger (or a pencil or chopstick for consistent loop size), then pull through and complete the stitch. The loops stay on the outside creating that fluffy texture.
I only did loop stitch on the body and top of the head, not the face or legs since those are supposed to be smooth. It takes FOREVER though, like each round takes three times as long as regular single crochet. My sister’s baby was already like two months old by the time I finished this thing because I kept putting it off.
Another option is bobble stitch, where you work several partial double crochets in the same stitch then pull through all the loops at once. Creates a bumpy texture that reads as wool-like. Faster than loop stitch but less fluffy looking.
Or you could just make the body in regular single crochet and then add texture after by sewing on little pom poms or bits of fuzzy yarn. I tried this method once using Bernat Velvet yarn scraps and it looked pretty good actually, very soft.
assembly is where it comes together
Okay so you’ve got all your pieces – body, head, four legs, two ears. Now you gotta attach everything and this is where you can really mess it up if you’re not paying attention to placement.
I pin everything in place first with regular sewing pins before I commit to sewing. Position the legs so the sheep can actually stand – they need to be far enough apart for balance but not so wide it looks like it’s doing the splits. The front legs go slightly forward, back legs slightly back, all angled outward a tiny bit.
Sew each leg on using the tail you left, going around the attachment point at least twice for security. These things need to hold up if a kid’s gonna play with it. Weave the ends in really well so they don’t pop out later.
The head attaches at an angle, not straight up. Like the sheep should be looking slightly forward and down, not straight ahead. I messed this up on my first one and it looked like a giraffe honestly, the head was too vertical. Sew around the neck area multiple times until it feels secure and doesn’t wobble.
My cat kept trying to steal the sheep while I was working on it which was… distracting. Had to lock myself in the bedroom to finish the assembly.
face details
For eyes I used black safety eyes, size 9mm I think? You install these before stuffing the head completely – poke them through from the outside, then snap the washer on from the inside. They’re permanent once clicked in so make sure you like the placement first.
Position them fairly close together on the black part of the face, maybe 4-5 stitches apart. If you put them too far apart the sheep looks surprised or scared.
Some people embroider eyes instead with black yarn, which looks more handmade but also safer if this is for a baby. Safety eyes can theoretically be pulled out by a determined toddler even though they’re called safety eyes, which seems like false advertising but whatever.
You can add nostrils with two tiny stitches in black on the snout, or skip this detail entirely. I usually skip it because it’s hard to make them symmetrical and if they’re crooked it looks weird.
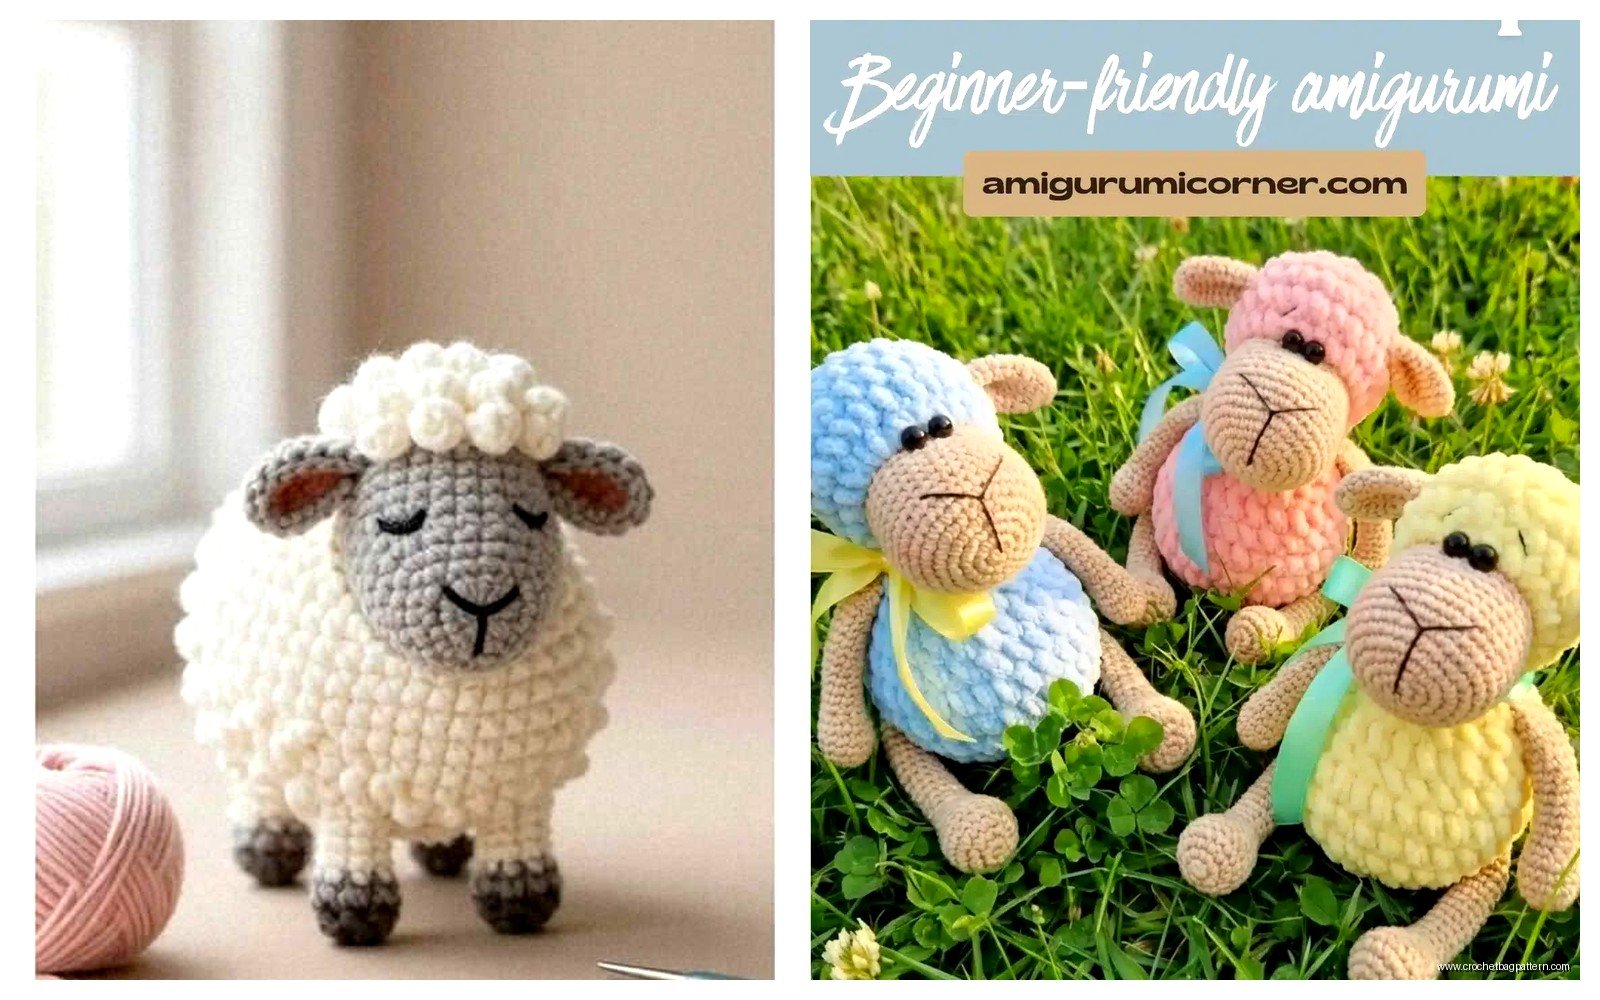
variations you can try
Once you’ve made a basic white sheep you can experiment. I made a gray one using I Love This Yarn from Hobby Lobby in charcoal, and a brown one with Caron Simply Soft in taupe. The brown one looked more like a baby lamb somehow, maybe because of the color association.
You can make a standing sheep or a sitting sheep by adjusting the leg positions and body shape. Sitting sheep have shorter legs and a more rounded bottom. Standing sheep need longer legs and better weight distribution or they tip over.
Adding a tail is optional – just make a small tube like the legs but only 1 inch long, attach it to the back. Some patterns skip the tail entirely and nobody really notices.
For a more cartoonish look you can make the head bigger in proportion to the body. For a more realistic look the body should be noticeably larger than the head.
yarn weights and hook sizes
Most patterns use worsted weight yarn (size 4) with a 3.5mm or 4mm hook. I personally prefer a 3.5mm hook because it creates tighter stitches with less gaps, which is important for amigurumi so the stuffing doesn’t show through.
You can use bulky yarn and a bigger hook if you want a larger sheep, or sport weight and smaller hook for a tiny one. Just keep the hook size smaller than what the yarn label recommends – that tight stitch thing is crucial.
Cotton yarn like the Lily Sugar’n Cream I used gives you more stitch definition and holds its shape really well. Acrylic like Red Heart is softer and more kid-friendly, washable. I’ve never tried wool yarn for a sheep which seems like it would be thematically appropriate but also ironic?
common problems
The legs falling off is the biggest issue people have. This happens when you don’t sew them securely enough or the yarn isn’t strong. Go around the attachment point at least twice, three times if it’s for a kid who’s gonna throw it around.
Lumpy stuffing shows through if your stitches aren’t tight enough. Pull small pieces of stuffing apart before inserting so you don’t get clumps. Fill gradually while you’re decreasing the body, don’t wait until the end.
Wonky proportions usually mean you didn’t count your stitches correctly. I still miscount sometimes honestly, I’ll think I did 6 increases but actually did 7 and then the whole thing is lopsided. Using a stitch marker to mark the beginning of each round helps with this.
If the sheep won’t stand up it’s either a balance issue (legs not positioned right) or understuffing (body too floppy). Sometimes you need to add a weight inside the body, like a few craft stones or a small bag of poly pellets in the bottom.
how long it actually takes
The first sheep took me probably 8-10 hours total, spread over several days because I kept getting distracted or frustrated with the loop stitch. Now I can make one in maybe 4-5 hours if I’m focused, less if I skip the textured wool effect.
The body is maybe 45 minutes, legs are 15 minutes each (so an hour total for all four), head is 30 minutes, ears are 5 minutes, assembly is 30-45 minutes. The loop stitch texture adds at least 2 hours to the whole project which is why I sometimes skip it now or use a faster method.
If you’re making multiple sheep like for party favors or gifts, do batch production – make all the bodies first, then all the legs, etc. It’s faster than completing one sheep at a time because you get into a rhythm with each component.
Anyway that’s basically how you make a crochet sheep. The free patterns online are all pretty similar in structure, just pick one that has clear photos if you’re a visual learner. Ravelry has hundreds of free sheep patterns if you search amigurumi sheep, some more detailed than others. I never follow patterns exactly anymore, just use them as general guides and adjust based on what looks right to me.