
May
Basic Stuff You Need First
So the yarn matters way more than I thought when I first started making these cat things. I made my first one back in spring 2022 with whatever random Red Heart Super Saver I had lying around in cream color and honestly it looked kinda stiff but it worked. The hook size depends on what yarn you’re using but most patterns want you to go smaller than what the yarn label says so the stuffing doesn’t show through the stitches.
For a basic cat you’re gonna need:
- Main color yarn (I usually use like 100-150 yards)
- Small amounts for details – white, pink, black for the face
- Crochet hook – probably 3.5mm or 4mm
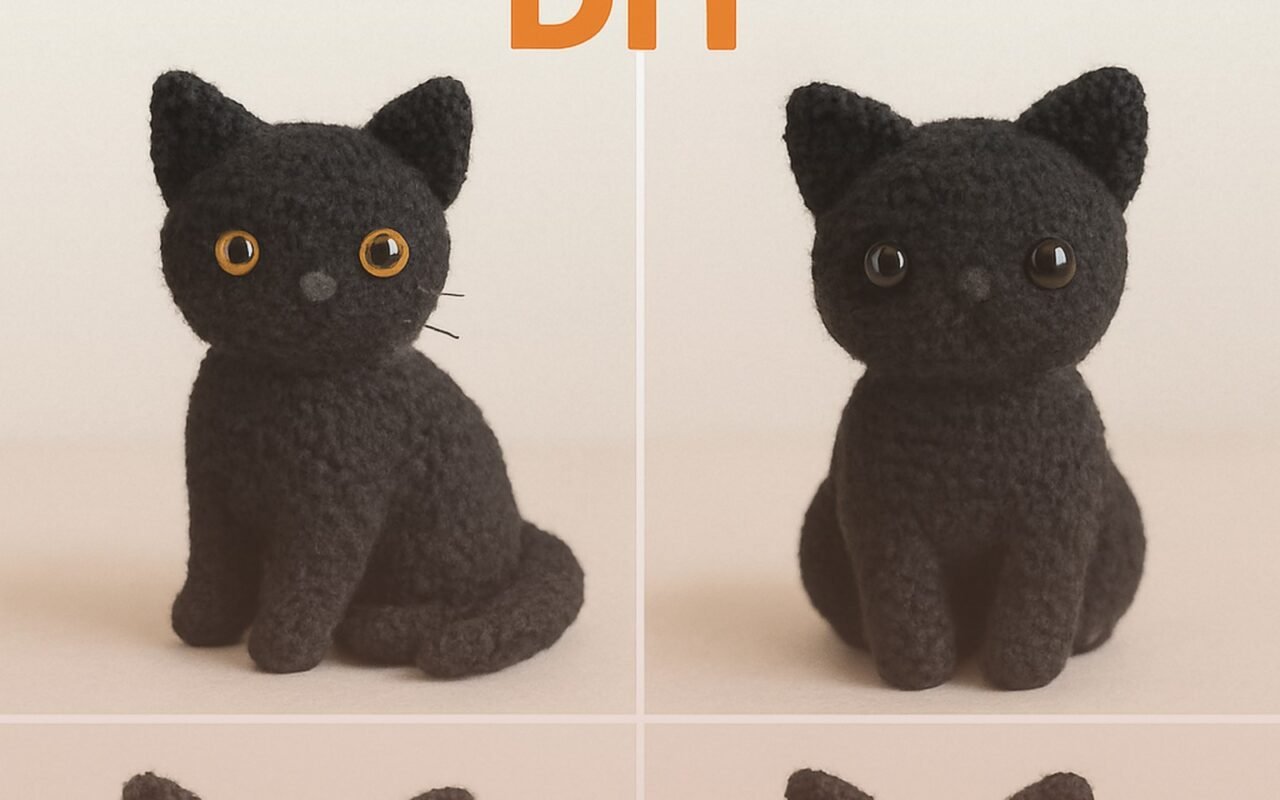
- Safety eyes or you can embroider them
- Polyester stuffing
- Yarn needle for sewing parts together
- Stitch markers help but you can just use a different color scrap yarn
The Hobby Lobby I Love This Yarn works pretty good too and it’s cheaper than Red Heart sometimes. I made like three cats last summer 2024 when my sister wanted them for her kids and I used that brand in gray.
Starting With The Head
Most cat patterns start with a magic ring which if you don’t know how to do one just look it up on youtube because explaining it in text is basically impossible. You make the magic ring and then do 6 single crochet into it. Pull it tight.
Then you’re gonna increase in a spiral. The basic increase pattern for a sphere shape goes like this:
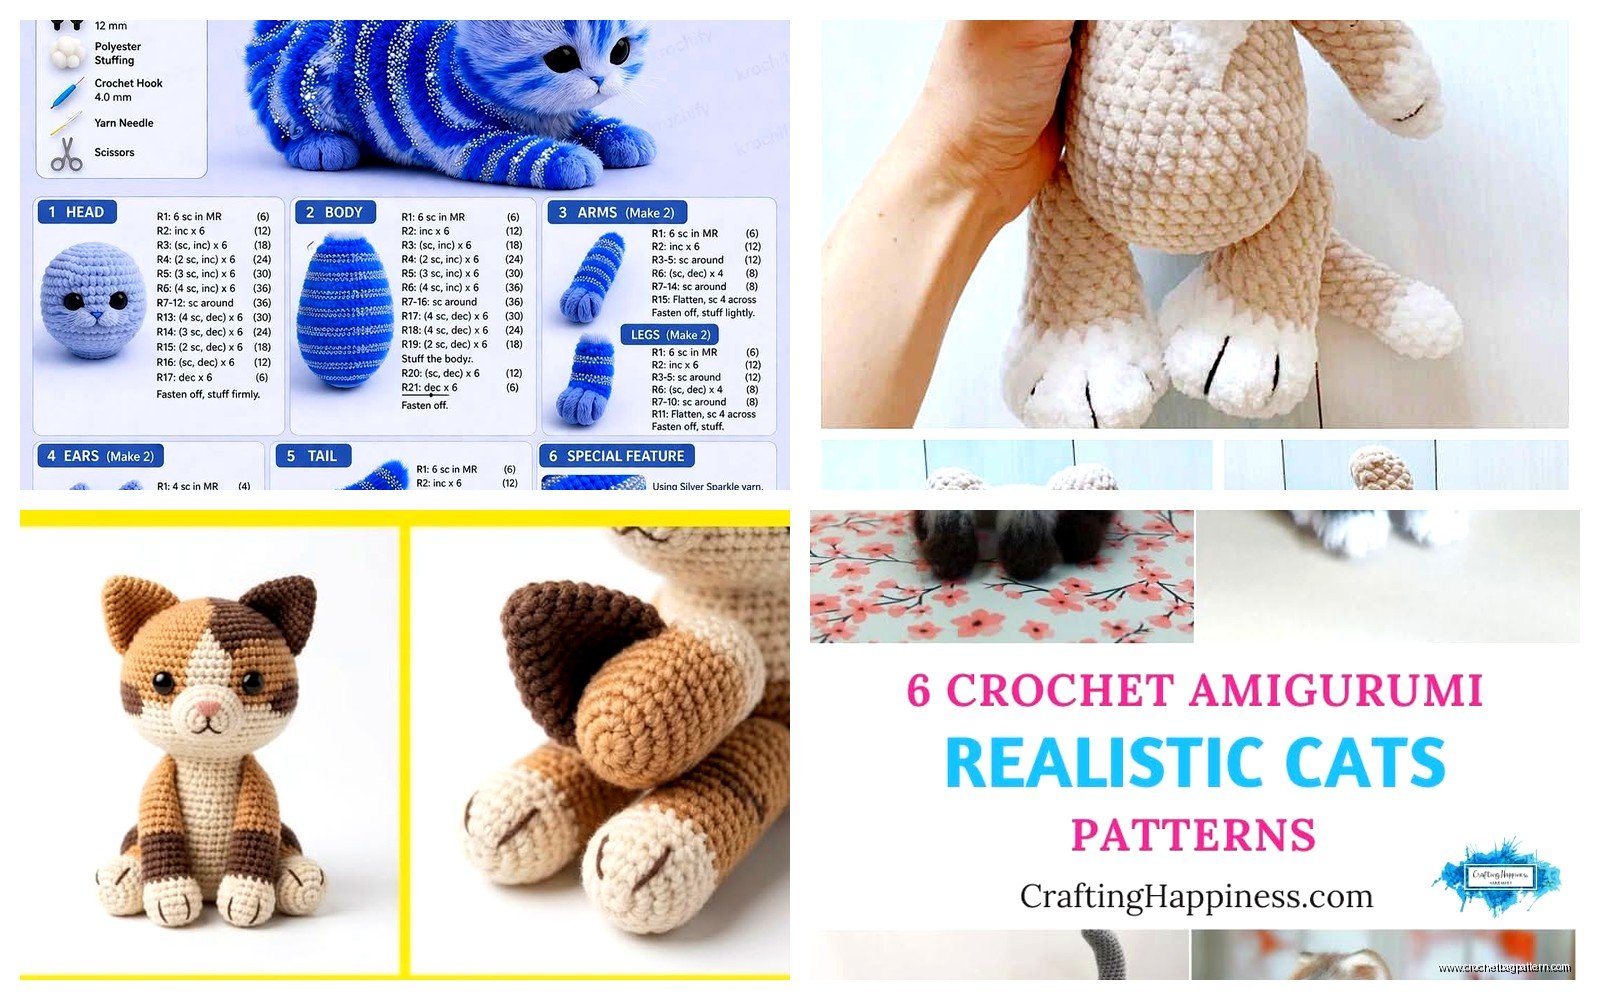
- Round 1: 6 sc in magic ring
- Round 2: inc in each stitch (12)
- Round 3: sc, inc around (18)
- Round 4: sc 2, inc around (24)
- Round 5: sc 3, inc around (30)
- Round 6: sc 4, inc around (36)
You keep going with that pattern until the head is as wide as you want. For a cat that’s maybe 8-10 inches tall I usually go up to 42 or 48 stitches. Then you work even (no increases) for several rounds to make the middle part of the head.
One thing that really annoyed me about making the head is that if you don’t count your stitches EVERY round it gets lopsided and you don’t notice until you’re like halfway done and then you gotta decide if you’re gonna frog it or just live with a slightly wonky cat. I’ve done both honestly.
Decreasing and Shaping
After you’ve done enough straight rounds the head needs to close up. You decrease the same way you increased but backwards – sc 4, dec around, then sc 3, dec around, etc. Before you close it up completely you need to add the safety eyes if you’re using them. They go in around round 10 or 11 usually, spaced about 6-8 stitches apart depending on how derpy you want your cat to look.
Stuff the head firmly while you’re decreasing. Not rock hard but firm enough that it holds shape. I learned this the hard way when my first cat’s head was all floppy and sad looking.
The Body Part
The body is basically the same concept as the head but more oval shaped. Start with magic ring, increase up to whatever width matches your head (usually same number or slightly less), then work straight rounds for longer to make it body-length instead of round.
Some patterns make the body separate and some attach it as you go but I think it’s easier to make everything separate and sew it together at the end even though the sewing part is kind of annoying. You have more control over positioning.
For a sitting cat position you want the body to be sort of egg shaped – fatter at the bottom. So maybe increase up to 42 stitches, work even for like 8-10 rounds, then start decreasing gradually. For a standing cat you’d keep it more cylindrical I guess but I usually make sitting ones because they’re cuter.
Legs and Arms or Whatever Cats Have
The legs are small tubes basically. Magic ring with 6 sc, then you can increase a bit for the paw part (like up to 9 or 12 stitches) and work a few rounds, then decrease back down to 6 or 7 for the leg part and work straight until it’s long enough.
I was watching The Great British Baking Show while making legs for those three cats last summer and I just kept making tubes on autopilot which was nice because legs are boring. You need four of them obviously unless you’re making some kind of weird cat.
The front legs are usually thinner than the back legs. Some patterns have you bend wire and put it inside to pose them but I never bother with that because it seems like a lot of work and also my cat Miso would probably try to eat it.
Paw Details
If you want little toe beans on the bottom of the paws you can either embroider them with pink yarn or crochet little pink ovals and sew them on. I usually skip this step because you can’t even see them when the cat is assembled but some people are really into that detail level.
The Tail Situation
Tails are just longer tubes that you can make curved by stuffing them a certain way or by increasing and decreasing on one side only to make it bend. I usually just make a straight tube starting with 6 sc and working even for like 15-20 rounds depending on how long I want it. Stuff it about halfway – not as firm as the head and body or it sticks straight out weird.
You can make the tail thicker at the base and thinner at the tip by starting with more stitches and decreasing gradually as you go. That looks more realistic but also takes more thinking and I don’t always feel like doing math.
Ears Are Surprisingly Tricky
Cat ears are usually triangles and there’s different ways to make them. The easiest way I’ve found is to chain 3, then work increases up the sides in rows (not rounds) to make a triangle shape. You make two and sew them onto the head.
The annoying thing about ears is getting them symmetrical and at the right angle. I always sew one on and think it looks good then add the second one and realize the first one is in the wrong spot and have to redo it. Using pins to position them first helps but I always forget to do that until I’ve already screwed it up.
Some patterns have you make ears with pink inner ear parts which does look cute – you just make a smaller triangle in pink and sew it inside the main ear before attaching to the head.
Face Details
If you didn’t use safety eyes you need to embroider eyes or sew on buttons or something. Black yarn works fine for embroidered eyes – just do a few stitches in an oval or circle shape. The placement of eyes changes the whole expression so move them around before you commit.
For the nose I usually do a little pink triangle with yarn – just a few stitches. The mouth is two lines coming down from the nose in a Y shape using black yarn. Some people get really elaborate with the faces but honestly simple looks better most of the time.
Whiskers are optional but if you want them you can use fishing line or just embroider lines with black or white yarn coming out from the sides of the muzzle area.
Assembly Is The Worst Part
Okay so now you have all these pieces and you gotta sew them together which is honestly my least favorite part of the whole process. I use the same yarn you made the pieces with and a yarn needle.
Start by sewing the head to the body. Position it how you want and use pins if you’re smart (I usually don’t and regret it). Whip stitch around the connection going through both pieces. Pull tight as you go so there’s no gaps.
Then add the legs – back legs go on the bottom sides of the body angled out a bit for sitting position. Front legs go on the front upper part of the body. The positioning here really affects how the cat looks so take your time I guess even though it’s tedious.
Tail goes on the back obviously. Ears on top of the head spaced evenly. Sew everything on firmly because if you’re giving this to a kid they’re gonna pull on stuff.
Weaving In Ends
You’re gonna have so many yarn ends to weave in and it’s boring but you gotta do it or the cat will fall apart eventually. Thread each end through your yarn needle and weave it through the inside of the piece for like an inch or so in different directions then trim close to the work.
I made a cat back in summer 2024 where I got lazy and didn’t weave in the ends properly and my sister’s kid pulled on the tail and the whole thing started unraveling so yeah don’t skip this even though it’s annoying.
Yarn Choices Actually Matter
So I mentioned Red Heart Super Saver and I Love This Yarn but there’s other options. Bernat Blanket yarn makes like huge chonky cats which is fun but uses way more stuffing. Cotton yarn like Lily Sugar’n Cream makes stiffer cats that hold their shape really well but aren’t as cuddly.
Acrylic is easiest to work with for amigurumi and it’s washable which matters if you’re making toys for kids. The Red Heart Soft is nicer than Super Saver if you want something less squeaky feeling. Caron Simply Soft is good too but sometimes splits while you’re working with it which drives me crazy.
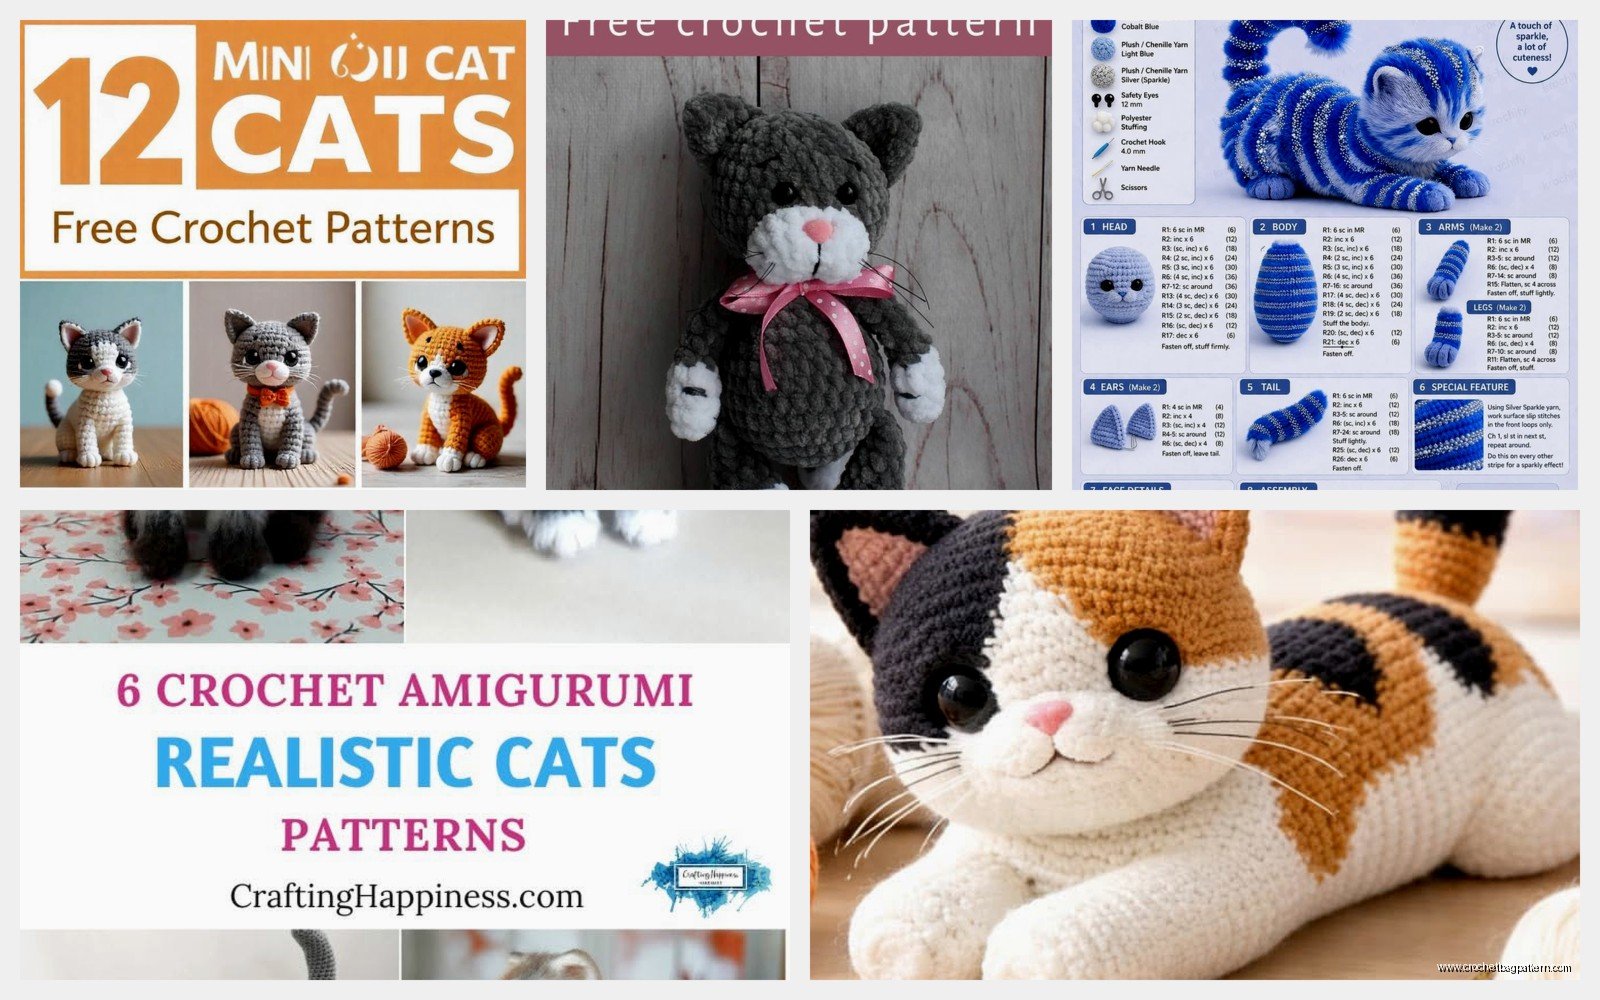
For the color you can do realistic cat colors like gray tabby or orange or black, or you can make like pink and blue pastel cats if that’s your thing. I made an orange one with white paws and it turned out really cute.
Size Adjustments
If you want a bigger or smaller cat you can change hook size or yarn weight. Bigger hook and thicker yarn = bigger cat. You can also just add more increase rounds at the beginning of each piece before working even rounds – that makes everything wider.
For a tiny cat use thread and a tiny hook. For a giant cat use bulky yarn and like a 6mm hook or whatever. The pattern structure stays the same you just scale it.
Common Problems I’ve Run Into
The cat leans to one side – this is usually because the legs aren’t positioned evenly or the stuffing is distributed weird. You can try repositioning legs or adding more stuffing to one side to balance it.
Stuffing shows through the stitches – your tension is too loose or you need a smaller hook. The stitches should be tight enough that you can’t see white stuffing poking through.
Pieces are different sizes – you didn’t count your stitches consistently or your tension changed partway through. This happens to everyone just make the next piece match whichever one came out the size you like better.
The head is too heavy and flops forward – add more stuffing to the neck area where head meets body or sew the connection more firmly. Sometimes I put a little bit of cardboard inside the neck to stabilize it but that’s probably not necessary for most cats.
Variations You Can Try
Once you’ve made a basic cat you can change stuff up – add stripes by changing colors every few rounds, make a calico pattern with random color blotches, give it a collar with a little bell, make a tiny fish or mouse toy for it to hold.
You can make different breeds sort of by changing the proportions – longer legs and tail for a Siamese look, rounder body for a Persian type cat, bigger ears for like… I don’t know what breed has big ears but you get the idea.
Some people make clothes for their amigurumi cats which seems excessive but I did make a little scarf once by chaining a long chain and it was pretty cute actually.
The basic structure works for other animals too if you change the ears and tail – same pattern with floppy ears and shorter tail = dog, round ears and no tail = bear, etc.