
Mar
So You Wanna Make a Crochet Cardigan
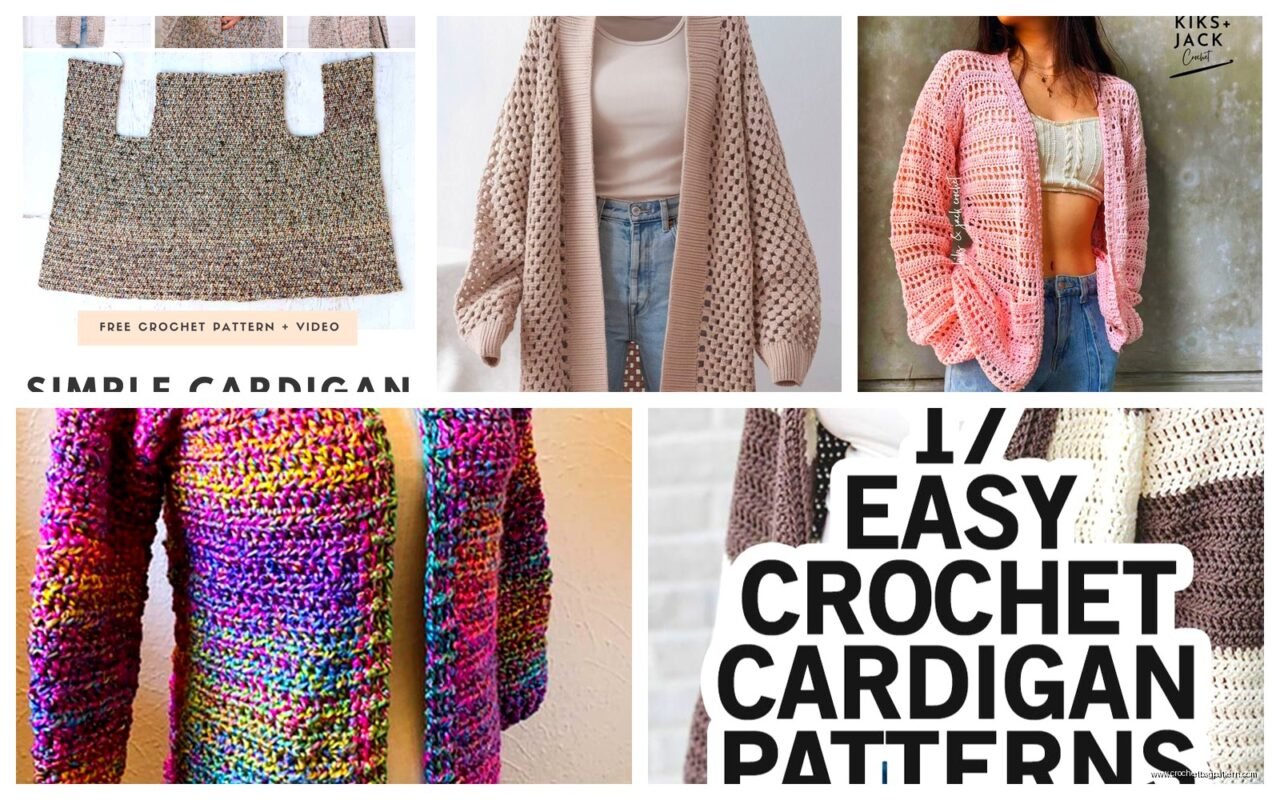
Okay so last spring 2022 I made my first actual cardigan and honestly it was way less scary than I thought it’d be. I kept seeing these patterns on Pinterest that looked super complicated but then I found this one rectangle pattern and it just clicked. You basically make rectangles and sew them together which sounds dumb when you say it out loud but it works.
The Rectangle Cardigan Thing
Here’s the deal with rectangle cardigans – you’re making two rectangles for the front panels and one big rectangle for the back. That’s it. No increases or decreases to stress about, no armhole shaping that never looks right. Just rectangles. I used Lion Brand Wool-Ease for that first one because it was on sale at Michaels and I had a coupon. The color was like this dusty rose situation that I thought would look sophisticated but honestly just made me look tired.
The measurements are gonna depend on your size but here’s what worked for me:
- Back panel: about 24 inches wide by 24 inches long
- Front panels: each one is 12 inches wide by 24 inches long
- Sleeves: 18 inches wide by whatever length you want
You chain however many stitches gets you to the width you need. For me with worsted weight yarn and a 5.5mm hook that was like 80 chains for the back panel? I didn’t write it down because I thought I’d remember and obviously I didn’t. Just measure as you go.
The Actual Process
I worked in half double crochet for everything because it’s fast and it drapes okay. Double crochet makes the fabric too loose and holey for a cardigan unless you’re going for that beachy coverup vibe. Single crochet takes FOREVER and makes it too stiff. Half double is the sweet spot.
The thing that really annoyed me though was seaming everything together at the end. Nobody tells you how much time you’re gonna spend with a yarn needle trying to make the seams look decent. I was watching The Great British Baking Show while doing it and still wanted to throw the whole project across the room. Mattress stitch is supposed to be invisible but mine looked like a kindergartener sewed it. Still wore it though.
You start with the back panel because it’s the biggest and you need to know if you’re actually gonna finish this thing before you commit to all the other pieces. Chain your foundation, then just work back and forth in rows. Turn at the end of each row, chain 2 (doesn’t count as a stitch), then HDC across. Keep going until it measures the length you want.
Front Panels Are Easier
The front panels are literally half the width of the back panel. Make two of them exactly the same size as the back panel lengthwise. This is where you can get creative I guess – some people do a different stitch pattern on the front panels or add buttons or whatever. I just kept it simple because I was still figuring things out.
One thing I learned is that you should block your pieces before seaming. I didn’t do this the first time and everything was kinda wonky. Blocking just means you wet the pieces, pin them to the right measurements on a blocking mat or towels or whatever, and let them dry. Makes everything even and professional looking. Or at least less lumpy.
Sleeves Were Surprisingly Okay
For sleeves you can either make more rectangles or you can work them in the round after you’ve seamed everything else together. I did rectangles because that’s the whole point of this pattern right? Keep it simple. You seam them into tubes and then attach them to the armholes.
Measuring armholes is weird though. You basically leave like 9 inches unseamed on each side of the back panel when you’re attaching the front panels. That’s your armhole. Then you seam the sleeve tube into that opening. It’s not gonna look right until you try it on and then suddenly it does? I don’t know the geometry of it.
Yarn Choices That Actually Matter
So I’ve made like four of these now and the yarn choice really does change everything. That first one with Lion Brand Wool-Ease was fine but kinda scratchy. Then I tried Red Heart Super Saver because I’m cheap and that one was SO stiff it could stand up on its own. Not cute.
The best one I made was summer 2024 with this Caron Simply Soft in like a cream color. It was for my friend’s birthday and actually turned out really nice. Simply Soft drapes better and it’s not expensive. The cardigan actually looked like something you’d buy in a store instead of something your grandma made in 1987.
I also tried Bernat Blanket yarn once thinking it would be cozy but that was a mistake because the cardigan weighed like ten pounds and stretched out immediately. Bulky yarn works better for like… scarves or blankets where weight doesn’t matter as much.
Gauge Is Annoying But Kinda Important
People always say to do a gauge swatch and I never did because it seemed like a waste of time but then my third cardigan came out HUGE. Like I could fit two of me in it. So now I at least crochet a 4×4 inch square before starting to make sure my tension is consistent with what the pattern expects.
If your gauge is off you can just adjust your hook size. Tighter stitches? Go up a hook size. Too loose? Go down. It’s not rocket science but it does matter for wearable stuff.
The Assembly Part Nobody Talks About
Okay so you’ve got all your rectangles done. Now what? This is where I got stuck the first time because the pattern just said “seam pieces together” like that’s self explanatory.
Here’s the order that makes sense:
- Lay your back panel flat
- Put the front panels on either side with the right sides facing up
- Seam the shoulder seams first – that’s like 6-7 inches on each side of the top edge
- Leave the armhole gap in the middle on each side
- Seam the side seams from bottom up to the armhole
- Seam your sleeve rectangles into tubes
- Pin the sleeves into the armholes and seam them
I use whip stitch for most seams because I can’t be bothered with anything fancier. You just line up the edges and stitch through both pieces. It’s visible on the inside but who cares.
Making It Actually Look Good
The basic rectangle cardigan is functional but kinda boxy. If you want it to look more fitted you can add waist shaping which sounds complicated but isn’t really. You just decrease a few stitches on each side seam at the waist and then increase them again at the hips. Or you can skip that entirely and just belt it.
I added a simple border around the entire front opening and bottom edge of my summer 2024 one. Just single crochet around the whole thing to clean up the edges. Makes it look more finished. You could do a ribbed border too if you know front post and back post stitches but that’s… I mean you can look that up if you want.
The Button Band Situation
Some people add buttons to their cardigans but I usually just leave mine open. If you want buttons though you crochet a band along one front edge with buttonholes and a regular band on the other side. Buttonholes are just chain spaces basically. Chain 2 or 3, skip the same number of stitches, continue your row. When you come back you work into the chain space.
Sewing on actual buttons is its own thing and I’m not great at it. My cat knocked my button tin off the table once and I just gave up on that project entirely.
Length Options
You can make these any length you want which is nice. Cropped cardigan? Make your rectangles shorter. Long duster style? Make them longer. I made one that was like 36 inches long and it was very dramatic but also I kept sitting on it which was annoying.
The ratio thing matters though – if you make it really long you might need to make the front panels slightly wider so it doesn’t gap open weird when you move. I learned this by making a too-long cardigan with too-narrow front panels and every time I lifted my arms the whole thing would swing open.
Patterns I Actually Used
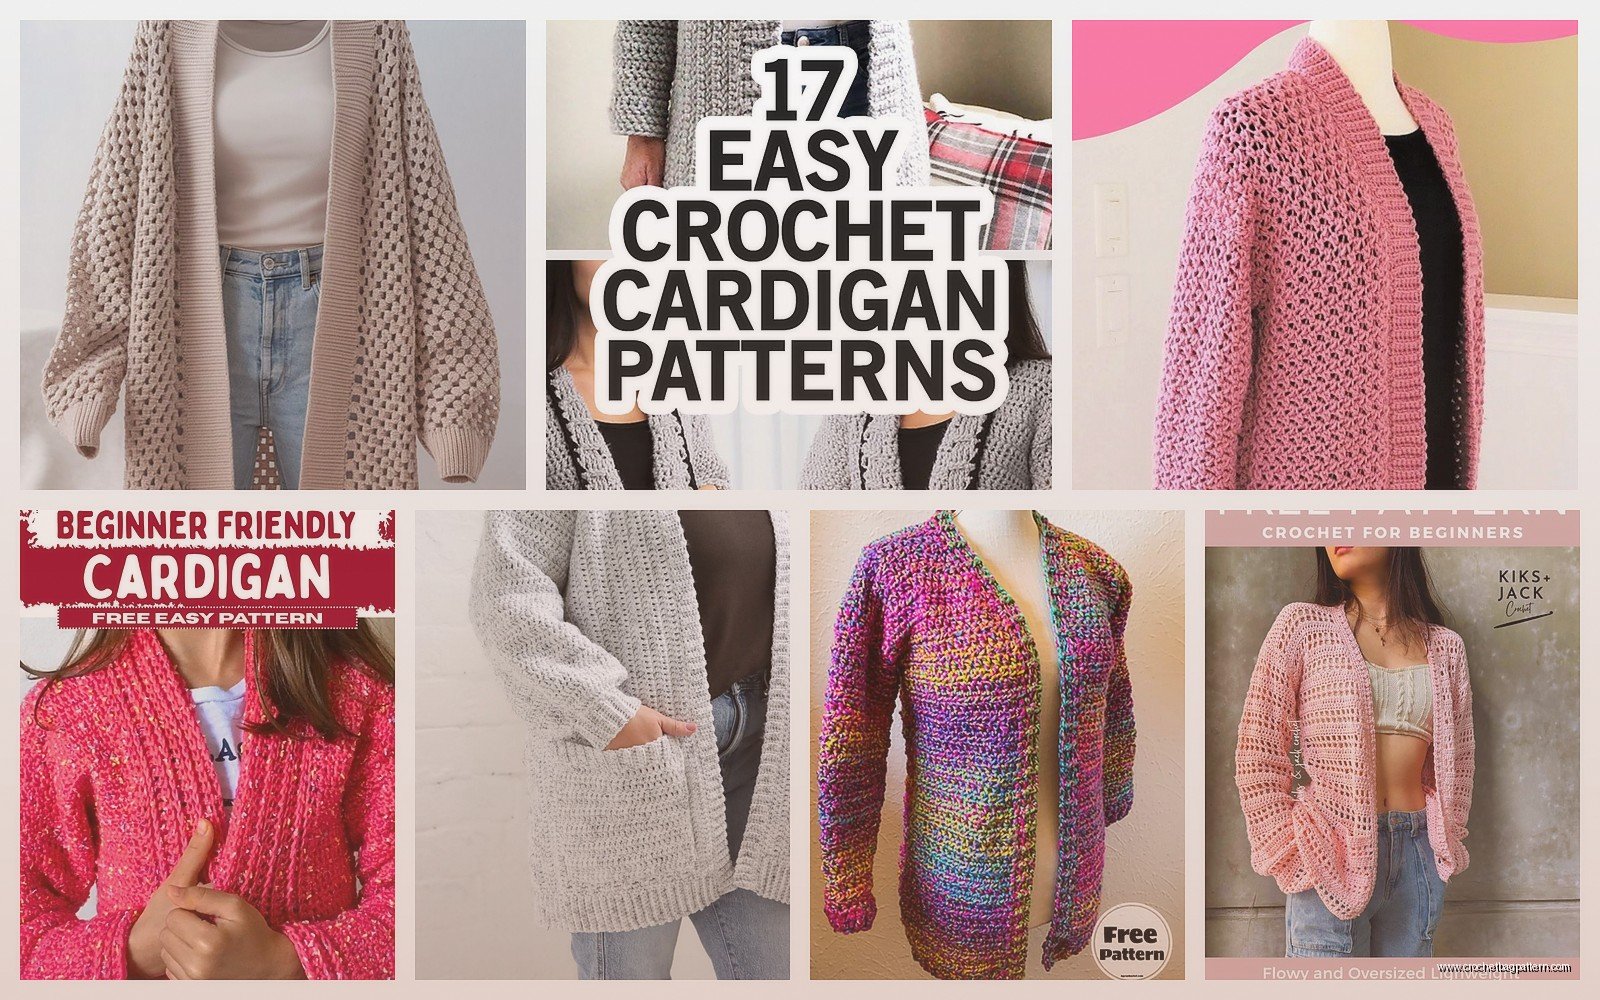
That first one I made was from a free pattern on a blog called MakeAndDoCrew or something like that? They have this Blanket Cardigan pattern that’s basically the rectangle method. Very straightforward, good instructions for beginners.
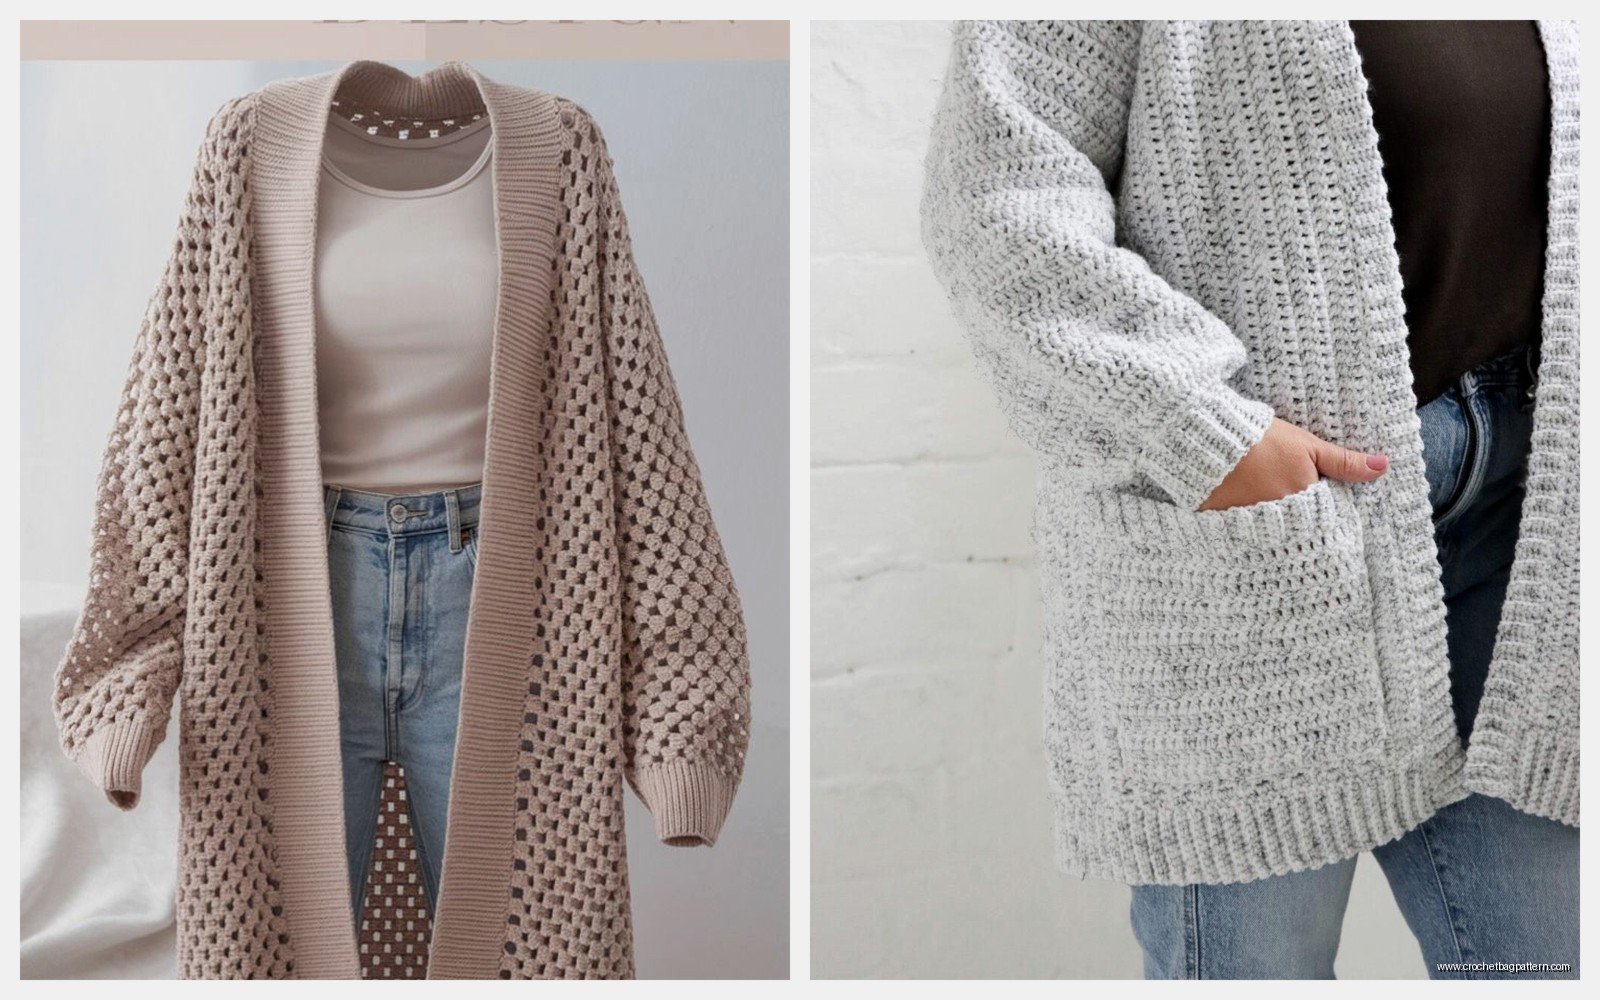
There’s also a pattern called the Crochet Kimono Cardigan that’s similar but the sleeves are wider and shorter. More of a kimono vibe obviously. That one’s good for summer because it’s not as fitted.
I tried a granny square cardigan once where you make a bunch of squares and join them but honestly that took so long and I got bored. Rectangles are faster if you just wanna finish something and wear it.
What To Do When You Mess Up
You’re gonna mess up the stitch count at some point and your rectangle will start getting wider or narrower without you noticing. I do this constantly. The fix is to count your stitches at the end of every few rows. If you’re supposed to have 80 and you have 83, you added stitches somewhere. Frog back to where it’s correct.
Frogging is just ripping out your work. Pull the working yarn and it all unravels. It’s devastating every time but better than having a wonky finished piece.
If you notice the mistake way later and can’t face frogging like twenty rows, you can sometimes fudge it by skipping stitches or working two together to get back to the right count. This only works if it’s a small difference though.
Washing And Care
Most acrylic yarn can go in the washing machine on gentle but I still hand wash my cardigans because I’m paranoid. They take forever to dry though so plan ahead. Lay them flat on towels to dry, don’t hang them or they’ll stretch out weird.
The Wool-Ease one I made can technically go in the dryer on low but I accidentally shrunk it once so now I don’t trust that. Hand wash everything is my motto now I guess even though it’s inconvenient.
Time Investment Reality Check
People always ask how long it takes to make one of these and honestly it depends on how much time you have and how fast you crochet. The first one took me like three weeks because I was only working on it an hour or two a day. The summer 2024 one I cranked out in four days because I procrastinated and needed it done for the birthday party.
If you’re a beginner everything takes longer because you’re still getting comfortable with the stitches. That’s fine. Don’t compare yourself to people who’ve been crocheting for years and can make a cardigan in a weekend.
The actual crocheting part isn’t that long, it’s the seaming that eats up time. And weaving in ends. Oh my god the ends. Every time you start a new ball of yarn that’s two ends to weave in later. I had like forty ends on my first cardigan because I kept running out of yarn and having to add more.
Yarn Amount You’ll Need
For a basic medium-sized cardigan in worsted weight yarn you need like 1200-1500 yards. That’s usually about 6-8 skeins depending on the brand. Buy an extra skein though because running out of yarn three rows from the end is the worst feeling.
I use an online calculator sometimes to estimate yardage but mostly I just buy a bunch and return what I don’t use. Keep your receipt and don’t throw away the label until the project is done.
Bulky yarn uses less yardage but you need bigger rectangles to account for gauge. It’s a whole thing. Stick with worsted weight for your first one.
Style Variations If You’re Feeling Ambitious
Once you’ve made the basic rectangle cardigan you can mess with it. Add pockets by crocheting small rectangles and seaming them onto the front panels. Do a different color for the sleeves. Make it striped. Whatever.
I made one with a hood once by adding a big rectangle across the back neck edge and seaming it into a hood shape. It was very cozy but also I looked like a medieval monk in it so I only wore it around the house.
You can also do a waterfall front thing where the front panels are longer and drapey but I haven’t tried that yet. Seems like it would use a lot more yarn.
Color blocking is pretty easy too – just change colors at the end of a row. Carry the unused color up the side or cut it and weave in the ends later. Both options are annoying in different ways.
Anyway that’s basically everything I know about making these cardigans. They’re really not that hard once you get past the mental block of thinking you need to be an expert. You just need to know basic stitches and be willing to spend some time on it. And have patience for seaming because that part’s always gonna be tedious no matter how many you make.