
Mar
okay so about making your first crochet bag
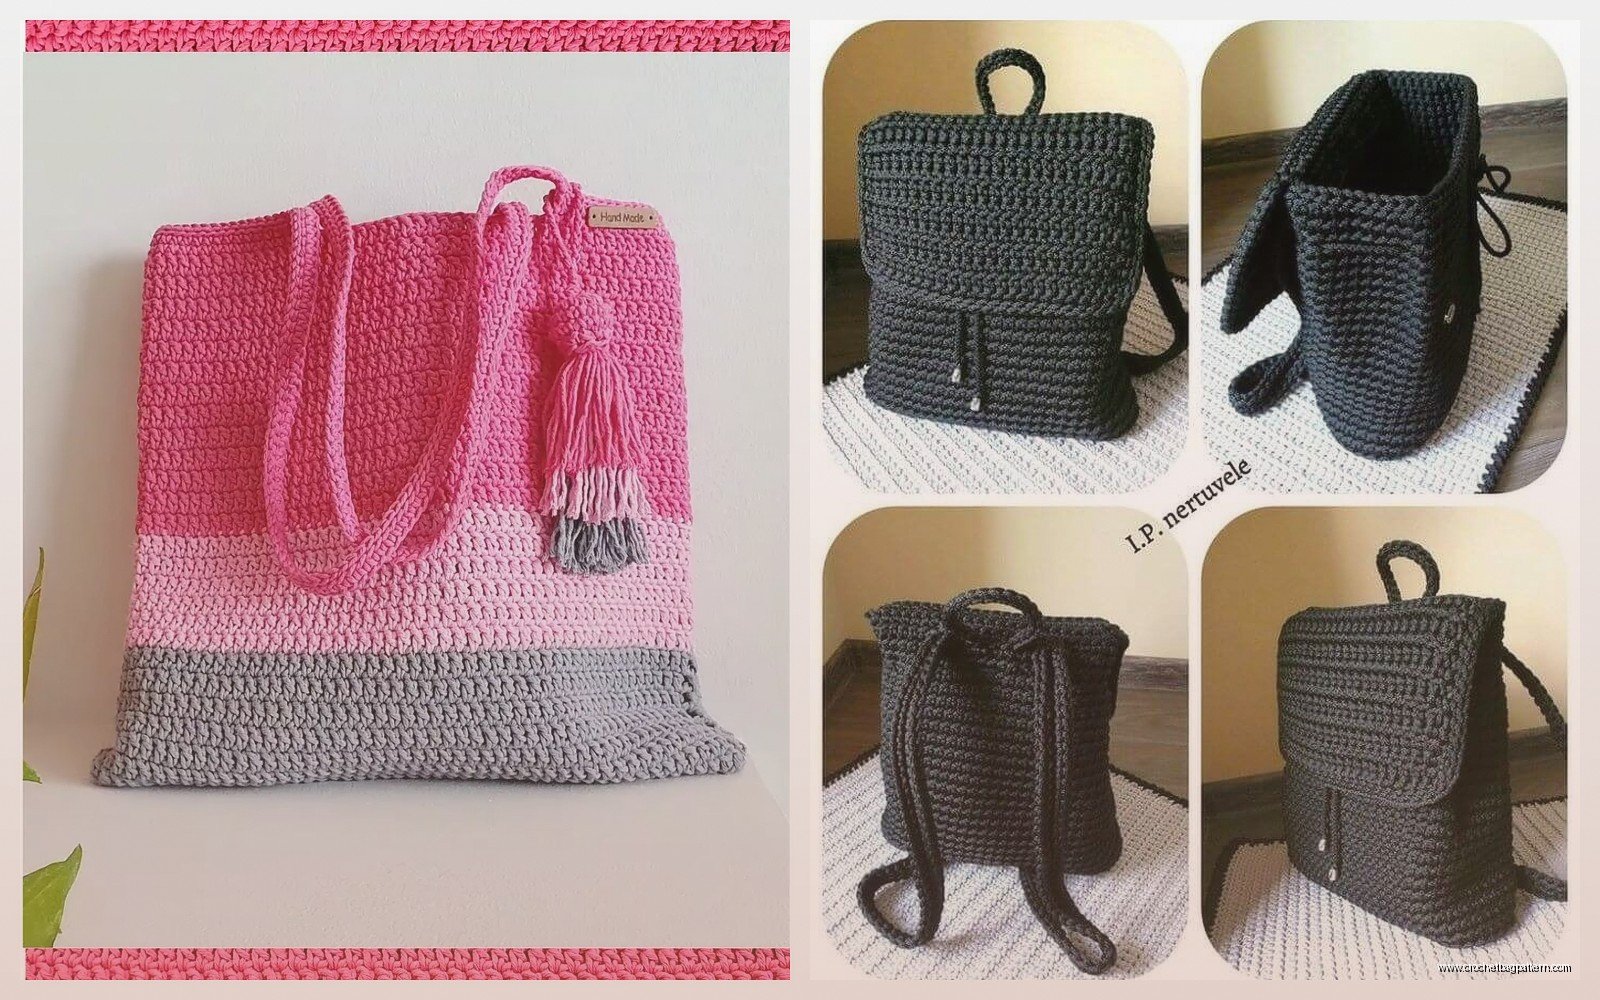
So I made my first actual wearable bag in spring 2022 and honestly it was because I had all this Lion Brand Jeans yarn sitting around from another project that I never finished. The color was called “stonewash” which is just grey-blue and I thought whatever, let’s see if I can make something I’d actually use instead of another coaster that goes in a drawer.
The thing about beginner bag patterns is you want something that’s basically just a rectangle or two rectangles sewn together. Don’t start with those fancy ones that have shaping or decreases in weird places because you’ll mess it up and then you’re gonna be annoyed and quit. Trust me on this.
what you actually need
For your first bag you need chunky or worsted weight yarn. I used that Lion Brand Jeans stuff which is a 4 weight and it worked fine with a 5.5mm hook. But honestly if you use Bernat Blanket or one of those super chunky yarns it’ll work up faster and you’ll feel like you’re making progress. Red Heart Super Saver also works and it’s cheap which matters when you’re learning because you might hate what you made and want to start over.
You need a hook that matches your yarn weight obviously. And scissors and a yarn needle for weaving in ends which is the most annoying part but whatever we’ll get to that.
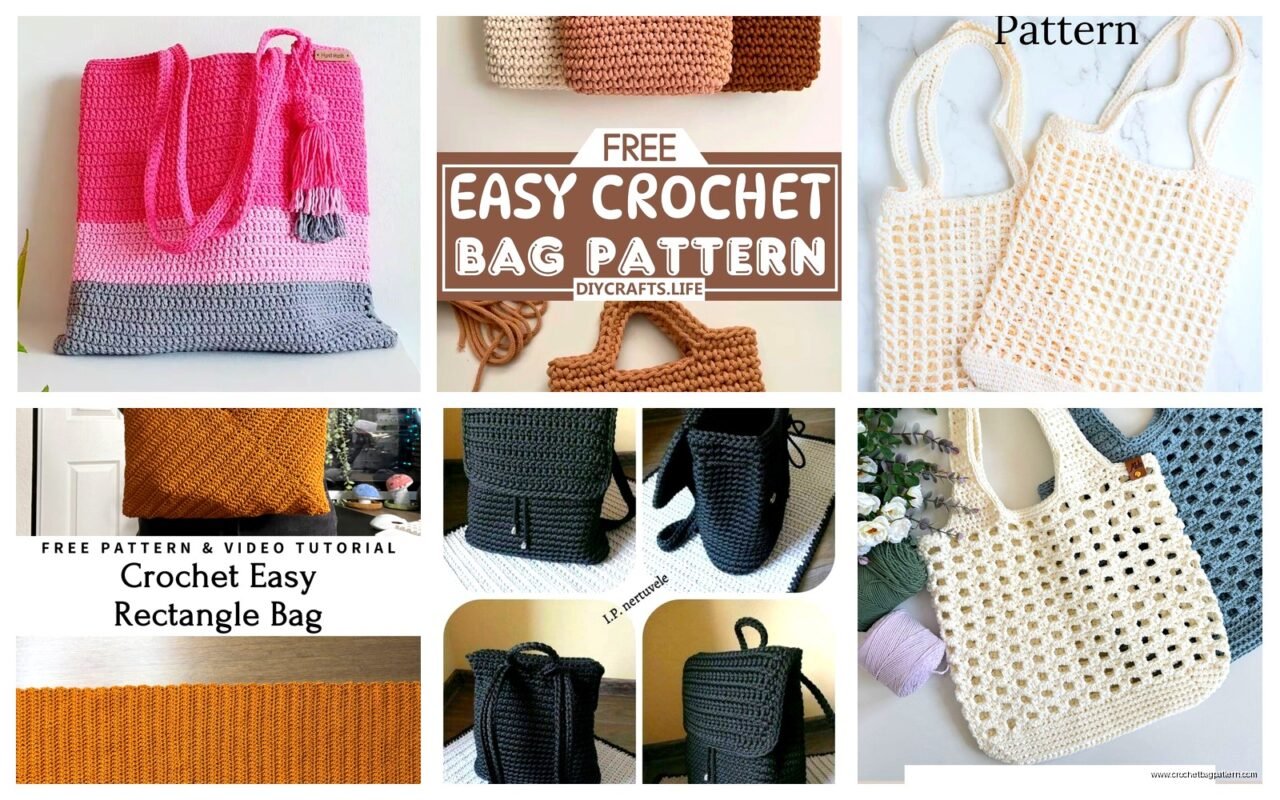
the basic rectangle bag pattern I use
This is the pattern I started with and still use when I want something quick. You chain like 30 stitches or however wide you want the bag. Then you just do single crochet back and forth in rows until it’s as long as you want. That’s it. That’s the whole bag body.
For my first one I did:
- Chain 32
- Row 1: single crochet in 2nd chain from hook and across (31 stitches)
- Row 2: chain 1, turn, single crochet across
- Repeat row 2 until you have a long rectangle
I made mine long enough to fold in half so it was like 24 inches total. Then you fold it and seam up the sides. The annoying thing that nobody tells you is that seaming takes forever and your hands get tired and also my cat kept sitting on the yarn while I was trying to work.
handles are where it gets real
Okay so handles. You can do them a few ways and I’ve tried most of them at this point. The easiest is to just chain a long chain like 60-80 chains depending on how long you want the strap. Then you can either leave it as a chain (looks kind of flimsy but works) or you can single crochet back along the chain to make it thicker.
What I did for my first bag was I chained 70, then single crocheted back along it, then attached it to the sides of the bag. You sew it on with your yarn needle and try to make it secure because the handles are gonna take the most stress when you’re actually using the bag.
Some people do double handles like two short ones at the top but I think that looks weird on a casual bag. Long shoulder strap is more practical anyway.
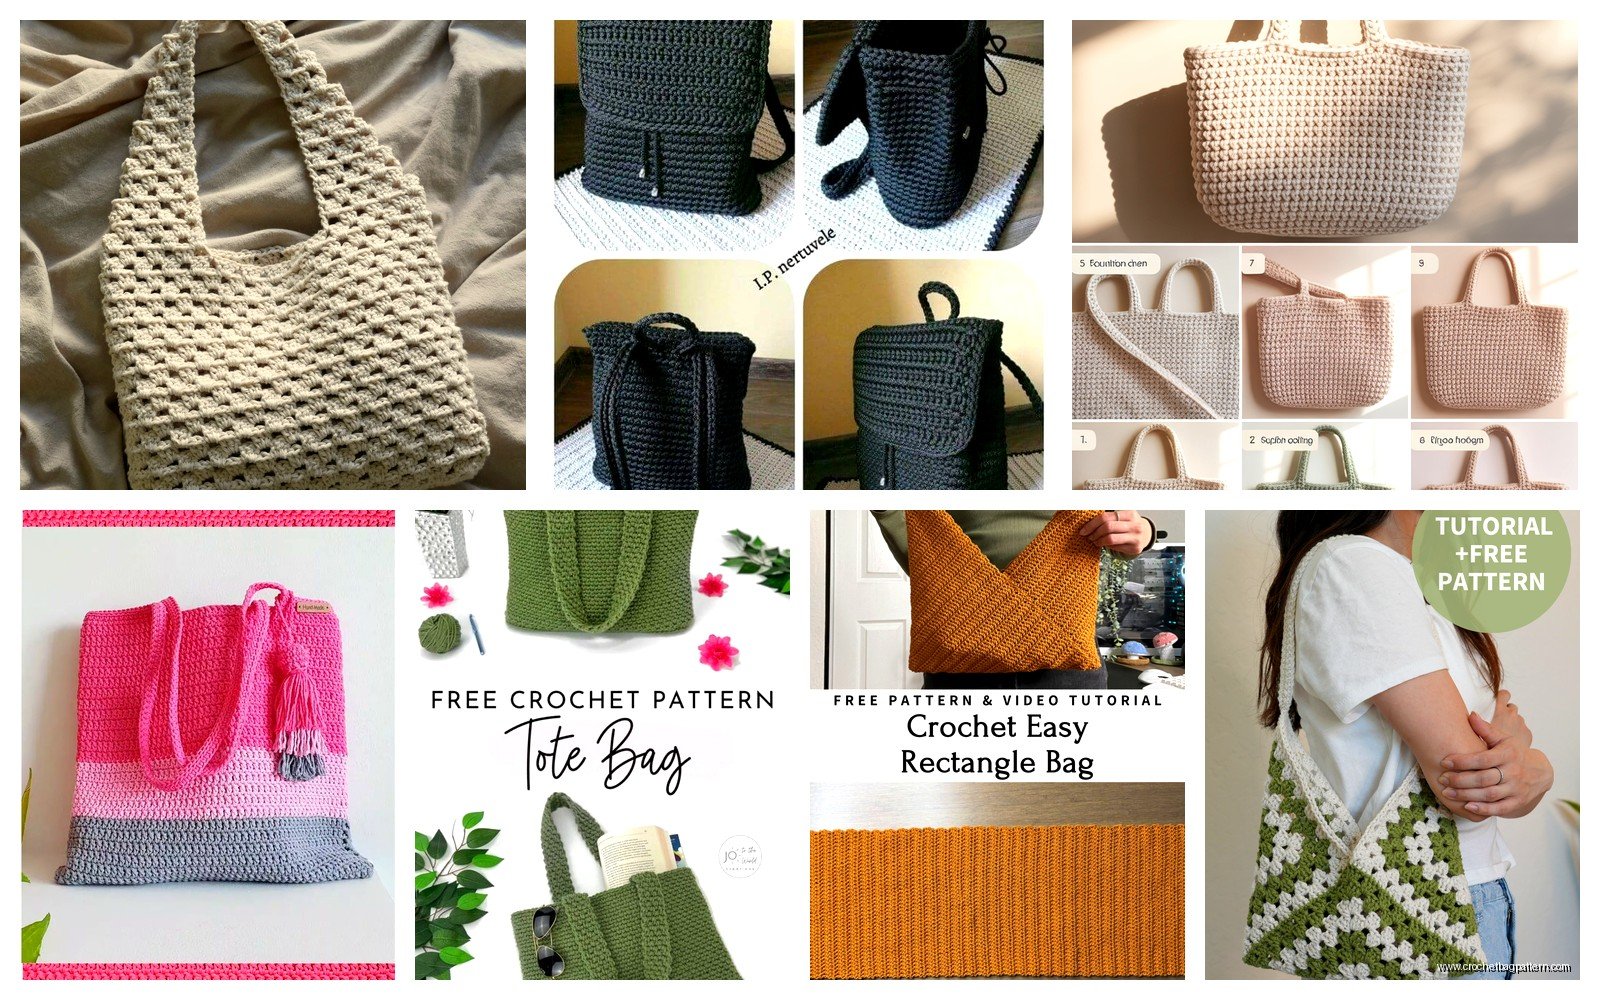
the granny square bag I made in summer 2024
So last summer I was watching Love Island or some show like that and decided to make a bag out of granny squares because I saw one on instagram and thought it looked easy. Used Hobbii Rainbow Cotton 8/4 which is actually a thinner yarn but I used a bigger hook (4mm I think?) to make it more loose and drapey.
You make like 8-10 granny squares all the same size. I did mine with 4 rounds each so they were about 5 inches square. Then you lay them out in a pattern—I did 4 squares for the front, 4 for the back, and 2 for the bottom/sides.
The process is:
- Make all your squares first (this takes longer than you think)
- Weave in the ends as you go DO NOT wait until the end because you’ll have like 40 ends to weave in and you’ll want to die
- Join them together with slip stitch or whip stitch
- Add a lining if you want (I didn’t because I was lazy)
The thing that annoyed me about this one was that the squares didn’t all come out exactly the same size even though I counted my stitches. Some were like slightly bigger and when you join them it looks a bit wonky. You can block them to fix this but I don’t own blocking mats and didn’t feel like buying them so I just… lived with it. The bag still worked fine.
about lining your bags
Okay so lining is one of those things where people act like it’s super necessary but honestly it depends. If you’re using a tight stitch and thicker yarn you probably don’t need it. Your stuff won’t fall through the holes.
But if you did granny squares or any kind of lacey pattern yeah you’re gonna want lining or your phone and keys will slide right through. I’ve used cotton fabric from Joann’s before and you just cut it to size, sew it into a bag shape on your sewing machine (or hand sew if you hate yourself), then slip it inside the crochet bag and hand stitch it to the top edge.
For the Lion Brand Jeans bag I mentioned earlier I didn’t line it and it’s been fine for like two years now. I throw my wallet and phone in there and nothing falls out.
specific beginner patterns that actually work
the market bag or mesh bag
This one is good because you can mess up and it doesn’t really matter since it’s supposed to look loose and organic. You basically chain an even number and then do this:
Row 1: double crochet in 4th chain from hook, chain 1, skip 1 chain, double crochet in next chain, repeat across
Row 2: chain 3, turn, double crochet in each chain space from previous row with chain 1 between
Keep going until it’s bag sized. The mesh pattern works up fast and you can use lighter weight yarn. I made one with Lily Sugar’n Cream cotton yarn which is super cheap and meant for dishcloths but works great for market bags.
The annoying thing about mesh bags is they stretch like crazy when you put heavy stuff in them. I made one and used it for groceries and it stretched so much that it was dragging on the ground by the time I got home. So maybe don’t use it for cans or wine bottles or whatever.
the simple tote with boxed corners
This is the next level up from a basic rectangle. You make your rectangle like before but then instead of just folding it in half, you create boxed corners so the bag has depth and can stand up on its own.
After you seam the sides, you take each bottom corner and flatten it so the side seam lines up with the bottom center. Then you measure like 2 inches from the point and sew straight across. This creates a triangle at each corner that gives the bag a flat bottom.
I made one of these with Caron Simply Soft in like… grey or something neutral and it actually looked pretty professional. Used it for a while as a work bag until the handles started stretching out because I was carrying my laptop in it which was probably too heavy but oh well.
yarn choices that matter more than you think
So yarn choice is kinda important for bags because you want something that’ll hold its shape. Cotton is great—it’s sturdy and doesn’t stretch as much as acrylic. That Lily Sugar’n Cream stuff I mentioned is good. Also Hobbii has that Rainbow Cotton that comes in good colors.
Acrylic works fine too and it’s cheaper. Red Heart Super Saver is what everyone starts with and yeah it’s a bit squeaky to work with but bags made from it last forever. I’ve also used Caron One Pound which is good if you want a lot of yardage for a big bag.
The Lion Brand Jeans yarn I used for my first bag is actually really good for this—it’s a cotton blend and has a nice texture that looks almost like denim. Comes in good colors too not just blues.
Avoid really fuzzy or splitty yarns for your first bag. You want something smooth that you can see your stitches in. I tried making a bag with some fuzzy Red Heart Hygge yarn once and it was impossible to see where to put my hook and I gave up after like 10 rows.
what size hook actually matters
Use a smaller hook than the yarn label recommends if you want a sturdy bag that holds its shape. Like if the yarn says 5mm try a 4.5mm or even 4mm. Your stitches will be tighter and the fabric will be denser so stuff doesn’t poke through.
The tradeoff is it takes longer and your hands might get tired. But for a small purse it’s worth it. For a big market bag or beach bag you can use the recommended size or go bigger because you want it to be flexible anyway.
handles and straps that don’t suck
Okay so the handle situation is honestly the hardest part of making a bag that you’ll actually use. I’ve made bags with handles that stretched out or felt uncomfortable or just looked weird.
The chain method I mentioned works but it stretches. If you want sturdier handles do this instead:
- Chain your desired length
- Single crochet back along the chain
- Chain 1 and turn
- Single crochet back across
- Repeat for like 4-6 rows total
This gives you a flat strap that’s thicker and doesn’t stretch as much. Takes longer but worth it.
You can also buy leather handles or wooden handles online and just attach your crochet bag to them. I did this once with some handles from Amazon and it looked way more professional. You just crochet loops or holes at the top of your bag and thread the handles through.
where to attach handles so they don’t rip off
This is important because I’ve had handles rip off bags and it sucks. When you’re sewing on handles, don’t just attach them at one point. Sew them on across like 3-4 inches of the bag top so the weight is distributed. Use the same yarn you made the bag with and go through each stitch multiple times.
If you’re worried about it you can also crochet a reinforcement strip along the inside top edge of the bag where the handles attach. Just like a row of single crochet that you sew to the inside, then attach handles through both layers.
mistakes I made that you can avoid
First bag I made the handles way too short and it was like a tiny little hand bag that I couldn’t fit my arm through. Had to cut them off and redo them which was annoying because weaving in all those new ends sucked.
I also didn’t count my stitches carefully so the bag got wider as I went up because I was accidentally increasing. It looked fine actually kind of had a trapezoid shape but it wasn’t what I was going for. Count your stitches at the end of each row especially when you’re starting out.
Another thing is I made a bag once that was too small to actually fit anything useful in. Like it fit my phone and that’s it. So before you start measure stuff you want to carry and make sure your dimensions make sense. A good basic size is like 10-12 inches wide and 10-12 inches tall.
Oh and tension matters more for bags than like scarves or blankets because if your tension is off the bag will be lopsided or wonky. Try to keep your stitches consistent. If you’re getting tired take a break because your tension gets looser when you’re tired, or at least mine does.
the closure situation
Most beginner bags don’t have closures and that’s fine. Just an open top bag works for most stuff. But if you want to add a closure the easiest is a button and loop.
Crochet a small loop (chain like 10 and slip stitch it into a circle) on one side of the bag opening. Sew a button on the other side. Done. Takes five minutes.
You can also do a drawstring by leaving holes along the top edge (just chain 1 skip 1 stitch pattern) and threading a crocheted cord through. I did this on a small bag and it worked okay but the drawstring kept falling out so I had to secure the ends really well.
Zippers are a whole other thing and honestly I don’t bother with them for casual bags. Too much work and you need a sewing machine really to do it right.
how long this actually takes
A basic rectangle bag in worsted weight yarn takes me like 3-4 hours total including handles and seaming. That’s working on it while watching TV or whatever so not straight focused time.
Granny square bags take longer because you gotta make all the squares and join them. Maybe 6-8 hours total? But you can work on one square at a time which is nice if you can only crochet for short periods.
The mesh market bag is fastest—maybe 2 hours because the stitches are bigger and you skip chains so it works up quick.
Your first bag will take longer because you’re figuring stuff out and probably frogging (ripping out) sections that don’t look right. That’s normal just keep going.
what to do with bags you make that you don’t like
I’ve made bags that I finished and then looked at and was like yeah I’m never using this. Sometimes the colors look weird together or the shape is off or whatever. You can frog them and reuse the yarn but if you already wove in all the ends that’s annoying to undo.
I usually give them away or donate them. Someone will want a handmade bag even if it’s not your style. Or use them for like storage—I have one holding my extra yarn in the closet and one that holds dog toys.
The nice thing about bags as a beginner project is even if they’re not perfect they’re still functional. Like a wonky scarf is just wonky but a wonky bag still carries stuff so whatever it served its purpose.