
Mar
okay so sleeves are actually way easier than they look
I made this whole cardigan last summer, like july 2024 when it was way too hot to be working with yarn but I was stubborn about it. The sleeves were honestly the part I kept putting off because I thought they’d be complicated but then once I actually started them I was like oh… this is basically just a tube that gets wider.
So here’s the thing about crochet sleeves – you can work them two ways. Top-down or bottom-up. I always do bottom-up because I can try them on as I go and I’m terrible at measuring my actual arms apparently. You start at the cuff and work up toward the shoulder.
starting with the cuff part
For a basic sleeve you’re gonna chain however many stitches fit around your wrist comfortably. I usually do like 30-35 chains with worsted weight yarn but honestly it depends on your hook size and tension. Join it into a round with a slip stitch. Then you just work in rounds going up.
The annoying thing – and this drove me absolutely insane on that summer cardigan – is that you have to increase gradually or the sleeve looks weird. Like if you increase too fast it gets all bunchy under your arm. If you don’t increase enough it’s too tight at the shoulder. I had to rip out the first sleeve THREE times because I wasn’t paying attention to how many increases I was doing per round.
What I figured out is you need to increase about 4-6 stitches every other round. So like round 1 is just single crochet all the way around. Round 2 you do your increases evenly spaced. I mark where I’m putting increases with those little stitch markers or sometimes just a piece of different colored yarn tied in.
the actual pattern I use most
This isn’t like an official pattern or whatever but it’s what works for me:
- Chain 32, join to make a circle
- Round 1-3: single crochet in each stitch
- Round 4: increase 4 times evenly spaced (so like sc in 7 stitches, 2 sc in next stitch, repeat)
- Round 5-6: sc in each stitch
- Round 7: increase 4 times again
- Keep repeating this pattern until the sleeve is wide enough for your upper arm
I usually work the sleeve until it’s about 17-18 inches long total but I have long arms. My friend Sarah has shorter arms and she does like 15 inches. Just measure from your wrist to where you want the sleeve to end on your shoulder.
connecting sleeves to a cardigan body
Okay so this is where it gets interesting. You’ve made your cardigan front and back pieces separately right. And you’ve made two sleeves. Now you gotta attach them and this part I actually learned from watching my neighbor who does a lot of crochet, she showed me during the pandemic when we were both just sitting outside being bored.
The easiest way is to just sew them in. I use a yarn needle and whip stitch around the armhole. Line up the top center of your sleeve with the shoulder seam of your cardigan. Pin it if you want but I never do because I’m impatient. Then just stitch all the way around.
Some people do this fancy thing where they crochet the sleeve directly onto the body but I tried that once and it looked sloppy when I did it so I just stick to sewing.
the yarn situation
For that summer cardigan I used Lion Brand Wool-Ease in like a dark green color. It was actually yarn I had left over from a blanket project that never got finished. The good thing about Wool-Ease is it’s pretty forgiving if your tension is inconsistent.
I’ve also made sleeves with Caron Simply Soft which is nice and drapey. Made a whole top with three-quarter length sleeves in spring 2022, that cream colored one that I wore constantly until my cat decided it was a good thing to knead with her claws out. Anyway the Simply Soft worked really well for a lighter weight top because it doesn’t get too heavy.
Red Heart Super Saver is cheaper if you’re just practicing. It’s scratchier but whatever it’s good for learning. I made my first sleeved cardigan with that in like grey or charcoal or something dark.
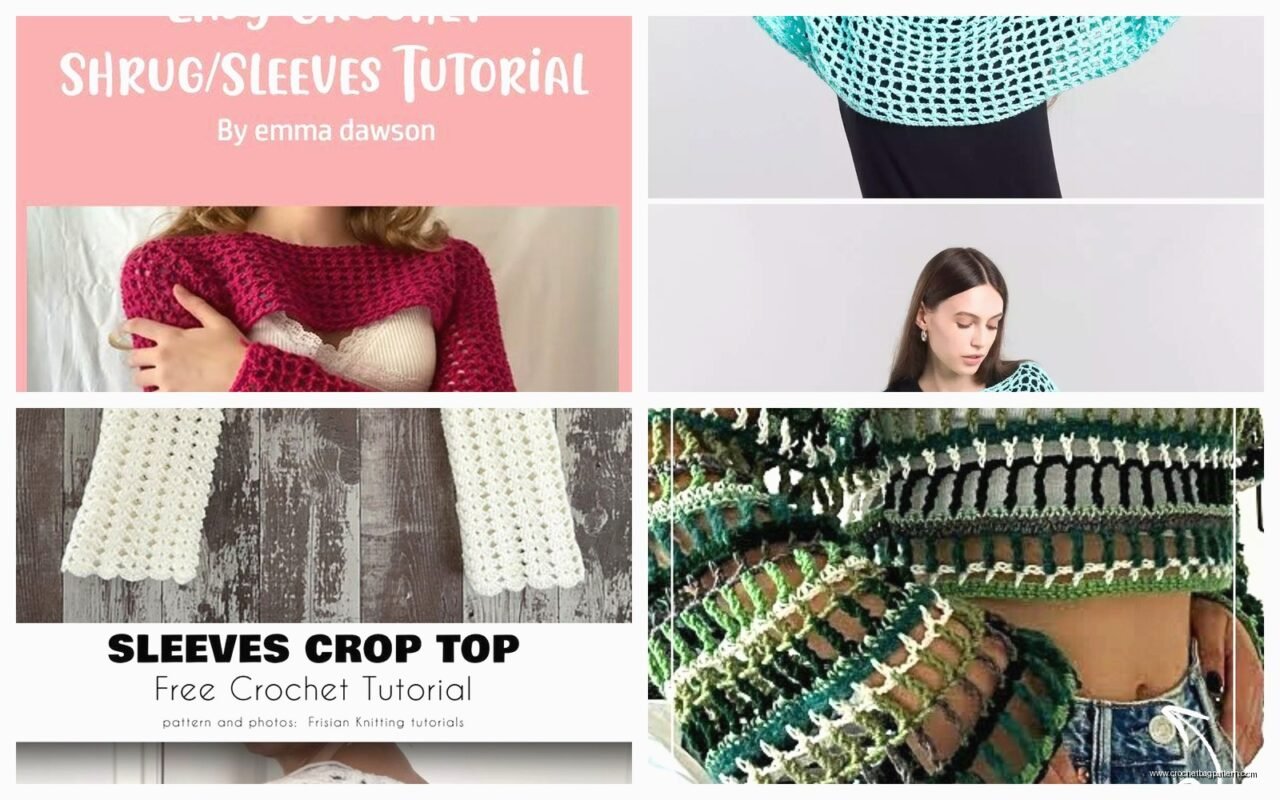
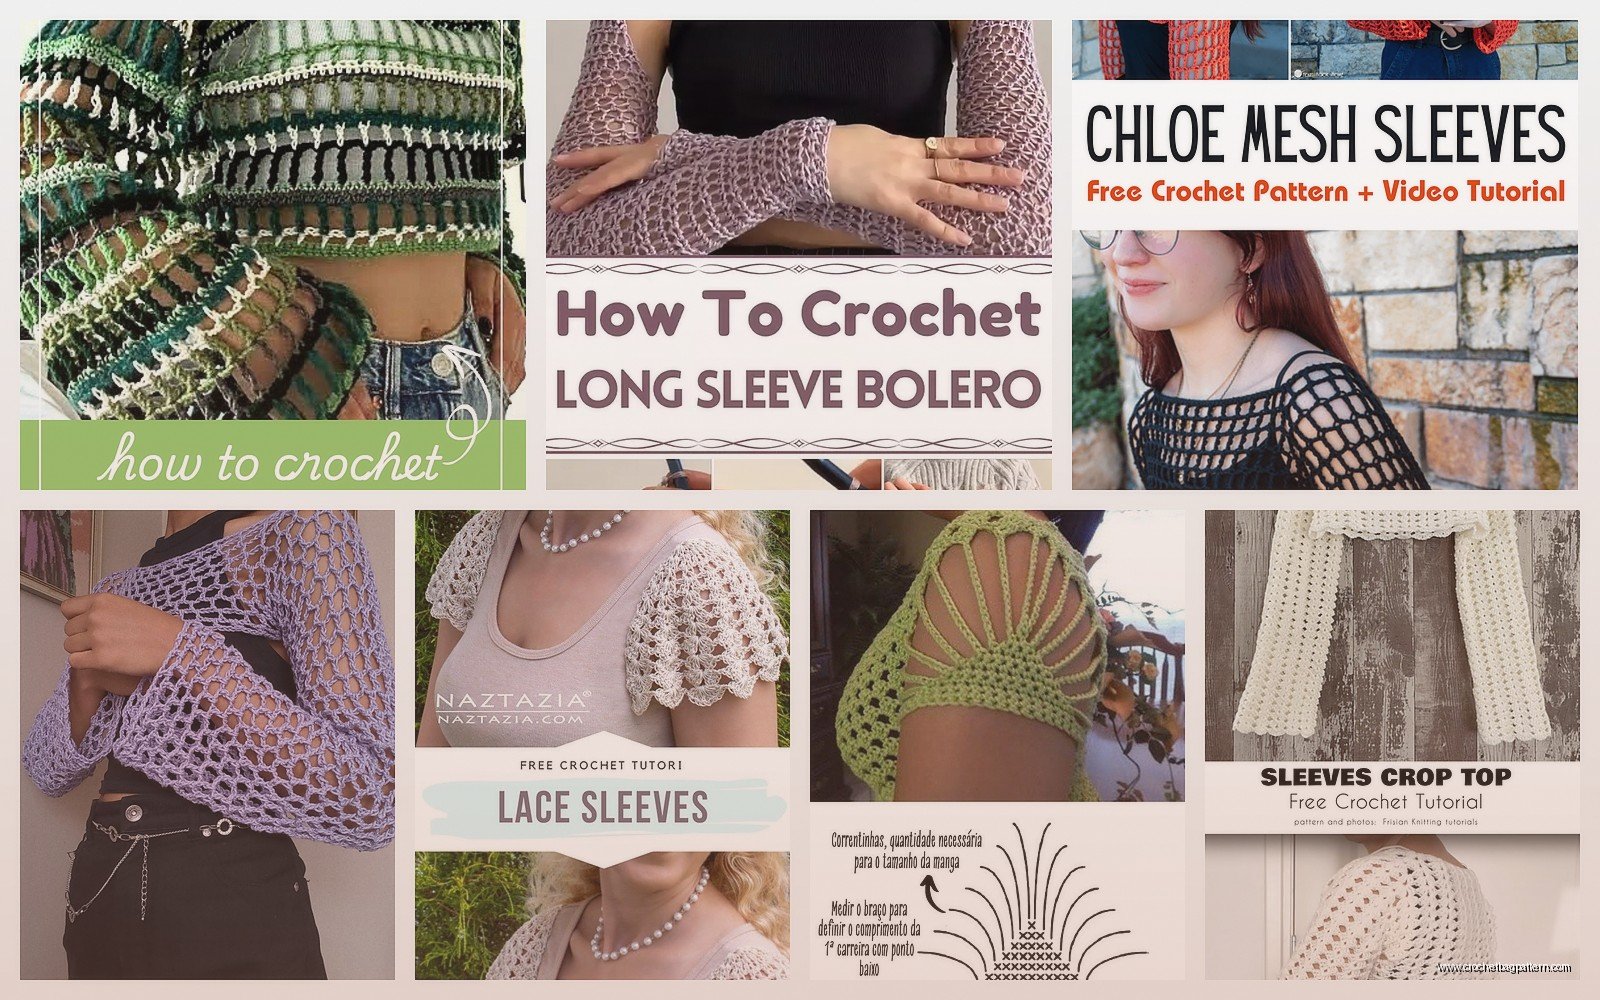
different sleeve styles you can do
Once you get the basic tube sleeve down you can mess around with other styles.
bell sleeves
These are pretty easy actually. You work the sleeve normally until you get to like the elbow area. Then instead of increasing gradually you just… keep increasing more aggressively in the last 6-8 rounds. So maybe you increase 8-10 stitches per round instead of 4-6. The sleeve flares out at the bottom.
I made a top with bell sleeves and they looked cute but were super impractical for doing anything. Like washing dishes or cooking or basically living your life. But they looked good in photos I guess.
short sleeves or cap sleeves
These are just shorter versions. Instead of working 17 inches you work like 4-6 inches. You still need to do some increasing because it needs to fit over your shoulder but not as much. Maybe only increase every 3rd or 4th round instead of every other round.
Cap sleeves are even shorter – basically just a little coverage over the shoulder. You might only work 2-3 inches total. I don’t love how these look on me personally but some people really like them.
three-quarter sleeves
These end around your forearm. Work them the same way as regular sleeves but stop at like 12-14 inches depending on your arm length. These are actually my favorite because they’re practical – you can still wash your hands and do stuff without your sleeves getting in the way but you get some arm coverage.
fitting issues and how to fix them
The most common problem is the sleeve is too tight at the upper arm. If this happens you can either rip back to where it started getting tight and increase more frequently, or you can add a few rounds of increases at the top before you attach it to the body.
If it’s too loose and baggy you can… well you’re kind of stuck ripping it out honestly. Or you could try blocking it aggressively but that only does so much.
Another thing is if the sleeve twists while you’re working. This happens when you accidentally work in a spiral instead of joined rounds. Make sure you’re slip stitching to join each round and chaining up at the beginning. Or just work in a spiral on purpose and embrace it, some people prefer that.
the armhole depth thing
This is something I didn’t understand for the longest time. The armhole on your cardigan or top body needs to be the right depth for the sleeve width. Like if your sleeve is 16 inches around at the top, your armhole needs to be about 8 inches deep (half the circumference roughly).
I made this whole cardigan once where the armholes were too shallow and the sleeves were too wide and it just looked bizarre. The sleeves kind of stuck out weird. Had to redo the whole body piece which was annoying because I was already like halfway through.
working sleeves flat instead of in the round
You can also make sleeves by working flat and seaming them. Chain your starting chain, then work back and forth in rows instead of rounds. Increase on both ends of the row every other row or every few rows.
When you’re done you fold it in half lengthwise and seam up the underarm. Then attach it to the body the same way.
I don’t usually do this because I think the seam is visible and kind of annoying but some patterns are written this way. It’s easier for some people who don’t like working in the round.
adding ribbing to the cuffs
This makes the sleeves look more finished. After you finish the sleeve you can go back and add ribbing to the cuff.
The way I do it is I work in the back loops only for several rounds at the cuff. This creates a ribbed texture. Or you can do actual ribbing by working rows of single crochet sideways and then seaming it into a circle and attaching it to the cuff.
For that summer 2024 cardigan I did the back loop only method in like 5 rounds at each cuff. Used a smaller hook size (went from H to G) so the ribbing would be tighter and more stretchy looking.
or you could do a different edging
Sometimes I do a round of crab stitch (reverse single crochet) around the cuff instead of ribbing. It gives it a decorative edge. Or a picot edge if you’re feeling fancy. Or just leave it plain honestly, that works too.
raglan sleeves are different
Okay so raglan sleeves are a whole other thing. The sleeve and the body are worked together in one piece usually, or the sleeve has a diagonal seam that goes from the underarm up to the neckline.
I’ve only made raglan sleeves once and it was confusing. You have to do decreases along the raglan line as you work. There are patterns for this but I found it hard to keep track of where I was supposed to be decreasing.
The advantage is there’s no shoulder seam and it can be more comfortable. But it’s definitely more complicated than just making a regular set-in sleeve.
tips that actually help
Make both sleeves at the same time if you can stay organized enough. Like work a few rounds on one, then switch to the other. This way they end up actually matching. I always think I’ll remember exactly what I did on the first sleeve but then I don’t and the second one ends up slightly different.
Write down what round you increased on. Seriously just keep a little notepad or use your phone. I cannot tell you how many times I’ve gotten halfway through the second sleeve and been like wait did I increase on round 6 or round 8.
Try the sleeve on as you go. Just stick your arm in there even though it’s still on the hook. You can tell if it’s getting too tight or if the increases are working.
If you’re making a cardigan that’s supposed to be drapey and loose, make the sleeves a little looser too so they match the vibe. If it’s a fitted top, keep the sleeves more fitted.
Count your stitches every few rounds especially after you increase. It’s easy to accidentally increase too many or miss one and then your sleeve gets wonky.
what i wish someone had told me
Sleeves take longer than you think they will. Like I always think oh it’s just a tube I’ll knock this out in an evening. But then it takes like 3-4 hours per sleeve depending on the length and yarn weight.
Also you don’t have to make the sleeves match the stitch pattern of the body exactly. Like if your cardigan body is done in a complicated shell stitch or something, you can just do the sleeves in single crochet. It’s easier and honestly most people won’t notice or care.
The other thing is that sleeves on a crocheted garment are always gonna be a little less stretchy than knit sleeves. That’s just how crochet fabric works. So make them a tiny bit looser than you think you need.
fixing mistakes without starting over
If you notice the sleeve is twisting, you can sometimes fix it by blocking. Get it wet, pin it flat in the right position, let it dry.
If there’s a section that’s too tight, you can carefully cut the yarn at that spot, rip out just those few rounds, and re-work them with more increases. Then weave in the ends. This is scary but it works.
If the sleeve is too long you can just unravel rounds from the cuff end until it’s the right length. Way easier than ripping out from the top.
I was watching that show The Bear while I fixed a sleeve mistake once and it was probably the most stressed I’ve been while crocheting because the show is stressful and I was trying to fix this sleeve and I kept losing count.
actually attaching them neatly
When you sew the sleeve into the armhole, use the same yarn you made the project with. It’ll be less visible than using different yarn.
Start at the underarm point and work your way around in both directions meeting at the shoulder. This distributes any unevenness better than starting at the shoulder.
Don’t pull the stitches too tight when you’re sewing or it’ll pucker. Just snug enough that there’s no gaps.
If there’s a little gap at the underarm after you attach the sleeve, you can crochet a few stitches right in that spot to fill it in. Just weave in the ends after.
Some people attach sleeves with slip stitch from the right side but I think this looks messy. The whip stitch or mattress stitch from the wrong side looks cleaner to me.
Anyway that’s basically everything I know about crochet sleeves. They’re really not as hard as they seem like they’re gonna be. Just start with a basic tube sleeve on something you don’t care about too much and see how it goes. The first one might be weird but the second one will be better.