
Mar
Getting Started With The Actual Pattern
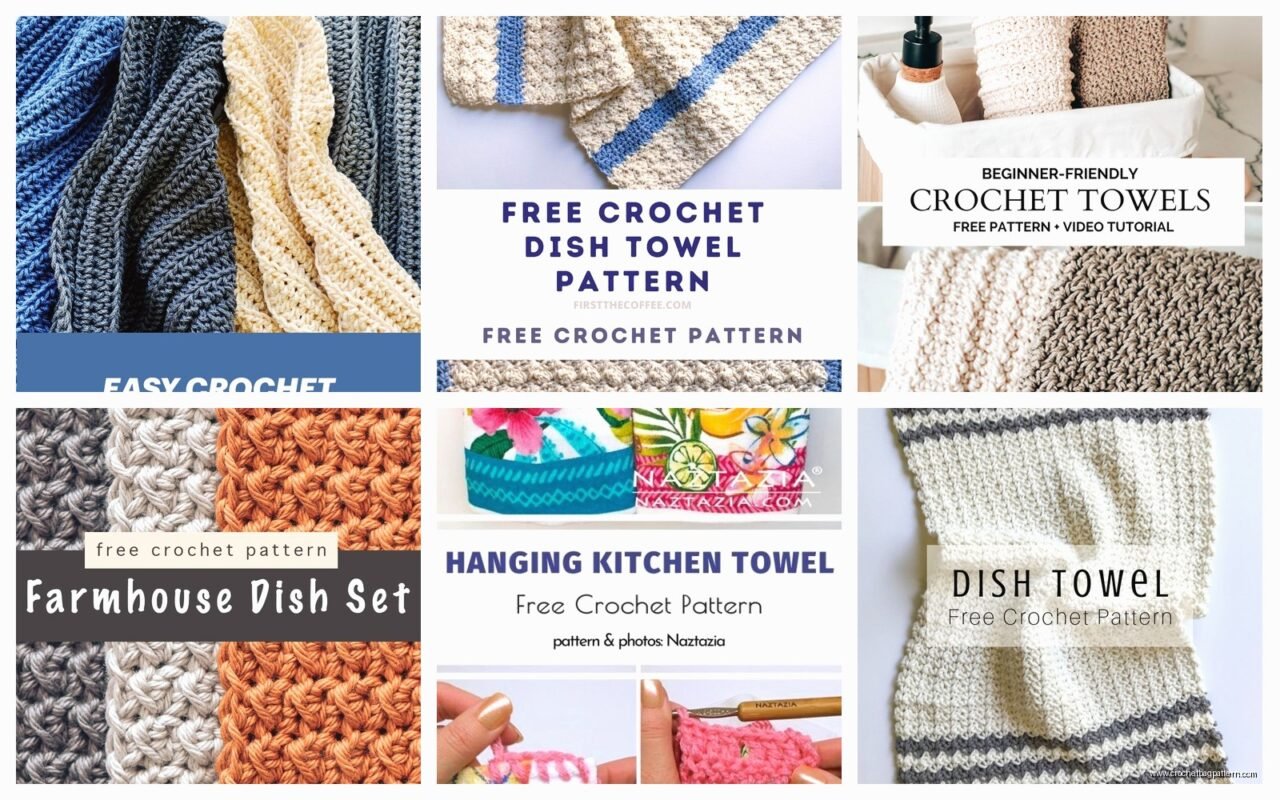
So basically you’re gonna need cotton yarn for this, not acrylic because acrylic melts when it gets hot and also doesn’t absorb water which is like the whole point of a dish towel. I made my first batch in spring 2022 when I was staying at my sister’s place and she kept complaining about how her kitchen towels were falling apart. I used Lily Sugar’n Cream which you can get literally anywhere – Walmart, craft stores, wherever. It comes in these big balls and costs like $3 which is way cheaper than buying fancy dish towels at those kitchen stores.
The main stitch I use is just single crochet because it makes a tight fabric that actually works for drying dishes. Some people do double crochet to make it faster but then you get holes and water just drips through so what’s the point really.
Yarn and Hook Size
You want a worsted weight cotton yarn. The brands that actually work:
- Lily Sugar’n Cream (the classic, comes in a million colors)
- Peaches & Creme (same company I think, basically identical)
- Lion Brand Kitchen Cotton (a bit softer but more expensive)
- Bernat Handicrafter Cotton (this one’s nice but harder to find)
For the hook I usually use a G/6 (4.0mm) or H/8 (5.0mm). The smaller hook makes a tighter fabric which is better for actual use but takes longer. The H hook goes faster but sometimes feels a bit loosy-goosy, though it still works fine honestly.
Basic Rectangle Pattern
This is the easiest version and what I started with. You’re literally just making a rectangle, nothing fancy.
Chain 40. This gives you a towel that’s about 14 inches wide, depending on your tension and hook size. You can adjust this – I’ve done anywhere from 35 to 45 chains depending on what size I wanted or how much yarn I had left.
Row 1: Single crochet in the second chain from hook, then single crochet across. Chain 1, turn.
Row 2 and forever: Single crochet in each stitch across. Chain 1, turn.
Just keep going until it’s about 18-20 inches long. I usually measure against a regular kitchen towel I already have because I’m bad at estimating lengths. The thing that really annoyed me about this process was trying to keep my edges straight – they kept getting wavy or pulled in and I had to really focus on not skipping the first stitch or accidentally adding extra stitches at the ends.
Finishing The Basic Version
When you get to your desired length, cut the yarn leaving like 6 inches and pull it through. Weave in your ends with a yarn needle. I was watching some true crime documentary when I made my first one and kept having to rewind because I’d lose count of my stitches.
For hanging it up, you can either crochet a little loop at one corner or just use the yarn tail to make a loop when you’re weaving it in. I usually do chain 10, slip stitch back to the corner, then weave in the end. Quick and functional.
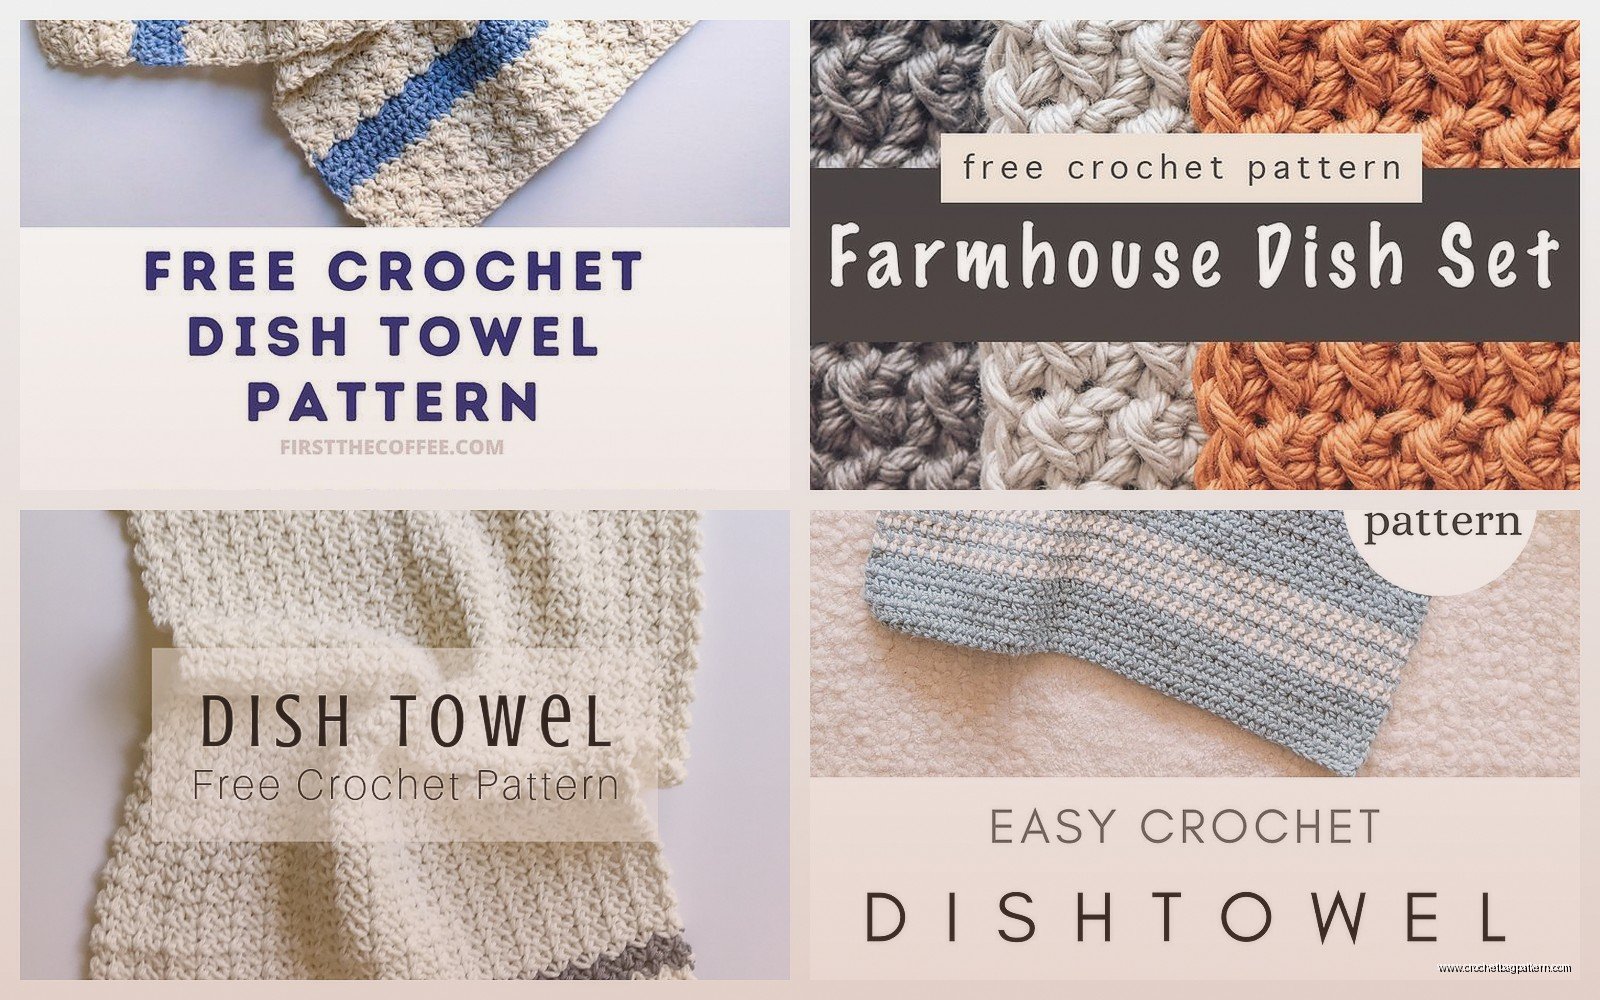
The Texture Version I Actually Prefer
Once you’ve made like three boring rectangle ones you’re gonna want some texture because otherwise it’s just repetitive and your brain turns off. This pattern adds ridges that actually help with scrubbing dishes.
Chain 40 (or whatever width you want).
Row 1: Single crochet in second chain from hook and across. Chain 1, turn.
Row 2: Single crochet in the back loop only of each stitch. Chain 1, turn.
Row 3: Single crochet in both loops normally. Chain 1, turn.
Repeat rows 2 and 3 until desired length.
The back loop only rows create these horizontal ridges that look nice and also give the towel more scrubbing power. I made a bunch of these in summer 2024 as gifts and people actually commented on them which never happens with the plain ones.
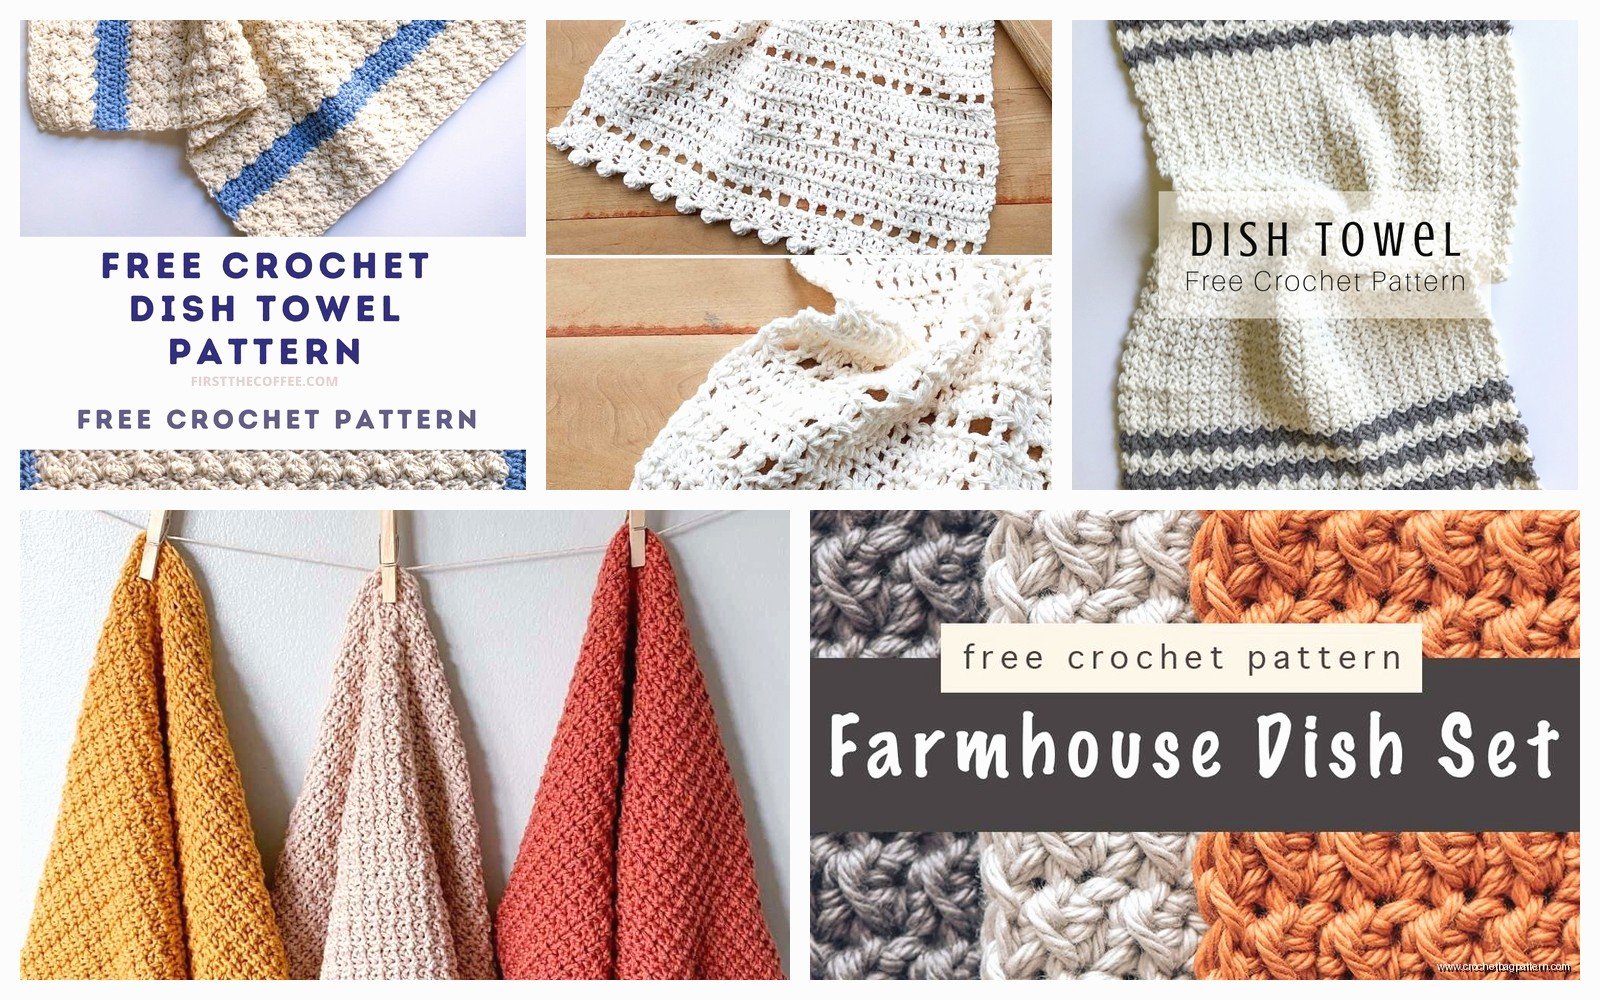
Color Changes and Using Up Scraps
If you’re like me you have a bunch of partial balls of cotton yarn sitting around. Dish towels are perfect for using these up. I usually do stripes – work 4 or 6 rows in one color, then switch to another.
To change colors: At the end of the last row in the old color, don’t complete the final single crochet. So you’ve inserted your hook, pulled up a loop, and you have two loops on your hook – this is where you drop the old color and pull through with the new color. Chain 1 with the new color and continue.
You can carry the old color up the side if you’re doing regular stripes, or cut it and weave in ends later. I usually cut it because carried yarn makes the edges bulky and weird.
My Favorite Color Combinations
White with any bright color looks clean and kitchen-y. I did white and turquoise ones that my mom still uses. Also sage green with cream, or you can do like a rainbow thing with scraps if you’re into that. The natural/ecru color of Sugar’n Cream is nice because it doesn’t show stains as much as white.
Problems You’ll Run Into
The edges curling in – this happens when your tension is too tight on the ends. Make sure you’re actually getting into that first stitch of each row and not accidentally skipping it. I still struggle with this sometimes.
Running out of yarn – a standard ball of Sugar’n Cream (2.5 oz) will make one good-sized towel with a little left over. If you’re doing a bigger towel or your tension is loose, you might need more. I’ve had to rip back like 6 rows before because I ran out and didn’t have more of that color.
The towel being too stiff – this happens with really tight tension. They soften up after washing though. I always throw new dish towels in the wash before using them anyway.
Uneven rows – sometimes you’ll accidentally add or lose a stitch and one end gets longer than the other. You can usually block it out when you wash it, or just accept that handmade things aren’t perfect. I’ve given away plenty of slightly wonky towels and no one’s ever said anything.
Washing and Care
Throw them in the regular wash with your other kitchen stuff. I use warm or hot water since they’re cotton and you want to actually get them clean. They can go in the dryer too – they’ll shrink a tiny bit the first time but then stay that size. The nice thing about cotton is you can bleach them if they get really gross, though the colored ones will fade.
They last forever basically. The ones I made in 2022 are still going strong and I use them constantly. They get softer and more absorbent with washing which is the opposite of store-bought towels that seem to get worse over time.
Size Variations
Dishcloths (smaller, for washing dishes): Chain 25-30, work until square (about 8-10 inches). These are faster to make and good for testing out new stitch patterns or colors.
Hand towels (medium): Chain 35, work to about 15 inches long. Good for drying hands obviously.
Full dish towels: Chain 40-45, work to 18-22 inches. These are the most useful size for drying dishes and covering bowls in the fridge and stuff.
I usually make a set with like two full-size towels and three dishcloths. Gives people options and uses up exactly two balls of yarn.
Fancy Border Option
If you want to make them look more finished or you’re giving them as gifts, add a simple border. After you finish the main rectangle:
Round 1: Single crochet evenly around the entire edge. In the corners, do 3 single crochets in the same stitch to turn the corner. Slip stitch to join when you get back to the beginning.
Round 2: Chain 1, single crochet in each stitch around with 3 single crochets in each corner middle stitch. Slip stitch to join.
This cleans up the edges and makes the towel lay flatter. I don’t always do this because it adds time and most people don’t care, but it does look nicer.
Alternative Stitch Patterns That Actually Work
Half double crochet: Makes a slightly thicker, softer fabric. Use the same chain count but work in half double crochet instead. Goes a bit faster than single crochet.
Moss stitch (single crochet and chain 1 alternating): This creates a textured fabric with small holes but they’re not so big that it doesn’t work. Chain an odd number, then do single crochet, chain 1, skip 1 stitch across. Next row you single crochet into the chain spaces. It’s actually pretty satisfying once you get the rhythm.
Waffle stitch: This one’s more advanced but makes a really thick, textured towel. I tried this once and it ate up yarn like crazy and took forever, but the finished towel was really nice. You alternate double crochets with front post and back post stitches. Look up a specific tutorial for this one because it’s hard to explain in text.
The Economics of Making These
One ball of Sugar’n Cream costs about $3 and makes one towel. A decent store-bought dish towel costs $5-8. So you’re not really saving money unless you count the fact that the crocheted ones last longer. But you can make custom colors and sizes which you can’t buy, and they make decent gifts that people actually use.
I don’t sell mine because the time investment doesn’t make sense – a towel takes me like 3-4 hours and even if I charged $20 for it that’s not enough for handmade. But some people do sell them at craft fairs and stuff.
What I Learned Making Like 30 of These
Cotton yarn is scratchy on your hands compared to acrylic. I have to take breaks or my fingers get sore from the friction. Some people use hand lotion while they crochet but that seems messy to me.
The first one always takes longest because you’re figuring out your tension and rhythm. By the third or fourth one you can kind of zone out and watch TV or whatever. My cat likes to attack the yarn ball while I’m working which is annoying but also – I mean, she’s a cat, that’s what they do.
White shows every speck of dirt while you’re making it. If you’re crocheting on the couch or outside, go with a color.
People are weirdly excited to receive handmade dish towels as gifts. I thought they’d be like “oh, a towel, thanks I guess” but everyone seems genuinely happy about them. Maybe because kitchen stuff is practical and they’ll actually use it instead of it sitting in a closet.
Modifications I’ve Tried
Adding stripes just in the last few rows as a border accent – this looks nice and uses up small amounts of contrast color.
Making them slightly longer to tuck into the oven handle – I did chain 50 for these and made them like 24 inches long. They work but they’re kind of annoying to store.
Using two strands of yarn held together – this makes a thicker towel but it’s really stiff until you wash it several times. Wouldn’t recommend unless you want like a pot holder type thing.
Crocheting in the round to make a tube, then flattening it – I saw this on a video somewhere and tried it but honestly it’s just more complicated for the same result. Stick with flat rectangles.
Actual Time Investment
Basic single crochet towel: 3-4 hours for me, maybe faster if you crochet looser or use a bigger hook.
Textured pattern: Add another hour because you have to pay more attention.
With color changes: Depends how many but figure an extra 15 minutes for weaving in all those ends.
I usually make them while watching TV or listening to podcasts. They’re mindless enough once you get going but not so boring that you want to quit.
The most towels I made in one sitting was four, and by the end my hands were pretty tired. I wouldn’t recommend marathon sessions unless you really need to crank out a bunch for some reason.