
Mar
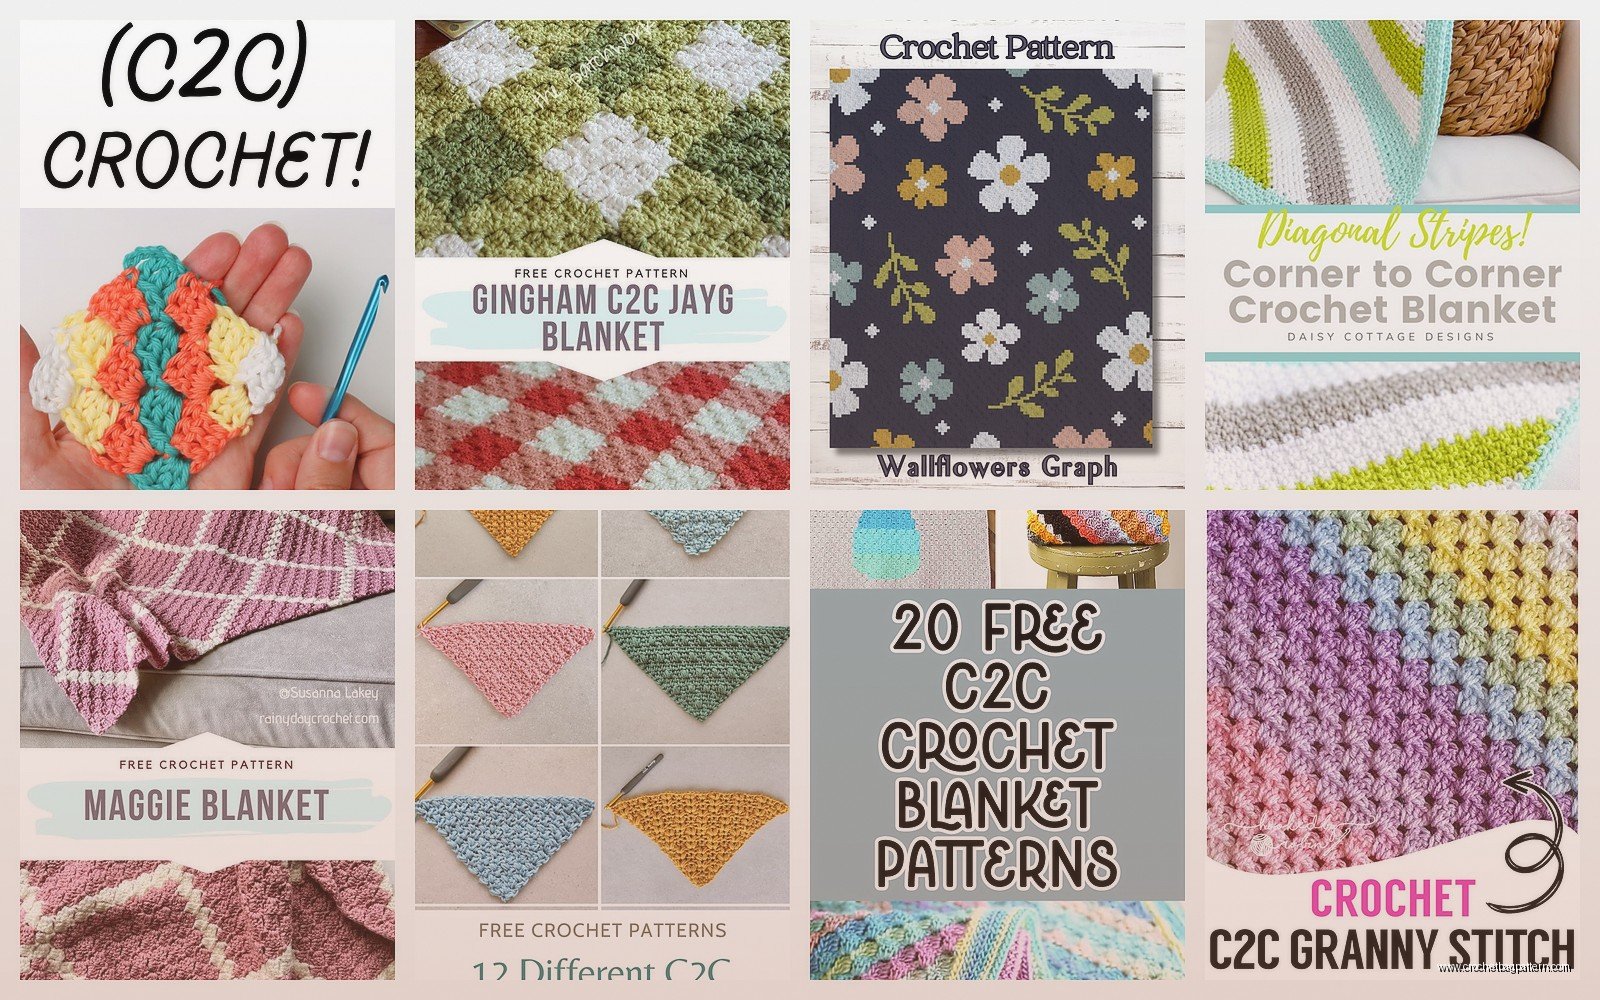
So You Want to Make a C2C Blanket
Okay so the whole corner to corner thing sounds complicated but honestly once you get the rhythm it’s like super repetitive and your hands just kind of know what to do. I made my first real C2C blanket in spring 2022 when I was stuck at home with a sprained ankle and needed something to do that wasn’t just rewatching The Office for the millionth time.
The basic idea is you start in one corner—usually bottom right if you’re right handed but whatever works—and you build diagonal rows that get bigger and bigger until you hit the width you want, then you start decreasing to form the opposite corner. Each little square is called a tile or block and it’s just a cluster of stitches.
What You Actually Need
You need a hook obviously. I used a 5mm hook for most of my blankets because I tend to crochet kind of tight and it makes the fabric less stiff. For yarn I’ve used Red Heart Super Saver which people love to hate on but honestly it’s cheap and it works and it gets softer after you wash it a few times. Also used Caron One Pound when it was on sale at Michael’s—that stuff is great for big projects because you don’t have to join new yarn as often.
The annoying thing about C2C blankets is how many ends you have to weave in if you’re doing multiple colors. Like I made this rainbow gradient one in summer 2024 and I swear I spent almost as much time weaving in ends as I did actually crocheting the thing. My cat kept trying to attack the yarn ends too which didn’t help.
Starting the First Corner
Chain 6. This is gonna be your first tile. Skip the first 3 chains—those count as a double crochet—then do 3 dc in the 4th chain from the hook. That’s your first block done. It looks tiny and sad but trust me.
For row 2 you’re gonna chain 6 again and turn your work. Now you make a block in the chain space from the previous row—that’s the gap between your starting chain and the 3 dc you just made. So you dc 3 times in that space. Then chain 3 and slip stitch into the top of the starting chain from row 1. Then chain 3 and make another block of 3 dc in the same space you just slip stitched into.

I know that sounds like word soup but when you actually do it with the hook in your hand it makes more sense. There are videos on YouTube that help if you’re a visual person.
Building the Increase Rows
Every row you add you’re adding one more block. So row 3 has 3 blocks, row 4 has 4 blocks, etc. The pattern is always the same: chain 6, make your first block, then for each existing block from the previous row you slip stitch into its chain-3 space, chain 3, and make a new block of 3 dc in that same space.
The chain 6 at the start of each row creates the new block on the edge. The chain 3 between blocks is what gives you those little gaps that make the diagonal pattern visible. If you skip those chain-3s your blanket will look weird and bunched up—I did that on my first attempt and had to frog like 15 rows because I wasn’t paying attention.
You just keep increasing until your diagonal measurement is as wide as you want your finished blanket to be. For a baby blanket maybe 30-35 rows, for a lap blanket maybe 50-60 rows, for a full size bed blanket you’re looking at like 100+ rows which is honestly a commitment.
When to Stop Increasing and Start Decreasing
So here’s where people get confused or I guess where I got confused at first. You don’t just increase forever until you have a triangle. You need to turn it into a square. Once you hit your desired width you start the decrease rows.
The decrease is basically the increase in reverse. Instead of starting with chain 6, you slip stitch into the first block’s chain-3 space, then chain 3 and continue across the row like normal. You’re skipping that first block so each decrease row has one less block than the previous row.
You keep decreasing until you have just one block left and then you’re done. Fasten off and weave in your ends which again is the worst part.
Tension and Sizing Issues
One thing about C2C is that your tension really matters. If you crochet tight your blanket will be smaller and stiffer. If you crochet loose it’ll be bigger and droopier. I tend to crochet tighter when I’m stressed so the blanket I made during that whole breakup situation in 2023 is noticeably denser than my other ones even though I used the same yarn and hook size.
You can’t really fix tension issues once you’ve started unless you wanna start over. Just try to stay consistent and don’t crochet when you’re like super angry or whatever because you’ll strangle the yarn.
Color Changes and Making Patterns
The cool thing about C2C is you can do pixel art basically. Each block is like a pixel. People make blankets with characters or logos or geometric designs. There are graph makers online where you can upload an image and it’ll convert it to a C2C pattern.
To change colors you just work the last dc of a block until you have 2 loops on your hook, then pull through with the new color. Drop the old color and continue with the new one. If you’re coming back to that color later in the row just carry it along the side—don’t cut it unless you’re done with it completely.
I made a blanket with stripes in summer 2024 using Bernat Blanket yarn which is that really chunky soft stuff. Used the colors Plum Fields and Pale Gray I think? That one worked up super fast because the yarn is so thick but my hands got tired faster too because the hook was like 10mm.
Graphghan Patterns
Okay so if you want to follow a graphghan pattern—that’s what they call the pixel art ones—you read them diagonally. Each square on the graph is one block. You start from the bottom corner and work your way up and across following the diagonal lines. It’s actually way easier than it sounds but you gotta pay attention or you’ll lose your place.
I tried to make one with a floral pattern once and kept losing my place because I was also trying to watch TV and it was a whole thing. Ended up printing the pattern and crossing off each row as I finished it which helped a lot.
Joining Yarn and Managing Multiple Skeins
When you run out of yarn in the middle of a project just join the new skein at the start of a new block. Don’t join it in the middle of a row or in the middle of a block because it’ll show and look messy. I usually leave like a 6 inch tail on both the old and new yarn, tie them together loosely just to hold them while I work, then untie that knot later and weave in the ends properly.
Some people do the magic knot thing where you tie the two yarns together in a way that’s supposedly invisible but I’ve never had good luck with that. It always seems to come undone or leave a weird bump.
Border or No Border
You don’t have to put a border on a C2C blanket but it does make it look more finished. The edges can be kind of bumpy and irregular without one. I usually do like 2 or 3 rounds of single crochet around the whole thing, working 3 sc in each corner to keep it flat.
For the sides where you have all those chain spaces you do one sc in each chain space and one in each dc. For the top and bottom edges where you have the ends of rows you kinda have to eyeball it—just space your stitches evenly so the edge doesn’t ruffle or pull in.
That rainbow blanket I mentioned earlier I did a white border around the whole thing using Red Heart Super Saver in White which made all the colors pop more. Probably added another few hours of work but it was worth it.
Size Planning
If you want a specific finished size you gotta do math which I hate but it’s necessary. Make a gauge swatch first—like do 10 rows of increase and measure the diagonal. That tells you how big each row adds to your blanket. Then you can calculate how many increase rows you need.
For example if each row adds half an inch to your diagonal and you want a 40 inch square blanket, you need 80 increase rows then 80 decrease rows. That’s 160 rows total which is… a lot. This is why I usually just eyeball it and make blankets until they feel big enough.
Baby blankets are good starter projects because they don’t take forever. Like 35 increase rows and 35 decrease rows will get you a decent sized baby blanket. You can finish that in a week or two if you crochet a couple hours a day.
Common Mistakes I Made
Forgetting the chain 3 between blocks—this makes everything bunch up weird. If you notice your blanket isn’t lying flat check that you’re doing those chains.
Losing count of blocks in a row—this makes your square turn into a weird trapezoid shape. Count your blocks at the end of each row especially when you’re first learning. The number of blocks should match the row number during increases.
Pulling the slip stitches too tight—the slip stitch between blocks should be snug but not strangling. If you pull it super tight it’ll distort the shape of your blocks.
Not checking if I’m working into the right space—sometimes you’ll accidentally skip a block or work into the wrong chain space and not notice until several rows later. Then you gotta decide if you’re gonna frog it or just live with the mistake.
Yarn Amount Estimation
This is always tricky because it depends on your tension and hook size and yarn weight. For a lap blanket using worsted weight yarn I usually buy like 6-8 skeins to be safe. For a full size blanket maybe 12-15 skeins? Better to over-buy than run out and not be able to find the same dye lot.
I ran out of yarn once on a blanket and had to use a slightly different dye lot for the last few rows and you can totally see the difference. It’s subtle but it bugs me every time I look at it. Now I always buy extra and just return what I don’t use if the store allows returns.
Working with Different Yarn Weights
You can do C2C with any yarn weight but your hook size needs to match. Worsted weight with a 5mm or 5.5mm hook is pretty standard. Bulky or super bulky yarn with an 8mm or 10mm hook works up faster but is harder on your hands. Fingering weight yarn would take forever and I don’t have that kind of patience.
I tried making a C2C scarf once with some fancy Wool-Ease yarn I got on clearance and used a 4mm hook. It came out really nice and drapey but took way longer than I expected for such a small project. Gave up after making it about 60 inches long when I got bored.
Blocking Your Finished Blanket
Acrylic yarn doesn’t really need blocking but if you use wool or a wool blend you’ll want to block it. I usually just wash the finished blanket in cold water with some wool wash, squeeze out the excess water—don’t wring it—and lay it flat on towels to dry. Shape it into a square while it’s damp and let it dry completely.
For acrylic I just toss it in the washing machine on gentle and throw it in the dryer on low. Like I said Red Heart Super Saver actually gets softer the more you wash it which is nice.
Modifying the Pattern
You can make rectangles instead of squares by doing more increase rows before you start decreasing. Or you could do a long skinny rectangle for a table runner. I made a rectangular lap blanket that was like 80 rows of increase but only 60 rows of decrease which gave it a shape that fit better on the couch.
Some people do triangle shawls using just the increase portion and then adding a border. Or you could stop increasing partway through and just work straight for a while before decreasing to make a different shape entirely—actually I’ve never tried that but it should work in theory.
Temperature Blankets
C2C is popular for temperature blankets where you assign a color to each temperature range and do one or two rows per day based on that day’s high temp. At the end of the year you have a blanket that shows the temperature pattern. People also do mood blankets or daily activity blankets with the same concept.
I started a temperature blanket in January 2023 but gave up in like March because I kept forgetting to check the temperature and then had to go back and look up historical weather data which was annoying. Maybe I’ll try again someday or maybe not.
Speed and Time Investment
How fast you finish depends on how much time you have to crochet and how fast you work. I can do maybe 15-20 rows in an hour once I’m in the groove. So a baby blanket might take 7-10 hours total, a lap blanket maybe 20-30 hours, a bed-sized blanket could easily be 60+ hours of work.
That sprained ankle blanket from 2022 took me about three weeks but I was crocheting like 4-5 hours a day because I literally had nothing else to do. Normal pace would probably be more like 2 months for a full-size blanket if you’re doing an hour or two per day.