
Jun
Getting Started with Dino Patterns
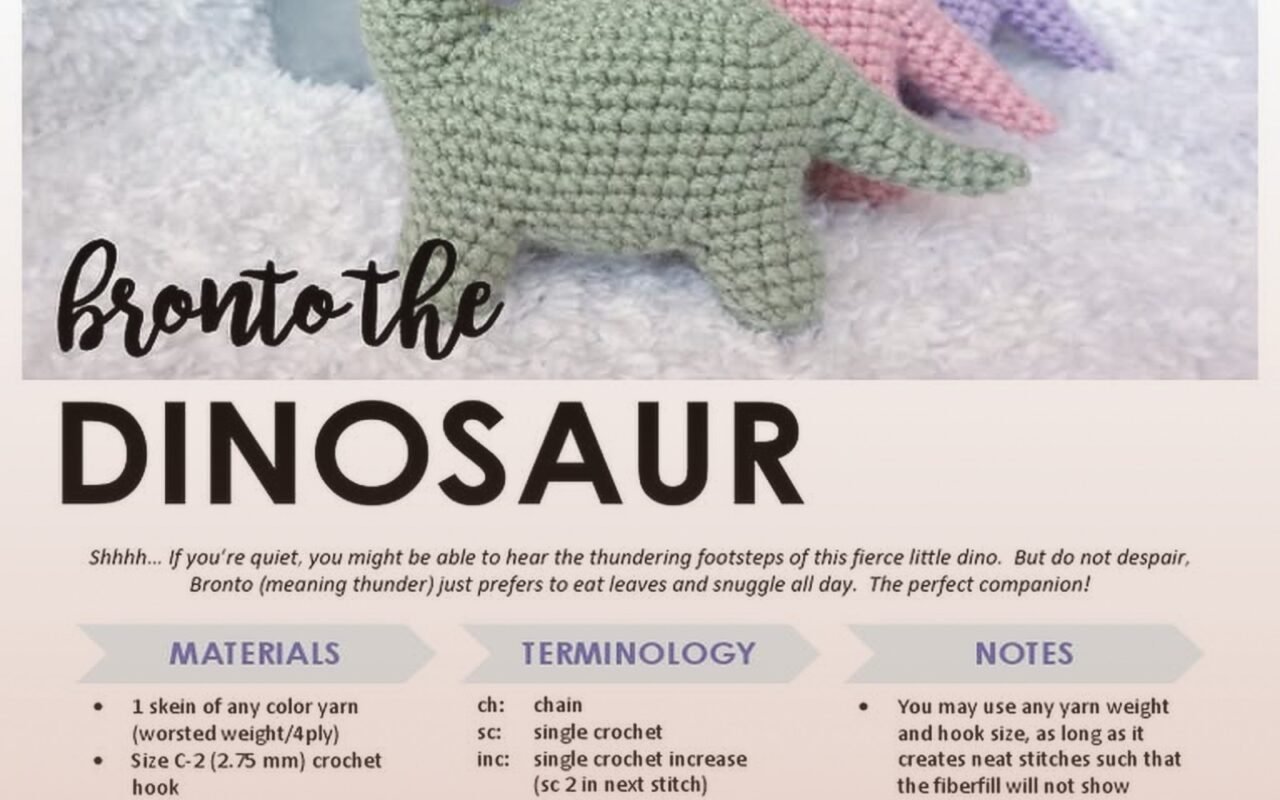
So the first time I actually finished a dinosaur was summer 2022 when I was stuck inside with covid and binged all of Stranger Things season 4, and honestly making a little T-rex kept me from going completely nuts. The pattern was way simpler than I expected but also… I’ll get to what annoyed me in a bit.
You’re gonna need some basic supplies. For yarn I usually grab Red Heart Super Saver because it’s cheap and they have like every color, or sometimes Lion Brand Vanna’s Choice if I’m feeling fancy. The dinosaur I made during covid was this bright green Red Heart in “Spring Green” I think? Had a whole bunch left over. You want worsted weight yarn mostly, that’s the medium thickness stuff, because it works up fast and the stitches are easy to see when you’re learning.
Hooks and Stuffing
Hook size depends on your yarn but usually you want to go smaller than what the yarn label says. If the label says 5mm, I’d use a 4mm or 4.5mm. The whole point with amigurumi is you want tight stitches so the stuffing doesn’t show through. Nobody wants to see white polyfil poking out between green dinosaur scales or whatever.
Speaking of stuffing, just get the cheap polyfil from Walmart or wherever. Some people get all specific about it but honestly it all does the same thing. You just shove it in there until it feels right. I keep a bag of it in my craft closet and my cat has knocked it over twice and there’s still little white puffs stuck to the carpet.
Understanding Dino Pattern Structure
Most dinosaur patterns break down into the same basic parts. You’ve got the body which is usually the biggest piece, the head which sometimes connects directly to the body or sometimes you make separate and sew on, legs, arms if it’s that kind of dino, tail, and then whatever spikes or frills or details.
The body is almost always worked in rounds starting from the bottom or sometimes the neck. You start with a magic ring which is just this adjustable loop thing, then you increase stitches to make it wider, work straight for the middle section, then decrease to close it up. It’s basically making a blob shape and then you stuff it.
Reading the Actual Pattern
Patterns are written in this annoying shorthand that makes no sense at first. Like “Rnd 1: 6 sc in magic ring (6)” means round 1, you do 6 single crochet stitches in that magic ring, and you end up with 6 total stitches. The number in parentheses is your stitch count which you should actually count because I cannot tell you how many times I’ve gotten to round 15 and realized I messed up round 3.
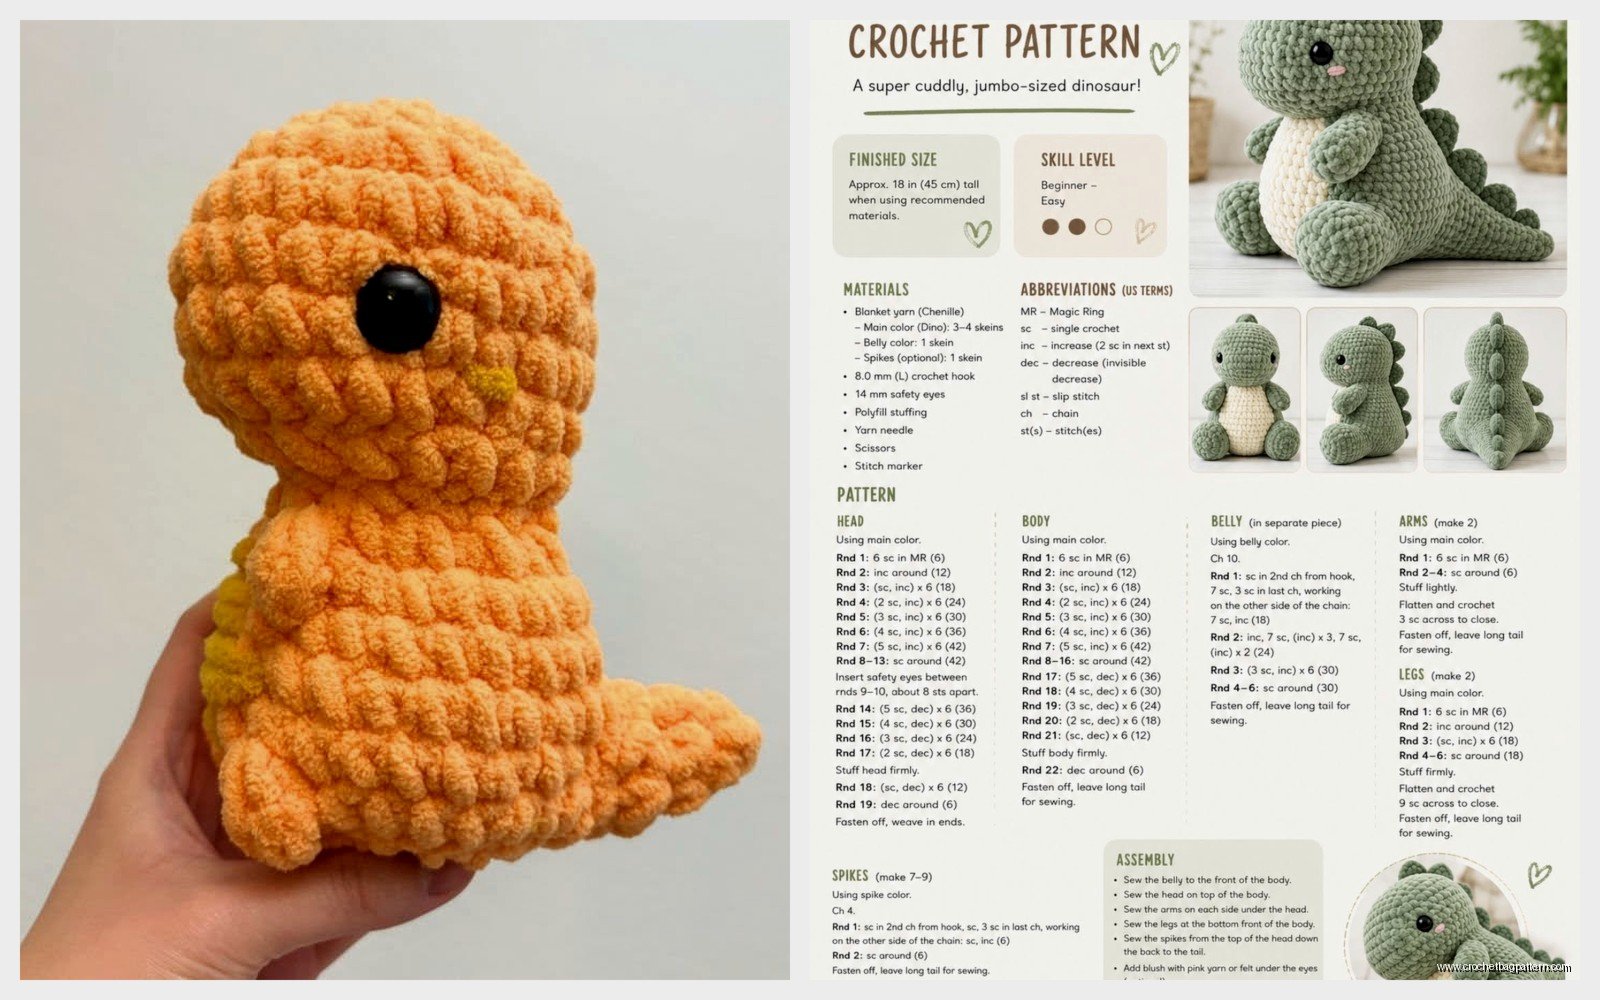
When you see something like “sc 2, inc” it means single crochet in the next 2 stitches, then increase in the next stitch. An increase is just putting 2 stitches in the same spot. Decreases are the opposite, you combine 2 stitches into one. Most patterns write that as “dec” or “sc2tog”.
Making the Head and Body
The head is usually worked the same way as the body just smaller. Some patterns have you make the head and body as one continuous piece which honestly I prefer because less sewing. Sewing is what annoyed me the most about that first T-rex, like you spend all this time crocheting these perfect little pieces and then you gotta attach them and somehow make it not look lumpy and weird.
For the body you want to stuff it firmly but not like… rock hard. There’s this tendency to understuff when you’re starting out because you think it looks fine, but then when you add the head and limbs the whole thing gets floppy. Stuff it more than feels natural.
The head needs to be stuffed really well especially if you’re adding safety eyes. Those are the plastic eyes with the washer backs that click into place. You gotta put those in before you finish stuffing and close up the head because once it’s closed you can’t get the washer on the back. I’ve learned this the hard way.
Legs and Arms
Dinosaur legs are basically tubes. You make a magic ring, increase for a few rounds if you want feet, then work straight up in single crochet until it’s long enough. Most patterns have you make four legs unless it’s like a T-rex where the front arms are tiny.
Here’s something nobody tells you: you don’t have to stuff the legs super firm. Actually they pose better if they’re a little understuffed because then you can position them easier. Same with arms. The tail though, that needs to be firm or it just droops sad.
When I made a stegosaurus in spring 2023 using some Caron Simply Soft in grey, the legs were so frustrating because the pattern didn’t say how firmly to stuff them and mine kept splaying out to the sides like the poor dino couldn’t stand up. Had to redo the attachment points.
Tails and Spikes
Tails are just longer tubes that taper. You start with more stitches and decrease gradually as you go. Some patterns have you decrease every round, some every other round. The decreasing is what makes it taper to a point.
For a long tail you’re gonna be working in spiral rounds for a while and it gets boring honestly. This is when I usually have something on in the background. Just keep track of where your round starts, I use a stitch marker which is literally just a safety pin or a scrap of different colored yarn.
Spikes or plates depend on what kind of dinosaur. Stegosaurus plates are usually worked flat back and forth in rows, then you sew them along the back. Triceratops horns are cones. Spikes for the back are little triangles you can make a bunch of and sew on.
The Thing That Actually Annoyed Me
Okay so the most annoying part of dinosaur amigurumi isn’t the crocheting itself, it’s the assembly. You make all these pieces and then you have to figure out where they go and somehow attach them so they look even and proportional. The pattern might say “attach legs to body” but WHERE exactly? How far apart?
I usually pin everything in place first with straight pins, walk away, come back and look at it, adjust, walk away again. Because once you sew it on that’s pretty much it unless you wanna pick out all those stitches.
Color Changes and Details
If you want a two-toned dinosaur like a green body with a lighter belly, you gotta do color changes. This isn’t hard, you just switch yarns when the pattern tells you. The trick is to do the switch on the last pull-through of the stitch before where you want the new color to start.
Like if you’re doing single crochet, you insert the hook, yarn over and pull through (that’s 2 loops on hook), then yarn over with the NEW color and pull through both loops. That way the new color starts clean.
For bellies I’ve seen patterns where you crochet the belly separately and sew it on, or you work it in as you go. Working it in is less sewing but more thinking.
Eyes and Face Details
Safety eyes are easiest, you just poke them through between stitches and put the washer on the back. They come in different sizes, usually 6mm to 12mm for amigurumi. For a small dinosaur head maybe 8mm or 9mm looks proportional.
Some people embroider eyes with black yarn which looks cute and more handmade. I’ve done both. Embroidered takes longer but you can’t choke on them so if you’re making it for a kid that’s the way to go.
Nostrils are usually just a couple stitches in black or dark yarn. Mouths too if you want one. I usually skip the mouth because it’s hard to make it not look derpy… although sometimes derpy is the vibe.
Specific Dinosaur Types
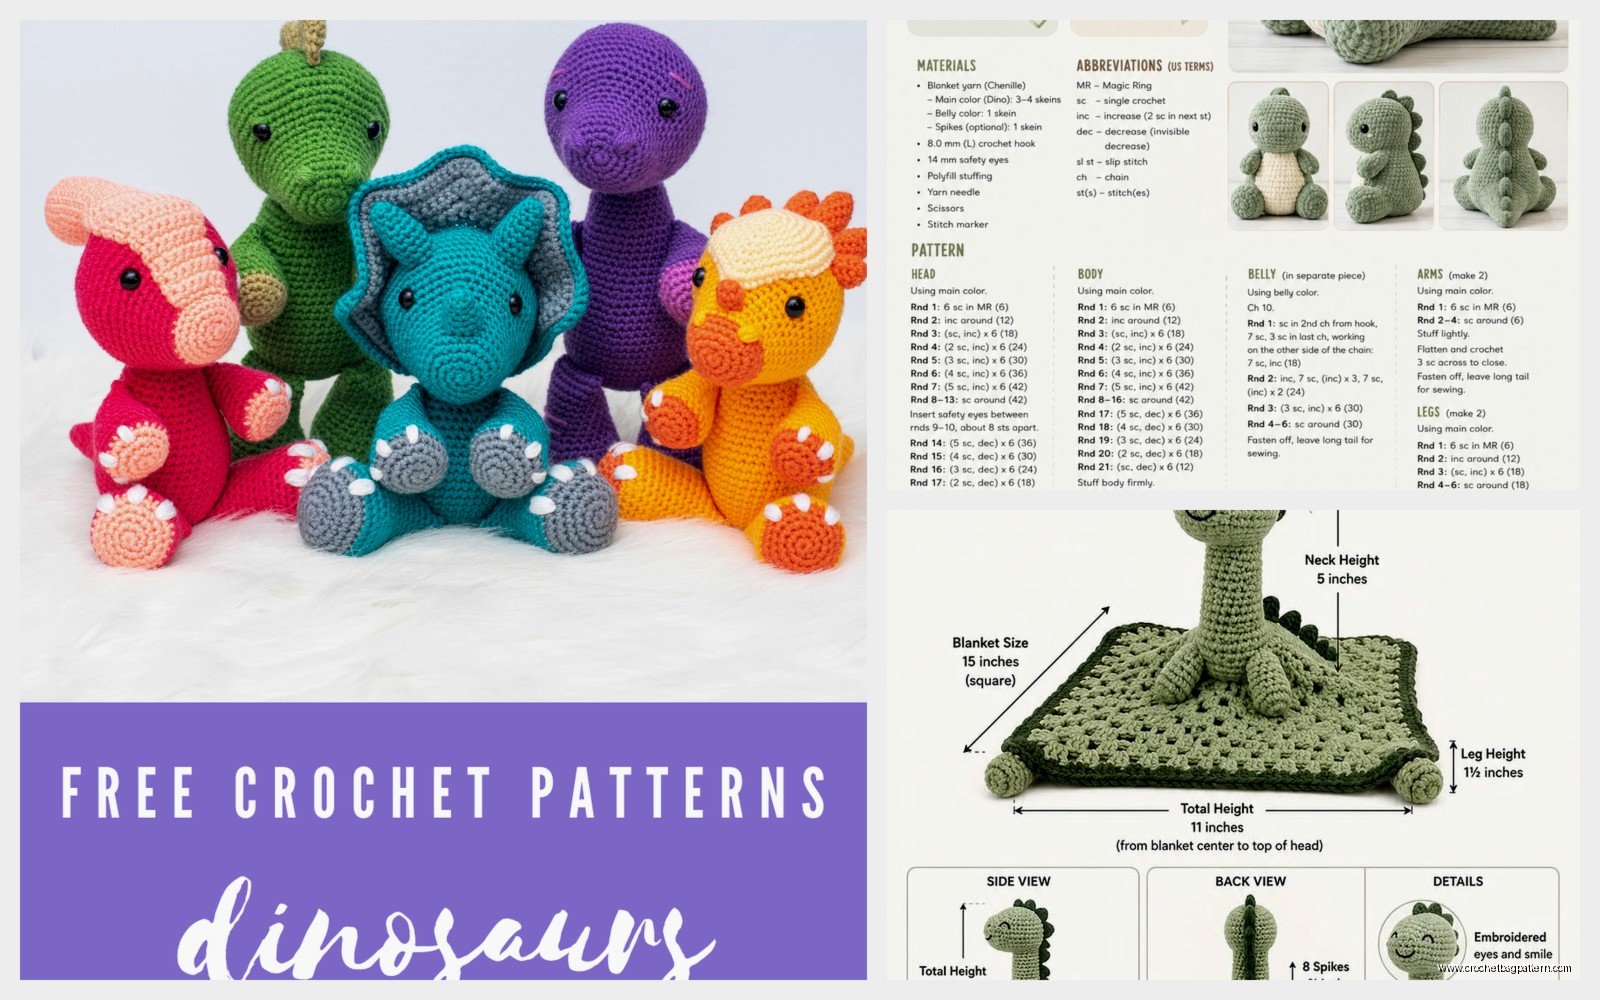
T-rex patterns are popular because the tiny arms are hilarious. The body is thick, the head is big with a chunky snout, arms are like little nubs. I made one that was maybe 8 inches tall and used maybe two skeins of yarn total.
Triceratops needs the frill which is usually a flat circle worked in rounds then sewn to the back of the head. Plus three horns. It’s more pieces but they’re small pieces. I used Bernat Blanket yarn once for a triceratops and it worked up huge and squishy but the stitches were hard to see so I wouldn’t recommend that for a first attempt.
Stegosaurus has those plates down the back which you make a bunch of and sew on in a line. The tail needs spikes on the end. It’s more assembly than other dinos.
Brachiosaurus or long-neck dinosaurs have that tall neck which is just a long tube. The body is oval shaped. The neck needs to be stuffed firm or it flops over, maybe even put a pipe cleaner or wire inside if you want it to hold a pose but then you gotta be careful about sharp ends.
Troubleshooting Common Problems
If your dinosaur is lopsided, it’s probably the stuffing distribution or one leg is attached different than the others. You can sometimes fix it by adjusting the stuffing through the bottom before you close it up completely.
If stitches are too loose and you can see stuffing, go down a hook size. If your hand is cramping and the fabric is super stiff, go up a hook size.
When pieces won’t stay attached, you’re probably not sewing through enough stitches. I go around twice usually, weaving through the stitches on both the piece and the body. Use the same color yarn as the piece you’re attaching so the stitches blend in.
If you lose count of rounds, this is just gonna happen sometimes. You can usually fudge it by a round or two and it won’t matter that much. Or you can count backwards from a landmark like where you put the eyes.
Yarn Choices That Actually Matter
Acrylic yarn is fine for dinosaurs. It’s washable and cheap and comes in every color. I’ve used Red Heart, Caron, Lion Brand, Hobby Lobby’s I Love This Yarn brand which is actually pretty decent. Avoid the really cheap scratchy stuff from dollar stores because it splits when you’re working with it and makes you want to quit.
Cotton yarn like Lily Sugar’n Cream works but it’s got no stretch so your tension has to be really consistent. It makes a stiffer fabric though which some people like for amigurumi that needs to hold a shape.
Chenille or velvet yarn looks cool but it’s a pain to work with because you can’t see the stitches clearly. Maybe for an experienced project but not your first dino.
Pattern Resources and Following Along
You can find free patterns on Ravelry which is this huge database of patterns, or blogs, or YouTube has video patterns if you’re a visual learner. Paid patterns from Etsy are usually more detailed and have better photos.
When following a pattern, read the whole thing first. I know that’s boring but sometimes there’s important info at the end like “don’t stuff the legs yet” or “attach arms before closing body” and if you don’t know that ahead of time you’ll be frustrated.
Take notes on what you did if you’re making multiples. Like “stuffed legs medium firm” or “attached 2 rounds from bottom” so the next one matches.
Some patterns have you work in joined rounds where you slip stitch at the end and chain to start the next round. Some have you work in continuous spirals. Spirals are faster but you need a stitch marker to track where you are. Joined rounds have a visible seam but it’s easier to count.
Making It Your Own
Once you make one dinosaur from a pattern you can start changing stuff. Different colors obviously, but also you can make it bigger by using thicker yarn and a bigger hook, or smaller with thinner yarn. The proportions stay the same.
You can add stuff like spots or stripes with embroidery after, or crochet them in as you go. Spikes in different colors. A little saddle or hat if you want it cute. I made a T-rex wearing a tiny scarf once because why not.
The legs can attach in different positions to change the pose. Straight down makes it stand upright, angled out to the sides makes it look like it’s walking or sitting. The head can tilt if you attach it off-center slightly.
Arms can point different directions. The tail position matters too, like curled around vs straight back changes the whole look.
How Long It Actually Takes
A basic small dinosaur maybe 6 inches tall takes me like 4-6 hours total including assembly. That’s spread over a few days usually because I get bored or my hand cramps. A bigger one with lots of details could be 10-12 hours.
The crocheting goes faster than the finishing. Weaving in all the yarn ends takes forever and is tedious but you gotta do it or they’ll come loose. I use a yarn needle and weave them through the inside of the piece back and forth a few times then trim close.
If you’re making a whole collection, do all the bodies first, then all the heads, then all the legs, assembly line style. It’s more efficient but also kind of mind-numbing so maybe just make one at a time unless you’re in a weird productivity mood.
