
Jun
Starting With The Basic Shapes
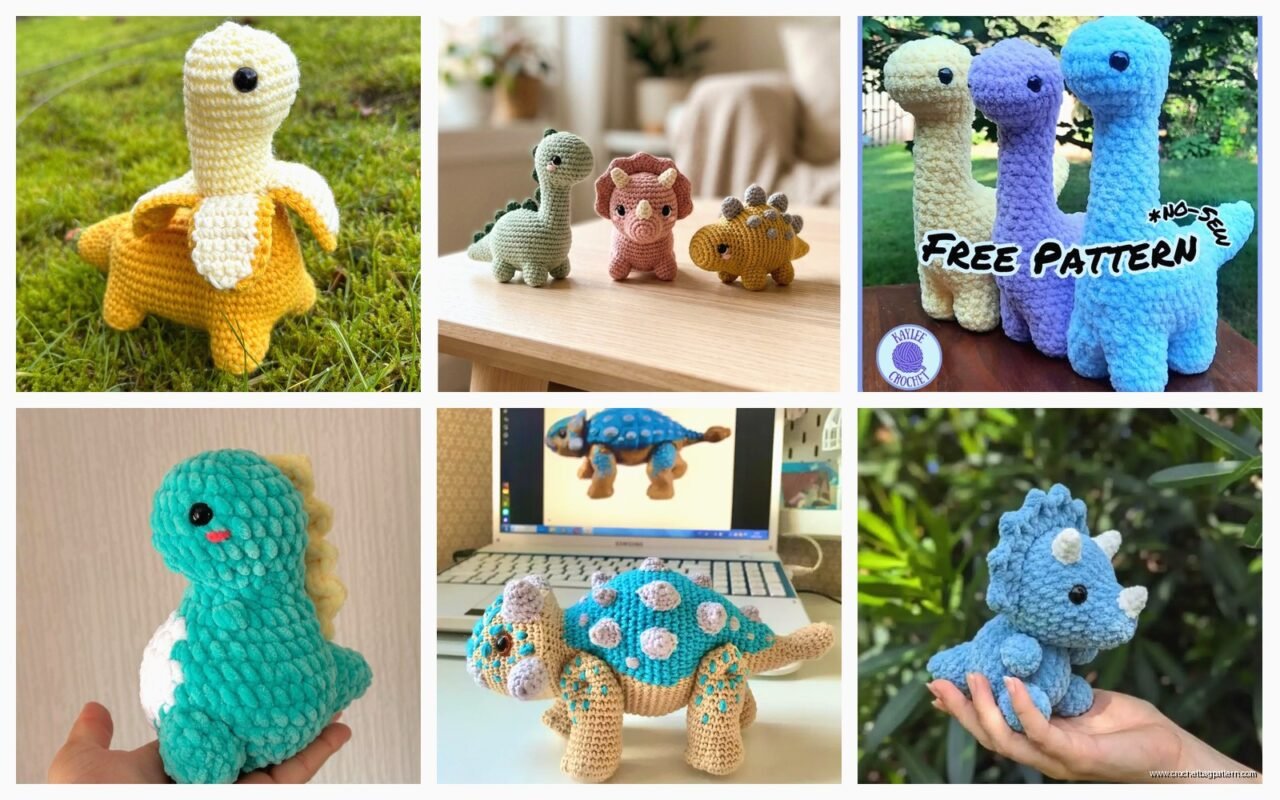
So the main thing with crochet dinos is they’re basically just spheres and cylinders stuck together, which sounds simple but you’re gonna spend a lot of time making tiny adjustments because the proportions are weirdly important. I made this stegosaurus in summer 2023 while my cat kept sitting on my yarn and honestly that was more frustrating than the actual pattern.
You need a basic ball for the body. Start with a magic ring, 6 single crochets into it. Then you increase every stitch (12 total), then increase every other stitch (18), then every third stitch (24). Keep going with this pattern until you get to like 48-54 stitches depending on how big you want your dino. I used Hobby Lobby’s I Love This Yarn in sage green because it was on sale and actually it worked fine, though the texture is a bit squeaky if that makes sense.
The head is smaller, obviously. Same technique but stop increasing at maybe 36 stitches. Work straight rounds without increasing for maybe 6-8 rounds to get that rounded head shape. What really annoyed me was stuffing the head properly because you have to stuff it WHILE you’re decreasing or else you can’t get your hand in there later and it ends up all lumpy.
Legs Are Repetitive But Whatever
Make four legs. They’re just tubes. Start with 6 in a magic ring, increase to 12 for the foot part, work straight for 2 rounds, then decrease back to 8-9 stitches and work straight up for however long you want the legs. For a T-rex you’d make the back legs way thicker and longer than the front ones. For like a brontosaurus or whatever they’re all pretty similar.
I usually do the legs in the same color as the body but you could do different colors for the feet. Stuff them as you go. This is important. Don’t leave it til the end.
The positioning matters more than I thought it would. I attached my first dino’s legs too far forward and it kept tipping over backwards. You want them sort of centered under the body, maybe slightly forward. Use pins to test the position before you sew them on permanently.
Arms For T-Rex Types
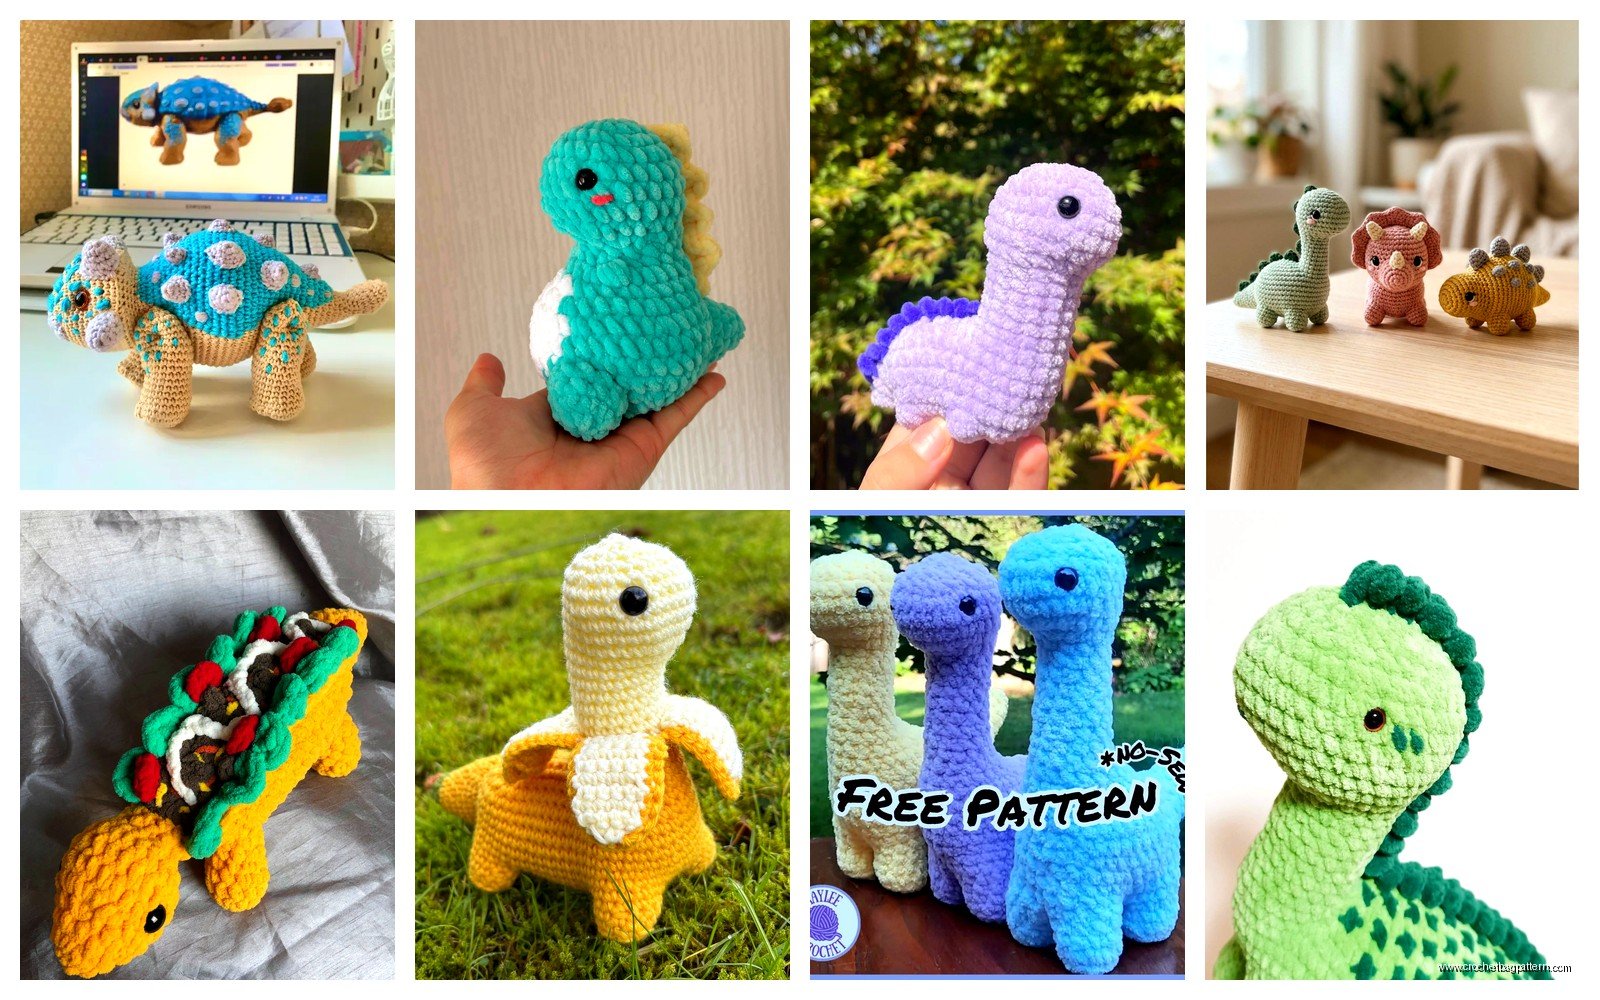
If you’re doing a T-rex the arms are hilariously small. Magic ring with 4 stitches, increase to 6, work straight for like 4-5 rounds. That’s it. They’re supposed to be tiny and useless looking. Add little claws by just doing a few chain stitches in contrasting color.
The Tail Situation
Tails are basically a long cone. Start with the same width as your leg (so like 8-9 stitches in a magic ring) and work straight for a bit, then start decreasing gradually. Every 3 rounds decrease by 2-3 stitches until you’re down to like 3 stitches, then fasten off.
The tail needs to be stuffed firmly or it’ll just flop around. I use polyfil stuffing, the cheap stuff from Walmart works fine. Some people use wool roving or whatever but that seems expensive for something that’s gonna sit on a shelf.
Attach it at the back of the body, angled slightly downward. If you angle it up the dino looks startled or something. Position matters here too, use those pins again.
Spikes and Plates
This is where it gets fun honestly. For a stegosaurus you need those plate things down the back. I made triangular plates by chaining like 8, then single crochet back down but decrease at the beginning and end of each row so it makes a triangle shape. Make like 6-8 of them in graduating sizes.
For spike-backed dinos like stegosaurus tails, make little cones. Chain 6, slip stitch into a ring, then single crochet around decreasing each round. They’re tiny and fiddly. I was watching that baking show, the British one, and I definitely messed up a few because I was paying more attention to the TV than my counting.
Sew the plates along the spine of the body. Start at the neck, work down to the tail. The biggest ones go in the middle of the back. This took me forever because I kept second-guessing the spacing.
For Triceratops Horns
Make three horn shapes – two long ones and one short one for the nose. Same cone technique as the tail spikes but work them to different lengths. The eye horns should curve slightly backward. You kinda have to shape them with your fingers while you stuff them to get that curve.
The frill is basically a flat circle that you only complete halfway. Start with a magic ring, increase like you would for a sphere but only work back and forth in rows instead of continuous rounds. This creates a semicircle. Make it pretty big, like 40-50 stitches across. Attach it behind the head.
Face Details That Actually Matter
Eyes are either safety eyes (which you gotta put in before you finish stuffing the head) or you can embroider them. I used 9mm black safety eyes for most of mine. They’re on Amazon, like $8 for a million of them. Position them on the sides of the head, not the front, unless you’re doing a cartoon style dino.
For the mouth you can embroider a line with black yarn or embroidery floss. I usually do a simple straight stitch that curves up slightly at the ends so it looks friendly. Or you can skip this entirely, sometimes the dino looks better without it.
Nostrils are optional but they add something. Just a few stitches in the same color as the body, or slightly darker.
Assembly Is Where Everything Goes Wrong Or Right
Okay so you’ve got all your pieces. The body, head, four legs, tail, maybe arms, maybe spikes or horns or whatever. Now you gotta put it together and this is where the whole thing either looks good or looks like a lumpy disaster.
Start with the head. Sew it onto the front of the body using the same color yarn and a yarn needle. I use a whip stitch usually. Go around twice to make sure it’s secure. The head should angle slightly upward, not straight out horizontal.
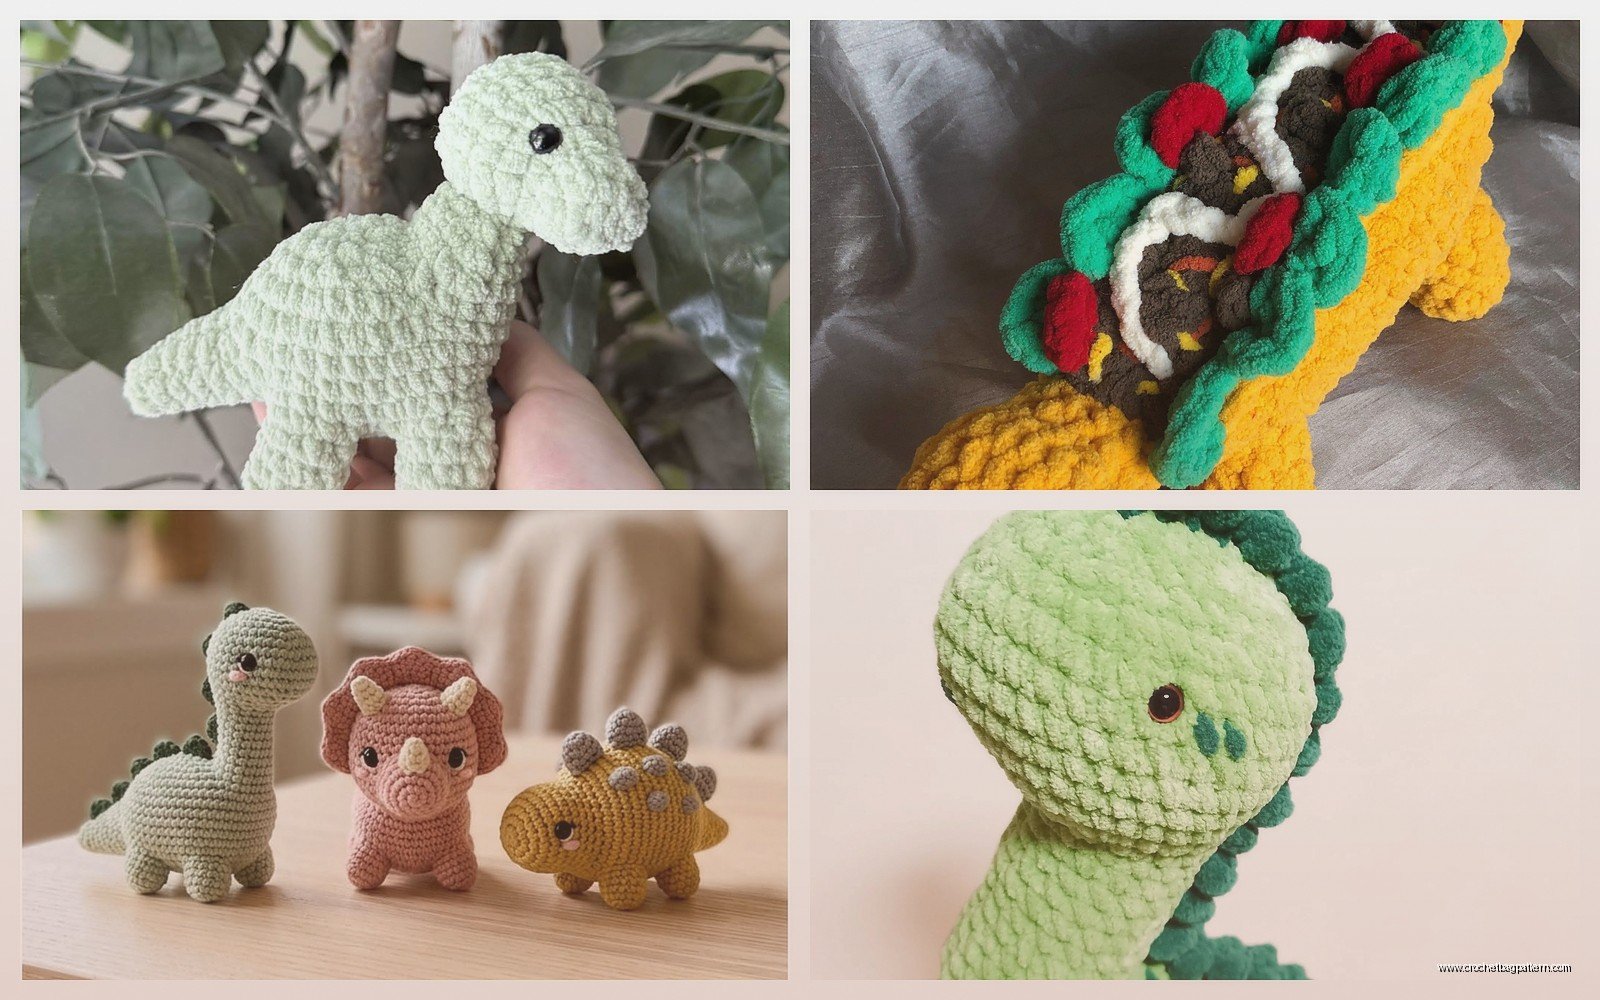
Then do the legs. Pin them first like I said. The back legs go toward the back of the body (obviously) but not at the very end or there’s no room for the tail. Front legs go forward but not so far forward that the dino’s face is touching the ground when it stands.
Tail goes on last usually. Make sure it’s centered on the back end of the body. If it’s off to one side the whole dino looks wonky.
Arms for T-rex go on the front of the body, pretty high up on the chest area. Again, they’re supposed to look comically small.
Yarn Choices That Worked For Me
I’ve used Red Heart Super Saver, which is cheap and works fine but it’s kind of stiff. Good for dinos that need to hold their shape though. The Hobby Lobby brand I mentioned is softer. Lion Brand Vanna’s Choice is somewhere in between and comes in good colors.
For a T-rex I used this dark green Red Heart in a color called… I wanna say Hunter Green? And then brown for the belly. You can do a contrast belly by switching colors partway through making the body sphere. Just drop one color and pick up the other.
Bernat Softee Baby yarn is really nice if you’re making this for an actual baby because it’s softer and machine washable. I made a little blue triceratops with that for my friend’s kid.
Gauge Doesn’t Matter Much But Kind Of Does
Like, you don’t need to be super precise with gauge for amigurumi. But you do need to crochet tight enough that the stuffing doesn’t show through. If you can see white polyfil poking through your stitches, go down a hook size.
I use a 3.5mm hook with worsted weight yarn usually. Some patterns say 2.75mm or even smaller but that’s too tight for me, my hands cramp up.
The Annoying Parts Nobody Warns You About
Weaving in ends is the worst part of any amigurumi but with dinos you have SO many ends. Every color change, every piece you attach, every time you start or finish something. I had like 30+ ends to weave in on that stegosaurus. Just accept that it’s gonna take a while and put on a podcast or something.
Getting the stuffing distribution right is harder than it sounds. You want it firm but not rock-hard. The body especially needs to be stuffed pretty full or it gets saggy and the legs can’t support it properly. But if you overstuff it the whole thing gets distorted and the stitches stretch out weird.
Sewing pieces on securely without the stitches showing is a skill. I still haven’t totally mastered it. Sometimes you can see my whip stitches and it bugs me but also these are stuffed dinosaurs so like, perfection isn’t really the goal here I guess.
Variations You Can Do
Once you understand the basic body structure you can make pretty much any dinosaur shape. Long neck? Just make the neck piece longer, work it as a cylinder for more rounds before attaching it between the head and body. Spikes? Add them wherever. Different colored belly or back? Switch colors mid-piece.
I’ve seen people add wings for pterodactyls but I haven’t tried that yet. The wings would probably be similar to the triceratops frill technique but you’d need to shape them differently.
You can make them different sizes by using thicker or thinner yarn and adjusting your hook size. Bulky yarn with a 5mm hook makes a big chunky dino. Fingering weight with a tiny hook makes a mini one but that sounds tedious honestly.
Common Mistakes I Made
Not counting stitches carefully enough. I’d be working along and suddenly realize I had 43 stitches when I should have had 48. Stitch markers help but I always forget to use them.
Attaching pieces at weird angles. My first T-rex had its head tilted to the side like it was confused about something. Had to cut it off and reattach it.
Not stuffing firmly enough. My second dino was all floppy and sad looking because I was worried about overstuffing but I actually understuffed it.
Making the legs too thin. They need to be sturdy enough to support the body weight or your dino will tip over or the legs will bend. This is especially true for bigger dinos with heavy bodies.
What I’d Do Differently Next Time
Use safety eyes that are slightly bigger. The 9mm ones I used looked okay but 12mm would have more impact and personality.
Make the tail longer on my stegosaurus. It ended up looking a bit stubby.
Actually follow a pattern instead of just winging it based on pictures I found online. Though honestly winging it worked out fine and you learn more that way, you figure out the construction logic.
Maybe add some embroidered details like scales or texture lines but that might be too much work for something that already takes several hours.
The whole process for one dino takes me like 4-6 hours depending on how complicated it is. Spread that over a few days usually because my hands get tired. Worth it though when you’ve got this chunky little dinosaur sitting there looking goofy and handmade.
