
Jun
Making the Cow Pattern Actually Work
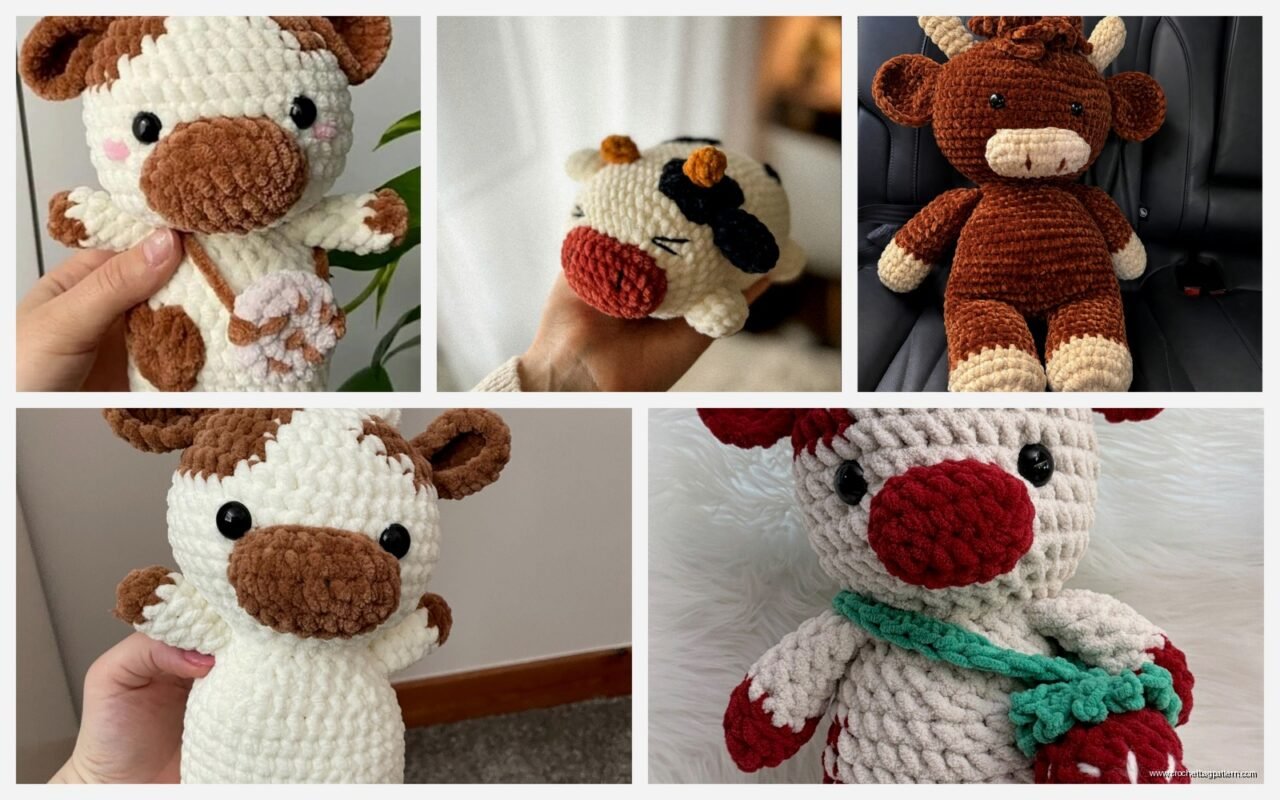
So the first cow I made was in spring 2022 when I was basically living on my couch watching The Great British Baking Show and my hands needed something to do. The pattern seemed straightforward but honestly getting the spots to look like actual cow spots instead of weird blobs was way harder than I thought it’d be.
You’re gonna start with the head and work in continuous rounds. I used Bernat Super Value in white for the main body because it was cheap and I had like three skeins of it already. The black spots I did with some Red Heart I think? Maybe Super Saver? Whatever was in my stash that was black.
Head Construction
Start with a magic ring, 6 single crochet in the ring. Then you increase every round until you get to about 36 or 42 stitches depending on how big you want the head. I usually do:
Round 1: 6 sc
Round 2: inc in each (12)
Round 3: sc, inc around (18)
Round 4: sc 2, inc around (24)
And keep going like that until it’s the size you want.
The annoying thing and this drove me absolutely crazy was that the snout needed to be stuffed separately and then attached, and getting it to sit flat against the face without looking lumpy was like… I redid it three times. You make a smaller sphere basically, stuff it firm but not rock hard, and then sew it onto the face. The nostrils I just embroidered with black yarn using straight stitches.
Getting the Spots Right
Okay so the spots. Most patterns will tell you to crochet separate black patches and sew them on but that looks terrible in my opinion. What worked better for me was either doing intarsia-style color changes as I crocheted OR and this is easier just cutting out irregular shapes from black felt and sewing those on after. The felt actually looked more like real cow markings.
If you do wanna crochet the spots directly in, you switch colors mid-row and carry the white yarn behind. It creates a slightly thicker fabric but honestly for amigurumi that’s fine since you’re stuffing it anyway. Just make sure you don’t pull the carried yarn too tight or your piece will pucker and look weird.
Body and Legs
The body is just a bigger oval shape basically. Start the same way as the head with increases, work straight for like 15-20 rounds depending on how chubby you want your cow, then decrease at the bottom. I made mine pretty round because I wanted that cute pudgy farm animal look.
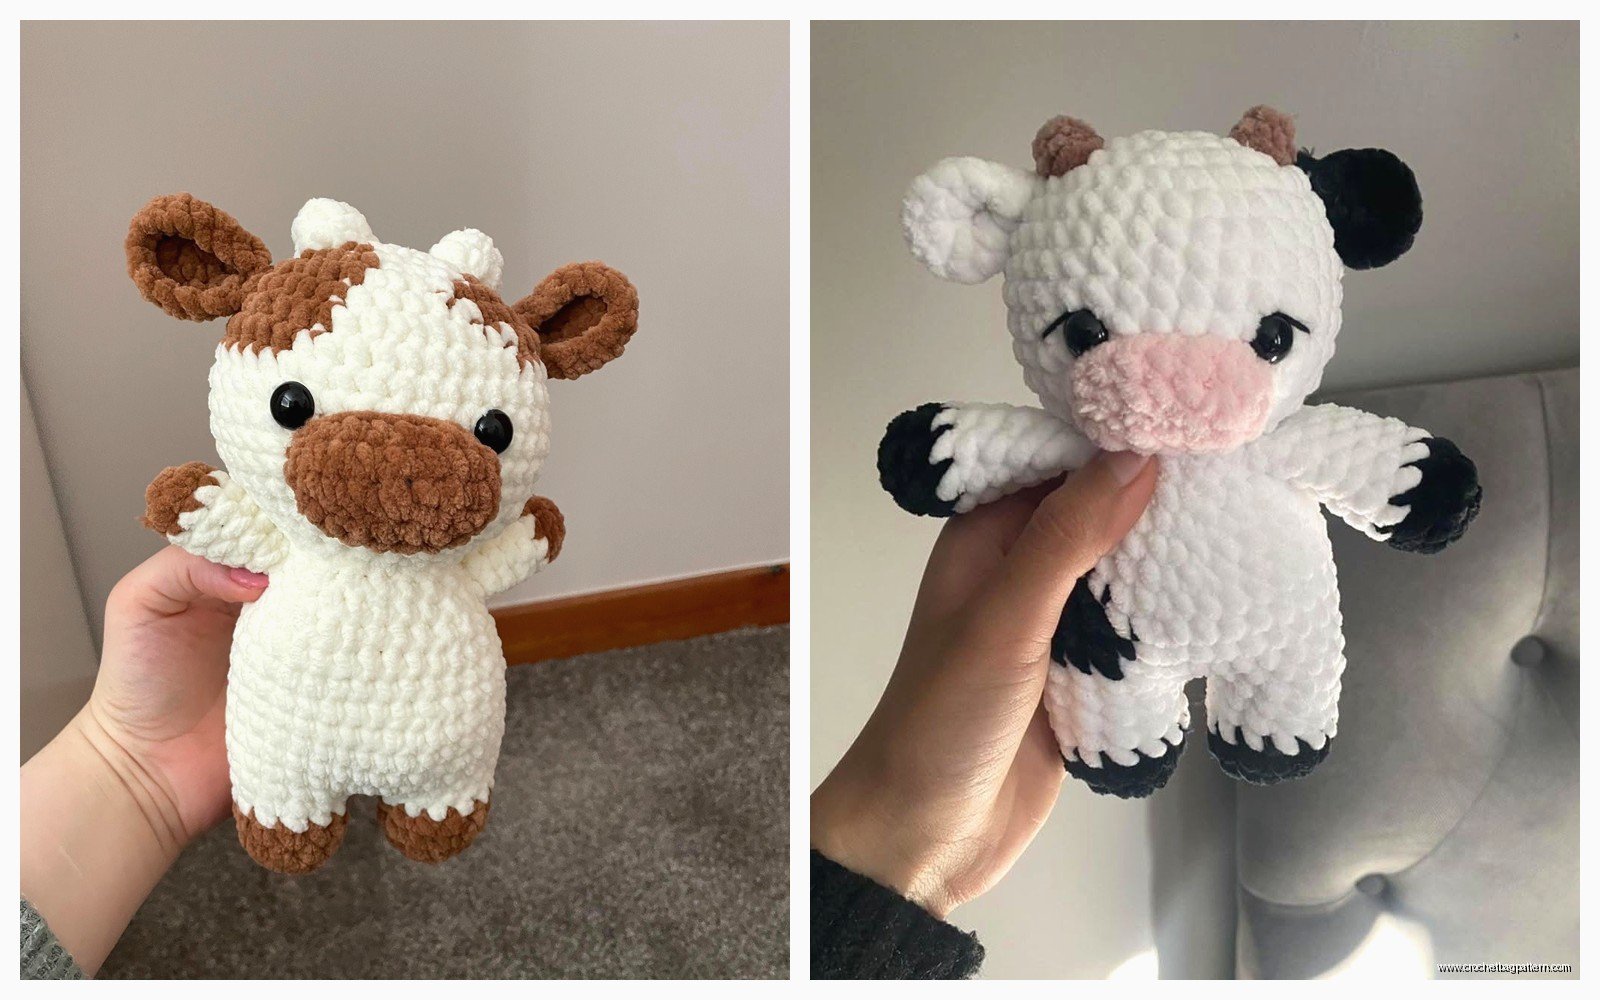
For the legs, you make four identical tubes. Start with 6 sc in a magic ring, then work even (no increases) for about 10-12 rounds. Some patterns tell you to use black yarn for the hooves which looks cute. I did the bottom 3 rounds in black Red Heart Super Saver I think.
Here’s the thing about attaching the legs that nobody really explains well – you can sew them on after or you can crochet them directly onto the body. I tried both ways and honestly just sewing them on is easier even though it takes longer. Position them where they look right, use matching yarn, and sew in a circle around the opening of each leg. Stuff them before you attach them obviously.
The Ears Situation
Cow ears are kind of oval and floppy. You can make them by chaining like 6, then working in rows with increases on the sides to make an oval shape. Or you can do them in rounds if you want them more three-dimensional. I prefer flat ears honestly because they’re easier and they look fine.
Chain 8, turn, sc across starting in 2nd chain from hook, chain 1 and turn. Next row do sc, inc, sc across until last 2 stitches, inc, sc. Work a few more rows with occasional increases on the sides until it’s ear-shaped. Make two obviously. Sew them on the sides of the head angled slightly outward.
My cat kept trying to steal the ears while I was working on this project which was super annoying because she’d drag them under the couch.
Face Details and Assembly
For the eyes, I used 12mm safety eyes in black. You position these before you stuff the head completely. They go above the snout, spaced pretty far apart because cows have eyes on the sides of their heads kinda. If you don’t have safety eyes you can embroider them or use buttons or whatever.
The snout gets two nostrils embroidered in black. I just did two horizontal lines basically with a few stitches each. Some people get fancy with it but simple works fine.
For horns you make tiny cones. Start with 4 sc in a magic ring, work even for like 4 rounds, fasten off. Make two, stuff them lightly, sew them on top of the head between the ears. I used cream colored yarn for the horns but you could do white or tan or even leave them off if you want.
Tail Assembly
The tail is just a rope basically. Chain like 15-20 stitches, slip stitch back down the chain. At the end, attach several strands of black yarn and trim them to make a tuft. Sew the tail onto the back of the body at the bottom.
I’ve seen people make elaborate tails with actual crocheted tufts but the simple version works just as well and takes way less time.
Udder Construction If You Want One
Okay this is optional but if you want to make it obviously a female cow you can add an udder. It’s kind of awkward looking honestly but also kinda cute? Make a small oval shape in pink yarn – start with 6 sc in magic ring, increase to about 12 stitches, work even for a few rounds, then decrease back down. Before you close it up, make four tiny teats.
For each teat: 4 sc in magic ring, work even for 3 rounds, fasten off. Make four of these tiny tubes, sew them onto the bottom of the udder piece, then sew the whole thing onto the underside of the body between the back legs.
I actually didn’t include this on my first cow because it seemed weird but then I made another one as a gift and the person specifically asked for it to be “anatomically correct” which was a strange request but whatever.
Yarn Recommendations
Like I said I used Bernat Super Value and Red Heart Super Saver mostly. These are acrylic and cheap and they work fine for amigurumi. Some people are gonna tell you to use fancy cotton yarn but honestly for a stuffed animal that’s probably gonna get handled a lot, acrylic is more durable and easier to wash.
Paintbox Yarns Cotton DK is nice if you do want cotton though. It comes in good colors and isn’t too expensive. I used their cream color once for a cow and it looked really nice, more natural than stark white.
For stuffing I just use polyfil from the craft store. Nothing fancy needed. Pack it in there pretty firm so the cow holds its shape but don’t overstuff or you’ll stretch out your stitches and it’ll look lumpy.
Common Problems I Had
The head being too heavy and floppy was an issue. If your cow’s head keeps falling forward, you either need to stuff the neck area more firmly or use a smaller hook for tighter stitches. I also sometimes put a little bit of wire or a pipe cleaner in the neck to help it stay upright, though that means you can’t wash it as easily.
Getting the legs to all be the same length is harder than it should be. I measure them against each other as I go and count my rounds carefully. Even then sometimes one ends up slightly longer and I have to frog it and redo.
The body-to-head proportion is something you kinda have to figure out by eye. Some patterns make the head way too big or too small. I usually make the head about 2/3 the size of the body diameter-wise.
Variations You Can Try
You can make a calf instead of an adult cow by just using fewer rounds in all the pieces. A baby cow with proportionally bigger eyes looks really cute.
Different spot patterns obviously – some cows are mostly black with white spots instead of the other way around. You could do a brown and white cow too using tan or brown yarn instead of black for the spots.
I’ve seen people add little bell collars or flowers or bandanas around the neck which is cute if you’re into that kind of thing. Just crochet a simple chain long enough to go around the neck and add whatever decoration.
Actual Construction Order
Make the head first and get the face details done. Then make the body. Then all four legs. Then ears, horns, tail, and udder if you’re doing that. Assemble everything at the end when you can see how it all fits together.
I always attach pieces in this order: legs to body first, then head to body, then ears and horns to head, then tail to body. This way if something looks off you can adjust before you’ve sewn everything permanently.
Use matching yarn for seaming so your stitches don’t show. I use a yarn needle and whip stitch around openings, going through both pieces. Pull it tight enough to be secure but not so tight that it gathers.
The thing that annoyed me most about this whole project was definitely weaving in all the ends. There are SO many ends from all the different pieces and color changes. I usually weave them in as I go now instead of leaving them all for the end because otherwise it’s overwhelming.
If you’re making this for a kid, make sure those safety eyes are really secured tight or just embroider the eyes instead. Safety eyes can still pop out if a kid really yanks on them, and then you’ve got a choking hazard situation.
Hook size matters more than you’d think. I use a 3.5mm hook with worsted weight yarn for tight stitches that don’t show the stuffing through. Some people go even smaller but then my hands cramp up. If you see stuffing peeking through your stitches, go down a hook size.
The pattern itself isn’t complicated once you’ve made one or two amigurumi projects before. It’s just spheres and cylinders basically. The skill is in the assembly and making it look like an actual cow instead of just a white blob with spots. Take your time with positioning everything before you sew it permanently.
