
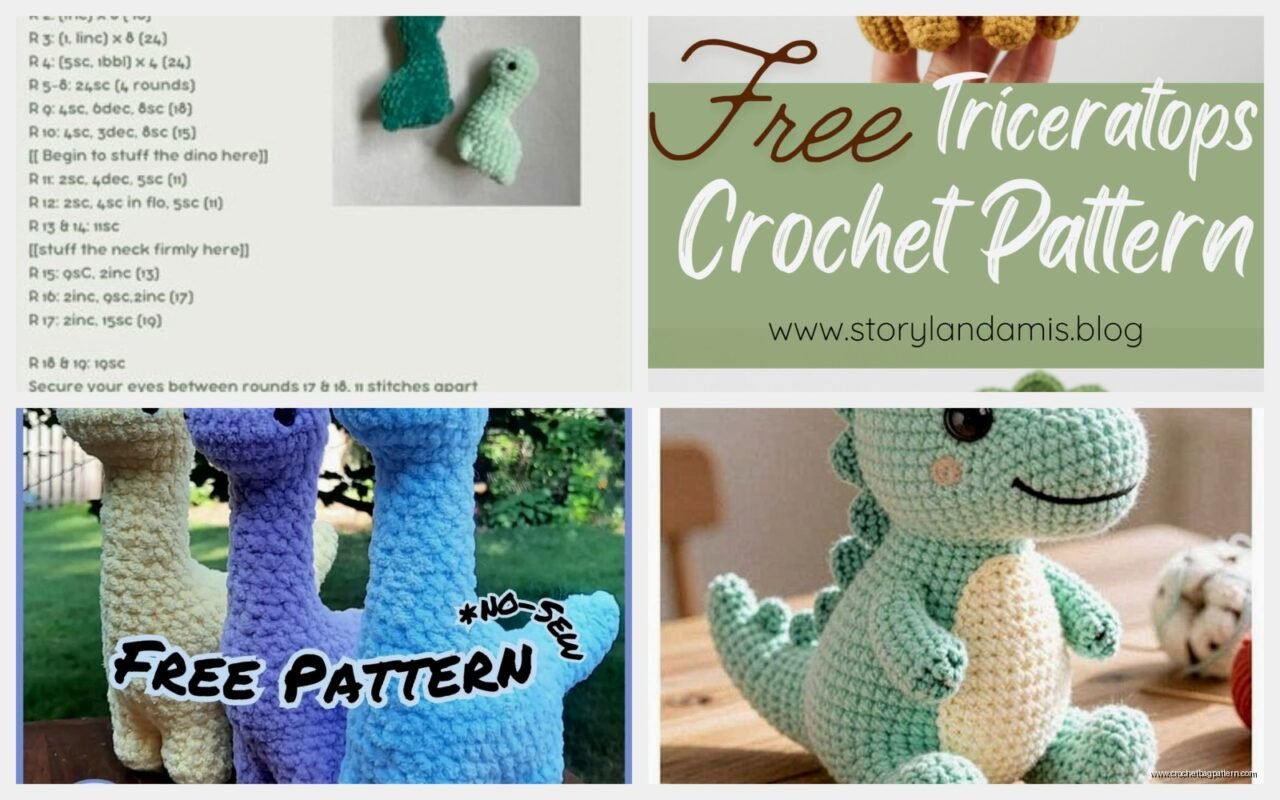
Jun
Getting Started with Your First Dinosaur
okay so the main thing about making amigurumi dinosaurs is you’re basically working in the round constantly and honestly after you make like two of them you’ll realize they’re all pretty much the same shape with different details. I made my first T-rex back in spring 2022 when I was stuck at home with covid and it was way easier than I thought it’d be.
You’re gonna need some basic supplies first. I always use Red Heart Super Saver for practice dinosaurs because it’s cheap and comes in every color, but if you want something softer the Bernat Blanket yarn makes these chunky cute dinos that work up super fast. Hobby Lobby’s I Love This Yarn is decent too. For the tiny details like eyes and claws I switch to embroidery floss or just use black worsted weight.
The hook size depends on your yarn but generally you want to go down a size or two from what the label recommends because amigurumi needs to be tight enough that the stuffing doesn’t show through. So if you’re using worsted weight that says size H, try an F or G hook instead.
The Basic Body Shape
Every dinosaur pattern I’ve made starts with a magic ring. If you don’t know how to do a magic ring just youtube it real quick because it’s way better than chaining 2 and working into the first chain or whatever. You make a loop, work your stitches into it, then pull it tight so there’s no hole in the middle.
Start with 6 single crochet in the magic ring. Then you’re gonna increase every round for a while to make the body. Round 2 is 2sc in each stitch around so you end up with 12. Round 3 is *sc, inc* repeated which gives you 18. Round 4 is *sc 2, inc* for 24 stitches. You keep going like this until the body is as wide as you want it.
The annoying thing about amigurumi is counting stitches constantly because if you mess up the count even by one or two stitches the whole shape gets wonky and you don’t notice until like 10 rounds later. I use a stitch marker which is just a safety pin or a piece of different colored yarn to mark the beginning of each round.
Shaping the Dinosaur Body
After you get the body to the right width you work even for several rounds without increasing or decreasing. This makes the cylinder part. For a T-rex or similar upright dino the body is more oval shaped so you’d work even for maybe 8-10 rounds. For a long dinosaur like a brontosaurus or diplodocus you’d work even for way more rounds to make that long body.
Then you start decreasing to close it up. You do this in reverse of how you increased so if you increased to 42 stitches you’d decrease by doing *sc 5, dec* then *sc 4, dec* and so on. Before you close it completely you gotta stuff it. I use polyfil stuffing from walmart, the whole bag is like 5 bucks and lasts forever.
Making the Head
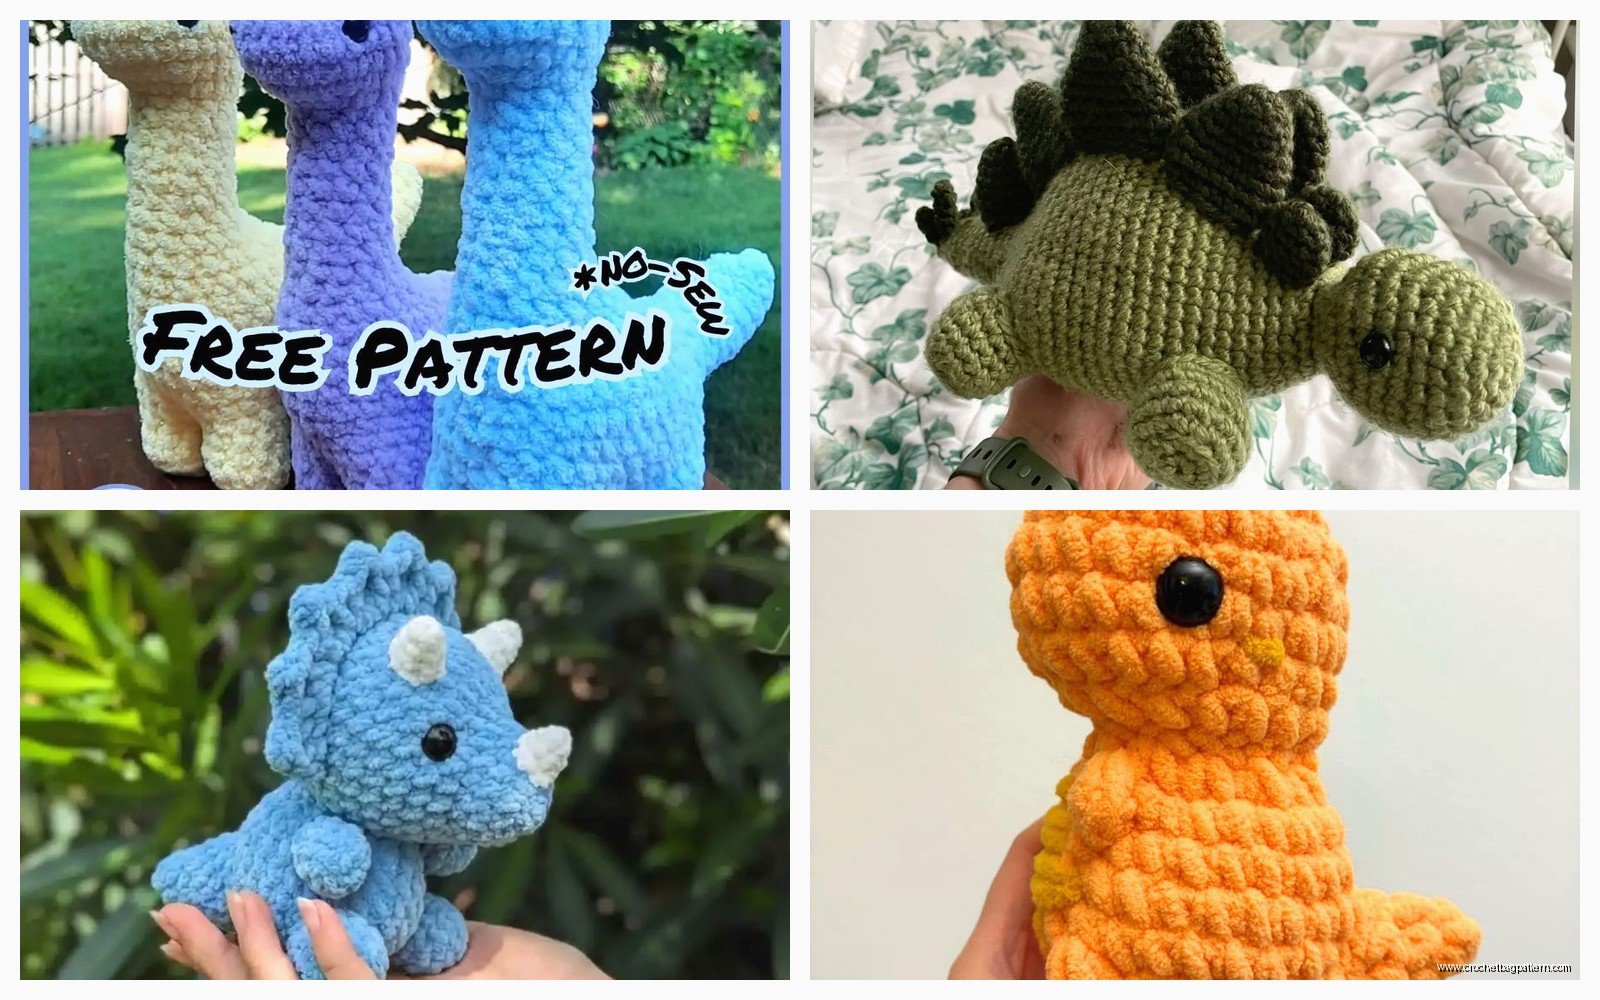
The head is basically the same process as the body just smaller usually. Magic ring with 6sc, increase rounds, work even, then decrease. The thing with dinosaur heads is you need to think about the shape you want. A T-rex has that big chunky head so you’d increase more rounds and work even for longer before decreasing.
For a stegosaurus or triceratops the head is smaller and more triangular. You can shape it by doing strategic decreases on certain sides instead of evenly around. Like if you want a pointy snout you’d decrease faster on top and slower on the bottom or something, honestly I usually just wing it until it looks right.
I made a whole set of dinosaurs last summer 2024 for my nephew’s birthday and the triceratops head gave me so much trouble because I couldn’t get the beak part to look right. Ended up watching Stranger Things in the background and frogging it like three times before I just accepted it was gonna look a little derpy.
Adding Details to the Head
Safety eyes are the easiest option and you can get them on amazon in bulk for cheap. They come in different sizes, I usually use 9mm or 12mm depending on how big the dino is. You have to position them before you stuff and close the head because once that washer clicks on the back you can’t move them.
If you’re making it for a baby or small kid you can’t use safety eyes because choking hazard, so instead embroider eyes with black yarn. Just make a few stitches in a circle or do french knots if you know how to do those.
Nostrils are just tiny stitches with black or dark yarn. Mouth you can embroider on or leave it off entirely, lots of amigurumi dinos don’t have mouths and they still look cute.
The Legs and Arms
Legs are small tubes basically. Start with magic ring and 6sc, then increase one round to 12sc if you want chunky legs or just work even if you want skinny legs. Work even for however long you want the legs then stuff them and either leave them open to attach later or close them up.
For a T-rex you want tiny arms which always makes me laugh because they’re so useless looking. Just make really short thin tubes, like magic ring with 6sc then work even for maybe 3-4 rounds and that’s it.
The way I attach limbs is by positioning them on the body and sewing them on with the same yarn using a yarn needle. You kind of have to eyeball where they should go to make the dinosaur balanced. If you’re doing a four-legged dino like a brontosaurus the legs need to be positioned so it can stand, which is harder than it sounds because the weight distribution gets weird.
Making Dinosaur Feet
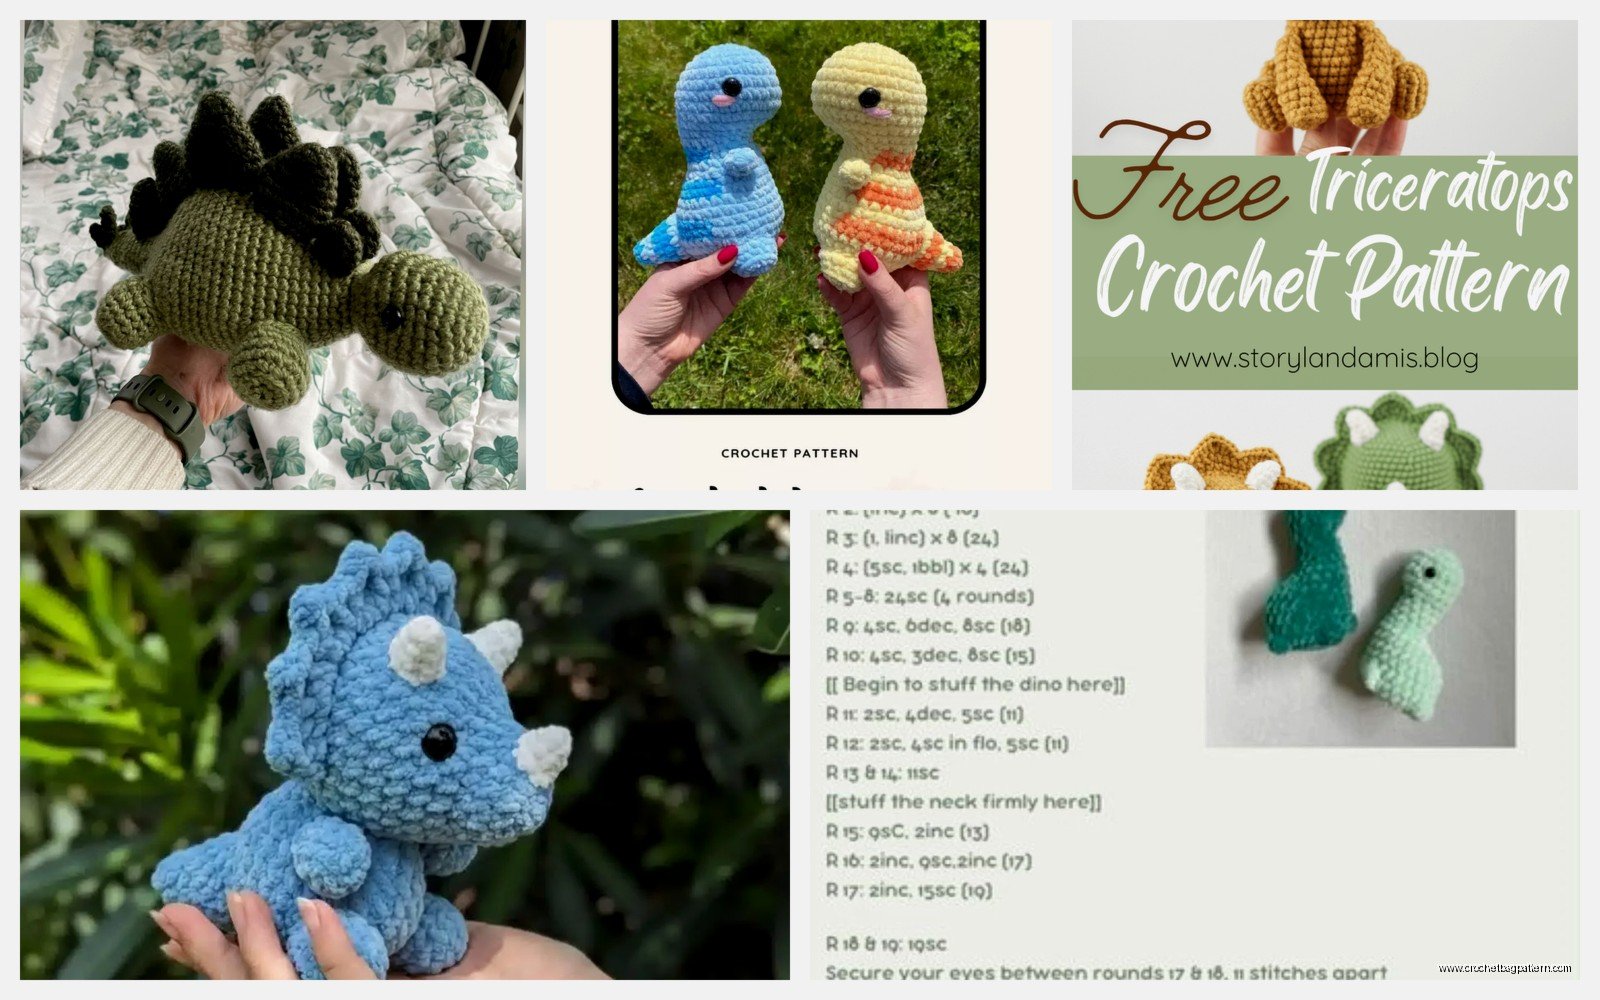
Some patterns have you make separate feet with toes but honestly that’s fussy and takes forever. I usually just work the leg and then on the last round I do some strategic increases to make it slightly wider at the bottom which gives the impression of feet. If you really want toes you can add them after by crocheting small chains and sewing them onto the bottom of the legs.
My cat keeps trying to steal the small pieces while I’m working which is super annoying because she’ll run off with a half-finished leg and I’ll find it under the couch later.
Tails
Tails are probably the easiest part. Start with the same magic ring method, do a few increase rounds until it’s as thick as you want the base of the tail, then gradually decrease as you work toward the tip. For a long thin tail like a brontosaurus you’d increase less and work even for more rounds before tapering.
For a stegosaurus tail with those spikes at the end you can either crochet separate spike pieces and attach them or work increases into the tip of the tail to make it wider and more club-like.
Stuff the tail as you go instead of waiting until the end because it’s really hard to get stuffing into a long narrow tube after it’s closed. I learned this the hard way and spent like 20 minutes trying to poke stuffing down a tail with a chopstick.
Special Features for Different Dinosaurs
This is where you make each dinosaur actually look like the specific type instead of just a blob with legs.
Stegosaurus Plates
The back plates are basically triangles. Chain however many you need for the base width, then sc across, chain 1 turn, and decrease on each end every row until you’re down to one stitch. Make a bunch of these in graduated sizes. Sew them along the dinosaur’s back in a line from neck to tail. I used Caron Simply Soft for plates once because I wanted them stiff and that yarn has good structure.
Triceratops Horns and Frill
Horns are small cones. Magic ring with 6sc, work even for a few rounds, then decrease to close. Make three of them, two longer ones for above the eyes and one shorter one for the nose. The frill is trickier, you basically make a semicircle that attaches to the back of the head. Start with a chain for the diameter you want, then work increases on one side while keeping the other side straight.
T-Rex Teeth
Okay so teeth you can do a couple ways. Either embroider them with white yarn along the mouth line, or crochet tiny white triangles and sew them on. The embroidered version is way faster. Just make small straight stitches pointing down from where the mouth would be.
Spikes and Spines
Some dinosaurs have spikes running down their back. These are just small triangles or cones like the stegosaurus plates but smaller. You can also do a ridge by crocheting a long thin strip and sewing it along the back so it stands up.
Color Choices and Yarn Combinations
Nobody actually knows what color dinosaurs were so you can literally use whatever colors you want. I’ve made pink dinosaurs, rainbow dinosaurs, all of it. The classic approach is greens and browns because that’s what we see in movies and books but honestly kids especially love weird colored ones.
If you want to do stripes or spots you can either switch colors as you crochet or add them after with surface crochet or embroidery. Switching colors while crocheting is cleaner looking but you have to carry the yarn you’re not using or weave in a million ends.
Variegated yarn like Red Heart Unforgettable makes cool looking dinosaurs without you having to change colors manually. The color shifts happen automatically as you work.
Assembly Tips
I always make all the pieces first before attaching anything because it’s easier to see how everything fits together. Lay out the body, head, legs, arms, tail, and any extra features and position them until it looks right. Take a picture with your phone so you remember where everything goes.
Use the same yarn you crocheted with to sew pieces together because then the stitches blend in. A yarn needle with a big eye makes this way easier. I go through the stitches of both pieces I’m joining, pulling tight so there’s no gap.
The head is usually the trickiest to attach securely, especially if it’s heavy. I sew around the neck area twice to make sure it’s not gonna fall off if someone plays with it roughly.
Common Problems
The stuffing showing through the stitches means your tension is too loose or you need a smaller hook. Frog it and start over with a smaller hook, I know it sucks but it’s worth it.
If your dinosaur won’t stand up it’s either because the legs are positioned wrong or the body is too heavy for the leg size. You can add wire inside the legs for structure but that makes it not safe for small kids. Otherwise just reposition the legs further apart or make them thicker.
Sometimes the pieces end up different sizes even when you follow the same pattern because your tension changed between making them. This happened to me with a diplodocus where the back legs ended up way bigger than the front legs and it looked ridiculous. I just made new front legs instead of trying to fix it.
Pattern Resources
You can find free patterns on ravelry or youtube or pinterest. Some are better written than others, honestly a lot of free patterns have mistakes or unclear instructions so don’t feel bad if you can’t follow one exactly. I usually look at several patterns for the same dinosaur type and combine ideas from different ones.
Paid patterns on etsy are usually more detailed and tested but they’re like 5-7 dollars each which adds up if you wanna make a whole collection. The nice thing about amigurumi though is once you understand the basic construction you can just make up your own patterns by adjusting the number of rounds and stitches.
There’s this one designer on etsy who makes really good dinosaur patterns with clear photos, I think it’s called… actually I can’t remember the shop name but if you search amigurumi dinosaur pattern you’ll find tons of options.
Time Investment
A small dinosaur takes me maybe 3-4 hours total if I’m working steadily. Bigger ones or ones with lots of details like a stegosaurus with all those plates can take 6-8 hours. This is spread out over several days usually because I’ll make the body one day, the head and limbs another day, then assemble everything on a third day.
If you’re new to amigurumi or crochet in general it’ll take longer because you’re still building muscle memory and speed. That’s totally fine, it’s not a race. The first dinosaur I made took me like two weeks because I kept messing up and redoing parts.
One thing that’s super annoying about the whole process is weaving in ends because every time you attach a new piece of yarn or finish a section you have ends to deal with. I usually weave them in as I go instead of saving them all for the end because otherwise it’s overwhelming. Just thread the yarn tail onto your needle and weave it through several stitches on the inside of the piece then trim it close.
