
Jun
Basic Stuff You Need to Know First
So the first dinosaur I actually finished was this little T-rex back in spring 2022 when I was basically living on my couch binging Severance and needed something to do with my hands. Used Red Heart Super Saver in that bright green color because it was cheap and I wasn’t sure if I’d even finish it. Turns out amigurumi dinos are way more forgiving than you’d think.
You’re gonna need a smaller hook than the yarn label suggests. Like if you’re using worsted weight yarn that says use a 5mm hook, go down to 3.5mm or 4mm. The whole point is to make your stitches tight enough that the stuffing doesn’t show through. I learned this the hard way because my first attempt looked like a lumpy green blob with polyfil guts showing between every stitch.
The basic shape for most dinosaurs starts with a magic ring. If you don’t know how to do that, just chain 2 and work your stitches into the first chain instead. It’s not as clean but it works. You’ll be doing mostly single crochet in continuous rounds which means you don’t join at the end of each round, you just keep spiraling up. Use a stitch marker or a piece of different colored yarn to mark where your rounds start or you’ll lose track completely.
Body Construction That Actually Makes Sense
Most dinosaur patterns break down into these parts: head, body, legs, arms, tail, and whatever spikes or plates your specific dino needs. The body is usually just an oval shape. You start with that magic ring, increase for a few rounds until you get to the widest part, work even for a bunch of rounds, then decrease back down.
For a basic body you might do something like: Round 1 is 6 sc in the ring. Round 2 is increase in every stitch so you get 12. Round 3 is sc, inc repeated around for 18 stitches. Keep going with that pattern until you hit like 36 or 42 stitches depending on how chunky you want your dino. Then work even without any increases or decreases for maybe 15-20 rounds. Then start decreasing the same way you increased.
The head is similar but usually rounder and you stuff it really firmly. Like more than you think you should. If you understuff the head it just looks sad and floppy. I use Polyfil Premium but honestly the cheap stuff from Walmart works fine too, you just gotta fluff it up more before shoving it in.
The Leg Situation
Legs are small tubes basically. Start with magic ring, do like 6 sc, then increase to maybe 9 or 12 for the foot part. Work a few rounds even for the foot, then decrease back down to 6 or 8 stitches for the leg part. Work even until the leg is as long as you want. Don’t stuff the legs too tight or they won’t pose well.
Here’s what really annoyed me though – attaching the legs to the body is weirdly hard to get symmetrical. You think you have them even and then you finish sewing them on and the dinosaur lists to one side like it’s drunk. I’ve made probably six different dinosaurs at this point and I still sometimes have to rip out the leg attachment and redo it. Just pin them with regular sewing pins first before you commit to sewing them on permanently.
Arms are even smaller tubes, same concept. For a T-rex you make them comically tiny which is actually the fun part. For other dinosaurs they’re just smaller versions of the legs.
Tail Business
The tail starts at the same stitch count as where you ended the body and just keeps decreasing gradually until you get to like 3 or 4 stitches at the tip. Some patterns have you work the tail separately and sew it on but I think it’s way easier to just continue from the body. The tail needs to be pretty firmly stuffed at the base where it connects to the body or it’ll flop around weird, but the tip can be looser.
If you’re doing a long-necked dinosaur like a brachiosaurus the neck is basically the same concept as the tail but going up instead of back. You might need to put a pipe cleaner or wire inside long necks so they hold their shape. I used floral wire from the craft store for one and it worked okay but my cat kept trying to attack it whenever the dinosaur was sitting on the coffee table so.
Spikes and Plates and Extra Bits
This is where patterns vary a ton depending on what kind of dinosaur you’re making. Stegosaurus plates are usually flat pieces you crochet by chaining a foundation and then working increases and decreases to make a triangle or diamond shape. You sew them along the back in a row.
For spikes like on a stegosaurus tail you can do little cones – magic ring with 4 or 5 sc, work even for a few rounds, done. Don’t even really need to stuff them if they’re small enough. Just sew them on in clusters.
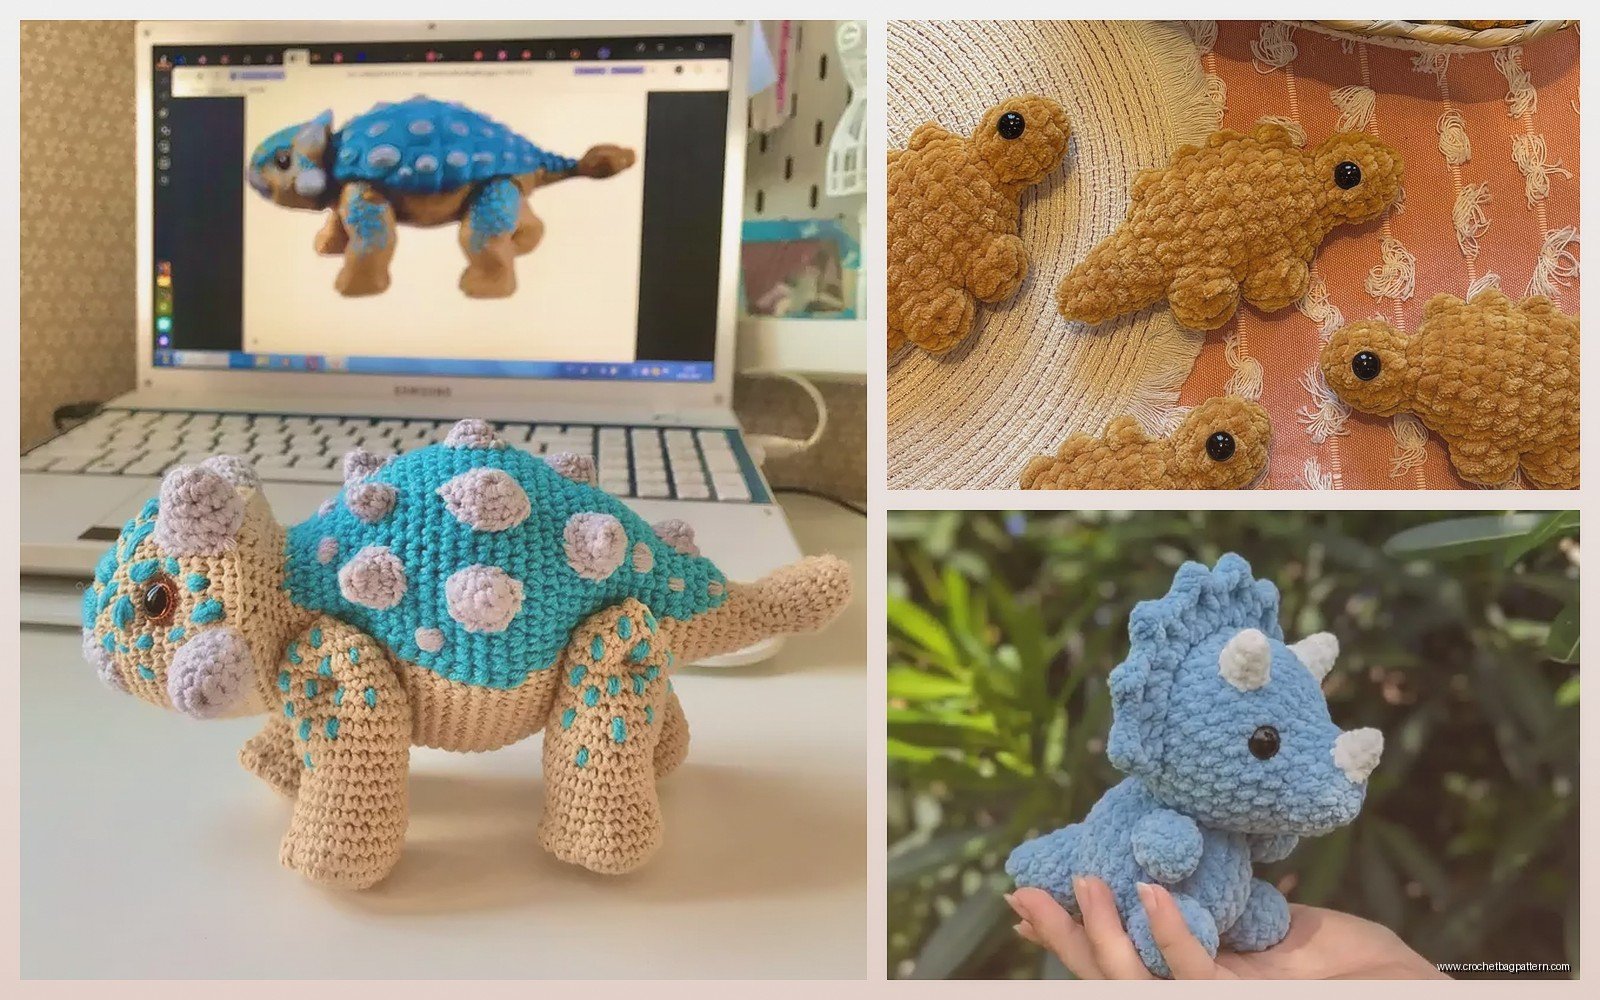
Triceratops horns are similar cones but longer. The frill behind the head is flat crochet, kind of like the plates. You can do it in rows with increases at the edges to make it fan out, or work it in a semicircle if you’re feeling ambitious.
Yarn Choices That Worked For Me
Red Heart Super Saver is cheap and comes in every color and works fine for dinosaurs. It’s a little squeaky to work with but whatever. I’ve also used Caron Simply Soft which is nicer feeling but more expensive. For the T-rex I mentioned earlier I used that Super Saver in Spring Green.
Last summer 2024 I made a purple stegosaurus with Bernat Softee Baby yarn because I found it on clearance and the texture is really nice for amigurumi. Softer than the Red Heart stuff. Used the Lavender color for the body and then Grape for the plates which sounds weird but looked cool.
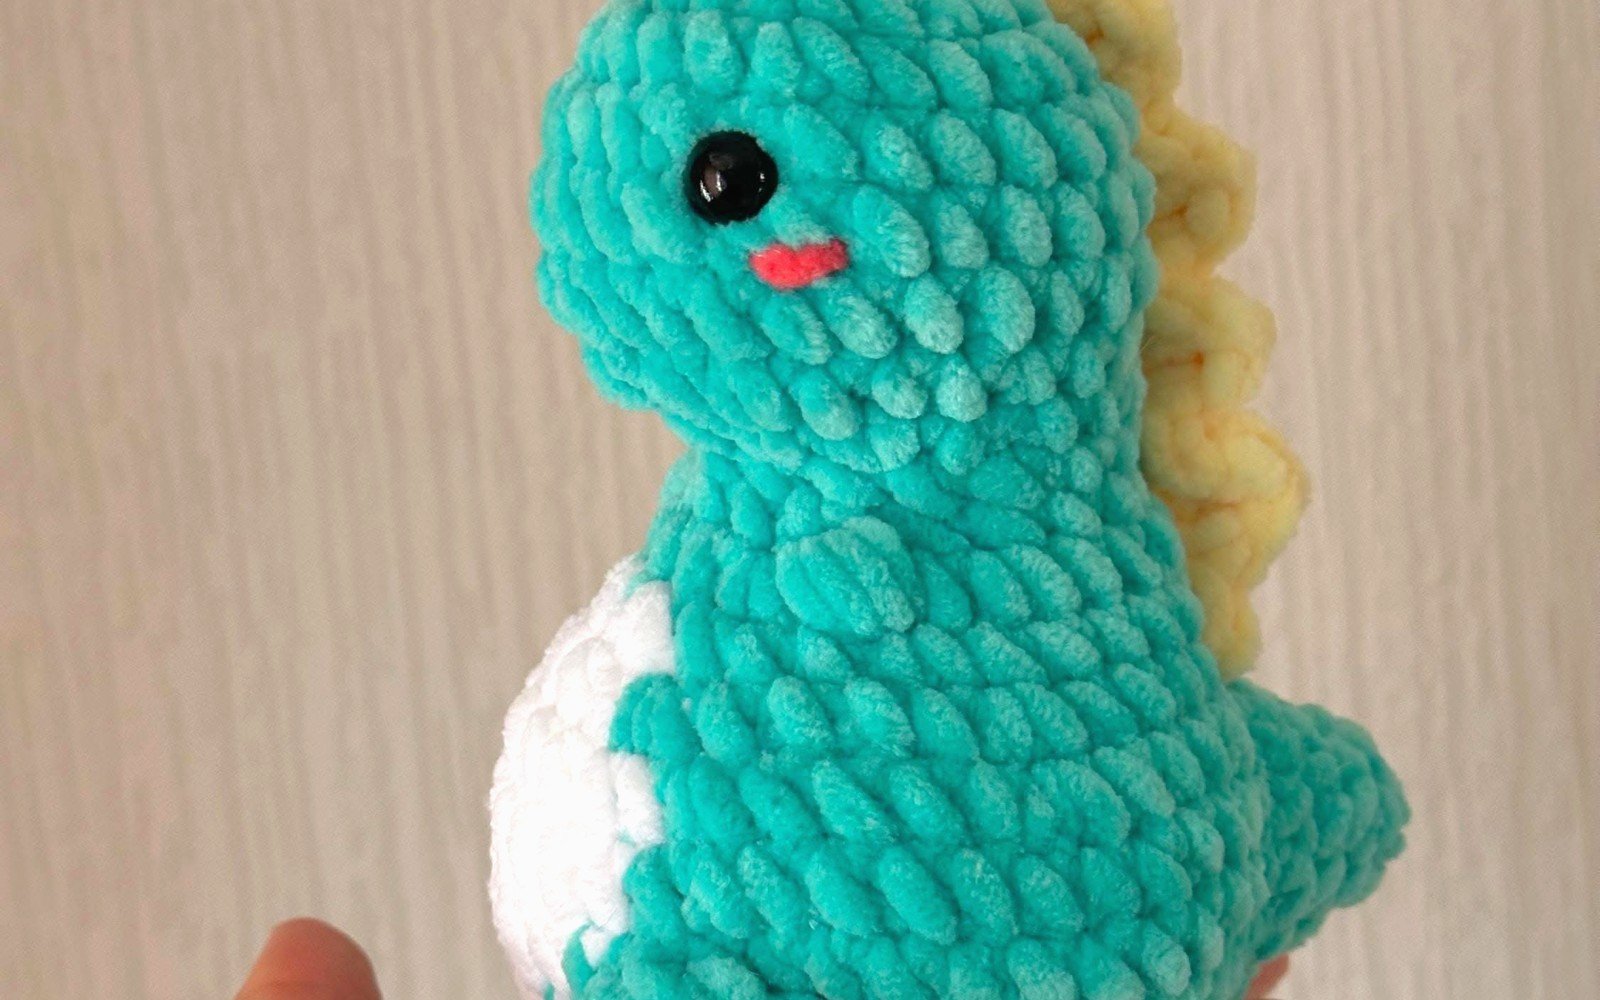
Honestly you can use whatever worsted weight acrylic you have lying around. Cotton yarn works too but it doesn’t have as much give so your hands might get tired faster. I tried making one with this fancy merino wool blend once and it was absolutely not worth it because you can’t even really tell the difference in the finished product and it cost like three times as much.
The one thing I’d say is stick with solid colors or very subtle variegated yarns. I tried using this rainbow variegated yarn once thinking it would look fun and psychedelic but it just looked messy and you couldn’t see the shape definition at all.
Eyes and Face Details
Safety eyes are the standard choice and you can get them cheap on Amazon in bulk. They come in different sizes – I usually use 9mm or 12mm depending on how big the dinosaur is. You have to put them in before you finish stuffing and close up the head because they have a washer that locks on from the inside.
The annoying thing about safety eyes is deciding where to place them. Too high and your dino looks startled all the time. Too low and it looks derpy. Too far apart looks like a fish. I usually put them around rounds 8-10 from the top of the head with about 5-6 stitches between them but you gotta just eyeball it honestly.
Some people embroider eyes instead with black yarn which looks cute and more baby-friendly if you’re making it for a kid. Just do a few stitches in an oval shape and maybe add a white highlight stitch. You can also use felt circles glued on but I think that looks cheaper.
For nostrils you can just do two small stitches with black yarn. Mouths are optional – some patterns have you embroider a line but I usually skip it because dinosaurs look friendlier without defined mouths in my opinion.
Assembly Tips That Nobody Tells You
Use the same yarn you made the pieces with for sewing them together. It blends in way better than trying to use thread or a different yarn. Leave a long tail when you finish each piece specifically for sewing.
I use a yarn needle with a big eye and just do a whip stitch around the opening of whatever piece I’m attaching. Go around twice if the piece is gonna get a lot of handling or if it’s a leg that needs to support weight.
The order matters more than you’d think. I usually do: stuff and close the head completely, stuff the body but leave it open, attach the head to the body, then attach legs and arms, then tail or finish the tail if it’s already attached, then close up the body opening. If you close up the body too early you can’t reach inside to secure the head attachment properly.
Actually for arms and legs, you can make them poseable by using button joints. You take a long piece of yarn, thread it through one leg, through the body, through the other leg, then tie it tight inside the body. Same with arms. This lets them move around instead of being static. I didn’t know about this technique until I’d already made like three dinosaurs the regular sewn-on way and honestly I’m still too lazy to do button joints most of the time but it does look more professional.
Common Problems I Keep Running Into
Tension consistency is huge. If you crochet looser when you’re tired or distracted, that section of the dinosaur will look wonky. I made a triceratops while watching the finale of some show I was really into and the entire back half is noticeably looser than the front because I wasn’t paying attention to my tension.
Counting stitches is boring but necessary. I cannot tell you how many times I’ve gotten to the end of a round and realized I’m off by two stitches and had to either fudge it or rip back. Use the stitch marker. Move it up every round. Yes it’s tedious but less tedious than redoing stuff.
Stuffing distribution is an art. You want it firm but not rock hard. And you gotta push it into the shaping as you go – like really shove it into the snout area of the head or down into the tips of the feet. Otherwise you get these sad unstuffed pockets that make the dinosaur look deflated.
Pattern Resources
I mostly use free patterns from blogs and YouTube. There’s this one blog called Club Crochet that has several good dinosaur patterns. PlanetJune has patterns but they’re paid, though they’re pretty detailed if you want that.
YouTube is honestly better for learning the actual construction than written patterns in my opinion. Watching someone do the increases and decreases in real time makes way more sense than trying to interpret “sc 4, inc, repeat” or whatever. There’s a channel called Tooty’s Crochet or something that has good amigurumi tutorials.
Once you make one or two dinosaurs from patterns you can kinda just freestyle it. Like you understand that the body is an oval, the head is a sphere with a snout, legs are tubes. You can adjust the proportions to make different species. Want a long neck? Just keep going with the neck section. Want it chonkier? Do more increase rounds before working even.
Realistic vs Cute Style
Most amigurumi dinos are gonna look cute and chunky no matter what but you can push it more realistic with color choices and details. Use actual dinosaur colors – greens, browns, greys. Add texture with different stitches like using single crochet in the back loop only to create ridges along the spine.
For cute style just lean into bright colors and simplified shapes. Big head proportion compared to body. Stubby little legs. No teeth or claws, just soft rounded shapes. This is honestly easier and faster.
I tend to go somewhere in the middle because I can’t commit to one aesthetic apparently. Like I’ll use a realistic-ish green but then give it giant derpy eyes.
Time Investment Reality Check
A small dinosaur maybe 6 inches tall takes me like 4-6 hours total if I already know what I’m doing. That’s spread over a few days usually because my hands cramp if I crochet for more than like an hour and a half at a time.
A bigger one maybe 10-12 inches could take 10-15 hours. The body alone for a large one might be 3-4 hours of crocheting. Then all the separate pieces and assembly adds up.
Your first one will take longer because you’re figuring stuff out. My first T-rex took me like three weeks of off-and-on work because I kept messing up and redoing sections. Now I could probably make the same thing in two evenings.
What to Do With All These Dinosaurs
This is a real problem honestly. I have like eight dinosaurs now and I don’t know what to do with them. Some are sitting on my bookshelf. I gave a couple to my friend’s kids. One is a cat toy now because she claimed it and I gave up fighting her for it.
They make okay gifts if you know someone who likes dinosaurs. Kids obviously but also there’s a surprising number of adults who get excited about handmade dinosaurs. I brought one to a white elephant gift exchange and it got stolen three times so apparently people want them.
You could sell them I guess but the time investment versus what people will actually pay makes it not really worth it unless you’re just trying to fund your yarn habit. People don’t wanna pay $50 for something that took you 10 hours when they can buy a factory-made stuffed dinosaur for $15.
Anyway that’s most of what I’ve figured out about making these things. Start with a simple pattern, use cheap yarn until you know you like doing it, and don’t stress too much about making it perfect because it’s gonna look handmade no matter what and that’s actually the appeal.
