
Jun
Getting Started with Sanrio Characters
So the thing about making Hello Kitty and other Sanrio stuff is you gotta decide if you’re working from an actual pattern or just winging it from pictures. I made my first Hello Kitty in spring 2022 when I was stuck at home with covid and honestly it turned out lumpy but recognizable. The bow saved it basically.
You need white yarn for Hello Kitty obviously and the cheapest option is Red Heart Super Saver in White which is what I used. It’s acrylic so it’s not gonna felt or anything if someone actually uses what you make. For the nose I used some yellow I had lying around and then red for the bow. My Neighbor Totoro uses Lion Brand Vanna’s Choice in Grey Marble which looks better than solid grey I think because it has depth or whatever.
The annoying thing about making these characters is the face embroidery. Like you spend all this time getting the body right and then you have to do the eyes and whiskers and if they’re even slightly off the whole thing looks drunk or surprised in a weird way. I’ve remade Hello Kitty’s face like three times on one project because the eyes were too close together and she looked cross-eyed.
Basic Shapes You’ll Use
Most Sanrio characters break down into spheres and cylinders basically. Hello Kitty is a sphere head, oval body, cylinder arms and legs. My Melody is similar but with a hood shape. Cinnamoroll needs that tail and the long ears which are just elongated ovals.
For a basic Hello Kitty head you’re doing a standard amigurumi sphere. Start with a magic ring, 6 single crochet in the ring. Then increase every stitch (12), then increase every other stitch (18), then every third stitch (24) and keep going until it’s wide enough. I usually go to about 54 stitches for a head that’s maybe 3 inches across using worsted weight yarn and a 3.5mm hook.
Once you hit the width you want you just crochet even rounds without increasing until it’s as tall as it is wide basically. Then you decrease the same way you increased. The body is the same concept but more oval shaped so you do more even rounds in the middle before decreasing.
Yarn Choices That Actually Matter
I’ve used Hobby Lobby’s I Love This Yarn for Sanrio stuff and it works fine it’s just super squeaky when you work with it which drove me insane when I was binging Succession and trying to hear the dialogue. The yarn would squeak every time I pulled it and I almost gave up on a Keroppi I was making.
Bernat Blanket yarn is too thick for most Sanrio patterns unless you’re making like a huge pillow version. I tried it once thinking it would be faster and the details just disappeared into the fluff. Stick with worsted weight or DK weight.
For stuffing you can use Poly-Fil which is at any craft store or honestly I’ve used the stuffing from old pillows we were throwing out. Just make sure it’s polyester not foam because foam gets lumpy weird.
The Face Issue Nobody Talks About
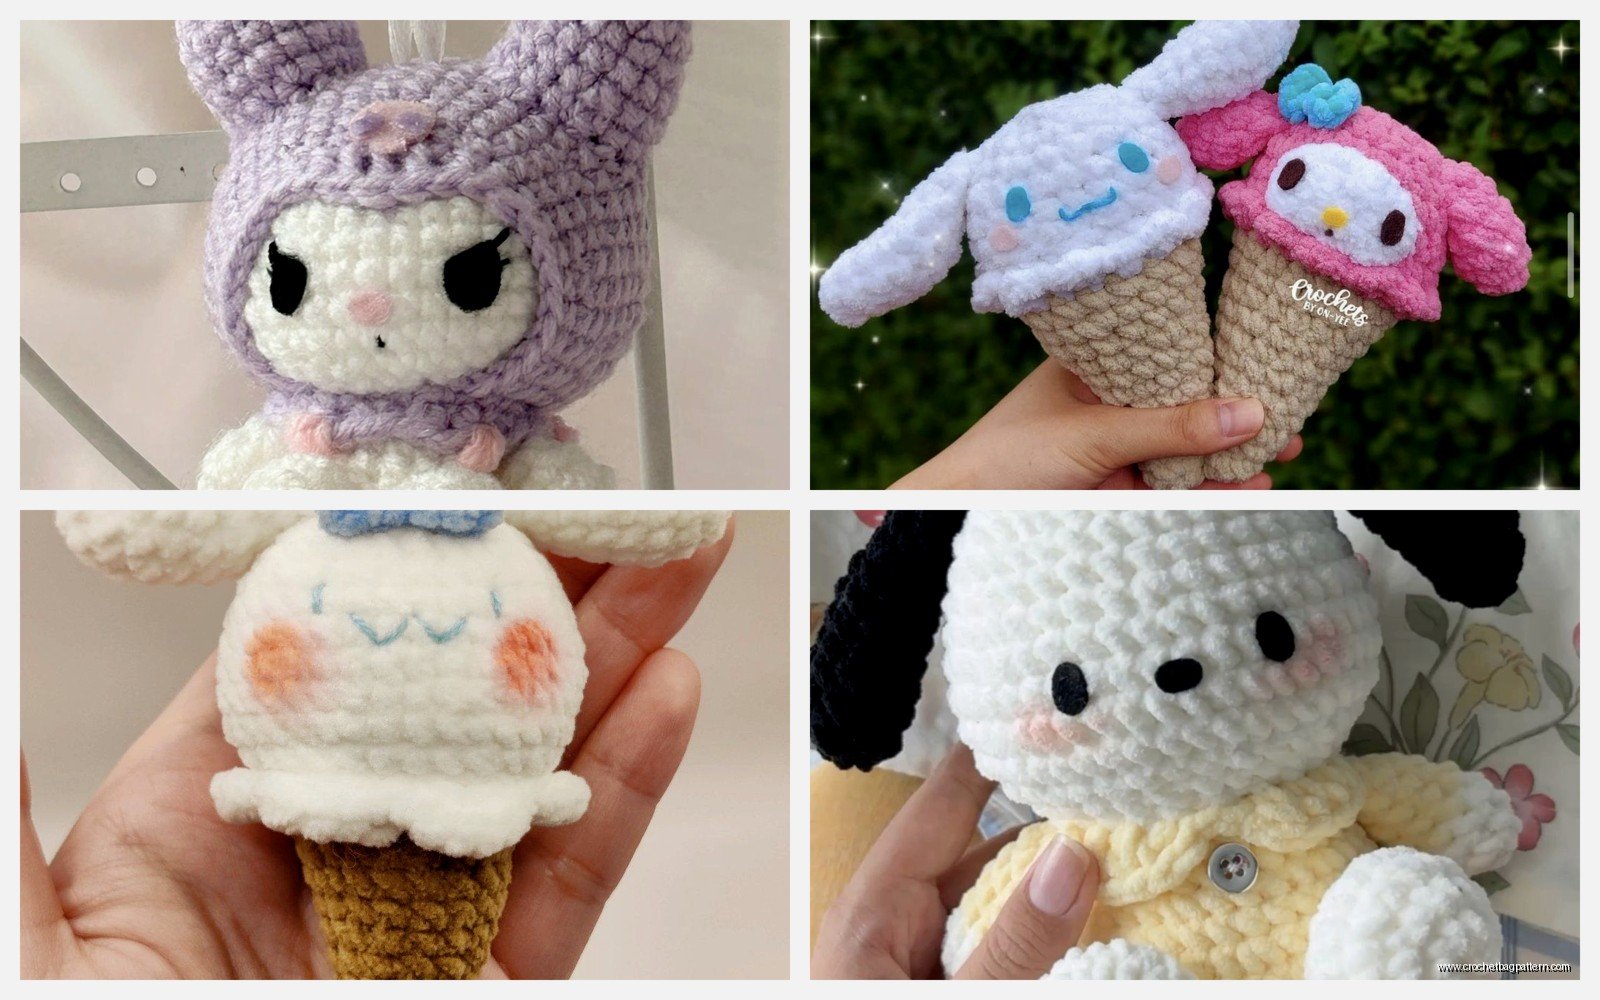
So embroidering faces on crochet is genuinely the worst part and here’s why – the stitches are bumpy so your embroidery thread catches on them. You need to use embroidery floss not regular sewing thread because it shows up better. I use DMC embroidery floss in black for eyes and whiskers.
For Hello Kitty the eyes are just oval shapes. I do them with satin stitch which is just filling in the oval with parallel stitches really close together. The whiskers are straight stitches obviously but getting them symmetrical is actually impossible I’ve decided. I just do my best and accept that handmade means a little wonky.
The nose is a triangle and you can either embroider it or crochet a tiny yellow triangle and sew it on. I usually embroider because it’s flatter. The mouth is just two small lines going down from the nose corners but some people skip it entirely and honestly it still looks fine.
Making the Bow
Hello Kitty’s bow is weirdly important like it’s 50% of her recognizability. I crochet a rectangle in red, then cinch the middle with more yarn to make the bow shape. Then I crochet two small rectangles for the ribbon tails and sew everything together.
For the rectangle I chain like 15, then single crochet back and forth for maybe 10 rows. Fasten off leaving a long tail. Use that tail to wrap around the middle of the rectangle super tight like 10 times then secure it. The tails are chain 8, single crochet in second chain from hook and across, fasten off. Sew them to the back of the bow center.
You can also just use actual ribbon which I did once when I was rushing to finish before my niece’s birthday and honestly it looked fine just glued it on with fabric glue.
Other Sanrio Characters
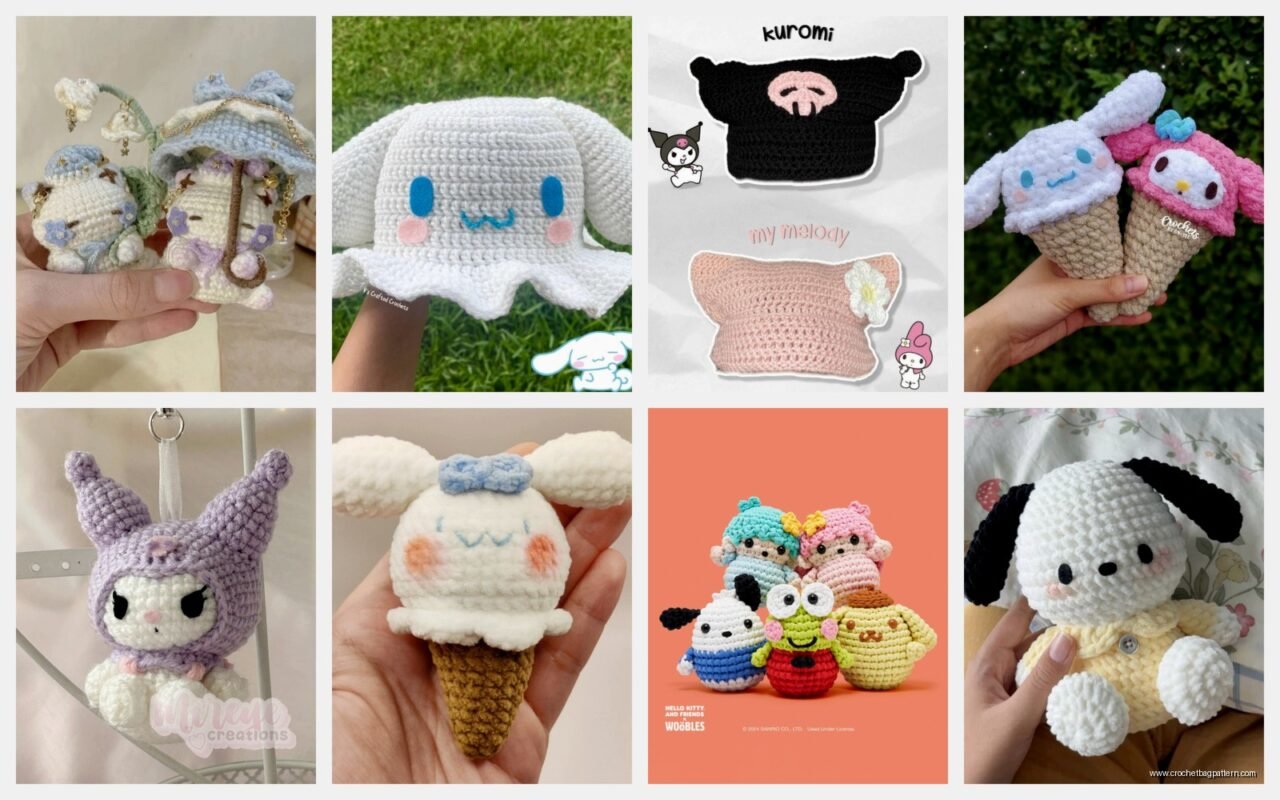
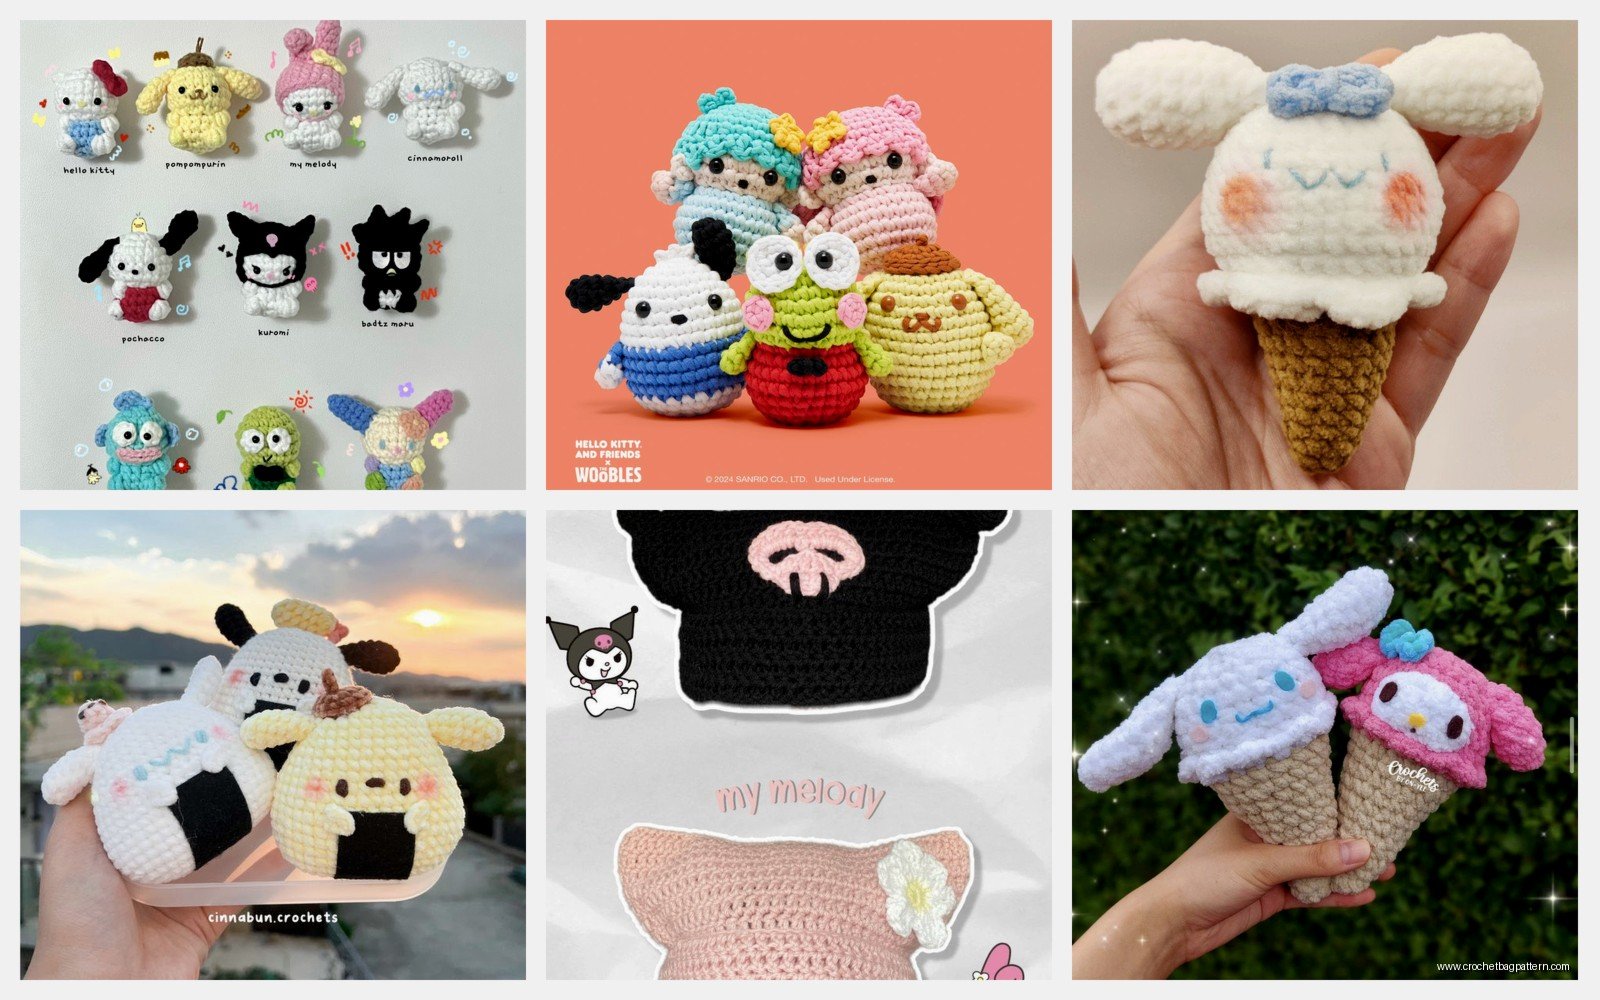
My Melody is basically Hello Kitty with a hood. You make the hood by crocheting a rectangle and sewing it into a hood shape then attaching to the head. The ears are inside the hood. She has a pink hood usually with a flower on it. I made her in summer 2024 while my cat was recovering from surgery and kept trying to sit on my yarn which meant I had to keep moving to different rooms.
Cinnamoroll is harder because of the tail. The tail is this swirly thing and I just make it by crocheting a long skinny tube and then sewing it in a curl shape. His ears are long and floppy so just make cylinder shapes that are longer and don’t stuff them too full so they flop over.
Keroppi is actually easier than Hello Kitty because he’s green which hides mistakes better than white for some reason. His eyes are huge which means you can make them with felt circles instead of embroidering if you want. I used Caron Simply Soft in green for him and it was actually really nice to work with compared to Red Heart.
Common Problems
The main issue people have is their increases making the sphere lumpy instead of smooth. This happens when you stack increases on top of each other round after round. You need to offset them. Like if you increased in stitch 1 in the previous round, increase in stitch 2 this round. I didn’t figure this out for like six months and all my spheres had visible lines of increases.
Another thing is tension. If your tension is loose your stuffing will show through the stitches which looks bad especially with white yarn. Go down a hook size from what the yarn recommends. If the yarn says 5mm use 4mm or even 3.5mm. Your hands will hurt more but it looks better.
Attaching limbs is also annoying because if you just sew them on they flop around weird. You need to sew through the limb and the body multiple times in different directions to make it sturdy. I use the yarn tail from making the limb to attach it so the color matches.
Pattern Resources
You can find free patterns on Ravelry if you search for Sanrio or specific character names. Some are better than others. The ones with actual photos of finished products are usually more reliable than the ones with just diagrams.
There’s also people selling patterns on Etsy which I’ve bought a few of and they’re usually pretty detailed with step by step photos. They’re like $5-8 usually. I bought a really good My Melody one that included different outfit options.
YouTube has video tutorials too but I find them hard to follow for amigurumi because you can’t see the stitch count clearly and I end up having to pause every two seconds. But some people learn better that way so worth checking out.
Sizing Stuff
If you want to make bigger or smaller versions you just use different yarn weights and hook sizes. Fingering weight yarn with a 2mm hook makes tiny versions that are maybe 2 inches tall. Bulky yarn with an 8mm hook makes ones that are like 12 inches. The pattern stays the same you just adjust materials.
I made a tiny Hello Kitty with crochet thread once and it took forever because the stitches were so small but it was really cute. Used it as a keychain. The face embroidery was basically impossible though at that scale so I just used a black permanent marker to draw it on which actually worked fine.
Time Investment
A basic Hello Kitty takes me maybe 3-4 hours if I’m not watching TV or getting distracted. The head is probably an hour, body is 45 minutes, limbs are quick maybe 15 minutes total, then assembly and face is another hour or more depending on how many times I redo the eyes.
More complex characters take longer. Cinnamoroll took me like 6 hours because of the tail and getting the ears right. My Melody was maybe 5 hours because of the hood construction.
Making Them Actually Cute
The proportions matter more than you’d think. The head should be bigger than the body for that chibi cute look. I usually make the body about 2/3 the size of the head. Limbs should be short and stubby.
Safety eyes are good if you’re making these for display but if they’re for kids you gotta embroider because safety eyes can still pop out and are choking hazards. I use 9mm or 12mm safety eyes when I use them and put them in before you finish stuffing the head because you can’t get them through once it’s stuffed.
Adding blush with actual makeup like pink eyeshadow makes them look cuter. Just brush it on the cheeks with a small brush or cotton swab. It wears off eventually but you can reapply or use fabric paint instead though that’s permanent so don’t mess up.
What To Do With Them
I’ve made these as gifts mostly. Kids love them obviously but also I’ve made them for friends who collect Sanrio stuff. They work as room decorations or you can add keychains rings to make them functional.
You can also make them into other stuff like pencil toppers by making them smaller and adding a hole through the bottom for a pencil. Or make them flat instead of 3D for patches or appliques you can sew onto bags.
I tried making a Hello Kitty phone case once by crocheting a flat pocket shape and adding her face to it but it was too bulky to actually use so now it just sits on my desk holding hair ties.
The main thing is just start with basic Hello Kitty because she’s the simplest and once you get the hang of sphere shapes and face embroidery you can make pretty much any of the characters they’re all just variations of the same basic construction.
