
Jun
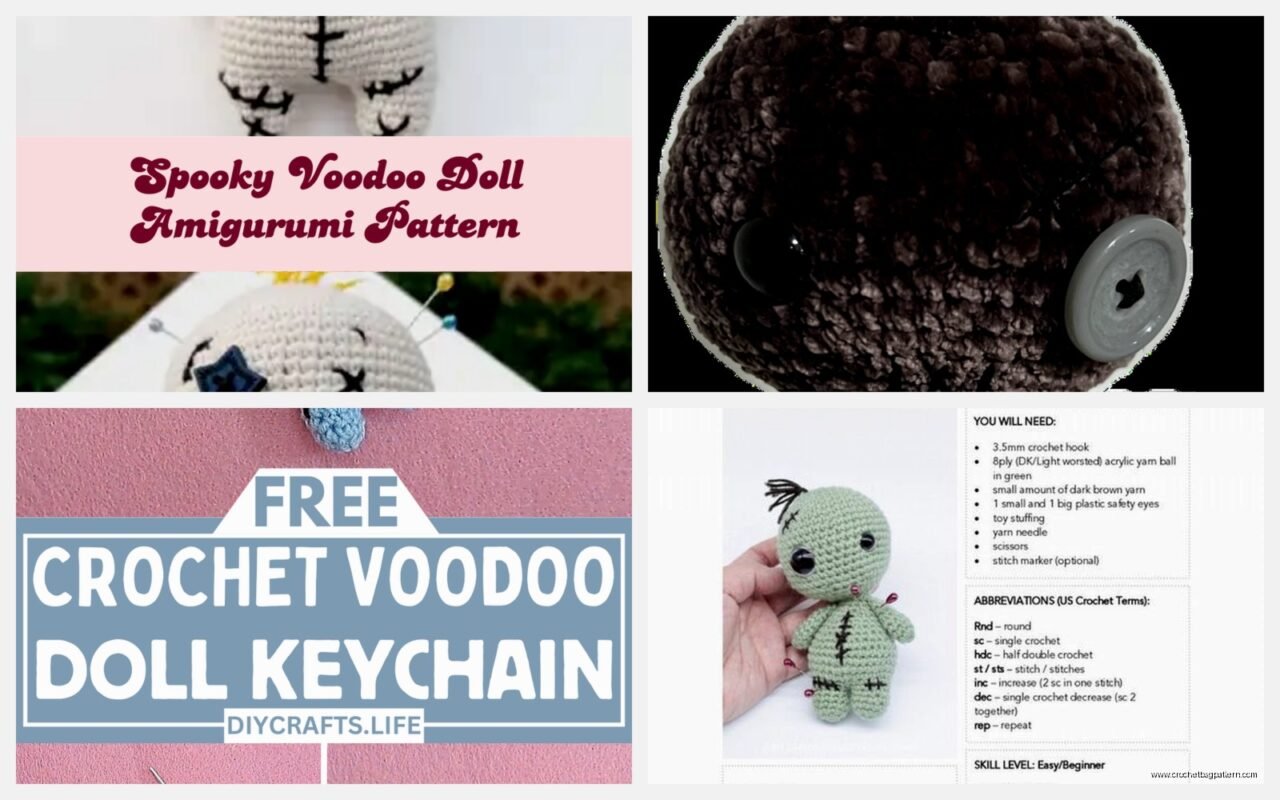
okay so voodoo doll amigurumi
Right so I made one of these back in spring 2022 when my sister was going through this whole thing with her boss and she wanted something funny to put on her desk. Not like actual voodoo obviously but just the novelty factor you know? Ended up being way cuter than creepy which was probably for the best.
The basic construction is pretty straightforward if you’ve done any amigurumi before. You’re gonna need some flesh-tone yarn or whatever color you want your doll to be. I used Red Heart Super Saver in Cafe Latte because that’s what I had lying around and honestly it worked fine. Some people get really specific about skin tones but for a novelty thing it doesn’t matter that much. You’ll also want black for the X’s on the eyes and mouth, plus whatever colors you want for clothing or accessories.
the body part
Start with a magic ring. I do 6 single crochet in the ring for the head. Then you increase every other stitch in round 2 so you get 9 stitches. Round 3 you’re doing sc in first stitch then 2sc in next, repeat around to get like 12 or 13 stitches depending on how you count. Keep going with increases every few rounds until the head is maybe 3 inches across? I never measure this stuff properly which honestly was super annoying when I tried to make a second one and couldn’t remember the exact count.
The thing that really bugged me about this project was stuffing the limbs. They’re so skinny and you gotta get the polyfil all the way down to the ends without making weird lumps. I was watching Better Call Saul at the time and kept having to pause because I needed both hands to really jam that stuffing down there with like a chopstick or whatever.
For the body you basically make a cylinder. Chain 15 or so, join into a circle, then just single crochet around and around until it’s as long as you want. Mine ended up being about 4 inches tall. Don’t stuff it super firm because you want it to be a little floppy and doll-like. The arms and legs are even simpler – just tiny tubes. I did magic ring with 4 or 5 sc, then worked in continuous rounds for maybe 2.5 inches for arms and 3 inches for legs.
assembly is where it gets fiddly
You gotta sew everything together and this is where having a yarn needle that’s actually sharp helps. Attach the head to the body first obviously. Then position the arms – I did mine straight out to the sides because that’s the classic voodoo doll look. Legs go at the bottom and I angled them slightly forward so the doll could technically stand if you propped it right, though mine mostly just flops over.
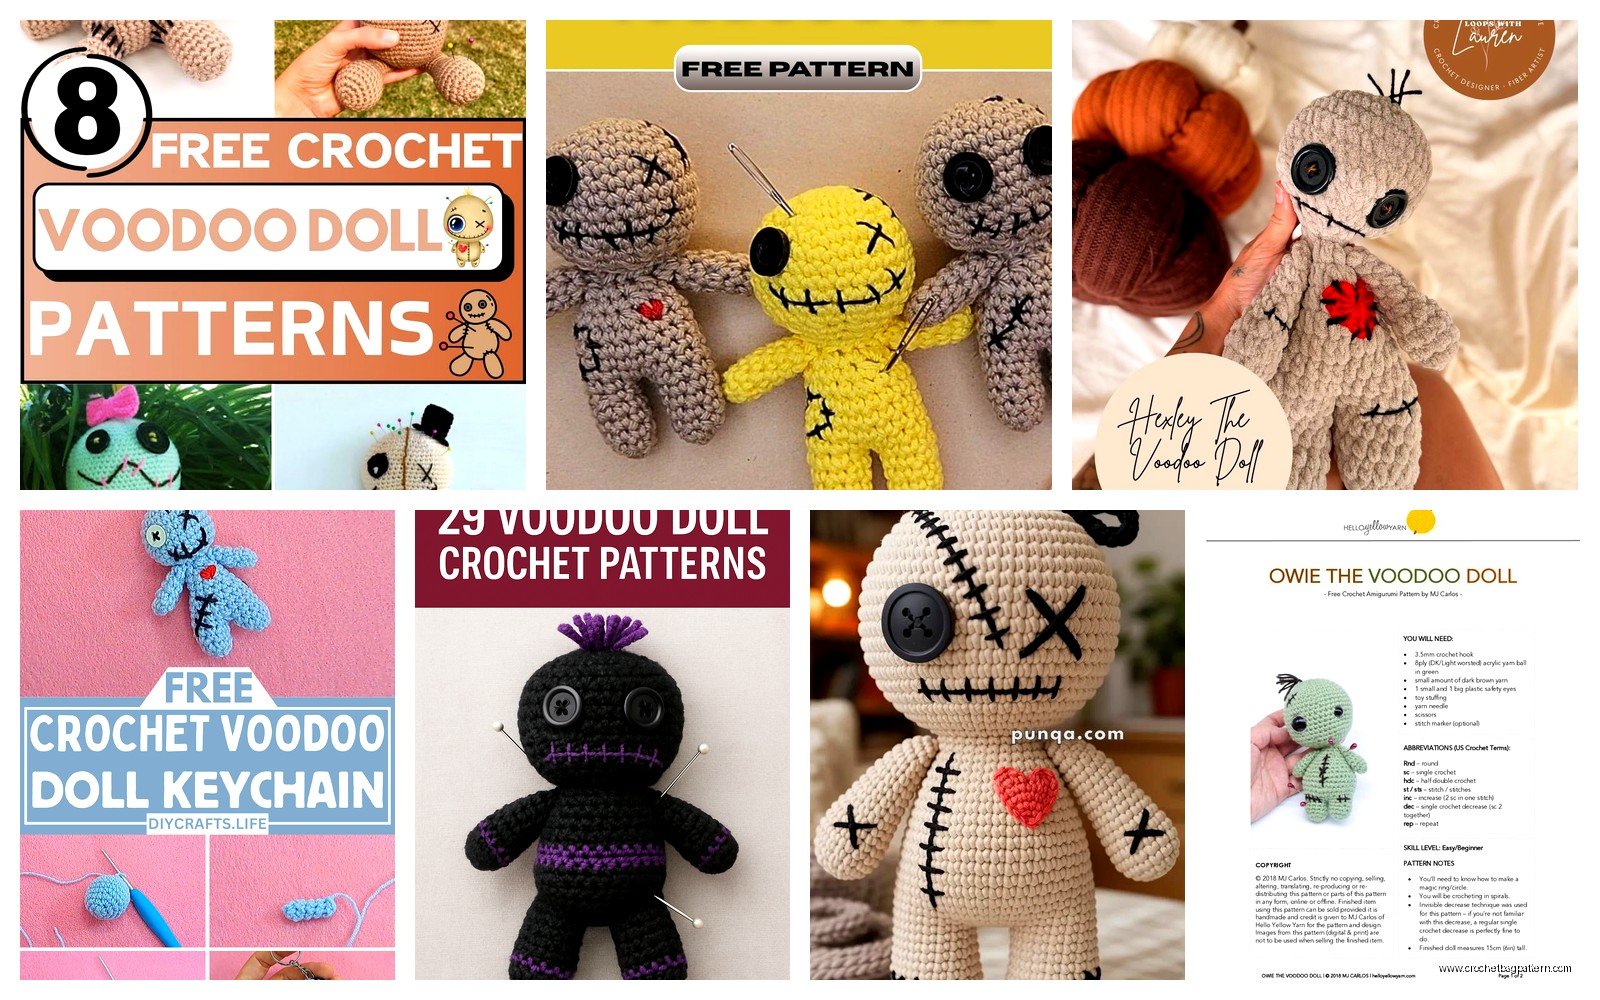
The X’s for eyes and mouth are just embroidered on with black yarn. Make an X shape with two diagonal stitches crossing in the middle. Do two of those for eyes and one bigger one for the mouth. Some patterns show button eyes but that kinda defeats the voodoo doll aesthetic in my opinion.
details and clothing options
This is where you can get creative or keep it simple. I made a little burlap-looking vest thing by crocheting a rectangle and sewing it around the body. Used Lily Sugar’n Cream in Jute (which is actually cotton but looks rustic) because I thought that matched the whole handmade curse doll vibe. You could do pants too but I got lazy and just left the legs bare.
Some people add yarn hair by cutting strands and tying them to the head. I skipped this because my cat was already obsessed with the doll and kept batting it around – didn’t need loose strings making it even more tempting. His name is Dumpling and he’s a menace but anyway.
Accessories are fun though. You could crochet a tiny hat, or make a little satchel bag. I’ve seen people add embroidered symbols or runes on the body which looks cool if you’re into that. Just use a contrasting color yarn and make up whatever designs you want.
the pins situation
Obviously you need pins right? That’s the whole point. I used regular sewing pins with the colored ball heads. Stuck a few in strategic spots before I gave it to my sister. The trick is to insert them where there’s enough stuffing that they’ll stay put but won’t poke all the way through. The body is easiest, the limbs are trickier because they’re so thin.
You could also use those decorative pins with fancy heads if you find them at craft stores. Or even tiny flags made from paper and toothpicks would work. Just make sure whatever you use isn’t sharp enough to actually hurt anyone because it’s supposed to be funny not dangerous.
yarn weights and hooks
I used worsted weight yarn (size 4) for everything and a size G hook which is 4mm. Some patterns call for smaller hooks to get tighter stitches so the stuffing doesn’t show through but honestly with a small project like this I don’t think it matters much. If you use a smaller hook like E or F you’ll just end up with a tinier doll.
Caron Simply Soft is another good option if you want something softer than Red Heart. It’s got a nicer texture and comes in tons of colors. For the black details I definitely used Red Heart though because I always have black Red Heart in my stash.
gauge doesn’t really matter here
Like I said before this is not a project where you need to stress about gauge. It’s a novelty item. If your doll ends up 5 inches tall instead of 6 inches who cares? The proportions are more important than the exact size. You want the head to be noticeably bigger than the body, and the limbs should be skinny compared to everything else.
One thing to keep consistent is your tension though. If you crochet super loose in some parts and tight in others it’ll look lumpy and weird. Try to maintain the same tension throughout or at least within each body part.
variations you could try
Once you’ve made the basic doll you can customize it however. Make one that looks like a specific person by adding their hair color and clothing style. I’ve seen people make them dressed as different professions – like a tiny doctor voodoo doll with a white coat, or an office worker with a tie.
You could also scale up the pattern by using bulky yarn and a bigger hook. Or go the opposite direction with thread and a tiny hook for a miniature version. Though honestly working with thread sounds terrible, I tried that once with a different project and my eyes hurt after like 20 minutes.
Color-wise you don’t have to stick with realistic skin tones at all. Make a purple doll, a green one, whatever. Add stripes or use variegated yarn for a weird effect. The beauty of novelty items is that accuracy doesn’t matter.
common problems I ran into
The magic ring coming undone is always annoying. Make sure you pull that tail tight and weave it in really well or the whole head will start unraveling from the center. I’ve had this happen mid-project and had to redo the entire head which was frustrating.
Limbs twisting while you’re crocheting them is another issue. Since they’re worked in continuous rounds without joining, the stitches can spiral. You can either mark the beginning of each round with a stitch marker or just embrace the spiral. It’s not that noticeable on the finished doll honestly.
Sewing pieces together evenly is hard. I always end up with one arm attached higher than the other or legs that aren’t quite symmetrical. Use pins to position everything before you start sewing, and check from multiple angles. Even then mine was a little wonky but again – novelty item, not a museum piece.
how long does this take
The whole thing probably took me 3 or 4 hours? That’s including assembly and adding the details. If you’re faster at amigurumi you could probably knock it out in 2 hours. If you’re newer to crochet maybe give yourself an evening or two.
It’s a good project for using up scrap yarn since you don’t need much of any single color. The body and head together probably used less than 50 yards of the main color. Arms and legs maybe 20 yards total. The clothing scraps were tiny amounts, like 10 yards max.
gift potential
These make funny gifts if you know someone with a sense of humor about this stuff. My sister loved hers and kept it on her desk for months. I’ve also made them as gag gifts for friends going through stressful times – like someone dealing with a difficult client or whatever. It’s therapeutic in a silly way.
Just be aware that some people might find the voodoo thing culturally insensitive or whatever. I’m not trying to make any kind of statement about actual voodoo practices which are a real religion, this is just the cartoon novelty version that’s been commercialized. If someone seems uncomfortable with the concept maybe just make them a regular amigurumi instead.
storage and display
These don’t take up much space so they’re easy to keep around. The pins can fall out over time if the doll gets jostled a lot, so maybe keep it somewhere stable if you actually want to display it. Or just restick the pins when they come loose.
The yarn can get dusty if it sits out for months. You could spray it with fabric protector or just accept that it’s gonna get grimy eventually. It’s not like these are heirloom quality items or… wait actually I guess you could make a really nice one with good yarn and careful construction but that seems like overthinking it.
pattern resources
There are free patterns online if you search for “voodoo doll amigurumi” but honestly you don’t need a pattern for something this simple. Basic shapes sewn together. If you can make a cylinder and a sphere you can make this doll. The only slightly tricky part is getting the proportions to look right but even that’s pretty forgiving.
Ravelry has some patterns if you want something more structured to follow. Some are free, some cost a few dollars. I’ve never actually bought a pattern for this because I just winged it based on looking at pictures but if you’re more of a pattern follower that’s totally fine.
YouTube probably has tutorials too though I haven’t watched any. I’m more of a figure-it-out-as-I-go person which works for simple projects but definitely leads to mistakes on complicated stuff.
final thoughts on construction
The key is just keeping your stitches tight enough that stuffing doesn’t poke through. If you can see white polyfil between your stitches, go down a hook size or tighten your tension. Otherwise you’ll have a lumpy doll with visible stuffing which looks unfinished.
Weave in your ends as you go instead of leaving them all for the end. Trust me on this. I had like 12 yarn tails hanging off my finished doll and it took forever to weave them all in afterward. Do it after each section and your future self will thank you.
Don’t overthink the embroidered features. The X’s don’t need to be perfect. Wonky stitches actually add to the handmade creepy-cute vibe. I redid my first eye like three times trying to make it perfect before I realized it looked better slightly messy.
