
Jun
Getting Started With the Yarn Situation
So the first time I actually tried making a crochet squishmallow was spring 2022 and I was watching that weird documentary about the Fyre Festival while working on it. The whole key to making these things look right is the yarn weight and honestly that’s where most people mess up right from the start.
You’re gonna want a bulky weight yarn or like a really chunky medium weight if you crochet tight. I used Bernat Blanket yarn for my first one because it was on sale at Joann’s and it actually worked pretty well. The texture isn’t exactly like a real Squishmallow but it gets close enough that people can’t really tell unless they’re holding both side by side. Lion Brand Feels Like Butta is another one that works but it’s more expensive and honestly I’m not sure the extra cost is worth it.
The thing that really annoyed me though was how much stuffing these things eat up. Like you think you have enough and then you’re halfway through and realize you need to run back to the store because one bag of polyfil is absolutely not enough for a medium sized plushie. I went through almost two full bags for a 12-inch one.
The Basic Shape Structure
Most Squishmallows are just sphere-ish shapes with minimal features so that actually makes them easier than you’d think. You start with a magic ring which if you don’t know how to do that there’s videos but basically it’s just a loop that you can pull tight so there’s no hole in the center of your work.
Start with 6 single crochets in the magic ring. Then you’re increasing every round for a while to make the sphere shape. Round 2 is 12 stitches total so you’re doing 2 sc in each stitch. Round 3 is 18 stitches so you do 1 sc then 2 sc in next stitch and repeat that around. You keep going with this pattern where you add one more stitch between increases each round.
I usually increase until I hit like 60-72 stitches depending on how big I want the final product. Then you work even without increases for several rounds to build up the sides. The number of straight rounds depends on if you want it more flat like the real ones or more sphere-like.
When to Stop Increasing
This is where it gets kinda scattered because there’s no exact formula. I just hold it up and see if it looks right? My cat kept trying to sit on my work in progress which didn’t help with gauging the size accurately but whatever. Generally if you want something that’s roughly 10 inches across you stop increasing around 60 stitches. For 14-16 inches you’d go to 72 or even 84 stitches.
The decreasing part mirrors the increasing. So if your last increase round was doing 1 sc in 11 stitches then 2 sc in the next, your first decrease round would be 1 sc in 11 stitches then sc2tog which is—well that’s a decrease where you combine two stitches into one.
Stuffing Strategy That Actually Works
Okay so here’s what I learned the hard way. Don’t wait until you’ve closed up most of the opening to start stuffing. That’s what tutorials tell you to do but it makes it way harder to get the stuffing distributed evenly. I start adding stuffing when I’m about halfway through the decrease rounds.
You want to really pack it in there if you want that squishy dense feel. Like more than seems reasonable. The fabric stretches and if you under-stuff it just looks sad and wrinkly. I use the back end of a wooden spoon to really push the stuffing into the edges and make sure there’s no gaps.
Some people use plastic pellets in the bottom to give it weight but I’ve never bothered with that. Seems like extra work and the polyfil-only versions still feel pretty good.
Adding the Face and Features
This is where you make it actually look like a Squishmallow instead of just a stuffed ball. Most of them have pretty simple embroidered faces so you don’t need to be amazing at embroidery or anything.
I use black embroidery floss for the eyes and mouth. The eyes are usually just ovals or circles and they’re positioned fairly close together and low on the face. Like lower than you think they should be. That’s part of what gives them that specific look. The mouth is typically a simple curved line or a little “w” shape.
For attaching the features I use a yarn needle and just do basic satin stitch for filled shapes or backstitch for outlines. You can also use safety eyes if you want but that’s more for if a kid is gonna play with it and you’re worried about embroidery coming loose.
Color Blocking for Different Animals
If you’re making one that’s supposed to be a specific animal like a cow or cat or whatever you gotta plan the color changes before you start. The easiest way is to make the belly separate and sew it on after but you can also change colors mid-round if you’re comfortable with that technique.
For my spring 2022 one I made a purple cat and just crocheted a white oval separately for the belly then whip-stitched it on. It looked fine. Not perfect but fine. The ears I made separately too which brings me to…
Ears and Other Add-Ons
Most animals need ears obviously. These are usually pretty simple triangles or rounded shapes that you crochet flat then attach to the head. For cat ears I do a basic triangle by chaining 2, then working increases along one side to make it wider, then decreasing back down. Takes like five minutes per ear.
Floppy ears like for a bunny or dog are longer and you’d work more rows in the middle before decreasing. You can make them curved by doing short rows or by just sewing them on in a way that makes them fold.
The real Squishmallows have the ears sewn into the seam so they’re integrated pretty smoothly. I usually attach mine after everything else is done and just use a whip stitch or ladder stitch to make it look clean. Position them symmetrically by measuring from the center of the face or you’ll end up with one ear higher than the other which is… well it’s happened to me more than once.
Tails, Wings, and Other Extra Stuff
Depending on what animal you’re making you might need a tail. These are usually pretty stubby on Squishmallows except for cats which have longer ones. A basic tail is just a tube shape you make by chaining a few stitches, joining in a round, and working even for however long you want it. Stuff it lightly so it’s not floppy but not rock hard either.
I haven’t made one with wings yet but from what I’ve seen they’re basically just flat ovals that you sew on the sides. You’d probably want to use a lighter weight yarn for those so they don’t look too bulky or maybe—actually I don’t know, I should try that sometime.
The Yarn Brands That Actually Matter
So I mentioned Bernat Blanket already but let me break down what I’ve tried. Bernat Blanket is thick and works up fast but it can be splitty if you’re not careful with your hook. I use a 6.5mm or 7mm hook with it usually. The texture is chenille which is soft but shows mistakes pretty easily.
Lion Brand Feels Like Butta is smoother and less splitty but it’s thinner so you need more rounds to get the same size. It comes in good colors though.
Hobbii Rainbow Cotton 8/8 is what I used last summer 2024 when I made one for my friend’s kid and it’s actually cotton so it’s washable which matters if a toddler is gonna drool on it or whatever. It’s not as soft as the chenille yarns but it holds up better.
Red Heart Super Saver doesn’t work for this in my opinion. It’s too thin and the texture is wrong. You could probably double strand it but that seems annoying.
Common Problems and How to Fix Them
If your increases are making the work ruffle or wave you’re probably increasing too much. Count your stitches every few rounds to make sure you’re on track. I use stitch markers at the beginning of each round which helps a lot.
If you’re getting a point at the top or bottom instead of a smooth curve you might be working too tight or your increases aren’t distributed evenly. Try to space them out around the whole round instead of stacking them.
When the stuffing shows through the stitches it means either your tension is too loose or you’re using a hook that’s too big for the yarn. Go down a hook size and see if that fixes it. With Bernat Blanket I found that a 6mm hook works better than the 9mm they recommend on the label for keeping the fabric tight.
Seaming Issues
The seam where you sew on the belly patch or ears can look messy if you’re not careful. Use the same color yarn as the piece you’re attaching and take small stitches. Ladder stitch is invisible if you do it right but whip stitch is faster and usually good enough.
I always leave long tails when I finish a piece specifically so I can use that yarn to sew it on. Weaving in ends on chenille yarn is the worst though because it doesn’t grip well and wants to pull back out.
Sizing and Proportions
Real Squishmallows come in specific sizes like 8 inch, 12 inch, 16 inch etc. To match those you need to do some math based on your gauge but honestly I just eyeball it most of the time. A 12 inch one takes me about 60 stitches at the widest point with bulky yarn.
The proportions are kinda squat like they’re wider than they are tall. So if you measure across the middle it should be bigger than the height from bottom to top. I’d say the ratio is like 1.2 to 1 or something? Don’t quote me on that.
Alternative Construction Methods
Some people make these in two halves and sew them together at the equator which gives you a flatter look that’s more accurate to the real thing. I’ve never done it that way because it seems like more work but it does let you add the belly patch between the two halves which might look cleaner.
There’s also patterns that work in rows instead of rounds to make an oval shape but then you have a seam running around the whole thing which you gotta hide. Seems more complicated than just working in the round to me.
Making Specific Characters
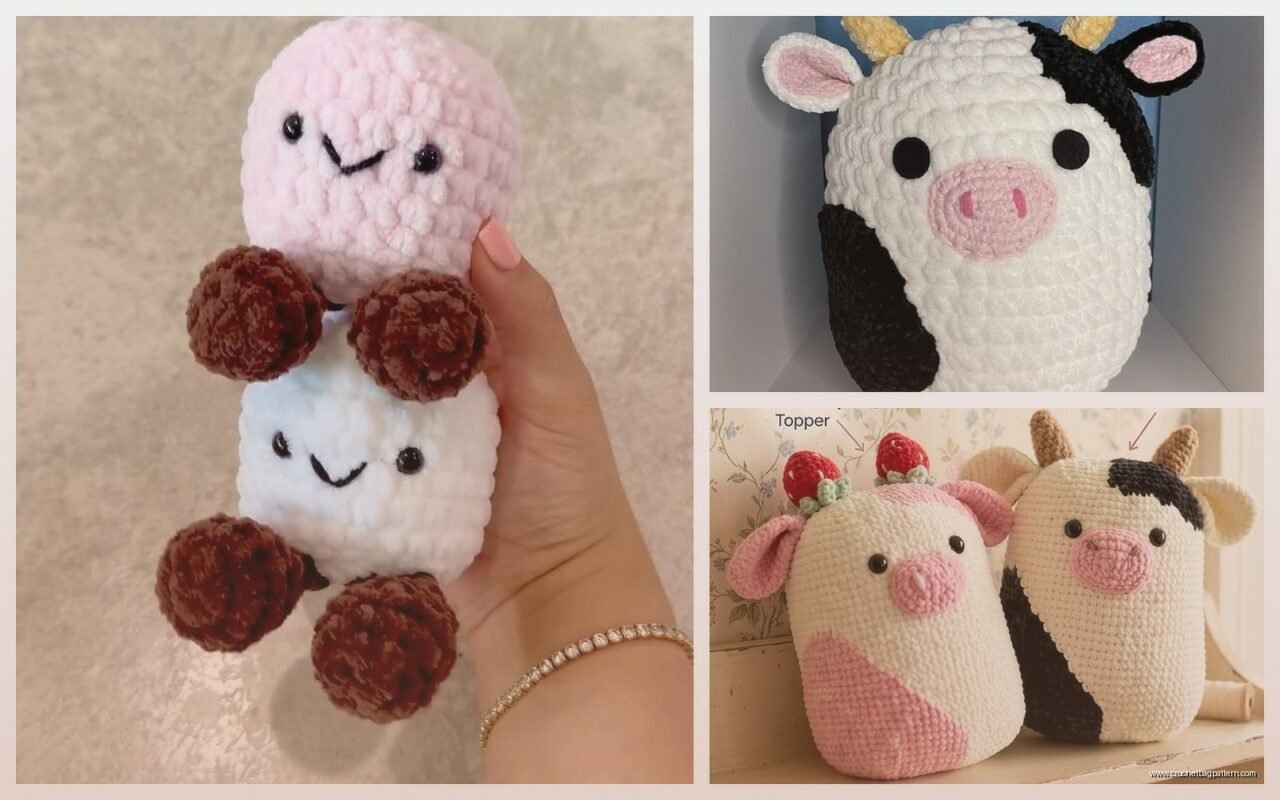
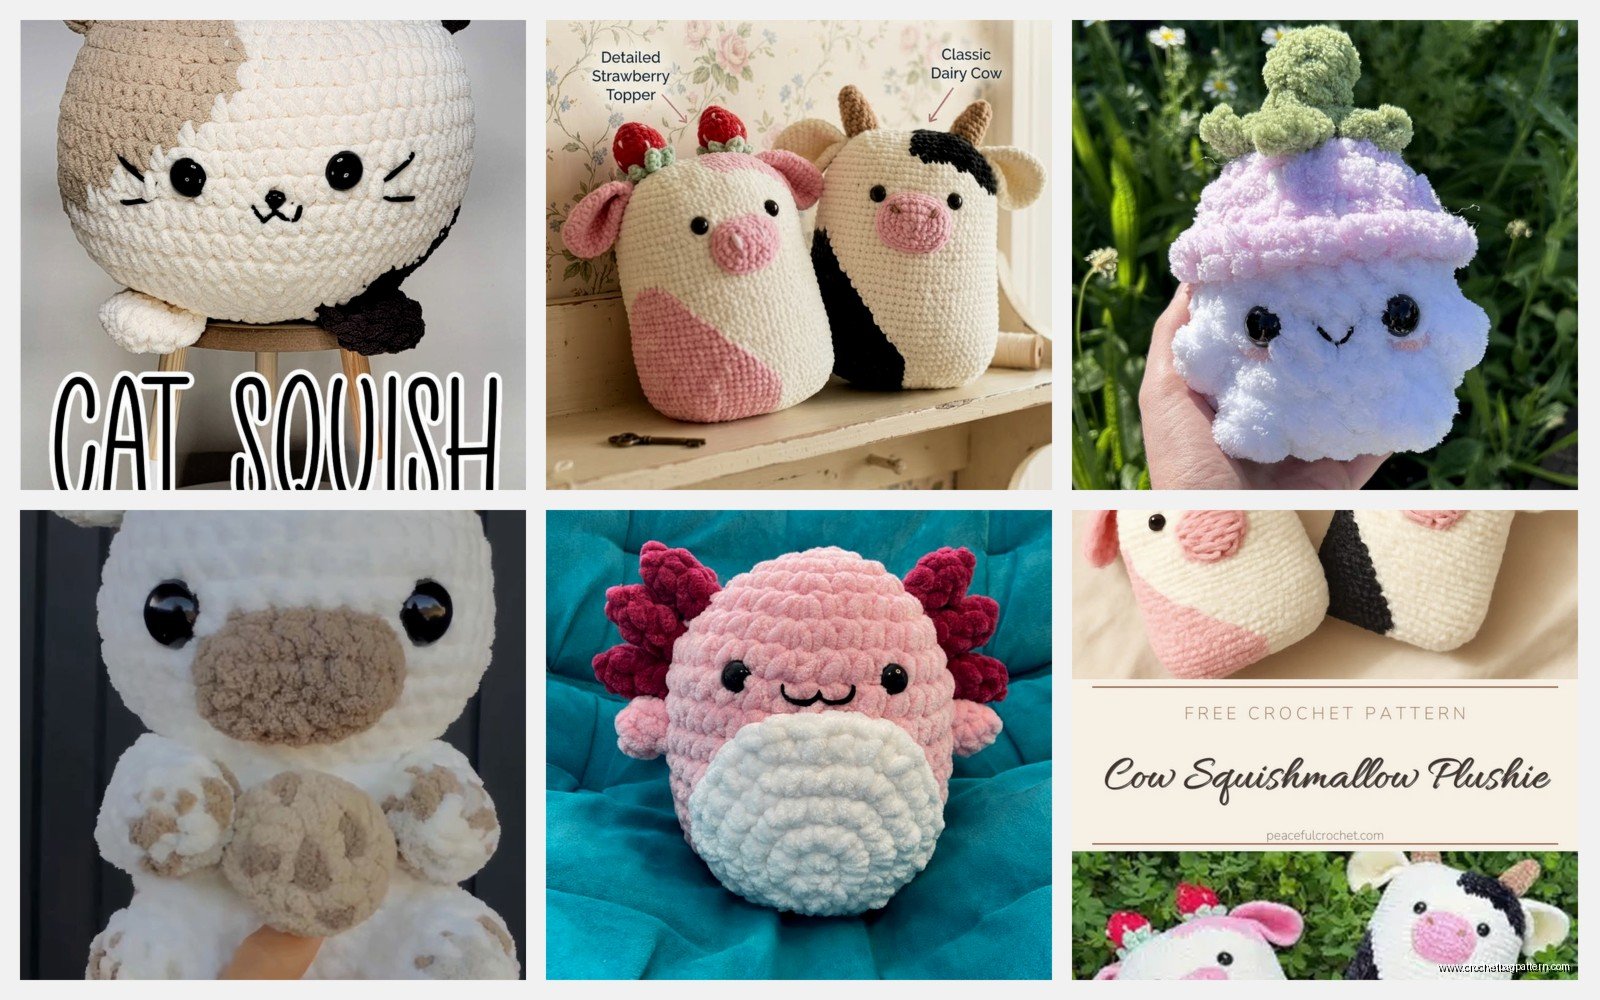
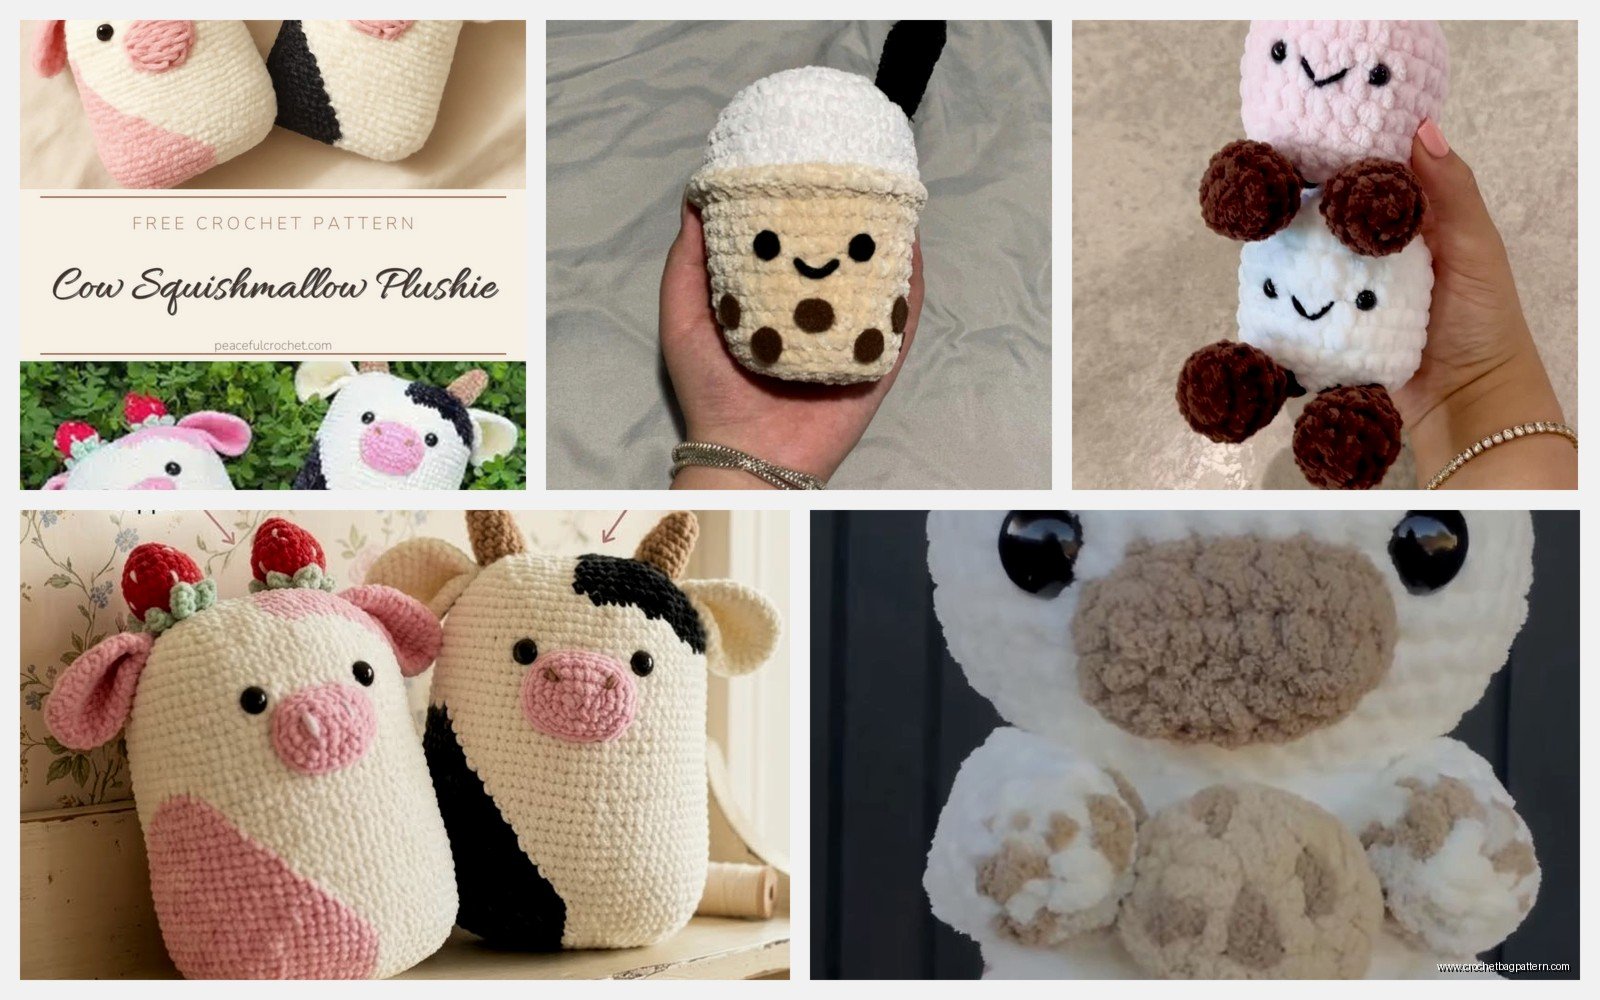
If you wanna copy a specific Squishmallow the key is getting the color right and the distinguishing features. Like for the cow ones they have those black spots so you’d either embroider those on or crochet separate black patches and sew them on.
The dragon ones have spikes down the back which you can make with a row of triangle shapes sewn on. The unicorn has a horn which is just a cone and usually a rainbow mane made from multiple colors of yarn.
I made an axolotl-looking one once and the gills were just little tentacle shapes I attached to the sides of the head. Worked fine. Looked cute. That was summer 2024 actually and I used the Hobbii cotton in pink.
Time Investment Reality Check
A basic round Squishmallow with simple features takes me like 3-4 hours if I’m working steadily. More complex ones with multiple colors or lots of add-ons can take 6-8 hours. The stuffing and seaming takes longer than you’d think. Like the actual crocheting is maybe 60% of the time and the finishing is the other 40%.
If you’re slower or newer to crochet add more time obviously. My first one took way longer because I kept recounting stitches and second-guessing the shaping.
