
Jun
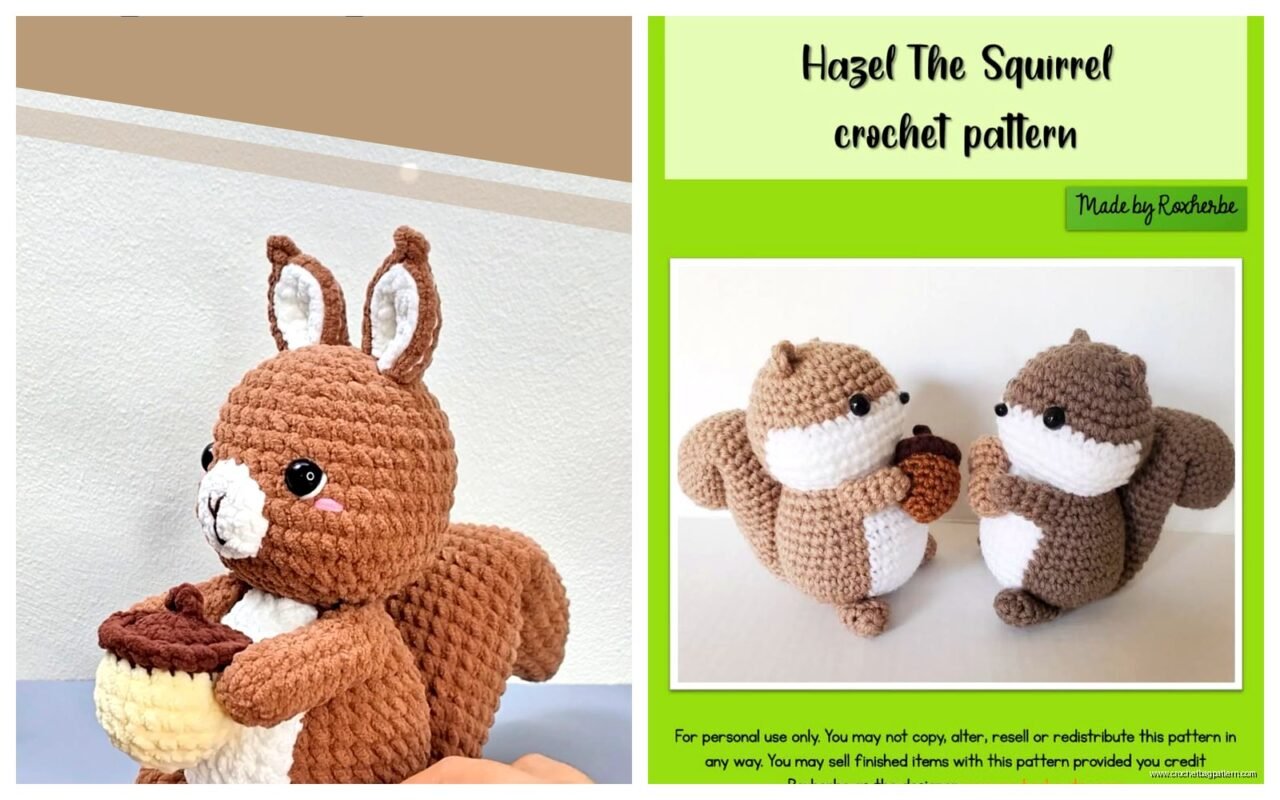
okay so squirrels are honestly one of the easier woodland animals to crochet once you get the tail situation figured out, which I’ll explain in a sec. I made my first one back in spring 2022 when I was supposed to be cleaning out my apartment but kept procrastinating, and it actually turned out pretty decent even though I had no idea what I was doing with the proportions at first.
The basic body shape is just an oval really. You’re gonna start with a magic ring, which if you don’t know how to do one just look it up because explaining it in text is impossible. I do 6 single crochets in the ring to start, then increase every other stitch for the next round to get 9 stitches. Then you keep going with strategic increases until you hit about 24 stitches around, depending on how chunky you want your squirrel.
For yarn I usually grab whatever’s at the craft store but I’ve had good luck with Red Heart Super Saver in that medium brown color, I think it’s called Cafe or Coffee or something? It’s scratchy but it holds up really well and squirrels should look a bit rough anyway. Lily Sugar’n Cream also works if you want a firmer squirrel that can stand up on its own, though that’s technically dishcloth yarn so it gives a different texture.
The Body Structure
You work the body from the bottom up usually. After you get your base circle of 24 stitches or whatever, you just single crochet around without increases for like 12-15 rounds. This creates the cylindrical body part. Then you start decreasing at the top to close it off into an oval shape. Stuff it with polyfill as you go because trying to stuff it after is annoying and you can’t get it even.
The head is basically the same process but smaller. Start with your magic ring, increase up to maybe 18 stitches, work straight for a bit, then decrease. The annoying thing about squirrel heads is getting the snout right because it needs to stick out a little but not too much or it looks like an anteater or something.
That Damn Tail Though
Okay so the tail is what makes it actually look like a squirrel and also what made me want to throw the whole project across the room multiple times. You want it fluffy and curved but not floppy. What I do now is make a long chain, like 25-30 chains depending on how big your squirrel is. Then you work back along the chain doing 3 single crochets in each chain stitch, which makes it ruffle up naturally.
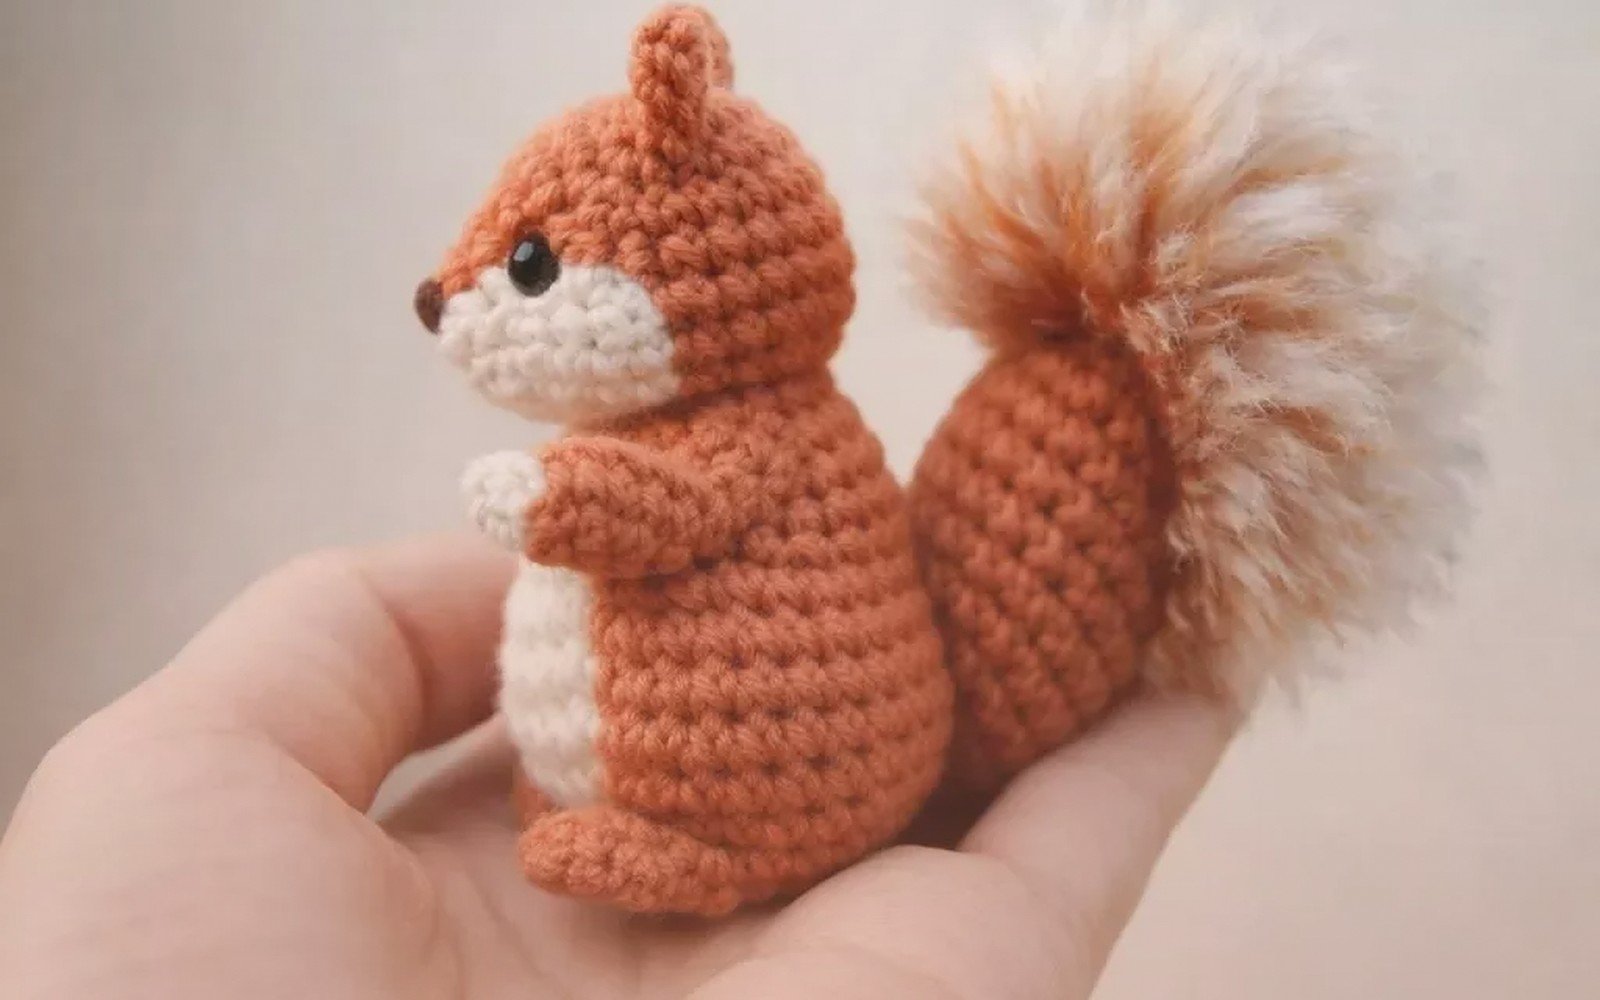
Some people do the tail flat and then sew it on, but I think working in the round makes it look more three-dimensional. You can also just make a really fat tube and stuff it with wire inside so you can pose it, which is what I did for the one in spring 2022. I used floral wire from the dollar store and it worked fine until my cat knocked it off the shelf and bent the whole tail at a weird angle.
The trick with the tail is attaching it at an upward angle on the back of the body. If you sew it on pointing down the squirrel looks dead or sad. You want that perky squirrel energy.
Legs and Arms
The limbs are pretty straightforward. For legs you make two little tubes, maybe 8 stitches around for 6-8 rounds. Stuff them lightly, don’t overstuff or they’ll look like sausages. Arms are even smaller, like 6 stitches around for 5-6 rounds. I usually don’t even stuff the arms fully, just the top part where they attach to the body.
You can make the feet by just doing a few increases at the bottom of the leg tube to make a flat oval shape. Or honestly sometimes I skip defined feet entirely and just sew the legs on at an angle so the squirrel is sitting. Depends on how much effort I’m willing to put in that day.
When you’re attaching limbs, use the same color yarn and a yarn needle. I go through the body and the limb multiple times in different spots to make sure it’s secure. Nothing worse than having an arm fall off because you were lazy with the sewing.
Face Details
For the eyes I use safety eyes, the 6mm or 8mm size usually. You gotta put these in before you close up the head completely because they have a washer that goes on the inside. I always forget this and have to undo rounds, it’s so annoying. Position them pretty close together and kind of high up on the head, not in the middle or the squirrel looks weird.
The snout thing I mentioned earlier, you can either crochet a tiny cone separately and sew it on, or you can embroider it with black or dark brown yarn. I usually just do a triangle of satin stitches for the nose and call it good. Some patterns tell you to make a whole separate muzzle piece but that seems like extra work for something that’s gonna be tiny anyway.
Ears are just tiny semicircles. Make a chain of 4, turn, increase across, turn, work even, turn, decrease. You’ll have a little ear shape. Make two obviously. Sew them on the top sides of the head. I fold them slightly when I attach them so they’re not totally flat against the head.
Color Choices and Variations
Brown is classic but you can make gray squirrels too. I used Caron Simply Soft in Gray Heather once and it looked pretty good, very soft and squishy. If you want to get fancy you can do the belly in a lighter color, like cream or tan. You’d just switch colors when you’re working the body rounds, carrying the yarn along the inside.
Red squirrels are also a thing, they’re more orangey-brown. I haven’t tried that yet but I bet Pumpkin or Carrot color would work. There’s also black squirrels which are just… black. Pretty straightforward there.
Holding an Acorn or Whatever
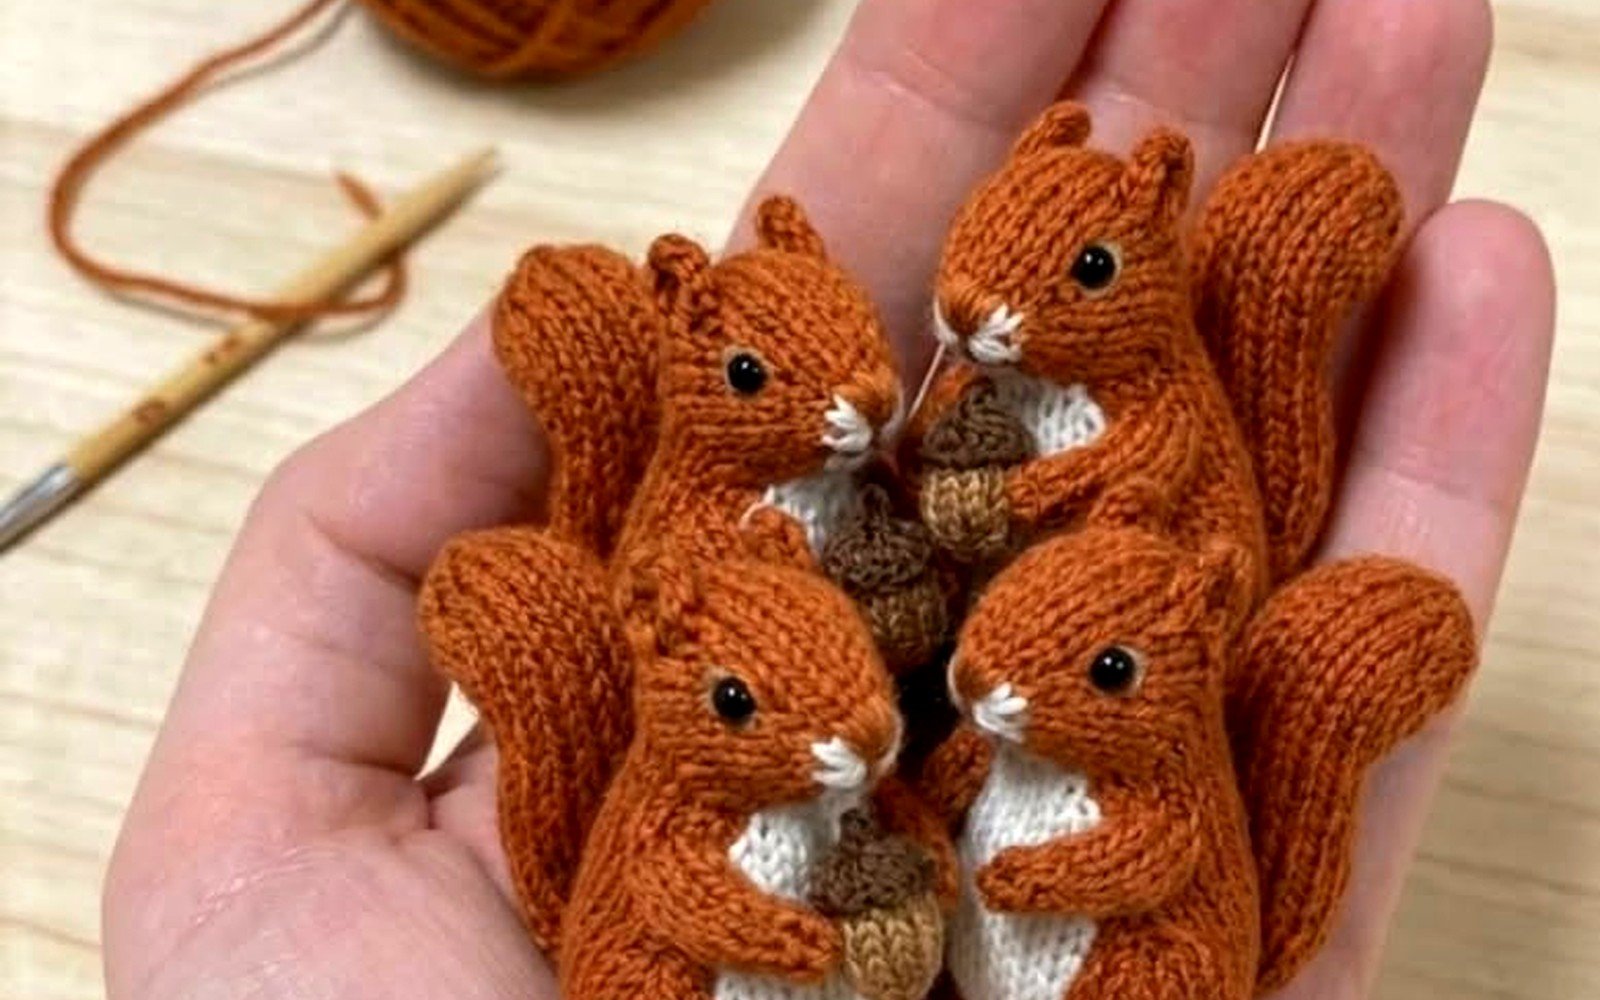
If you want your squirrel to hold something you need to make the arms positioned forward. The acorn is super easy, just a tiny oval in brown with a cap made in like dark green or brown. The cap is just a flat circle, maybe 5-6 stitches around for 2 rounds. You can sew the acorn into the arms before you attach the arms to the body, or use a tiny bit of hot glue if you’re not gonna give this to a kid.
I’ve seen people make tiny nuts, leaves, mushrooms, all kinds of woodland props. One time I made a squirrel holding a miniature coffee cup because I was watching too much Gilmore Girls and thought it was funny, but that’s not really woodland themed I guess.
Size Considerations
The hook size changes everything. I usually use a 3.5mm or 4mm hook with worsted weight yarn. Smaller hook makes tighter stitches which is good for amigurumi because you don’t want the stuffing showing through. But if you use a 5mm or bigger hook with the same yarn you’ll get a much bigger squirrel, more floppy though.
If you want a really tiny squirrel you can use sport weight yarn or even thread with a tiny hook. I tried this once with some Aunt Lydia’s crochet thread and a 2mm hook and my hands cramped up so bad I had to stop. It looked cute but not worth the pain.
Assembly Order Matters
Do the body and head first, stuff them, then sew the head onto the body before you attach anything else. This gives you a base to work with. Then add the tail because it’s the biggest piece and you need to see how it balances. After that do the legs, then the arms, then the ears, then add the face details last.
If you do it in a different order you might end up with limbs in weird positions or the head tilted wrong. I learned this the hard way when I attached arms first once and then couldn’t get the head to sit straight because the arms were in the way.
The Annoying Part Nobody Talks About
Weaving in ends is the worst part of any amigurumi but especially squirrels because you’ve got so many separate pieces. Every single piece has at least two ends, sometimes more if you switched colors. I usually have like 20+ ends to weave in by the time I’m done with a squirrel.
I use a yarn needle and weave them through the inside of the piece, then back through a different direction, then trim close. Some people say to tie knots but I don’t usually bother unless it’s a high-stress area like where the tail attaches.
Making It Look Less Lumpy
Even tension is key but I’m not gonna pretend I’m good at this. My stitches are all over the place usually. What helps is using a consistent hook size and not crocheting too tight when you’re tired or frustrated. If you crochet angry your squirrel will look pinched and weird.
Blocking doesn’t really work on stuffed amigurumi but you can kind of massage the pieces into shape as you stuff them. Press the stuffing down evenly and add more in spots that look dented. Sometimes I’ll unstuff and restuff sections if they look really bad.
Pattern vs No Pattern
You can totally make a squirrel without a written pattern once you understand the basic shapes. It’s just ovals and tubes and circles really. I never follow patterns exactly anyway, I just use them as a starting point and then change stuff based on how it’s looking.
If you do want a pattern there’s a bunch on Etsy and Ravelry. Some are free, some cost like $3-5. The paid ones usually have better photos and more detailed instructions but honestly the free ones work fine if you already know basic amigurumi techniques.
Yarn Amounts
For one squirrel you need maybe 50-70 grams of the main color, less than 10 grams of any accent colors for the belly or whatever. This is assuming worsted weight yarn and a medium-sized squirrel, like 6-7 inches tall. If you’re making a bigger one obviously you’ll need more.
I usually buy one skein of the main color and that’s enough for 2-3 squirrels depending on tail size. Red Heart skeins are like 198 grams I think? So you get good value there.
Trouble Spots to Watch For
The neck area where the head meets the body can look wonky if you don’t sew it on right. I pin it first with regular pins to see how it looks from different angles before I commit to sewing. Sometimes rotating the head slightly makes a big difference in the expression.
The tail can be too heavy and pull the squirrel backwards. If this happens you need to add weight to the bottom, like put some poly pellets or beans in the base of the body before you close it up. Or just lean it against something, that works too.
Arms that are too long look like monkey arms. Keep them proportionally short, like they should barely reach past the body when positioned down.
Getting both ears the same size is harder than it should be. I make them both at the same time, alternating rounds between them, so I can compare directly.
The thing that annoyed me most when I made that spring 2022 squirrel was that I didn’t leave long enough tails when I finished each piece, so I had barely any yarn to sew with and had to attach new pieces multiple times. Now I always leave like 12-15 inches for sewing, way more than you think you need.
You can add little details like embroidered claws on the feet, whiskers with fishing line or embroidery thread, shading on the tail with a darker color. I usually skip this stuff because I’m lazy but it does make them look more professional if you’re gonna sell them or give them as gifts.
The posing matters too. A squirrel sitting upright with its tail curved over looks very different from one on all fours with the tail straight back. Think about what pose you want before you start attaching limbs because it affects the angles.
