
Jun
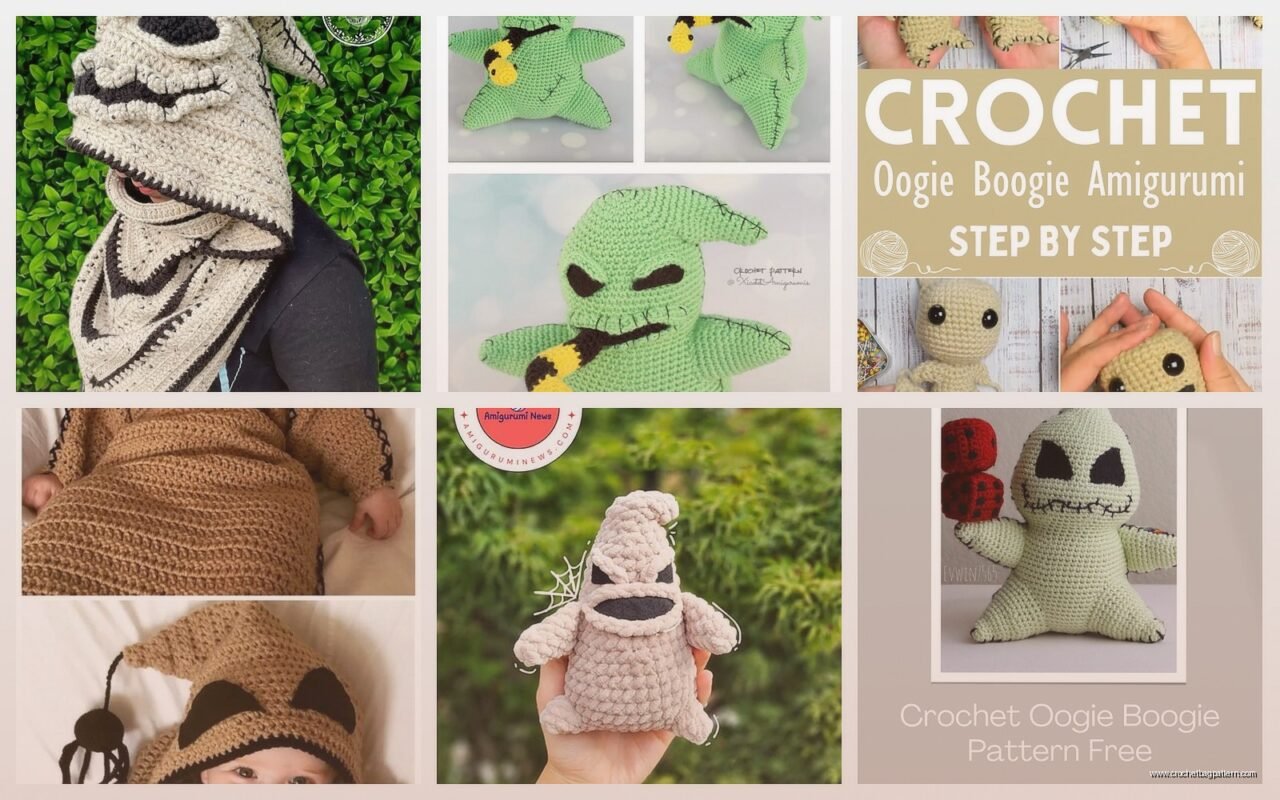
Getting Started With Your Oogie Boogie
So I made my first Oogie Boogie last October 2023 when I was binge-watching The Great British Baking Show and honestly it kept me sane because I’d just moved apartments and everything was chaos. The pattern itself isn’t super difficult but there are some weird parts that nobody really warns you about.
First thing you gotta know is that Oogie is basically a burlap sack with a face, right? So you’re gonna need a textured yarn that looks kinda rough and sack-like. I used Lion Brand Homespun in a color called Barley which worked pretty well but honestly any bulky yarn in a tan or cream color works. Some people use Red Heart Super Saver in Aran which is cheaper and actually looks more burlap-ish because it’s less fuzzy. The Homespun was annoying to work with though because you can’t see your stitches very well and I kept losing count.
Yarn and Materials You’ll Need
For the main body I’d say get like 2 or 3 skeins depending on how big you want him. I made mine about 12 inches tall and used almost 2 full skeins of the Homespun. You also need black yarn for the mouth stitching and the eyes – I just used some Caron Simply Soft in Black that I had laying around. For the bugs you need small amounts of different colors. I did mine in neon green, hot pink, and orange using Red Heart Super Saver scraps.
Hook size depends on your yarn but I used a 6.5mm hook with the bulky weight. Some patterns call for stuffing him really firm but I actually like him a bit squishy so he’s more huggable. Poly-fil works fine, nothing fancy needed there.
The Basic Body Shape
The body is basically just a big oval or potato shape. You start with a magic ring and work in continuous rounds, increasing until you get to the widest part, then you work even for a while, then decrease. It’s the same construction as like… a basic amigurumi egg or something.
I started with 6 single crochet in the magic ring, then increased every other stitch in round 2 to get 9 stitches. Then round 3 I did increases every third stitch. The pattern I loosely followed said to keep increasing until you have about 45 stitches but honestly I just eyeballed it until it looked big enough. This is where working with that textured yarn gets annoying because you really can’t see what you’re doing half the time.
Once you hit your maximum width you just work even in single crochet for like 20-25 rounds. I watched probably 4 episodes of Baking Show during this part because it’s just mindless sc around and around. My cat kept trying to steal the yarn ball which didn’t help.
Shaping the Top
The top of Oogie’s head is kinda pointed and floppy, not rounded like the bottom. So when you start decreasing you want to do it faster than you increased. I decreased every 4th or 5th stitch for a few rounds, then every 3rd stitch, then every other stitch at the very top. Before you close it up completely you gotta stuff him obviously.
The stuffing part is where I got annoyed because the Homespun yarn stretches weird and you can see the white stuffing through the stitches if you’re not careful. I ended up using way more stuffing than I thought I’d need to make sure it didn’t look lumpy or show through. Some people line the inside with fabric first but that seems like too much work honestly.
The Face Details
Okay so Oogie’s face is what makes him recognizable. He’s got those stitched features that look like they’re sewn onto burlap. For the mouth you want to use black yarn and do long straight stitches to create that zigzag stitched smile. I used a yarn needle and just went through the body, making each stitch about half an inch long or whatever looks right to you.
The mouth is a curved line with perpendicular stitches crossing it. I did the main curve first – just imagine a smile shape – then went back and added the crossing stitches. They don’t have to be perfectly even because burlap stitching wouldn’t be perfect either. Mine are definitely wonky in places but it kinda adds to the handmade sack vibe.
For the eyes I crocheted two small circles in black. Just magic ring with 6 sc, then increase to 12 sc, fasten off. Sew them on above the mouth. They should be kinda far apart and uneven if you want him to look more creepy and less cute. I also added a tiny white highlight to each eye using white embroidery floss which I think makes a difference but you could skip that.
The Bugs Problem
Here’s the thing that really annoyed me about making Oogie – the bugs. In the movie he’s full of bugs and most patterns want you to make like a dozen tiny crocheted bugs to attach to him. Each bug is small and fiddly and takes way longer than it should.
I made mine using simple shapes. For the worm-looking ones I just chained like 15 stitches and slip stitched back down the chain in a spiral. For the rounder bugs I did tiny circles similar to the eyes but in bright colors. I made maybe 8 bugs total and honestly that felt like too many. They’re supposed to be crawling out of him or sitting on his body.
The real pain is attaching them because you want some to look like they’re emerging from inside him which means you gotta partially sew them into the seams or push them partway into the body. I ended up just sewing most of mine flat against the surface because I was over it by that point and needed to finish.
Optional Add-Ons
Some people make dice to go with him since he’s a gambling man in the movie. I didn’t bother with that but if you want to you’d just make small white cubes and embroider black dots on them. Probably 1-inch cubes would be the right scale.
Arms are also optional. The character doesn’t really have distinct arms, more like his whole sack body moves around, but some patterns include little tube arms. I made stubby arms by crocheting two small tubes – chain 4, join, then sc around for like 10 rounds. Stuff them lightly and sew them to the sides. They’re pretty useless but they do make him look more character-accurate I guess.
I’ve seen people add burlap texture by literally gluing actual burlap fabric pieces onto the crocheted body which seems excessive but would definitely look cool. You could also use a textured stitch pattern instead of all single crochet – maybe the moss stitch or something bumpy – but that would make it take way longer and I was trying to finish before Halloween.
Color Variations
Traditional Oogie is that tan/beige burlap color but I’ve seen people do him in different colors. A friend made one in gray which looked kinda cool and spooky. You could also go lighter or darker with the tan depending on what yarn you can find. The important thing is that texture – you want it to look rough and sack-like not smooth and perfect.
The black stitching on the face needs to be pretty dark and visible though or he just looks like a blob. Make sure whatever color you choose for the body has enough contrast with black.
Size Adjustments
If you want a bigger Oogie just use thicker yarn and a bigger hook or add more increase rounds at the beginning. For a smaller one use thinner yarn – like worsted weight with a 4mm hook would probably give you a 6-inch version. The proportions stay basically the same you’re just scaling everything.
I kinda want to make a giant one eventually using like super bulky yarn and a 10mm hook but that would take forever and so much stuffing. Would be cool as a Halloween decoration though, just sitting in a corner looking creepy.
What I’d Do Differently
If I made another one – which I probably will because my nephew already asked for one – I’d use a different yarn. The Homespun was pretty but too fuzzy and hard to work with. Next time I’m gonna try that Red Heart Super Saver in Aran or maybe even hold two strands of a thinner yarn together to get the bulk without the fuzziness.
I’d also make fewer bugs or maybe just embroider bug shapes onto the body instead of making separate ones. The 3D bugs kept falling off anyway because my cat thought they were toys. Actually one of them is still missing, pretty sure it’s under the couch.
The other thing is I’d probably use safety eyes instead of crocheted circles for the eyes because they’d be more secure and look more… I don’t know, more finished? But then again the crocheted ones match the handmade vibe better so maybe not.
Common Issues
The biggest problem people seem to have is getting the shape right. If your increases are too fast he’ll be too round and ball-like. If they’re too slow he’ll be tube-shaped. You want that potato-sack oval shape so just try to visualize a burlap sack and adjust as you go.
Another issue is the face placement. I put mine too low at first and he looked weird so I had to redo it. The eyes should be in the upper third of the body and the mouth below that but not at the very bottom. Take a picture of your work and look at it on your phone – that helps you see if the proportions are off.
If your stitches are too loose and the stuffing shows through you can either crochet tighter, use a smaller hook, or double up your yarn. Or just embrace it and call it part of the burlap texture aesthetic.
Time Investment
The body itself took me maybe 3 hours spread over two evenings. The face details and bugs took another 2 hours. So total maybe 5 hours for the whole thing? Could be faster if you’re not watching TV and getting distracted or if you skip some of the bugs.
It’s definitely a manageable project for a weekend if you have the time. Not super quick but not one of those month-long commitment projects either.
Final Thoughts On The Pattern
There isn’t really one official pattern that everyone uses. I cobbled mine together from like three different patterns I found online plus some stuff I just made up. The nice thing about Oogie is he’s supposed to look rough and handmade anyway so if your stitches aren’t perfect or the bugs are wonky it actually works with the character.
Just start with the basic body shape, add the face details, throw on some bugs, and you’re basically done. Don’t overthink it too much or it stops being fun and starts feeling like work. Mine turned out kinda lopsided but everyone who saw it knew exactly who it was supposed to be so that’s what matters.
The whole project cost me maybe $15 in yarn since I already had most of the colors I needed. Even if you buy everything new you’re looking at under $25 which isn’t bad for a handmade Halloween decoration that you can use year after year.