
Jun
Getting Started With Your Jack Skellington
So I made my first Jack Skellington back in spring 2022 when I was rewatching the movie for probably the hundredth time and just thought why not, right? The pattern itself isn’t actually that hard but you gotta be comfortable with making a basic amigurumi body shape first or you’re gonna have a rough time.
First thing you need is the right yarn. I used Lily Sugar’n Cream in white for the head and body because it was what I had around, but honestly any worsted weight cotton works fine. For the black pinstripes on his suit I grabbed some Red Heart Super Saver in black. The Sugar’n Cream has a nicer texture but Super Saver is cheaper and you don’t need much for the stripes anyway so whatever you prefer. Some people use acrylic for the whole thing which is totally fine, just makes it a bit more… plasticky? But it holds up better if you’re making it for a kid who’s gonna drag it around.
Yarn and Hook Sizes
You’ll want a 3.5mm or 4mm hook depending on how tight you crochet. I use a 3.5mm because I crochet pretty loose naturally and if you go too big the stuffing shows through which looks weird on white yarn especially. Get some poly-fil stuffing, the cheap stuff from Walmart works just as good as the fancy brands honestly.
For the eyes you can either crochet little black circles or use felt which is what I did because I was watching The Office while making this and just wanted to get it done faster. Safety eyes look wrong on Jack, too shiny and perfect when his eyes should be those hollow socket things.
The Head Shape
Start with a magic ring, 6 sc in the ring. This is gonna be the top of his head. Then you do the standard increase rounds – 12, 18, 24, 30, 36 stitches. I usually go up to about 42 or 48 stitches depending on how big I want the head. Jack’s head is kinda elongated though not perfectly round so you work straight without increases for like 15-20 rounds.
Here’s the thing that annoyed me SO much about making Jack – his head shape is really specific and if you stuff it wrong it looks like a regular snowman or just a blob. You have to understuff it slightly and then shape it as you decrease. I frogged the head three times before I got it right because I kept making it too round.
When you start decreasing, don’t decrease as fast as you increased. Do it gradually. Like maybe decrease every other round instead of every round, and really pay attention to the shape. His face should be sort of oval, longer than it is wide. I actually looked at screenshots from the movie on my phone while I was shaping it which helped.
The Face Details
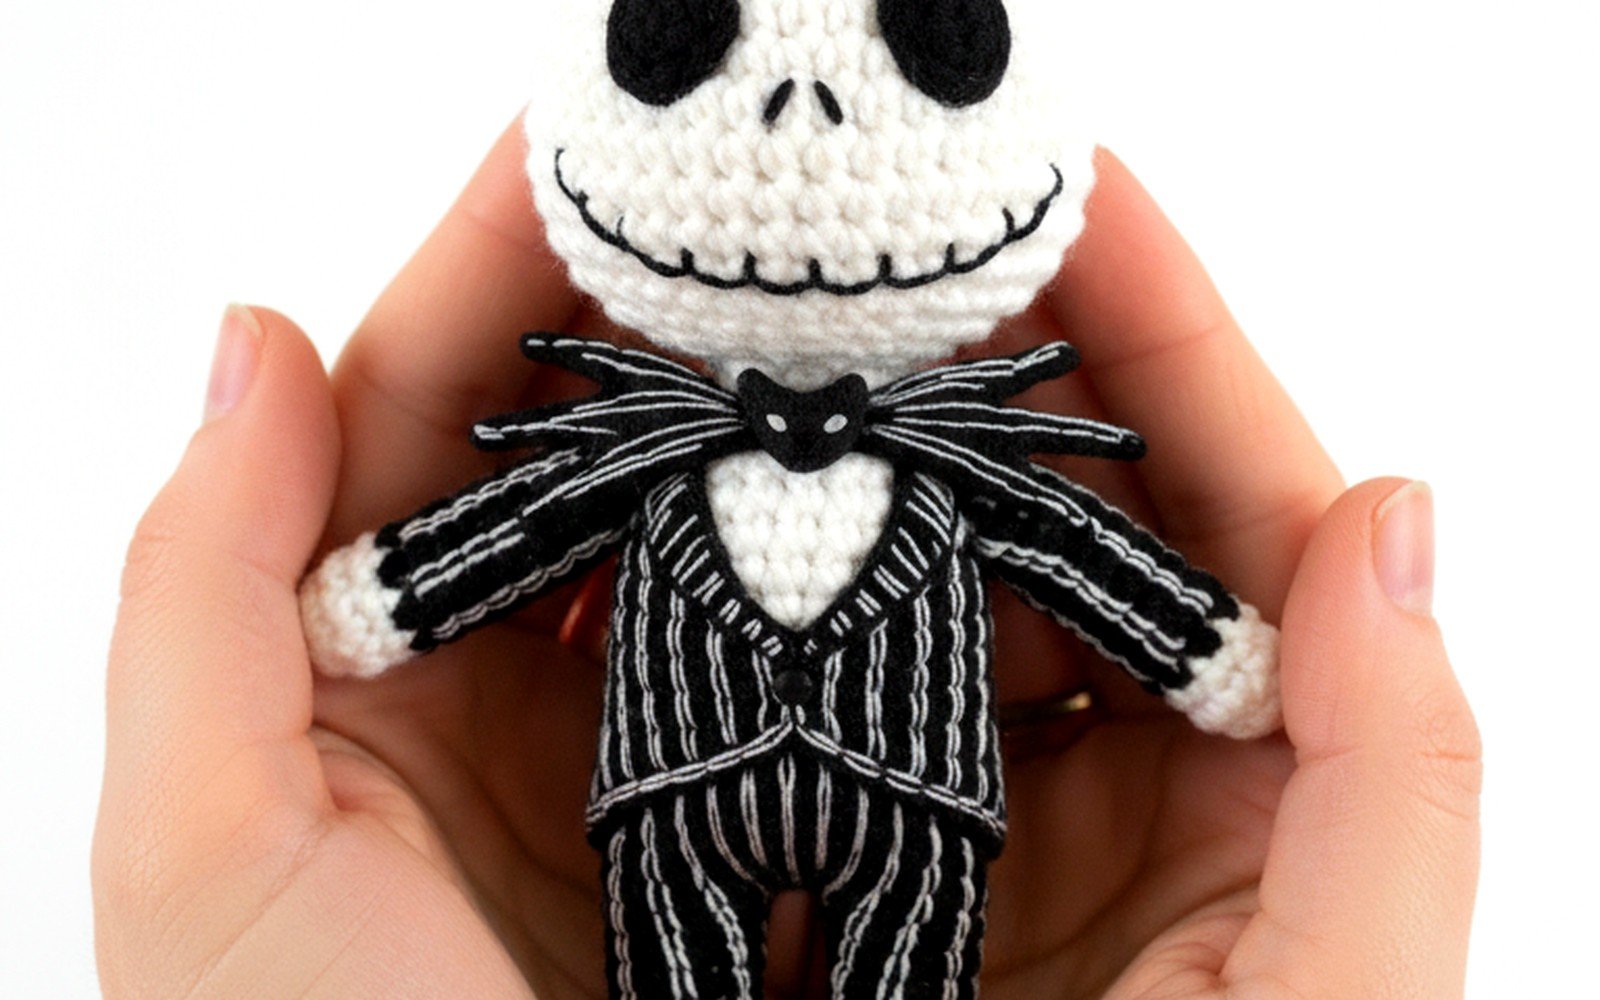
The eye sockets are just black felt circles, pretty big ones. I cut them freehand which probably wasn’t smart but they turned out okay. You want them to take up a good portion of the face because Jack’s eyes are HUGE. Some patterns tell you to embroider them but cutting felt is faster and looks cleaner in my opinion.
For the mouth you gotta embroider it with black yarn. His smile is stitched on, that’s literally part of his character design. I used a backstitch to make the lines clean. Start wide at the sides and curve it up. The stitches should be pretty visible and chunky, not delicate or small. He’s got that rough sewn-together look.
The nose is two small vertical stitches, really simple. Don’t overthink it.
Body and Suit
The body is basically the same as the head – magic ring, increase up to whatever width matches your head, then work straight for the torso length. I made mine about the same height as the head maybe slightly shorter.
Now the pinstripes are where it gets fiddly. You can either crochet them in as you go using the tapestry method or you can add them after with surface crochet or embroidery. I did surface crochet because switching colors while crocheting in the round makes me want to throw the whole project across the room, too many ends to weave in.
For surface crochet you basically insert your hook through the stitch, pull up a loop of black yarn, then insert into the next stitch down and pull through both loops. It makes a chain on the surface. Do vertical lines down the body spaced evenly apart. I did like 6 or 7 lines around the whole body? Didn’t count exactly just eyeballed it.
Arms and Legs
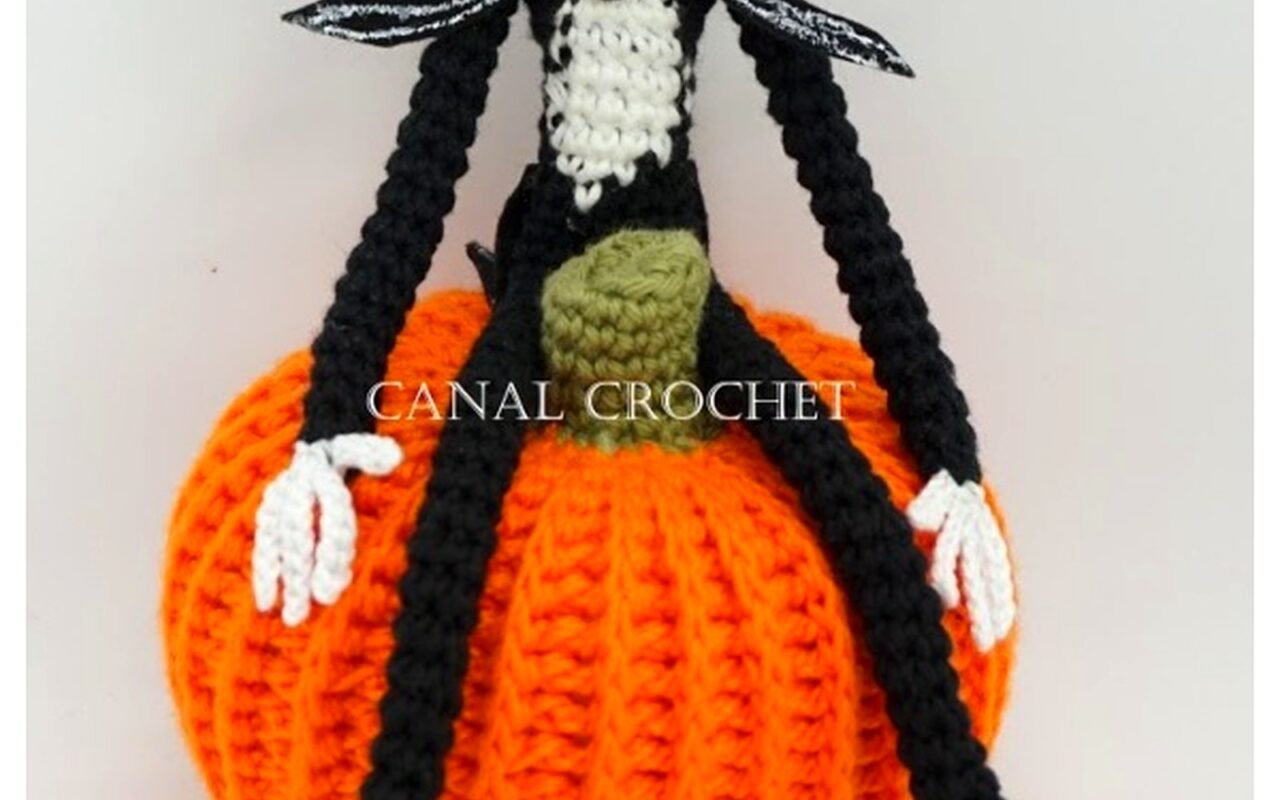
Arms are long and skinny. Start with 6 sc in a magic ring and just work straight for like 20-25 rounds. Don’t increase at all except maybe add a few stitches at the end for a hand shape if you want. I made little thumb nubs by chaining 3 and slip stitching back down. His hands are in that movie are kind of… they’re expressive but simple, you know what I mean?
Legs are the same deal but you might want to make them slightly thicker, so maybe start with 8 sc instead of 6. At the bottom make a simple foot by working a few rounds in an oval shape. Or just leave them as tubes, honestly he’s a skeleton man in a suit, it doesn’t have to be anatomically correct.
My cat kept trying to steal the stuffing while I was working on the limbs which was super annoying, I had to keep everything in a bag between sessions.
Assembly Is The Worst Part
Okay so you’ve got all your pieces and now you gotta sew them together. Use the same yarn you crocheted with and a yarn needle. I pinned everything in place first with regular sewing pins to see how it looked before committing.
Attach the head to the body with a whip stitch or ladder stitch, whatever you’re comfortable with. Make sure it’s centered and secure because the head is heavy and you don’t want it flopping around. I actually put a little cardboard circle between the head and body for stability which isn’t in most patterns but it helps.
Arms attach at the shoulders, angled slightly forward so he looks like he’s gesturing. Legs attach at the bottom of the body. The proportions are kinda weird on Jack – his limbs are long and thin compared to his body, very Tim Burton style. If it looks slightly awkward that’s actually correct.
The Bat Bow Tie
You can skip this if you want but the bat bow tie is pretty iconic. It’s basically just a small black bat shape. I crocheted a flat oval for the body, added two small triangular wings on the sides using increases and decreases, and two tiny triangle ears at the top.
The pattern I loosely followed had you make it way too complicated with like specific stitch counts but honestly just wing it – make a blob with wings and it’ll read as a bat. Sew it onto the neck area where a bow tie would go.
Or you could cut it from felt which would probably look just as good and take five minutes instead of an hour, now that I think about it…
Variations and Fixes
If your Jack looks too short and round, make the head and body taller by working more straight rounds before decreasing. If he’s too floppy, use a smaller hook or add some wire armature in the limbs though that makes it not safe for kids.
Some people make his whole suit with the pinstripes crocheted in using black and white yarn held together or alternating, but that seems like a nightmare to me. The surface crochet method is way easier even if it’s not perfect.
You can also make Sandy Claws outfit Jack if you use red and white yarn and make the body coat-shaped, but I haven’t tried that yet. Might do it this year actually since it’s been a while.
Sizing Issues
The finished size depends entirely on your yarn weight and hook size obviously. With worsted weight and a 3.5mm hook mine came out to about 12 inches tall. If you want a bigger one use a chunkier yarn and bigger hook. If you want a smaller one use sport weight or DK yarn with a smaller hook.
Just keep all the proportions the same relative to each other – head should be roughly equal to body length, limbs should be long and skinny, you get it.
Facial Expression Options
Jack has different expressions throughout the movie so you could technically make him with different faces. The classic smile is easiest and most recognizable. You could do the confused face with the curved line mouth or the excited face with the mouth open.
I stuck with the smile because it’s what people expect and it’s the simplest to embroider. The open mouth would require some 3D shaping or appliqué which is more work than I wanted to deal with.
Some patterns include his eyebrows but I left them off because they’re not always visible in the movie and I thought it looked cleaner without them. Your choice though.
Common Mistakes
Making the head too round instead of oval is the big one I already mentioned. Also making the limbs too thick – they should be noticeably thinner than the body or it doesn’t look right.
Another thing is the pinstripes. If you make them too close together it looks busy and weird. Space them out evenly, less is more. I’ve seen people do like 12 stripes all the way around and it just looks cluttered.
Not stuffing firmly enough makes him floppy and sad looking. But overstuffing makes the stitches stretch and you can see the stuffing through the gaps especially with white yarn. It’s a balance.
Yarn Ends
Weave in your ends really well especially on the white parts because they show through if you don’t. I use the Russian join method when possible to avoid ends in the middle of pieces but for color changes you just gotta suck it up and weave them in properly.
Black ends on the white body show through the stitches sometimes which is annoying, so I weave them in on the inside and make sure they’re really secure and trimmed close.
Alternative Methods
You could make Jack with a wire armature inside so he’s poseable which would be cool for display. Just thread some craft wire through the limbs and body before you close them up and stuff around it. Makes him less huggable but more decorative.
There’s also patterns for flat Jack ornaments or appliqués if you don’t want to do the full 3D version. Just make a flat gingerbread-man shaped piece with the face embroidered on. Way faster but less impressive.
I’ve seen people make giant versions like 3 feet tall using super bulky yarn which looks amazing but would take forever and so much stuffing.
Display and Care
If you used acrylic yarn you can wash him in a lingerie bag on gentle cycle and air dry. Cotton yarn like the Sugar’n Cream might shrink or get misshapen so I’d hand wash only or just spot clean.
He makes a good decoration for Halloween obviously but also for Christmas since the movie is both. I keep mine out from October through December usually.
The black felt eyes might fade over time if he’s in direct sunlight so keep that in mind if you’re displaying him in a window or something.
Time Investment
The whole thing took me maybe 8-10 hours spread over a few days? Could probably do it faster now that I know what I’m doing but the first time there was a lot of trial and error especially with the head shape.
If you’re efficient and don’t frog stuff multiple times like I did you could probably finish in an afternoon and evening. The limbs go really fast since they’re just tubes.
Anyway that’s basically everything I learned from making Jack. He’s a fun project if you like the movie and want something a bit different from the usual amigurumi animals. Not gonna lie the pinstripes are tedious but the end result is worth it when you’ve got this creepy cute skeleton sitting on your shelf.
