
Jun
Getting Started With Your Dolphin
So the dolphin pattern is actually way easier than it looks but you gotta start with the right hook size because I made one back in spring 2022 and used a 3.5mm hook with worsted weight yarn and the whole thing came out looking like a weird lumpy whale instead of a dolphin. Not cute.
You want a 2.5mm or 3mm hook with DK weight yarn or sport weight. I used Hobbii Friends Cotton back then and it worked really well – comes in this nice grey-blue color that’s perfect for dolphins. The Paintbox Yarns Cotton DK also works if you can find it cheaper.
The Body Shape
Start with a magic ring. Do 6 single crochet into it, pull tight. Then you’re gonna increase every stitch for round 2 so you get 12 stitches total. Round 3 is sc, inc repeated around for 18 stitches. Keep going with this pattern – sc 2, inc for round 4 (24 stitches), sc 3, inc for round 5 (30 stitches).
Here’s the thing that annoyed me SO much – counting the stitches when you’re doing increases. I kept losing track around round 8 or 9 because my cat kept jumping on my lap and I’d have to start over. Use a stitch marker. Seriously. Those little plastic ones from the craft store work fine, don’t need anything fancy.
Once you hit about 36 stitches (that’s usually round 6 or 7 depending on your pattern), you work even for a while. This means just single crochet in each stitch around with no increases or decreases. The body should start looking like a tube. Work even for maybe 15-20 rounds depending on how long you want your dolphin.
Shaping the Nose Part
The snout or beak or whatever it’s called on a dolphin needs to taper. You’ll start decreasing gradually. Do a round of sc 4, dec around. Then sc 3, dec. The decreases should be invisible decreases if you want it to look smooth – insert hook in front loop only of first stitch, then front loop of next stitch, yarn over and pull through both loops, yarn over and pull through remaining loops.
I was watching that show Severance while making the head part and honestly the creepy vibes made me crochet tighter than usual which actually worked out because the head needed to be firm for stuffing.
Keep decreasing until you have like 12 stitches left, stuff the head firmly with polyfil, then decrease down to 6 and close it off. The nose should be rounded but pointy-ish. Not too pointy or it looks like a swordfish or… I don’t know, just keep it subtle.
The Tail Fin
This is where it gets tricky because the tail needs to be flat and horizontal, not vertical like a fish tail. Dolphins are mammals so their tails go sideways.
You make two identical pieces and sew them together. Chain about 10, turn, and work back across in single crochet. Then you shape it by doing increases on the ends and keeping the middle straight. So like: inc, sc 8, inc for the next row. Turn, inc, sc 10, inc. Keep going until it fans out into that classic dolphin tail shape.
Make two of these pieces. Put them together with wrong sides facing and single crochet around the edges to join them. Leave the straight edge open – that’s what you’ll attach to the body later.
When I made mine in 2022 I tried to make the tail in one piece and it just didn’t work, came out all twisted and weird looking. The two-piece method is definitely better even though it’s more work.
Flippers or Fins or Whatever
The side fins are pretty simple. Start with a magic ring, 6 sc. Round 2 do increases to get 12 stitches. Then work a few rounds even – maybe 3 or 4 rounds. After that you’re gonna start decreasing on one side only to make it taper to a point.
This is hard to explain without showing you but basically you work sc across half the stitches, then dec, then sc across the rest. Next round, sc across the same side but one less stitch before the decrease. Keep doing this until you have just a few stitches left and it comes to a point. Fasten off and leave a long tail for sewing.
Make two of these. They get sewn onto the sides of the body about a third of the way down from the head. Don’t put them too far back or the dolphin looks weird and unbalanced.
The Dorsal Fin
The fin on the back is basically a triangle. Chain 8 or so, turn and work back in single crochet. Each row you’ll decrease one stitch on each end until you’re down to 1 stitch. So it goes: turn, skip first stitch, sc 6, leave last stitch unworked. Turn, skip first, sc 4, leave last unworked. Keep going.
Some patterns tell you to make it curved but honestly a simple triangle looks fine and is way less annoying. Attach it to the back of the dolphin about halfway down the body, maybe slightly toward the tail end.
Assembly Is The Worst Part
Okay so you’ve got all your pieces and now you gotta put them together and this is where I always get frustrated because nothing lines up quite right the first time.
First stuff the body really well. Like more than you think you need. Understuffed amigurumi looks sad and floppy. I use Fairfield Poly-Fil from Walmart because it’s cheap and works fine.
Pin the tail onto the back end of the body. The tail should stick out horizontally – imagine the dolphin swimming and the tail needs to be perpendicular to the body. Sew it on with whip stitch or ladder stitch, whatever you prefer. I use whip stitch because I’m lazy and it’s faster.
The flippers go on the sides angled slightly downward. Pin them first, stand back and look at your dolphin from different angles to make sure they’re even. Nothing worse than wonky flippers. Sew them on securely.
Dorsal fin goes on top, pretty straightforward. Just center it and sew around the base.
The Face
Eyes are usually safety eyes. I use 6mm or 8mm black safety eyes, insert them before you finish stuffing the head. They should go on the sides of the head, not the front – dolphins have eyes on the sides. Place them maybe a third of the way back from the nose tip.
If you want to embroider a smile you can use black embroidery floss. Just a simple curved line on each side of the snout area. Don’t make it too big and goofy unless you’re going for that look I guess.
Some people add a blowhole on top of the head with a French knot or just a small indent. I usually skip this because you can’t really see it anyway once the dolphin is finished.
Yarn Colors and Variations
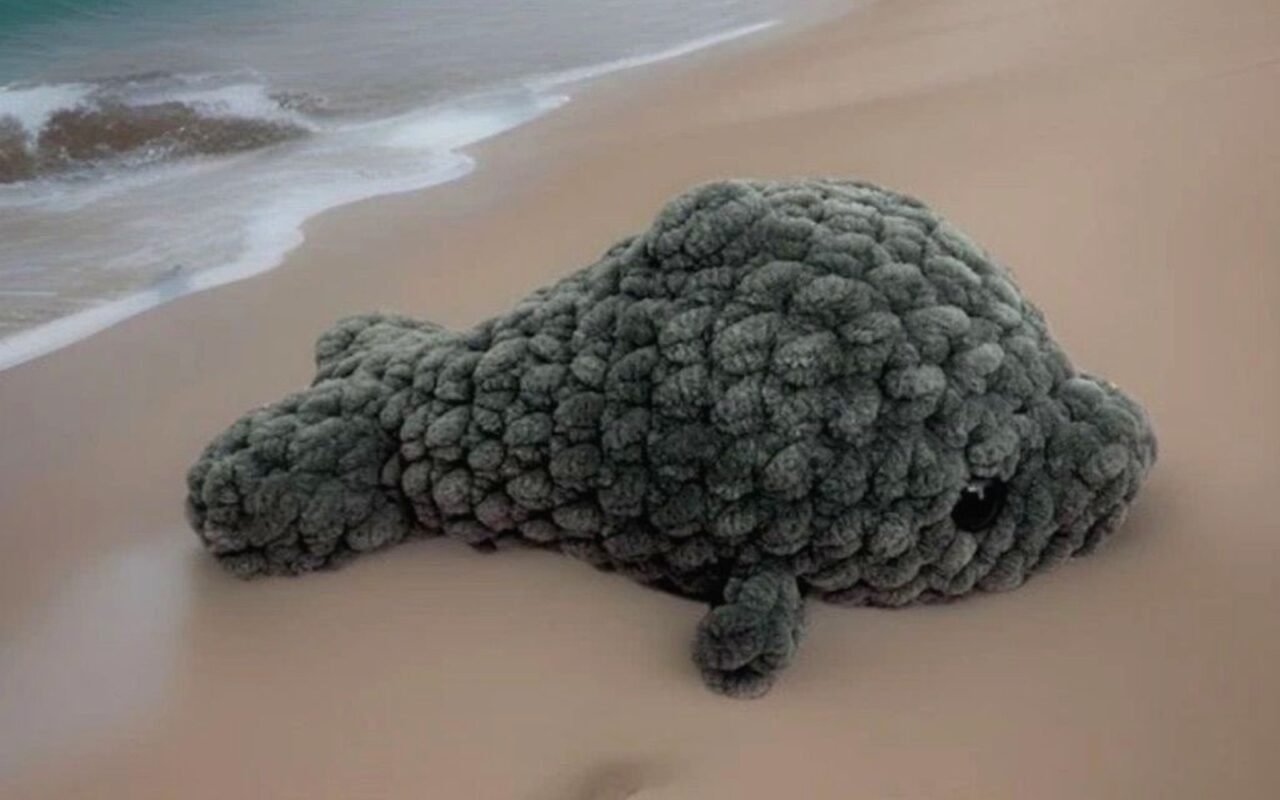
Classic dolphin is grey but you can do blue-grey or even that purplish-grey color. Aran weight Caron Simply Soft in Gray Heather works pretty well if you go up to a 3.5mm hook. I’ve also used Bernat Softee Baby in Grey Marl which is softer but sometimes splits while you’re working.
The belly should technically be lighter colored. You can switch colors partway through if you want to be accurate – work the bottom half of each round in white or cream. This means you’d need to know how to change colors invisibly mid-round which is kind of annoying but looks good.
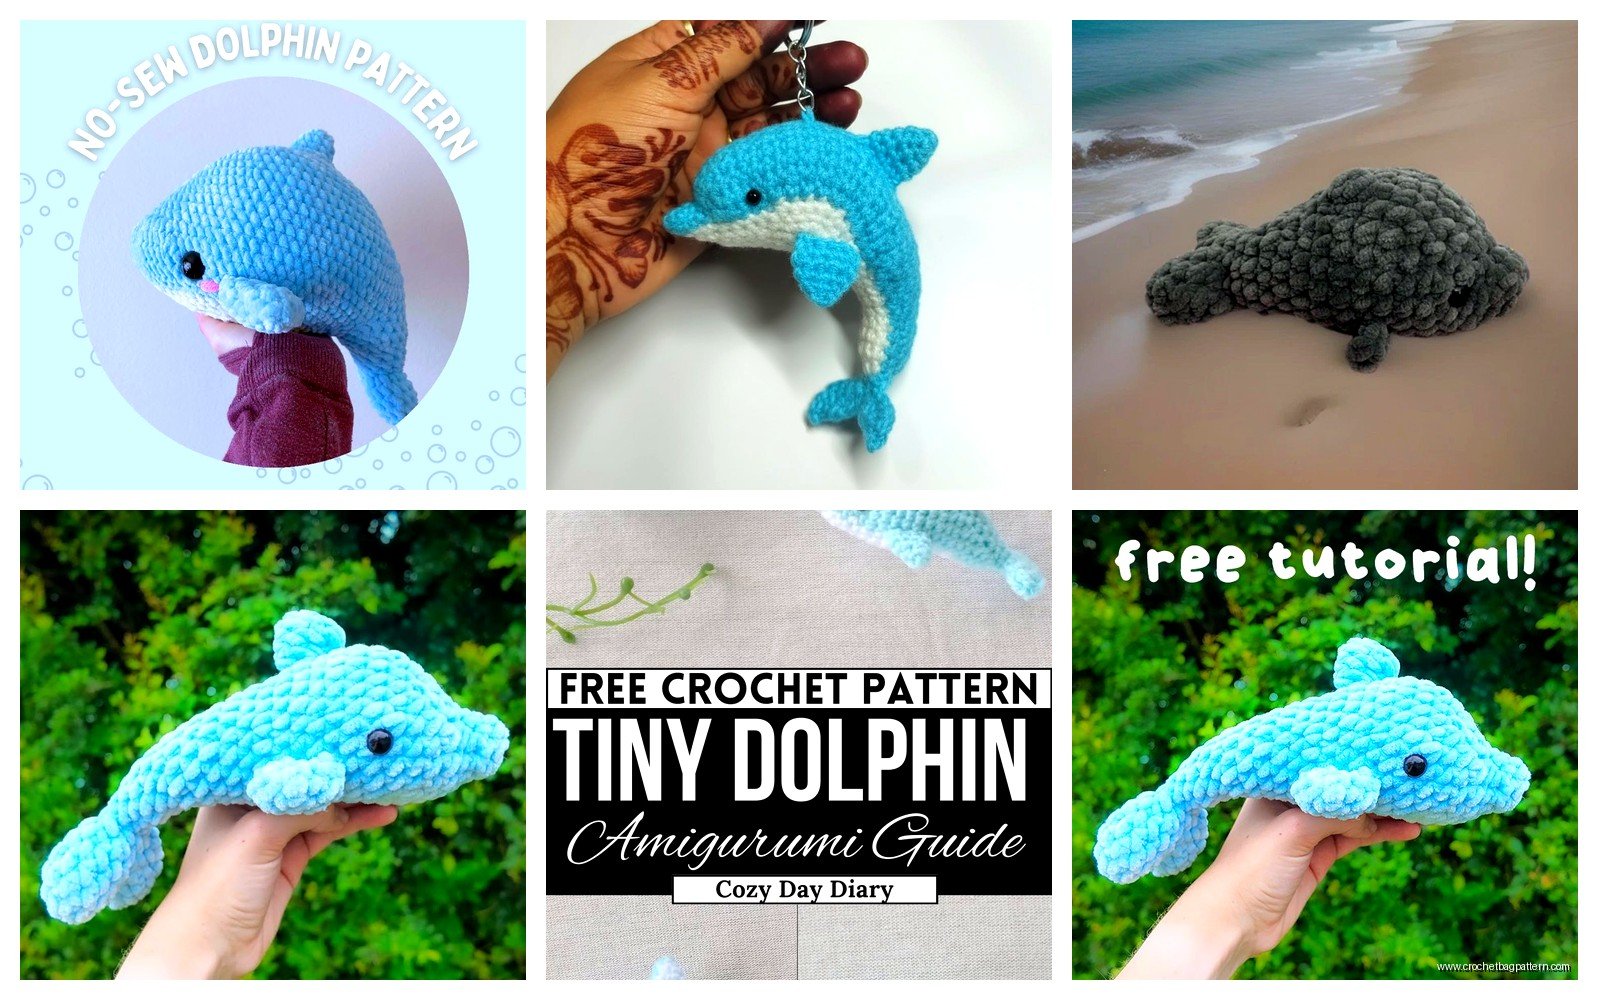
I made a pink dolphin once as a gift and used Red Heart Soft in Pink and it turned out really cute actually, very bubblegum-looking.
Common Problems
If your dolphin is curling or bending weird, you probably have tension issues. Make sure you’re crocheting consistently – not too tight on some rounds and loose on others. Also check that you’re actually hitting the stitch count you’re supposed to have. Recount if you need to.
Lumpy dolphin usually means uneven stuffing. Take time to distribute the polyfil evenly, poke it into place with the back of your hook or a chopstick or something.
If the proportions look off – like the head is too big or the tail is too small – you might need to adjust the pattern. Add more rounds to the body, or make the tail pieces bigger. Patterns are just guidelines honestly, especially with amigurumi.
The tail falling off or flopping down means you didn’t sew it securely enough or didn’t position it right. It needs to be attached firmly and the attachment point should be reinforced. Go around twice with your yarn when sewing if you have to.
How Long Does It Take
A basic dolphin takes me maybe 4-6 hours total if I’m working on it steadily. The body goes pretty fast since it’s mostly just rounds and rounds of single crochet. The fins and tail take longer because you have to think about shaping.
Assembly adds another hour or so depending on how fussy you are about placement and whether you pin everything first or just wing it.
Size Adjustments
Want a bigger dolphin? Use thicker yarn and a bigger hook. Worsted weight with a 4mm hook will give you a dolphin that’s probably 10-12 inches long. Chunky yarn with a 6mm hook gets you a huge dolphin, maybe 16 inches.
Smaller dolphin means thinner yarn. I’ve made tiny ones with crochet thread and a 1.5mm hook but it’s tedious and my eyes hurt after a while. Good for keychains though.
Just remember that when you change yarn weight, everything changes proportionally. You might need more or fewer rounds to get the right shape.
Pattern Variations I’ve Tried
You can make a baby dolphin by stopping the body earlier – like after 10 rounds of working even instead of 20. Make the tail and fins proportionally smaller too. Baby dolphins next to mama dolphins are really cute as a set.
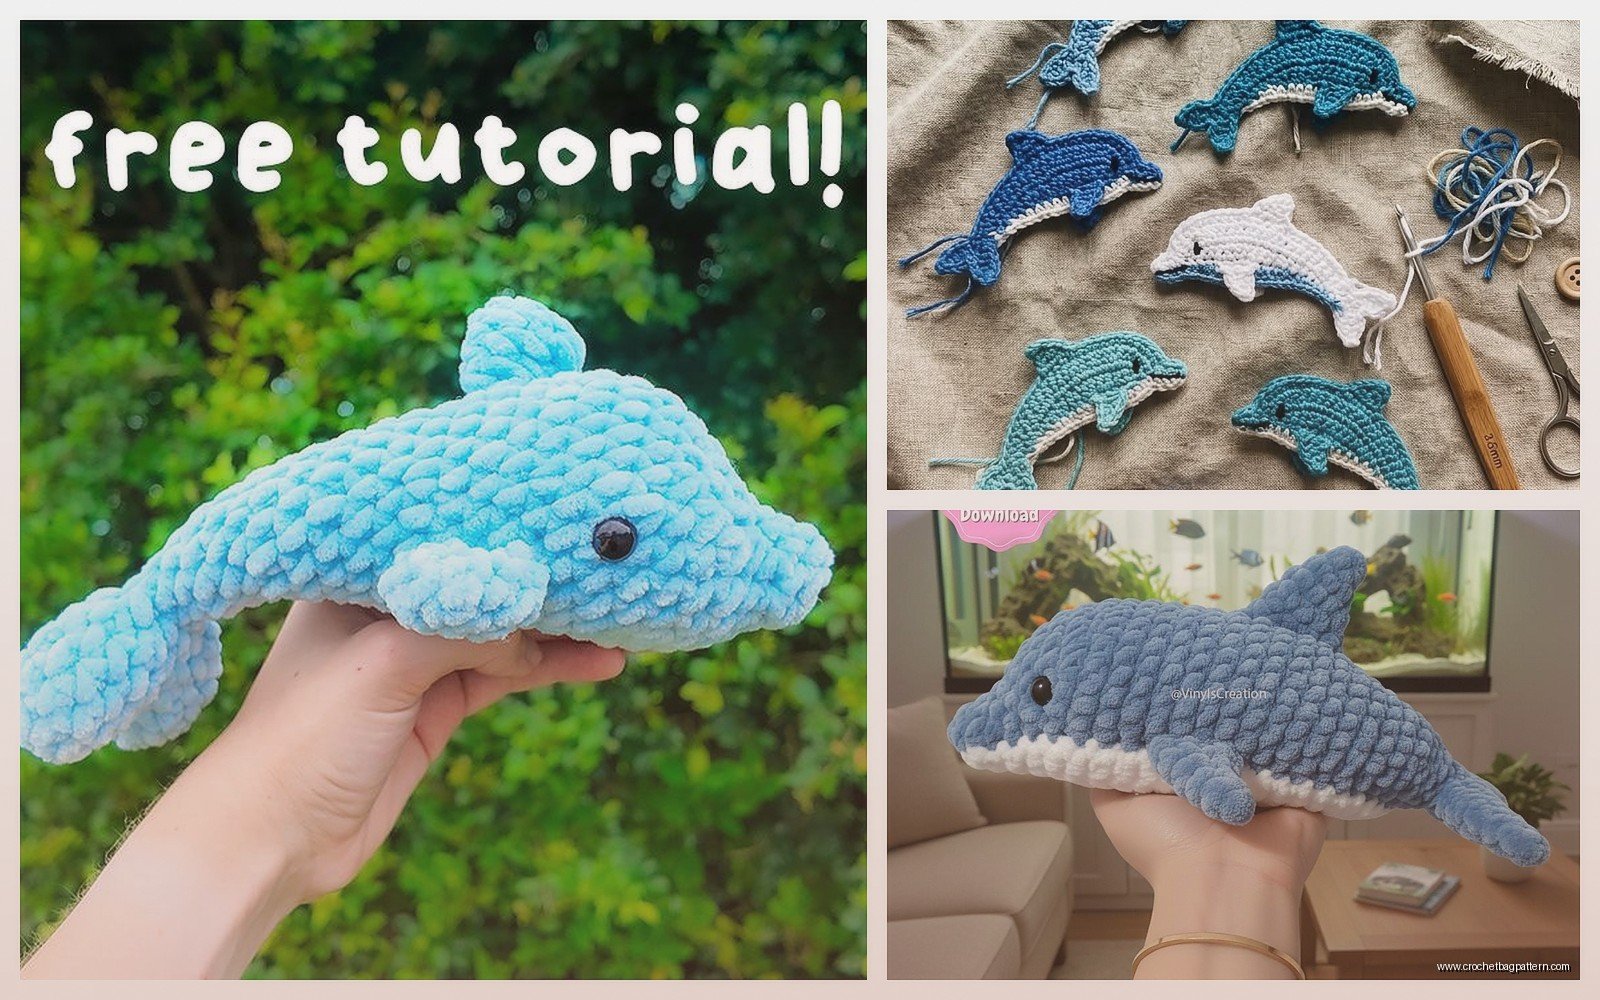
Orca whale is basically the same construction but you do color changes for the black and white pattern. Black body, white belly, white eye patches. Same basic shape though.
I tried making a dolphin jumping through a wave once which involved making a separate wave piece with blue and white yarn and attaching the dolphin to it but honestly it was way more trouble than it was worth and looked kind of chaotic.
What Yarn To Actually Buy
If you’re just starting out, get Paintbox Yarns Cotton DK in Dolphin Grey or Slate Grey. It’s affordable, doesn’t split too much, and comes in good colors. Hobbii Friends Cotton also good like I said earlier – they have sales pretty often.
Avoid Red Heart Super Saver for amigurumi in my opinion, it’s too rough and squeaky. Fine for blankets but dolphins should be soft.
Scheepjes Catona is really nice if you want to splurge a little – it’s mercerized cotton so it has a slight sheen which looks good on dolphins. Comes in a million colors too.
For stuffing just get whatever’s cheap at the craft store. Poly-fil, Fairfield, store brand, doesn’t matter much. You’re gonna use a lot of it so buy the big bag.
Tips That Actually Help
Work in good lighting. I tried making a dolphin at night with just a lamp once and couldn’t see my stitches properly, everything came out uneven.
Count your stitches every round for the first 10 rounds or so. After that you can usually tell by feel if you’re on track, but those early rounds set up everything else.
When you’re stuffing, do it gradually as you go rather than waiting til the end. Stuff the head before you close it up completely, stuff the body as you’re decreasing for the tail. Easier than trying to shove stuffing through a tiny opening.
If you mess up a round, just undo it. Don’t try to fudge it and keep going because it’ll bug you later. I’ve frogged entire dolphins before because something was off and I couldn’t unsee it.
Take breaks. Your hands will cramp up if you crochet for hours straight. I usually work for 45 minutes then do something else for a bit.
The pattern you follow doesn’t have to be followed exactly – like I said before, adjust based on what looks right to you. If the nose seems too stubby, add more decrease rounds to make it pointier. If the body seems too short, add more even rounds. You’re in charge.