
Jun
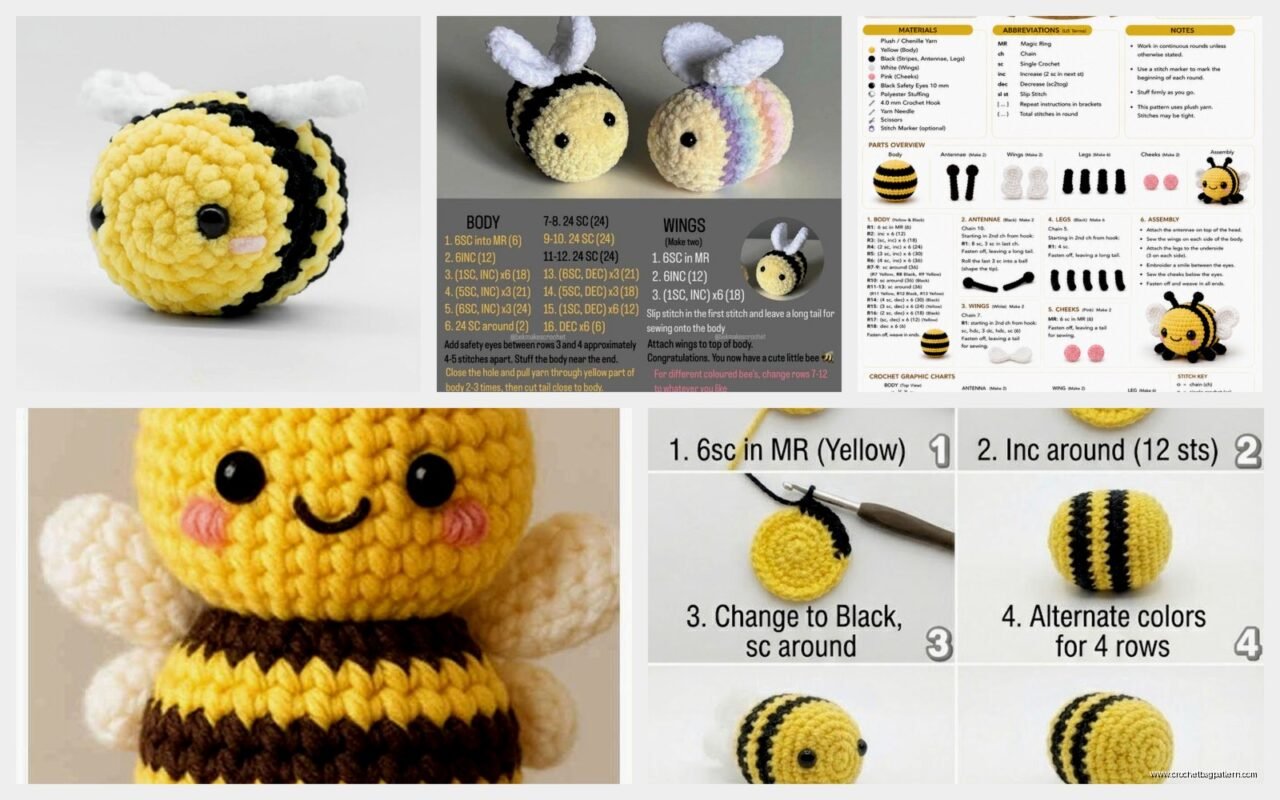
okay so bumble bee amigurumi
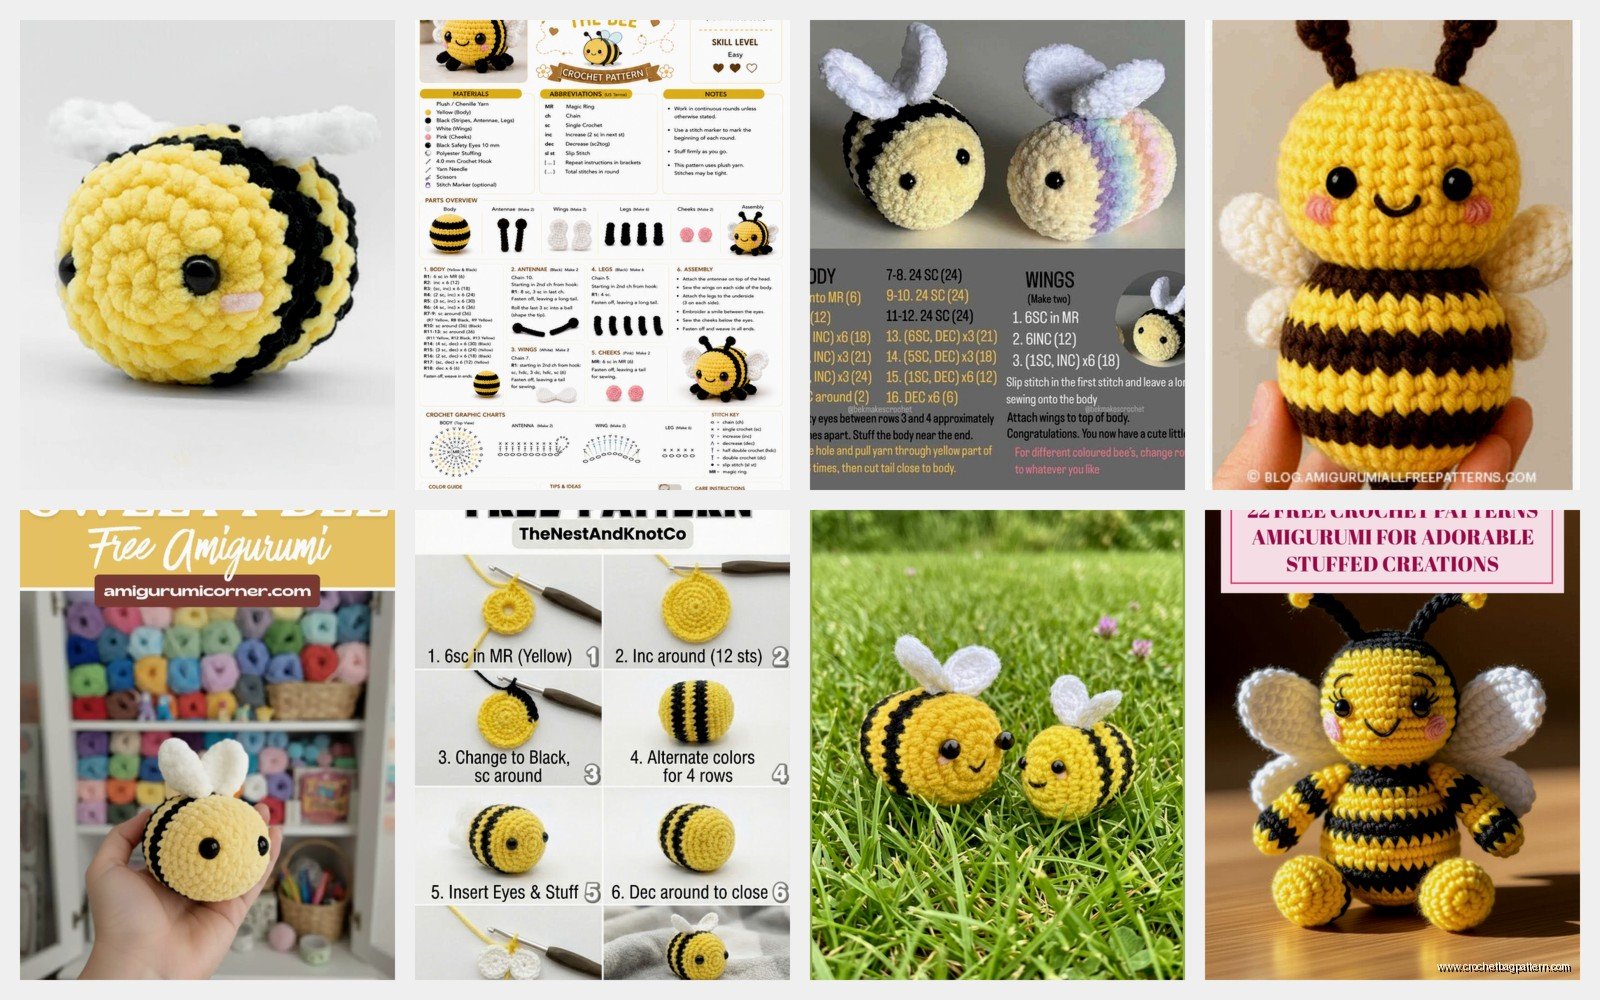
So I made my first bumble bee back in spring 2022 when I was supposed to be organizing my closet but ended up binge-watching The Great British Baking Show instead and needed something to do with my hands. The whole thing took maybe 3 hours total which isn’t bad but the WINGS were so annoying, I’ll get to that in a minute.
First thing you gotta know is bumble bees are actually pretty forgiving for amigurumi because they’re supposed to be round and fuzzy anyway. Like if your tension is a bit off or whatever, it just looks like a chubby bee and that’s adorable so you can’t really mess it up too badly.
Yarn and Hook Stuff
I used Lily Sugar’n Cream in black and yellow because that’s what I had around. It’s cotton so it gets stiff which actually works okay for bees because they hold their shape. Some people swear by Red Heart Super Saver for amigurumi and yeah it’s fine, cheaper too. The yellow I used was their “Sunshine” color I think? Or maybe “Bright Yellow” honestly they look the same to me.
Hook size matters more than people tell you. I used a 3.5mm hook with the worsted weight yarn which gives you tight stitches so the stuffing doesn’t show through. You can go up to 4mm if your tension is naturally really tight but test it first by making a small circle and seeing if you can see the polyfil through the gaps.
For the body you’re basically making a sphere or like an egg shape. Start with a magic ring which if you don’t know how to do that, there’s literally a million videos but basically you wrap the yarn around your fingers twice, pull through, chain one, then single crochet like 6 times into the ring and pull it tight. Some patterns say to start with chain 2 and sc in the first chain but magic rings are cleaner trust me.
The Body Part
Round 1 is usually 6 sc in the magic ring. Round 2 you increase in every stitch so you end up with 12. Round 3 you do sc, inc around so that’s 18 stitches. Keep going with that pattern – round 4 is sc 2, inc which gets you to 24, round 5 is sc 3, inc for 30 stitches, and I usually stop at 36 for a bee that’s maybe 3 inches tall.
Here’s where the stripes come in and honestly this is personal preference but I did three black rounds, then three yellow, then three black, then three yellow. You don’t have to cut the yarn each time if you’re smart about it – just carry the color you’re not using up the inside of the work. My cat kept trying to attack the yarn tail while I was doing this which made it take twice as long but whatever.
When you switch colors, do the last yarn over of your last stitch in the new color. So like if you’re finishing a black round and starting yellow, you’d insert hook, yarn over with black and pull through, then yarn over with YELLOW and pull through both loops. That makes the color change look clean on the next round.
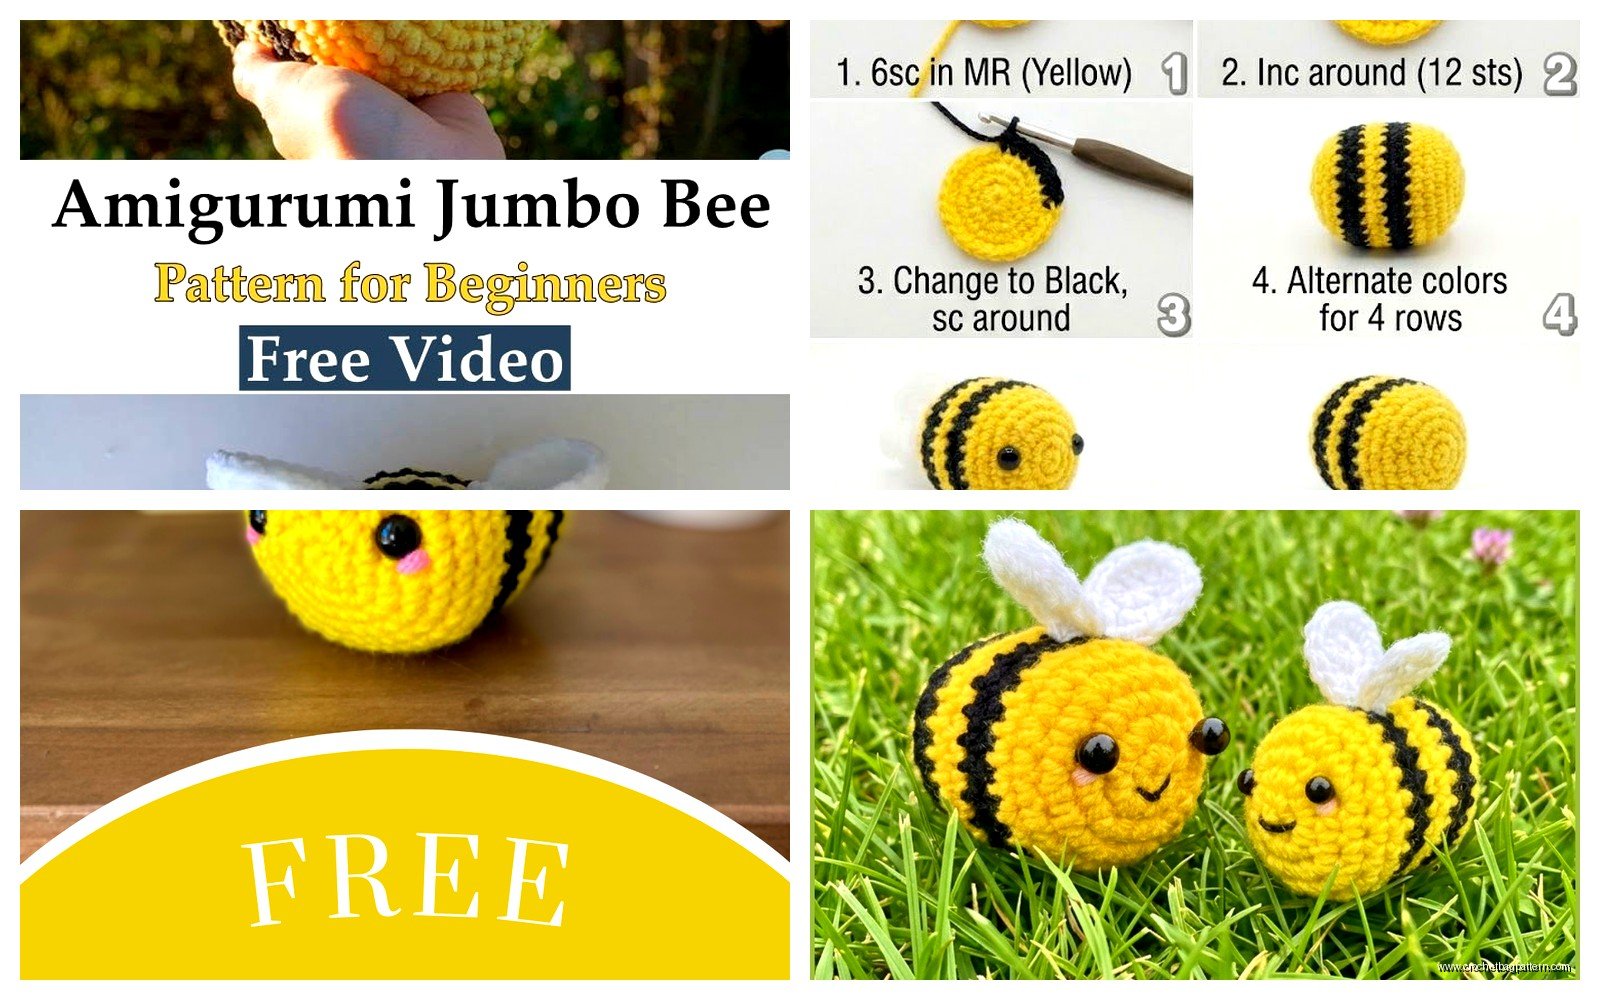
After you get to your full width (36 stitches or whatever), work even for like 6-8 rounds with no increases. This makes the fat middle part of the bee. Then you gotta start decreasing to close it up. I usually stuff it about halfway through the decreases because it’s easier to shape it how you want before the opening gets too small.
Stuffing Things
Use polyfil, not like cotton balls or fabric scraps or whatever. Polyfil is cheap at any craft store and it doesn’t get lumpy. Stuff it FIRM, like really pack it in there. A sad floppy bee is depressing. You want it to feel like a stress ball almost. I use the back end of a crochet hook or a chopstick to really push the stuffing into the nose part as you’re closing up the decreases.
Decrease the same way you increased but backwards – so if your last increase round was sc 5, inc, then your first decrease round is sc 5, dec. Keep going until you’re down to like 6 stitches, then cut your yarn leaving a long tail and thread it through the remaining stitches to cinch it closed. Weave that tail in really well because it’s gonna be visible on the butt end of the bee.
The Head Situation
The head is just a smaller sphere. Same technique, magic ring with 6 sc, increase rounds until you get to maybe 24 stitches, work even for a few rounds, then decrease back down. I made mine black because bumble bee heads are black but you could do yellow if you want, there’s no amigurumi police.
Stuff it firm again, close it up, and then sew it onto the body. I put the head so it’s kinda tilted down a bit, like the bee is looking at a flower or something. Sew it on with black yarn using whip stitch or ladder stitch, whatever you know how to do. Just make sure it’s SECURE because if you’re making this for a kid or whatever, you don’t want the head popping off.
Eyes Are Weird
Safety eyes are the easiest option – I used 9mm black safety eyes and put them on before I closed up the head. They go between rounds 8 and 9 usually, spaced like 4-5 stitches apart. Push the washer on the back really hard because those things can pop off and that’s a choking hazard if it’s for a baby or something.
OR you can embroider eyes with black yarn which looks more handmade and cute but takes longer. I did French knots for eyes on one bee and it looked okay but kinda wonky because I’m not great at keeping them the same size. You could also use white felt and black beads to make compound eyes like real bees have but that seems like a lot of work for something that’s gonna sit on a shelf.
Wings and Why They’re Annoying
Okay so THIS is the part that drove me crazy. Wings can be done like five different ways and they all have problems. The most common way is to crochet flat oval shapes and sew them on but they flop around and look sad unless you starch them or use wire.
What I ended up doing was crocheting four small ovals – chain 6, sc in second chain from hook, sc across, chain 1 turn, sc back across, and keep going back and forth for maybe 6 rows. Then sc around the whole edge to make it look finished. Do this four times because bees have four wings (two big ones and two smaller ones technically but I made them all the same size because who’s gonna know).
The annoying part is making them stiff enough to stick out. I tried fabric stiffener which works but it’s messy and takes forever to dry. Then I found out you can use white school glue watered down a little bit and that works fine. Paint it on both sides of the wings, shape them how you want on like wax paper or a plastic bag so they don’t stick, and let them dry overnight. They’ll be stiff enough to hold shape when you sew them onto the back of the bee.
ALTERNATIVE: use white or iridescent fabric cut into wing shapes and just sew those on. Way faster, looks fine, nobody cares. I used organza fabric from an old gift bag once and it actually looked really good, kinda sparkly.
Sew the wings onto the back of the bee body between the first and second yellow stripe, angled up and out to the sides. Use clear thread if you have it or white yarn. Make sure they’re symmetrical or it’ll bug you forever, even though literally no one else will notice.
Antennae and Other Bits
Antennae are easy – cut two pieces of black yarn about 4 inches long. Thread each one through the top of the head using a yarn needle, pull through so the ends are even, and tie a knot at each end. Trim them to whatever length looks good, maybe an inch sticking up. You can put a tiny dab of glue on the knots so they don’t come untied but I never bother.
Some patterns include legs but honestly bee legs are so small and fiddly that I skip them. The bee looks fine without legs, it’s gonna be sitting or hanging somewhere anyway. If you really want legs, do six small chains (like chain 4, fasten off) and sew them onto the bottom of the body in two rows of three but again, seems like extra work.
A stinger is optional too – just a small black cone sewn onto the butt end. Chain 2, sc 4 in first chain, work in spiral increasing to like 8 stitches, work even for 2 rounds, fasten off. Sew it on pointing backwards. Honestly though most of my bees don’t have stingers because I forget or don’t feel like it.
Variations You Can Do
Once you make one basic bee you can mess around with it. I made a really fat one using bulky yarn and a bigger hook that turned out super cute and squishy. You could do pastel colors for like a fantasy bee or whatever. I saw someone do a bee with fuzzy eyelash yarn for the yellow stripes which looked… interesting, kinda weird but in a good way I guess.
You can add a smile with pink embroidery floss – just a simple curved line under the eyes. Makes it look friendlier. Or rosy cheeks with pink yarn or even just rub some pink chalk or eyeshadow on there if you’re feeling crafty.
Some people crochet little flowers to go with their bees which is cute for a gift or whatever. Just a basic 5-petal flower in pink or purple, sew a button in the middle, done. The bee can sit on top of it or you can attach them together.
What Yarn Actually Works Best
I’ve tried this with different yarn types and honestly acrylic works fine for most purposes. It’s cheap, comes in good colors, washes well if you need to clean it. Cotton like the Lily Sugar’n Cream is stiffer which is good for structure but it’s harder on your hands if you crochet for a long time. Plus cotton doesn’t have as much stretch so if your tension varies you’ll really notice it.
Red Heart Super Saver in Bright Yellow and Black is probably the most economical choice and it holds up well. It’s a little squeaky to work with which some people hate but I don’t really mind. Caron Simply Soft is nicer to work with, softer finished product, but more expensive. I wouldn’t use fancy expensive yarn for a beginner amigurumi project though because you’re gonna make mistakes and it’s nice to not worry about wasting money.
For the wings if you’re crocheting them, use the same yarn as the body or go with white or light blue. I tried making wings with crochet thread once thinking they’d be more delicate and pretty but it was SO MUCH WORK for something that’s like half an inch long, not worth it.
Common Problems I’ve Had
Tension inconsistency shows up really obvious in amigurumi. If you crochet looser when you’re tired or distracted (which I definitely do), one end of your bee might be bigger than the other. Try to pay attention to keeping your stitches the same size or just accept that handmade stuff isn’t perfect and that’s literally the point.
Color changes leaving gaps – this happens when you don’t carry your yarn properly or you pull too tight when switching colors. The gap will show the stuffing underneath which looks bad. Fix it by weaving in your ends really carefully to cover any holes, or use a yarn needle to do a couple stitches over the gap with matching color yarn.
Lopsided features – I sewed eyes on crooked SO MANY TIMES before I learned to use pins first. Pin everything in place, look at it from all angles, adjust until it looks right, THEN sew it. Same with wings and the head. Pinning first saves you from having to rip out stitches which is the worst.
The head being too heavy and flopping forward – this happens if you stuff it too full or if you don’t sew it on securely enough. Sew through multiple rounds, not just surface stitches, and maybe understuff the head slightly compared to the body.
How Long This Actually Takes
If you’re following a pattern and you know basic stitches, maybe 2-3 hours total? That’s spread out though, not all at once. The body takes maybe 45 minutes, head another 30, wings are the wild card depending on which method you use but probably 30-45 minutes including drying time if you’re stiffening them. Assembly and finishing is another 30 minutes to an hour depending on how fussy you are about placement.
Your first one will take longer because you’re figuring stuff out. My first bee took almost 5 hours because I kept ripping out rounds that looked weird and I sewed the head on three different times before I liked where it was positioned. Now I can crank one out in an afternoon while watching TV or whatever.
Pattern Resources If You Want Them
There’s free patterns all over Ravelry if you search “bumble bee amigurumi” – some are better than others. I like patterns that include stitch counts for each round because it’s easy to lose track otherwise. You don’t necessarily need a pattern though if you understand basic amigurumi construction, you can just kinda wing it (no pun intended… okay maybe intended).
YouTube tutorials are helpful for visual learners. I watched like three different bee tutorials before making my first one just to see different approaches. Some people make them rounder, some more elongated, some with huge heads – it’s really up to personal preference.
The Planet June website has good amigurumi tutorials in general if you’re new to this type of crocheting. Her tips on invisible decreases and color changes are actually useful unlike some tutorials that just assume you already know everything.
Honestly though just start making it and figure it out as you go. That’s how I learned most of this stuff anyway, just trying things and seeing what works. Worst case scenario you make an ugly bee and you rip it out and start over, no big deal. Or you keep the ugly bee because it has character or whatever and make another one that’s better.
