
Jun
Getting Started With The Whole Thing
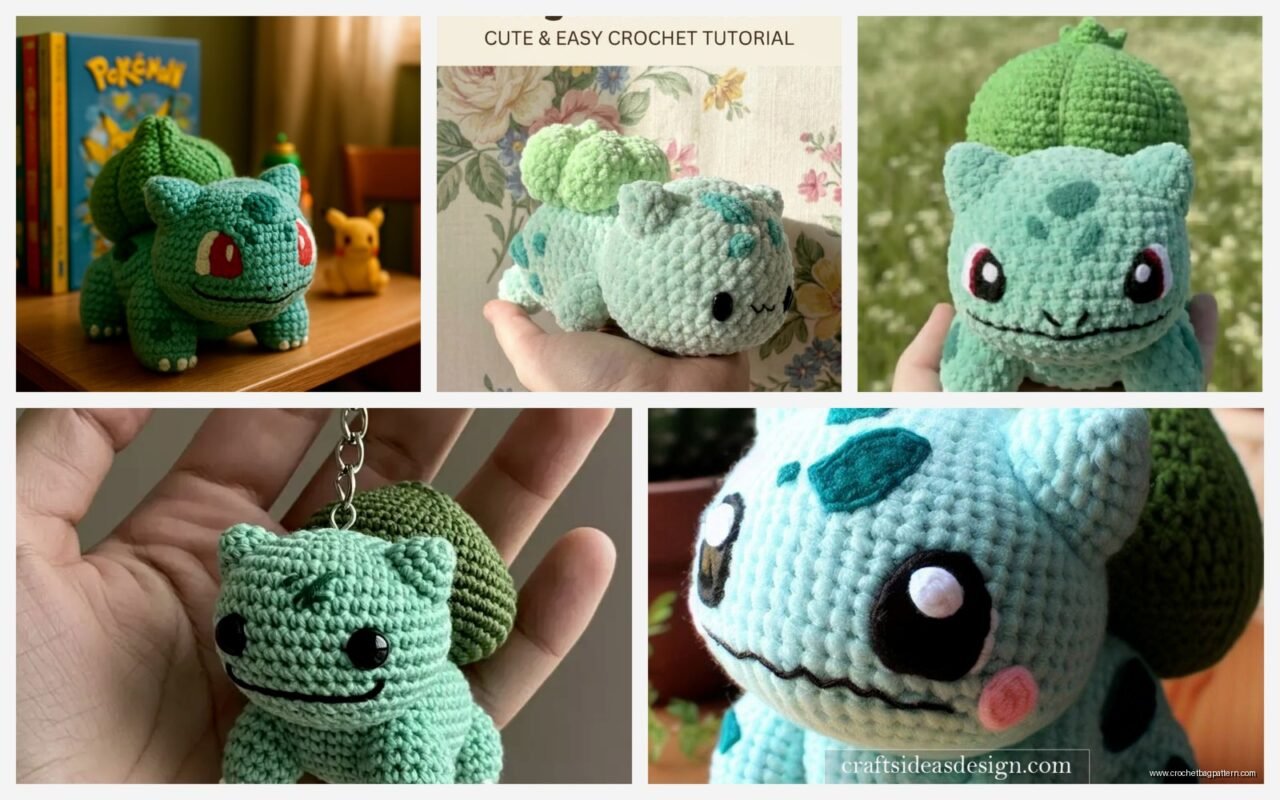
So you’re gonna need yarn in like four colors basically – green for the body (two shades if you wanna be fancy), white or cream for the spots, and then black for details. I made one back in spring 2022 when I was stuck at home with nothing to do and my sister kept sending me pictures of her Pokemon card collection like that was supposed to make me jealous or something.
The yarn I used was Red Heart Super Saver in Spring Green and I think Aran for the white parts? The darker green was some random skein from Michaels that I can’t remember the name of but it was also acrylic because honestly who’s using fancy yarn for a Pokemon. You want acrylic anyway because it holds its shape better and you can actually wash the thing when it inevitably gets dropped on the floor.
The Base Body Shape
Start with a magic ring for the body. You’re basically making a rounded blob shape that’s gonna be kind of squat and wide. Do 6 single crochet in the magic ring, then increase every stitch in round 2 so you have 12. Round 3 you do single crochet, increase, repeat around. This is just standard amigurumi increasing and if you’ve made literally anything round before you know what I’m talking about.
Keep increasing until you get to about 48 stitches or so? I never counted super precisely because Bulbasaur isn’t supposed to look perfect anyway. He’s a chubby little guy. Work straight without increases for maybe 10-15 rounds depending on how tall you want him. My cat kept trying to sit on the yarn while I was working on this part which was extremely annoying because she’d get all offended when I moved her.
Then you start decreasing the same way you increased. The annoying thing about making Bulbasaur specifically is that his body isn’t just a simple oval – it’s got this weird flat bottom so he can sit properly. So when you’re about halfway through the decreases, you need to start stuffing it and then kind of squish it into shape while you finish closing it up.
Stuffing Tips That Actually Matter
Use polyfil or whatever stuffing you have but pack it TIGHT. Like tighter than you think. If you don’t stuff it enough the whole thing will be floppy and sad looking. I learned this the hard way because my first attempt looked like a deflated balloon and I had to rip open the closing and add more stuffing which was a huge pain.
The Bulb On His Back
This is the part that makes it actually look like Bulbasaur obviously. You’re making kind of an onion shape? Start with the darker green and do another magic ring situation. The bulb needs to be pretty big proportionally – like maybe two thirds the size of the body or it looks weird.
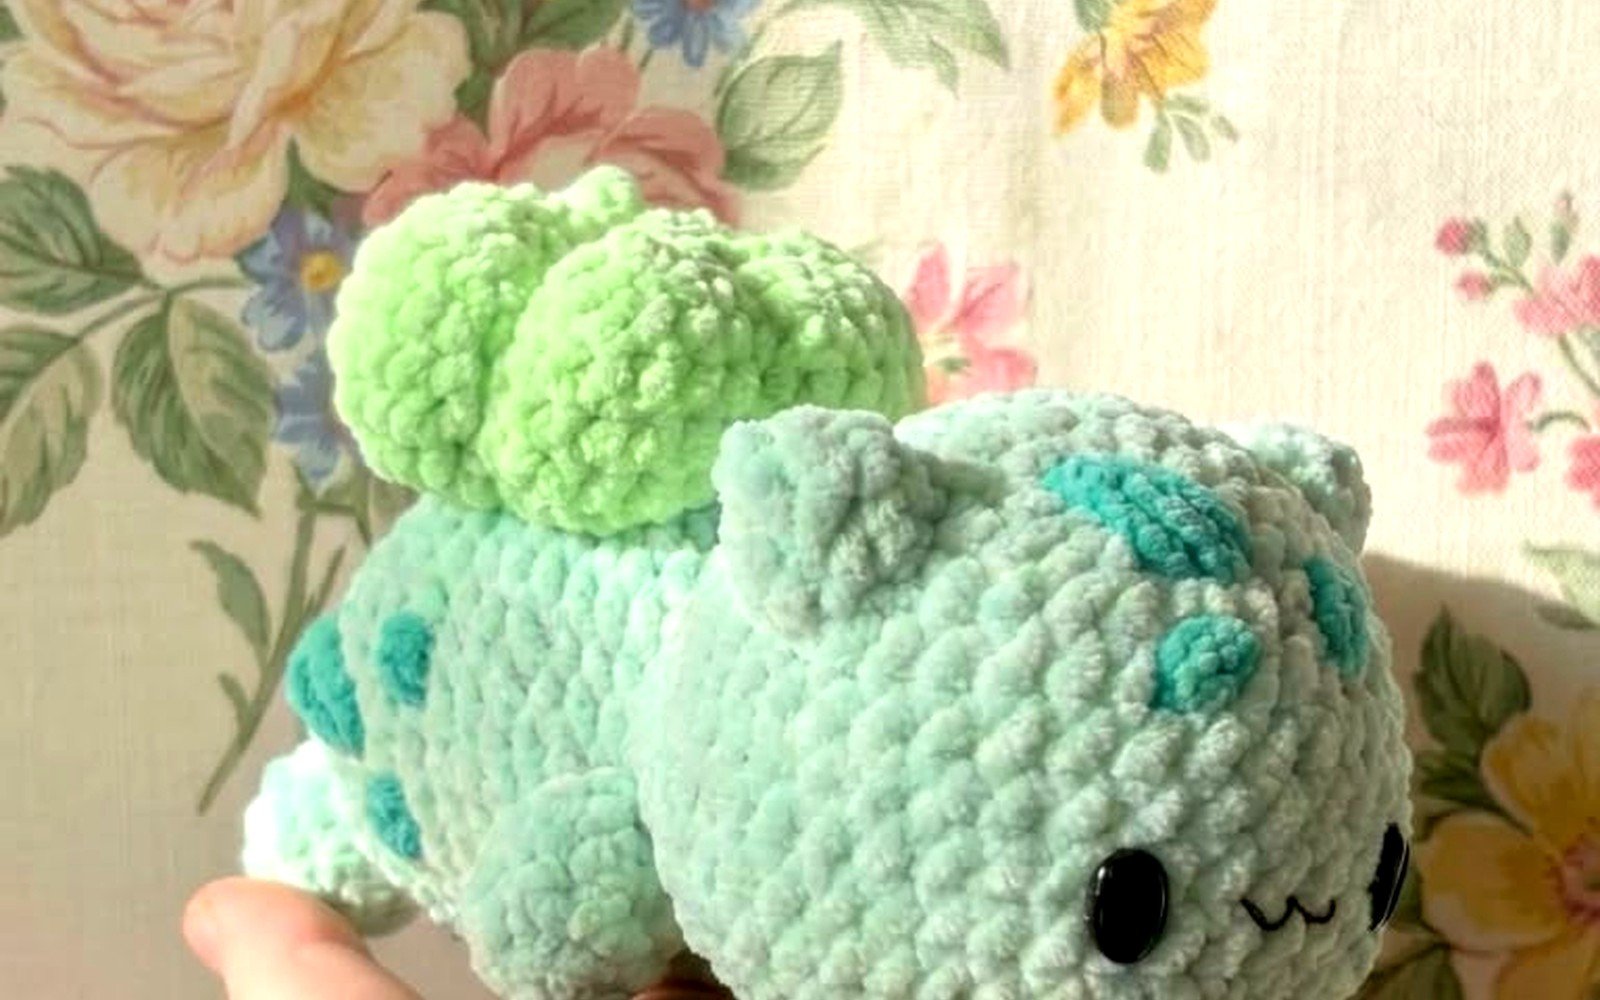
I used Caron Simply Soft in Dark Sage for this part actually, I just remembered. It’s got a nice darker green that contrasts well. Do the same increasing pattern but this time you want it to get round and then start decreasing sooner to make that pointed top. The thing that annoyed me SO MUCH about this part is getting the decreases to look smooth at the top. You’ll probably have a little hole at the very tip no matter what you do unless you’re like way better at this than me.
Before you close it completely, stuff it firm but not as tight as the body because you need to be able to sew it onto the body and if it’s too hard it won’t sit flush. Finish closing it up and leave a long tail for sewing.
The Little Triangular Scale Things
Okay so the bulb has those darker triangular markings all over it. You can either crochet tiny triangles separately and sew them on, or you can embroider them with yarn. I did the embroidery route because making like 15 tiny triangles sounded like actual torture.
Just thread your darker green yarn on a tapestry needle and make triangle shapes by doing straight stitches. They don’t have to be perfect or even all the same size. Space them randomly around the bulb. I was watching some true crime documentary while doing this part and honestly wasn’t paying that much attention to placement and it still looked fine.
The Legs And Feet Situation
Four legs, obviously. These are pretty simple – just little cylinders basically. Start with white or cream yarn for the toes/feet part. Magic ring with 6 stitches, increase to 12 in the next round, then work straight for like 3 rounds.
Switch to your body green color and continue working straight for another 6-8 rounds depending on how long you want the legs. Don’t stuff these super tight – they should be firm enough to support the body but if they’re too hard they look weird and stick out at strange angles.
The front legs are slightly smaller than the back legs if you wanna be accurate but honestly I made them all the same size and nobody has ever called me out on it. Make four of these, leave long tails for sewing, and try not to lose them before you’re ready to attach them because they’re small and they WILL disappear into your couch cushions.
Attaching Everything To The Body
Pin everything in place first before you sew – this is actually important because if you just start sewing stuff on you’ll end up with a lopsided Bulbasaur who can’t sit up straight. The bulb goes on the back obviously, positioned so it’s slightly toward the rear end. The legs need to be placed so the back legs are under the bulb area and the front legs are… well, in front.
I use a whip stitch to attach everything and go around twice for security. The legs especially need to be really secure or they’ll pop off if anyone actually plays with this thing. When I made mine in 2022 I didn’t double-stitch the legs and one fell off within like two days which was embarrassing since I’d given it to my sister’s kid.
The Head And Face Details
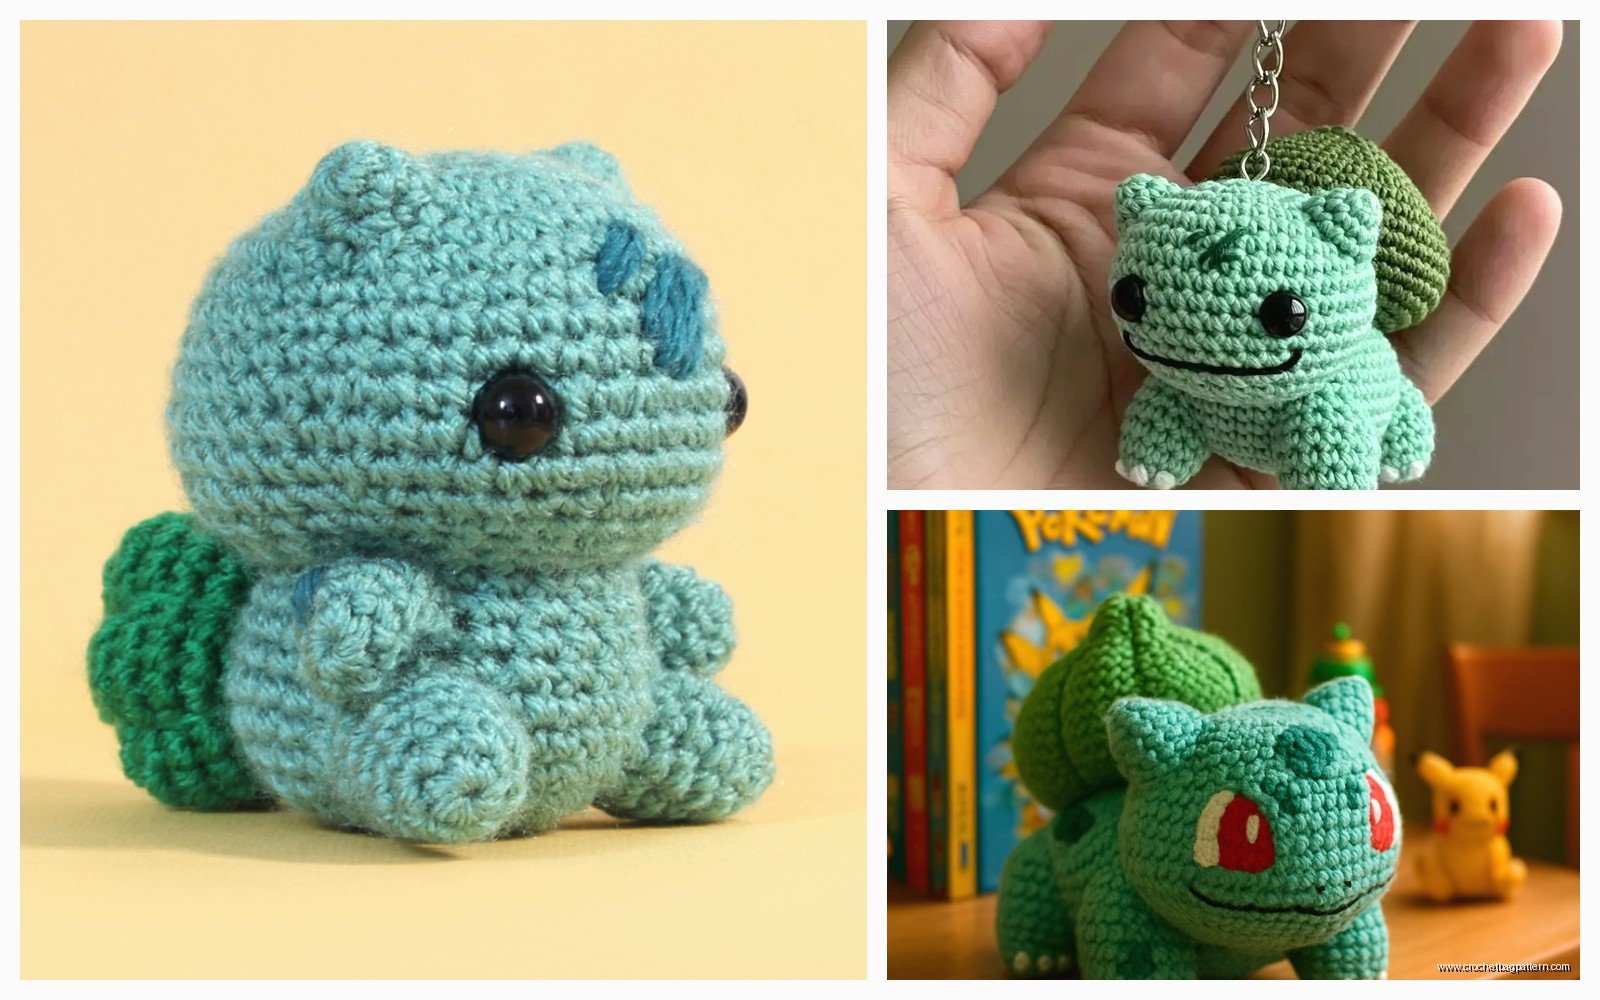
Wait I didn’t explain the head separately because honestly you make it as part of the body – like you don’t make a separate head piece. The body kind of extends into the head area in one continuous piece. But you need to shape it while you’re working so the front end is slightly more elongated for the face/mouth area.
For the eyes, you can use safety eyes which is the easy route, or you can crochet little white circles with black centers, or you can embroider them, or… there’s a lot of options. I used 12mm safety eyes because I had them laying around. Position them fairly far apart on the upper front part of the body-head. Bulbasaur has kind of a derpy wide-eyed look anyway so don’t stress too much about exact placement.
The mouth is just embroidered with black yarn. Make a simple curved line or a little smile shape. You can add a tongue with pink or red yarn if you want but that feels like overkill to me.
The Ears
Small triangle shapes, pretty simple. Chain 2, then single crochet in the second chain from hook, chain 1, turn. Increase in the next row so you have 2 stitches. Keep increasing one stitch every row until you have like 5-6 stitches, then work one row straight, then start decreasing until you have a point. This makes a triangular ear shape.
Make two of these and sew them onto the top-sides of the head. They should point slightly outward and upward. The ears are small enough that you don’t need to stuff them.
Optional Details If You’re Feeling Extra
The spots on his body are just white or cream colored circles. You can make these by doing a magic ring with 6 stitches, increase to 12, maybe one more round of increases if you want bigger spots. Make like 4-6 of these in varying sizes and sew them randomly on his body. I actually forgot to add these the first time and didn’t notice until my sister pointed it out.
Some people add claws to the feet with black yarn which looks cute but also feels unnecessary? Your call on that one.
The Actual Technical Stuff I Should Probably Mention
I used a 4mm hook for the whole thing with worsted weight yarn. If you use a different hook size just know your Bulbasaur will be bigger or smaller accordingly. The one I made was probably like 6 inches tall sitting down? Maybe 7 inches? I didn’t measure.
You want to work in continuous rounds for most of this, not joined rounds. Use a stitch marker to mark the beginning of each round or you’ll lose track of where you are. I use a piece of contrasting yarn as a stitch marker because I can never find my actual stitch markers when I need them.
Tension matters more than you’d think for amigurumi. If your stitches are too loose you’ll see the stuffing through the gaps which looks bad. But if they’re too tight your hands will hurt and the fabric will be stiff and weird. Aim for stitches that are close together but not strangling your hook.
Common Problems And How I Dealt With Them
The bulb kept falling over to one side when I first attached it. I fixed this by adding a few extra stitches underneath where it attaches to the body, kind of creating a flatter base for it to sit against. You might need to adjust the positioning and re-sew it a couple times to get it balanced right.
The legs were too wobbly at first. I added extra stuffing and that helped but they were still kind of floppy. Eventually I realized I needed to position them wider apart at the base for better stability. The back legs especially need to be angled outward slightly.
Getting the proportions right is honestly just trial and error. I looked at like 50 different reference images of Bulbasaur before I started and I still had to adjust things. He’s got kind of weird proportions if you actually look closely – big head, small body, huge bulb thing on his back that should make him tip over but somehow doesn’t.
Yarn Amount Stuff
You’ll need maybe 100 yards of the main green color, probably 50 yards of the darker green for the bulb, and small amounts of white and black. I’m guessing on these numbers because I never actually measured but I didn’t use a full skein of anything except maybe the main green.
If you’re buying yarn specifically for this project, one skein of each color should be more than enough unless you’re making a giant version or something. I actually had all the colors already in my stash from other projects which is why I even decided to make this in the first place – I wasn’t gonna buy all new yarn just for a Pokemon.
Time Investment Reality Check
This took me like three evenings of casual crocheting while watching TV. Maybe 8-10 hours total? But I’m pretty fast and I wasn’t following a written pattern or anything, just making it up as I went based on pictures. If you’re following a pattern and stopping to read instructions it’ll probably take longer.
The most time-consuming part is honestly all the sewing and assembly at the end. Actually crocheting the pieces goes pretty quick but then you’ve got all these parts laying around that need to be attached and positioned correctly and that’s where it gets tedious.
Would I Make Another One
Maybe? It was fun but also there are like 900 other Pokemon and some of them would be way easier to make. Bulbasaur has all these different components and colors and the bulb thing is kind of annoying to get right. Something like Jigglypuff would be way simpler – just a pink ball with ears basically.
But Bulbasaur does look really cute when he’s done and people always recognize him immediately which is satisfying. My sister still has the one I made sitting on her bookshelf so I guess it turned out okay even with all the mistakes I made along the way. The one leg that fell off got sewn back on and has stayed attached since then so that’s good I guess.
