
Jun
Making the Turtle Shell
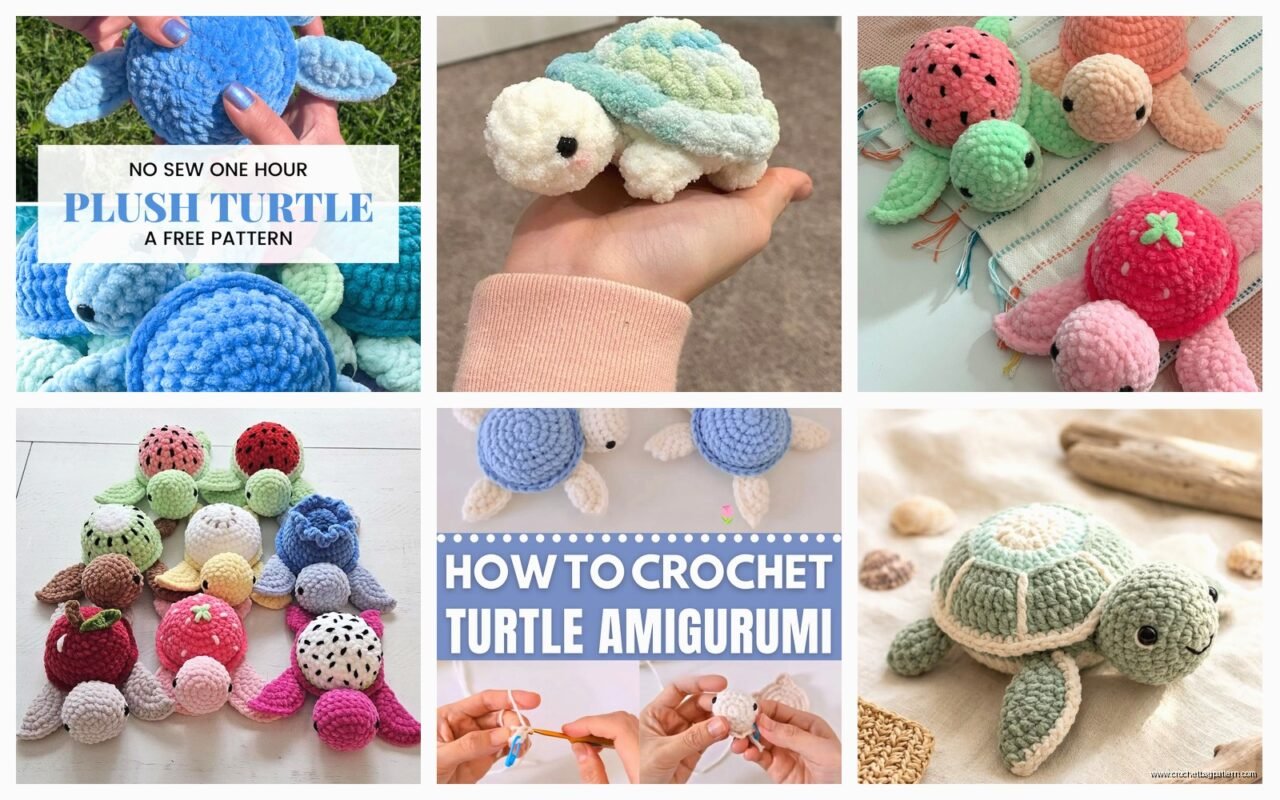
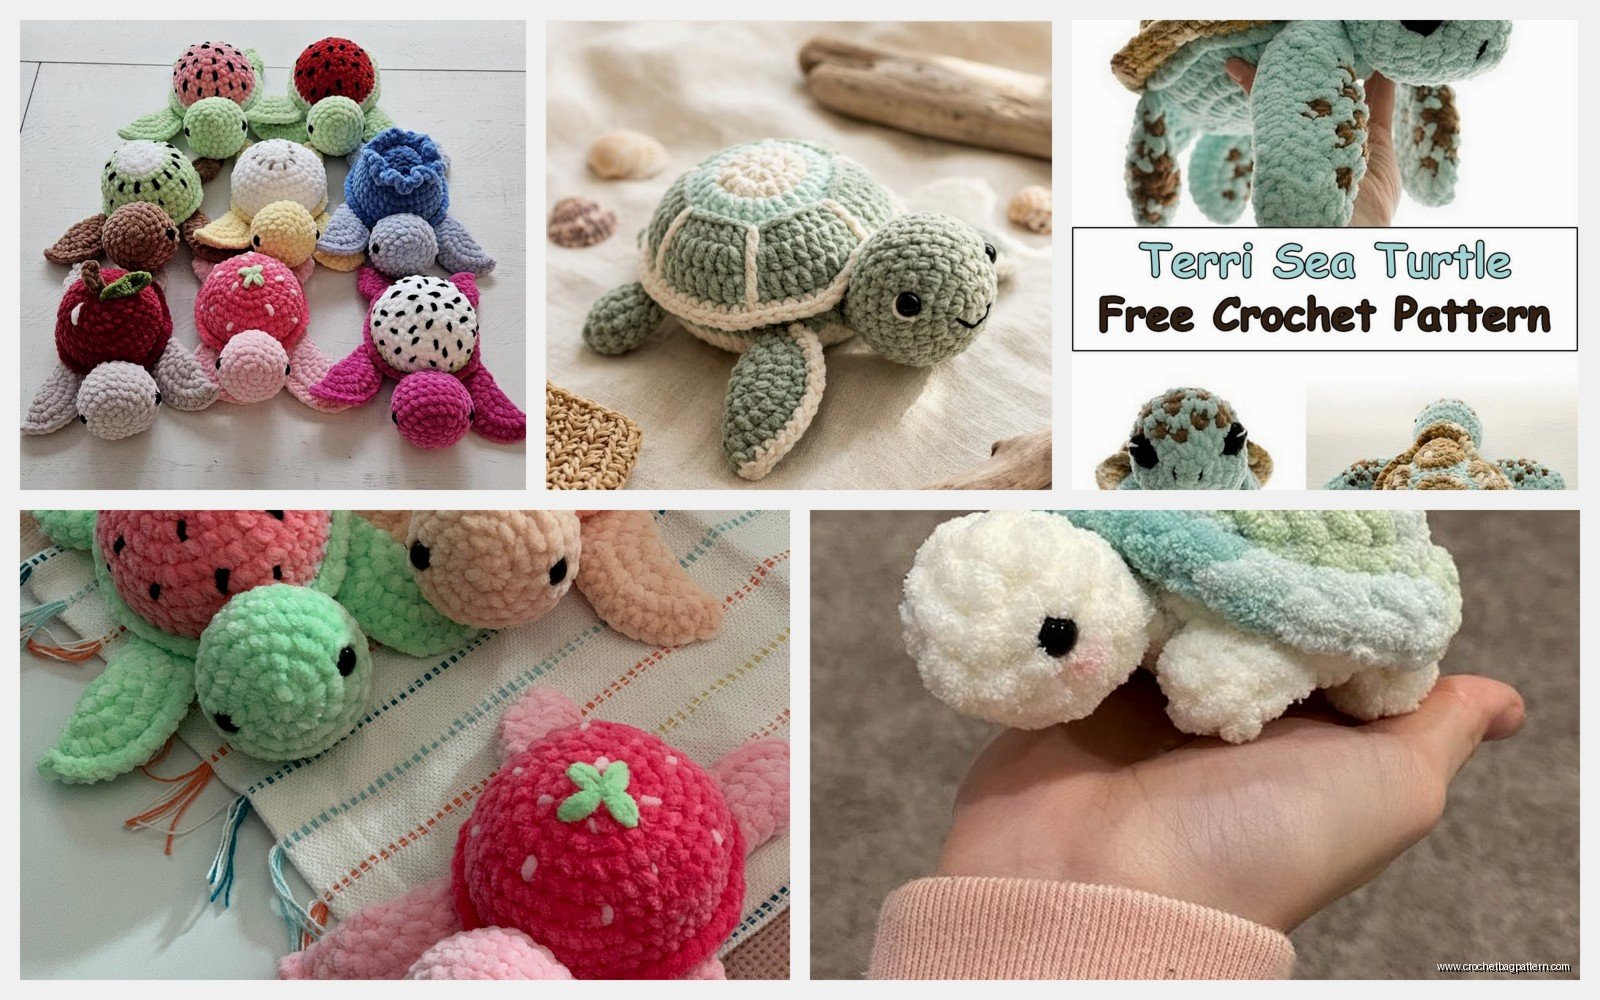
So the shell is obviously where you’re gonna spend most of your time and honestly it’s the part that makes it actually look like a turtle instead of just a blob with flippers. I made one of these back in spring 2022 when I was babysitting my nephew a lot and he was obsessed with Finding Nemo, so naturally everything had to be ocean themed.
Start with a magic ring and do 6 single crochets into it. Pull it tight because nothing looks worse than a turtle with a hole in its shell. Then you’re doing the standard increase rounds – 12 stitches in round 2, 18 in round 3, and so on. I usually go up to about 54 stitches for a medium sized turtle but you can adjust based on how big you want it.
For yarn I used Red Heart Super Saver in that dark green color, I think it was called Hunter Green? It’s scratchy but it holds up really well if a kid’s actually gonna play with it. The texture thing bothered me less after washing it a few times.
The Shell Pattern Details
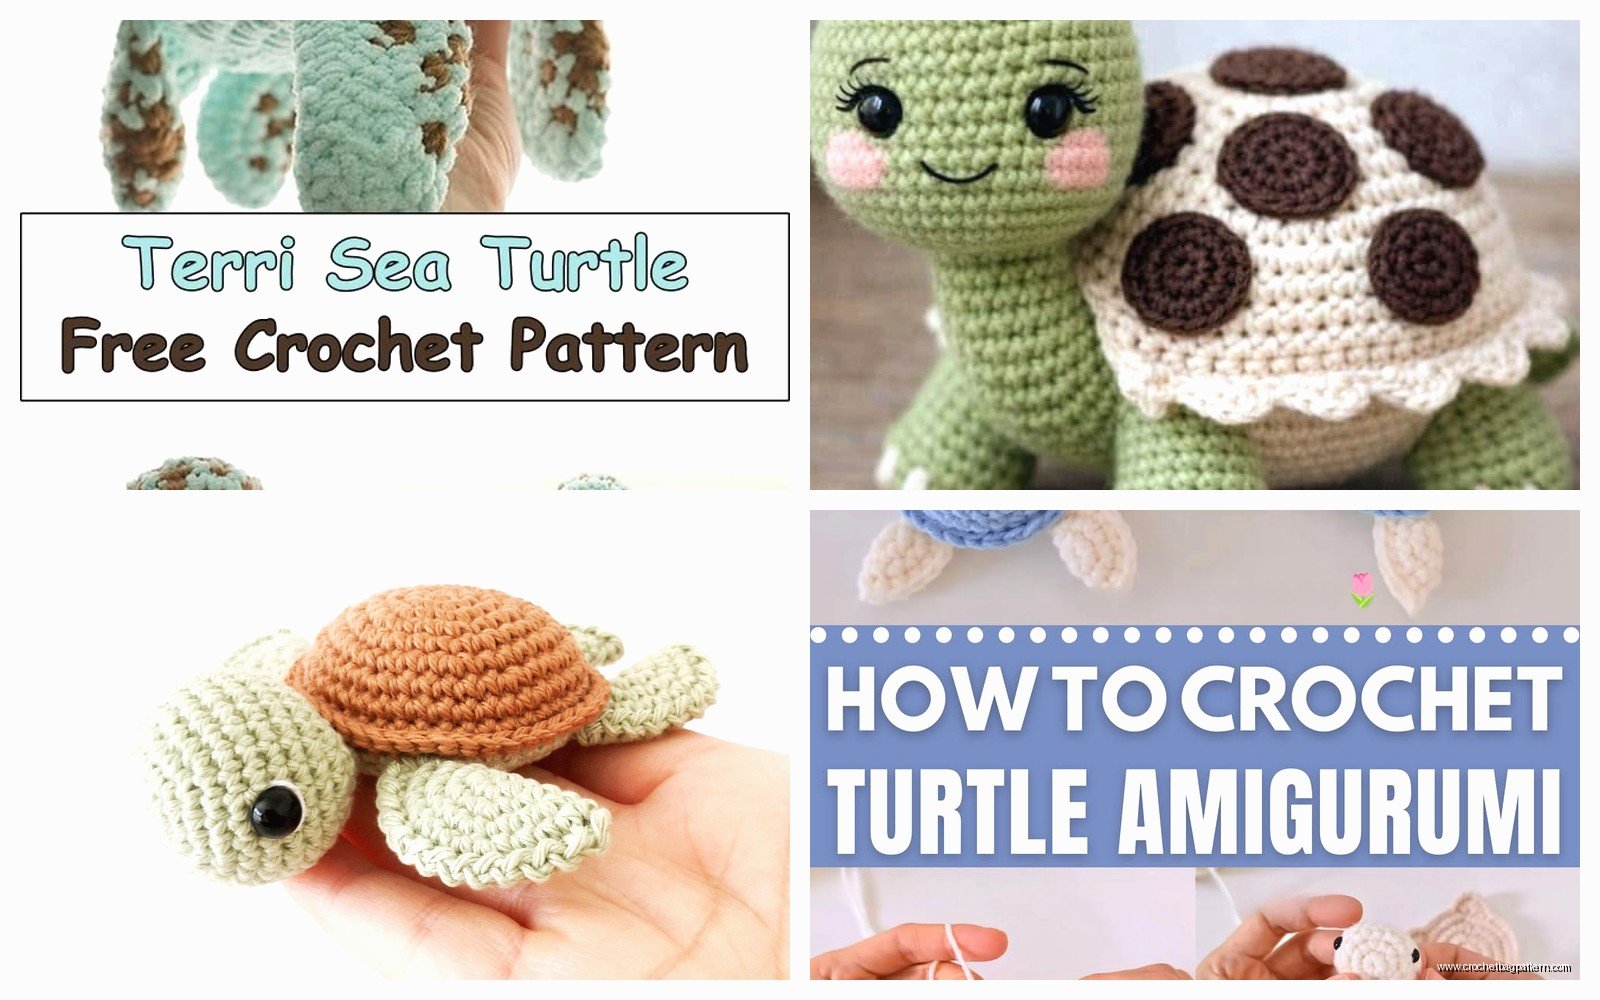
Here’s where it gets specific and also where I got really annoyed because – okay so you need to create those hexagon segments on the shell to make it look realistic. Some patterns tell you to crochet separate pieces and sew them on but that’s way too much work and the edges always looked messy when I tried it.
What actually works better is using surface crochet or just strategically placing your color changes. Work your shell in the round like normal but when you get to about round 8 or 9, start doing these little textured sections. You can do popcorn stitches in groups of 5 or 6 to create raised hexagons, spacing them evenly around.
I usually do one in the center, then 5 or 6 around it in the next round, spacing them out. The math doesn’t have to be perfect because turtle shells aren’t perfectly symmetrical anyway.
Legs and Flippers
The flippers are surprisingly easy but getting them to look right takes some adjusting. You want them flat-ish, not round like regular amigurumi limbs.
Chain about 8, then single crochet back down but do 3 sc in the last chain to round the end. Continue up the other side of your chain, and add 2 sc in the final stitch. You should have this oval flipper shape. Do one more round around the whole thing to make it sturdier.
Make 4 of these. Two slightly smaller for the back flippers if you want to be accurate but honestly I usually make them all the same size because who’s really gonna notice.
The annoying part about the flippers is attaching them at the right angle so the turtle doesn’t look like it’s doing the splits or something. You want them angled slightly forward and down, not straight out to the sides. I pin them first with regular sewing pins, look at it from multiple angles, adjust like three times, and then finally sew them on.
Attachment Tips
Use the same yarn you made the flippers with and do a whip stitch all the way around the edge where it meets the body. Go around twice if it’s for a kid because they will pull on these flippers, trust me.
I learned this the hard way when my nephew’s turtle lost a flipper after like two days and I had to emergency reattach it while he cried. Good times.
The Head and Face
Start with another magic ring, 6 sc, then increase every other stitch for a few rounds until you have a nice rounded head shape. I usually go up to about 24 stitches and then work straight (no increases or decreases) for 4-5 rounds.
For the eyes you can either use safety eyes which is what I did for my nephew’s turtle, or you can embroider them. Safety eyes are easier and they’re secure, but embroidered eyes look more natural in my opinion. I used 9mm black safety eyes and placed them around round 8, about 6 stitches apart.
If you’re embroidering, use black yarn and do a few satin stitches in an oval shape. Add a tiny white highlight with embroidery floss if you want them to look more alive.
Stuffing the Head
Before you close up the head, stuff it pretty firmly. Not rock hard but firm enough that it holds its shape and doesn’t flop around. I use Poly-Fil from Walmart usually, whatever’s on sale.
Decrease rounds are just the reverse of your increases – sc2tog evenly around until you have a small opening left, stuff a tiny bit more if needed, then close it completely.
The head attaches to the front of the body, kind of tucked under the shell slightly. Again, pin it first, check from multiple angles, adjust it like fifty times because it never looks right the first time or maybe that’s just me.
Body Base and Assembly
The bottom part of the turtle is just another circle worked in rounds, similar to how you started the shell but you don’t need the textured sections obviously. Make it slightly smaller than your shell top – if your shell is 54 stitches around, make the bottom about 48.
I usually use a lighter color for the belly. That same spring 2022 turtle I used Red Heart in Buff which is like a cream color. It looked good with the dark green shell.
Before you attach the bottom to the top, you need to stuff the body and position everything. This is where it gets messy and requires multiple hands or at least that’s how it feels.
Assembly Order That Actually Works
First attach the head to the top shell piece while both are unstuffed. Then attach your back flippers. Then stuff the shell. Then position your bottom piece and start sewing it on, but leave a gap. Attach your front flippers through both the top and bottom pieces – this is fiddly but it makes them way more secure. Finish stuffing through the gap and sew it completely closed.
Some patterns tell you to attach everything at the end but that never worked for me because you can’t get good angles on your stitches.
The Tail
Almost forgot the tail because it’s so small but it does make a difference in the overall look.
Chain 6, sc in second chain from hook and in each chain across. That’s it. Sew it to the back center between the back flippers. Tiny and simple.
Color Variations and Patterns
The basic turtle I described is pretty standard green but you can obviously do whatever colors you want. I’ve seen people make them in blues for like a more aquatic look, or even rainbow colors for kids.
If you want to do stripes on the shell, just change colors every few rounds. Carry your yarn up the inside if you’re alternating between two colors regularly – just twist them together as you go up so you don’t have a million ends to weave in later.
Speaking of weaving in ends, that’s the most annoying part of the entire project hands down. Every time you change colors, every time you start a new piece, you have ends. I probably had like 15 ends to weave in on that first turtle and I was watching The Office for the millionth time while doing it because it’s so tedious.
Shell Pattern Ideas
If you want to get fancy with the shell, you can do different shades of green in the hexagon sections. Like use a dark green for the base, medium green for the raised sections, and maybe even a brown or olive color for outlines.
Or you can do the whole thing in one color and just rely on the texture from the popcorn stitches. Both look good, the multicolor version just takes longer because of all those color changes and ends to weave in.
Size Adjustments
The pattern I’m describing makes a turtle that’s roughly 6-7 inches from front to back, depending on your tension. If you want it bigger, just keep increasing rounds on the shell for longer before you start working straight.
For a tiny turtle, like palm-sized, use a smaller hook and thinner yarn. I’ve made them with sport weight yarn and a 3.5mm hook and they come out really cute, good for keychains or whatever.
Just remember that if you change the shell size, you need to adjust everything else proportionally. Smaller shell means fewer stitches on the flippers and head, bigger shell means more.
Yarn Weight Matters
I mentioned Red Heart Super Saver which is worsted weight and that’s what I use most of the time. But I’ve also used Bernat Blanket yarn to make a huge turtle, like 12 inches long, and it worked fine. Just needed a way bigger hook, I think I used a 9mm.
The Bernat one was super soft and squishy which was nice but it was also harder to get clean stitches and see what I was doing. The chunkier yarn hides mistakes better though so there’s that trade-off or… actually it probably shows mistakes more but you work up faster so you don’t care as much.
Cotton yarn like Lily Sugar n Cream works too and it’s washable which is good for kids toys. It doesn’t have as much give as acrylic though so your stitches need to be more consistent.
Common Problems
The shell curling up at the edges happens sometimes if your tension is too tight. If you notice it curling, try going up a hook size for the shell or consciously loosening your stitches a bit.
Lumpy stuffing shows through especially with lighter colored yarn. Break up your stuffing into smaller pieces before you stuff it in and really work it into all the edges and corners. Push it around with your hook or a chopstick to distribute it evenly.
Flippers falling off is usually because you didn’t sew them securely enough. Like I said, go around twice with your sewing, and make sure you’re going through both the flipper and the body with each stitch, not just catching the surface.
When the Shape Looks Wrong
If your turtle looks too flat, you didn’t stuff it enough or your shell rounds need more increasing. If it looks like a ball, you increased too much or stuffed it too hard.
The head looking too big or too small compared to the body is just a proportion thing. I usually make the head about 1/3 the diameter of the shell, so if my shell is 6 inches across, the head is about 2 inches.
My cat kept trying to steal the stuffing while I was working on these which was super annoying, had to keep it in a bag.
Finishing Touches
Some people add little details like spots on the shell using embroidery or French knots. You can do a little smile with embroidery floss in pink or red. I usually skip this because I think it looks cuter without but it depends on your style.
If you really want to make it special, you can make a little seaweed accessory or a fish friend to go with it. Just chain a bunch and do random stitches in green for seaweed, it doesn’t have to be structured.
The whole project takes me maybe 3-4 hours if I’m working steadily, longer if I’m watching TV and getting distracted. The shell alone is probably half that time because of all the rounds and the textured sections.
You don’t need to block amigurumi usually but if your shell is really wonky you can pin it flat and steam it lightly with an iron on low heat. Don’t touch the iron directly to acrylic yarn though or it’ll melt, just hover and steam.