
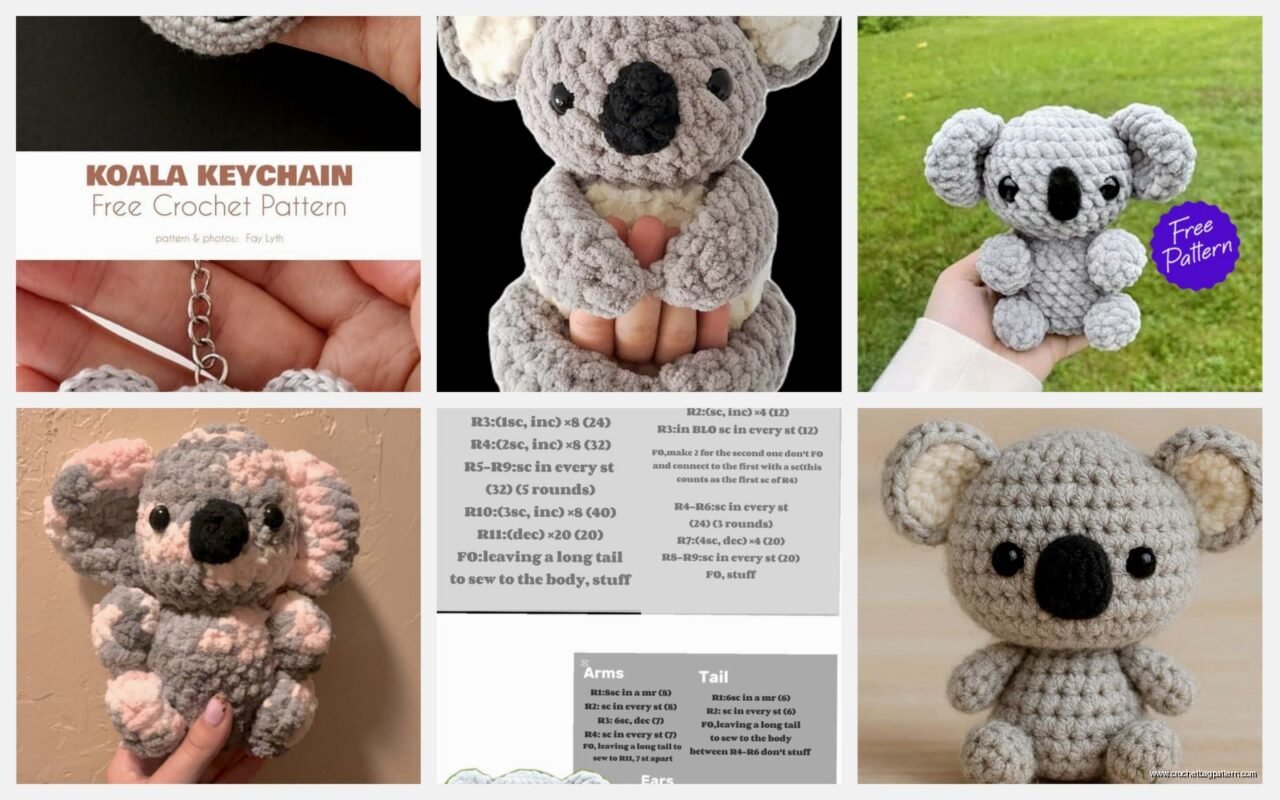
Jun
Getting Started with Your Koala
So the first koala I made was back in spring 2022 when I was binge-watching that show Severance and honestly I kept having to rewind because I’d lose count of my stitches. But anyway, koalas are actually one of the easier amigurumi animals because they’re basically just round shapes stacked together and you don’t need to worry about complicated color changes or anything.
You’re gonna need worsted weight yarn in grey for the body. I used Caron Simply Soft in Grey Heather for mine and it worked pretty well, though honestly any grey will do. You also need a smaller amount of white or cream for the chest and inner ears, and black for the nose. Some people use safety eyes but I just embroidered eyes with black yarn because I never remember to order safety eyes until I’m already halfway through a project.
Hook size depends on how tight you crochet but I use a 3.5mm hook with worsted weight. The whole point is to crochet tight enough that the stuffing doesn’t show through, so if you’re a loose crocheter maybe go down a size.
The Body Parts Breakdown
Koalas are made in pieces and then assembled. You’ll make a head, body, two arms, two legs, two ears, and a little nose. The ears are the most distinctive part honestly because they’re so fluffy and round.
Start with the head because it’s the biggest piece and if you mess it up you haven’t wasted time on all the other parts yet. You begin with a magic ring, which I know some people hate but just… it’s worth learning. Make 6 single crochet in the ring, then increase every stitch in round 2 to get 12 stitches. Round 3 you do one sc, then increase, repeat around for 18 stitches. Keep going with this pattern until you hit about 48-54 stitches depending on how big you want the head.
Work even without increases for maybe 10-12 rounds. This creates the cylinder shape of the head. Then you start decreasing in the reverse pattern. The annoying thing about koala heads is that they’re not perfectly round or they look weird, they need to be slightly oval and you have to stuff them WHILE you’re decreasing which is just awkward and your hand gets tired.
Ear Construction
The ears are what make it actually look like a koala instead of just a grey blob with a nose. Make two outer ear pieces in grey and two inner ear pieces in white or cream. I used Red Heart Super Saver in Aran for the inner ears on my spring 2022 one.
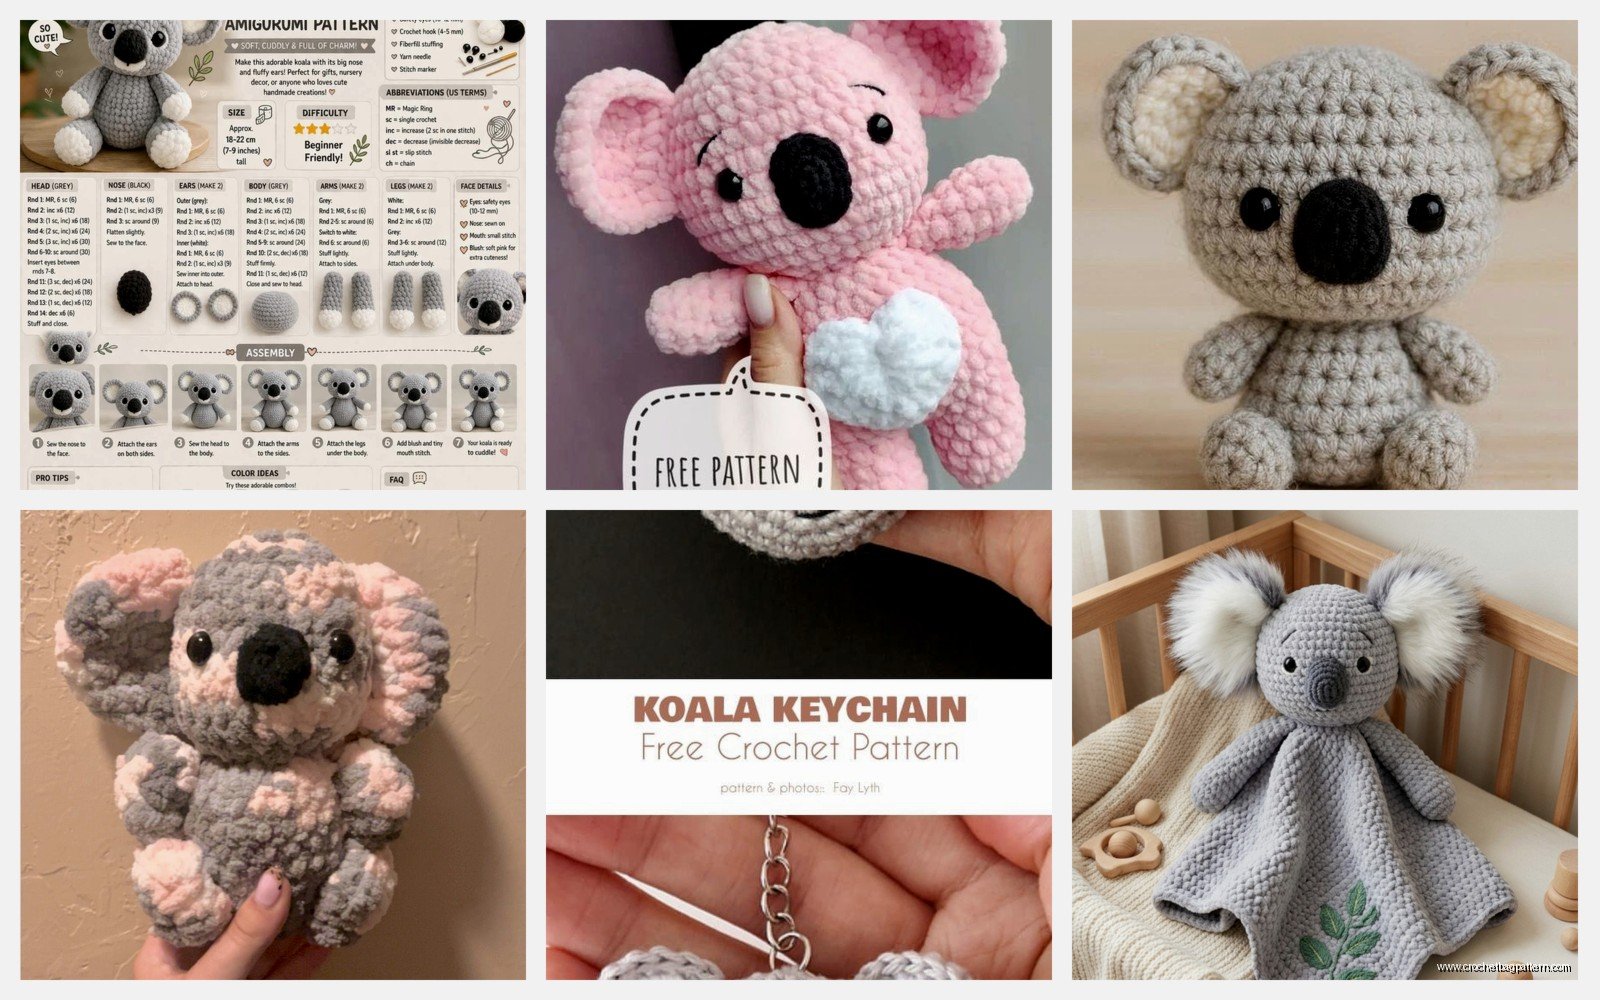
Each ear starts with a magic ring, 6 sc, then increase to 12, then do the sc-increase pattern to get to about 18-24 stitches depending on how large you want them. Koala ears are pretty big proportionally. Work a couple rounds even, then you can either leave them flat or do a few decreases to cup them slightly. The cupped shape looks more realistic but flat is easier to attach.
Sew the white inner ear onto the grey outer ear before attaching to the head. Position them on the top-sides of the head, not straight on top like a bear. They angle outward a bit.
Body and Limbs
The body is basically another oval shape but bigger around than the head. Start the same way with a magic ring and increases until you get to maybe 60 stitches if you want a chunky koala. Work even for about 15-18 rounds. Some patterns have you decrease at the bottom but I actually prefer to just leave it open and sew it closed when attaching to the legs, gives you more flexibility with positioning.
One thing that really annoyed me about making koalas is that the arms and legs are kind of finicky to position. They’re not like standing upright animals, koalas are usually clinging to something, so the limbs need to angle forward. The arms especially need to curve.
For arms, make a magic ring with 6 sc, increase to 9 or 10 stitches (you don’t want super thick arms), then work even for about 12-15 rounds. Don’t stuff the arms too firmly or they won’t bend right. Leave the top open for sewing.
Legs are thicker. Start with 6 sc, increase to 12, maybe increase once more to 15 or 18 depending on the look you want. Work even for about 10-12 rounds. Stuff these more firmly than the arms because they need to support the body if you’re positioning your koala sitting.
The Face Details
This is where koalas go from cute to CUTE if that makes sense. The nose is the focal point. You need to make an oval nose shape in black. I’ve tried a few methods but the easiest is to chain about 6, then work single crochet around the chain in an oval pattern, increasing at the ends. Do this for 2-3 rounds until you have a nice puffy oval.
Position the nose pretty low on the face. Like lower than you think. Koalas have their nose and mouth area taking up almost the bottom third of their face. Sew it on securely with black thread or yarn.
For eyes, if you’re embroidering them like I do, place them above and slightly to the sides of the nose. They’re pretty close together. Just do a few satin stitches or make a small circle with black yarn. Koalas have small eyes compared to other amigurumi animals so don’t make them too big or it looks wrong.
The white chest patch is optional but it really adds to the look. Make an oval shape in white similar to the nose but bigger, maybe starting with a chain of 8-10. Work it flat for 4-5 rounds. Sew this onto the front of the body before assembling everything.
Assembly Process
Okay so assembly is where people either love or hate amigurumi. You need a yarn needle and patience. I usually pin everything in place first with regular pins to see how it looks before committing to sewing.
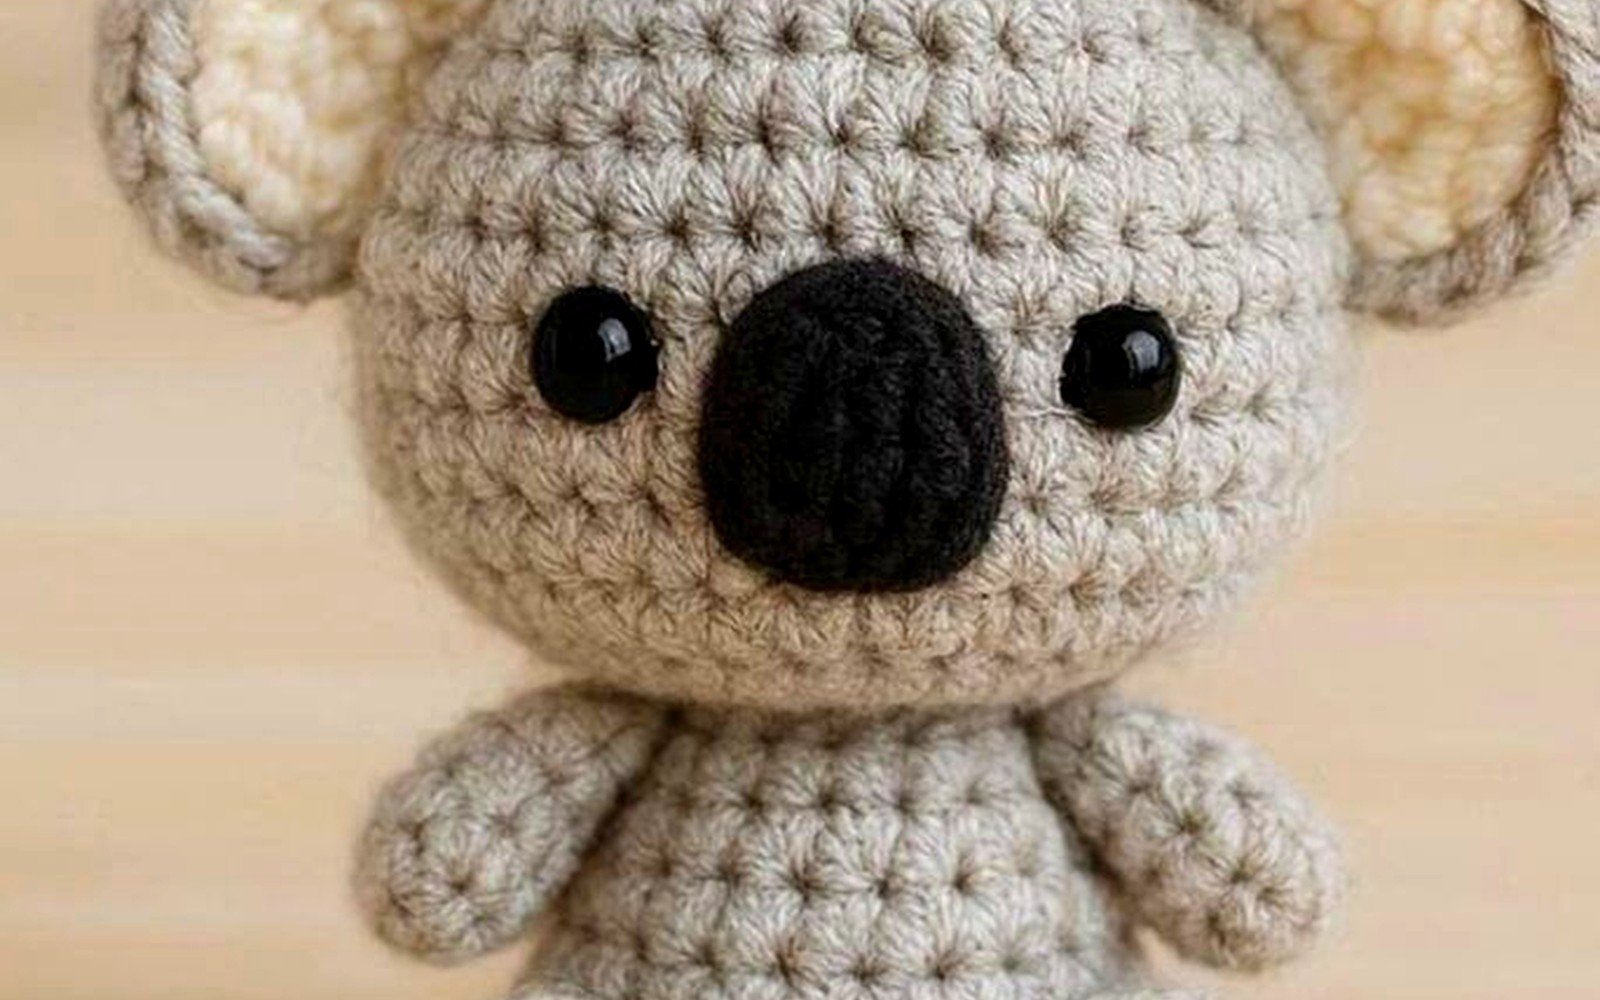
Attach the head to the body first. I sew around the opening twice for security because the head is heavy and you don’t want it flopping around. Use the same grey yarn so the stitches blend in.
Position the arms angled forward and slightly down, like the koala is reaching for a hug or clinging to a tree branch. Sew them on the upper sides of the body. The legs go on the bottom, angled forward as well. Some people attach them to the sides but I think it looks better if they’re more toward the front-bottom.
My cat kept trying to steal the fiberfill stuffing while I was working on the assembly part, it was so annoying because little white bits ended up all over the floor.
Variations and Modifications
Once you’ve made a basic koala you can modify it pretty easily. Baby koalas are just smaller versions with the same proportions. I made a baby one that was maybe half the size using sport weight yarn and a 2.75mm hook.
You can add a eucalyptus branch by crocheting a long tube in brown or dark green. Make it about 4-5 stitches around and work even for however long you want the branch. Add a few leaf shapes in green, which are just… chain a few stitches, work back along the chain with slip stitches and single crochet to make a pointed oval shape. Attach several leaves to the branch and then position the branch in the koala’s arms.
Some patterns include a little joey in a pouch but that’s getting into more complex territory. The pouch is basically a curved piece sewn onto the mother koala’s belly with the top open, and the baby koala head and arms poke out.
Yarn Choices and Why They Matter
I’ve used a bunch of different grey yarns for koalas and they all give slightly different looks. Caron Simply Soft is really smooth and gives a clean look but it can split while you’re crocheting if you’re not careful. Red Heart Super Saver in Grey Heather has more texture and is more affordable but it’s not as soft. Bernat Softee Baby in Grey Marl is really nice if you want something super soft but it’s pricier.
The white for the inner ears and chest can be any white or cream. I’ve used Lily Sugar’n Cream because I had it lying around and it worked fine even though it’s cotton and the rest was acrylic. Nobody’s gonna notice that the textures don’t match perfectly.
For the nose you want a solid black, not a heathered or variegated black or it won’t stand out enough. Red Heart Super Saver in Black works great and you only need a tiny amount.
Common Problems and Fixes
If your koala’s head is too floppy, you didn’t stuff it enough or your tension is too loose. You can add more stuffing through the neck opening before you sew the head to the body. Some people put a cardboard circle in the neck for support but I’ve never bothered.
If the ears won’t stay in position and keep flopping forward or backward, you need to sew them more securely. I go through each ear attachment at least three times, making sure to catch both the ear and the head firmly. You can also add a few internal stitches through the base of the ear to angle it how you want.
Lumpy stuffing shows through if your tension is inconsistent or you’re using too large a hook. The solution is to frog it and start over with tighter tension or a smaller hook. I know that’s annoying but it’s better than having a lumpy koala.
Time Investment
A basic koala takes me maybe 6-8 hours total if I’m working on it steadily. The head takes about 2 hours, body about 1.5 hours, all the limbs and ears together maybe 3 hours, and assembly is another hour or two depending on how fussy you are with positioning.
I usually work on amigurumi projects over several days because my hands get tired. The repetitive stitching can be hard on your wrists if you do it all at once.
Pattern Resources
There are tons of free koala patterns online if you search. I’ve used patterns from blogs and from Ravelry. Some are better written than others. Look for patterns that include stitch counts at the end of each round because those are way easier to follow than ones that just describe the pattern in words.
If you’re buying a pattern, make sure it includes photos of each step or at least the finished product from multiple angles. I bought one pattern once that had no photos and the instructions were confusing and I basically had to figure it out myself anyway.
Tips from My Experience
Use stitch markers. I resisted using them for years because I thought I could just keep track mentally but I was wrong. Mark the beginning of each round and you’ll mess up way less.
Don’t cut your yarn tail too short when you finish a piece. You need at least 6-8 inches for sewing pieces together. I’ve had to tie on new yarn because I cut the tail too short and it’s annoying.
Stuff as you go when you’re decreasing rounds. It’s way harder to stuff through a small opening at the end than to add stuffing gradually as the opening gets smaller.
Take breaks during assembly. If you’re getting frustrated with positioning or your thread keeps tangling, just walk away for a bit. I’ve made better decisions about limb placement after taking a break than when I was tired and just wanted to be done.
Keep your gauge consistent across all pieces. If you make the head really tight and then crochet the body loosely they won’t match and it’ll look weird. Try to maintain the same tension throughout the whole project or at least within each piece.
