
Jun
Making the Body and Getting Started
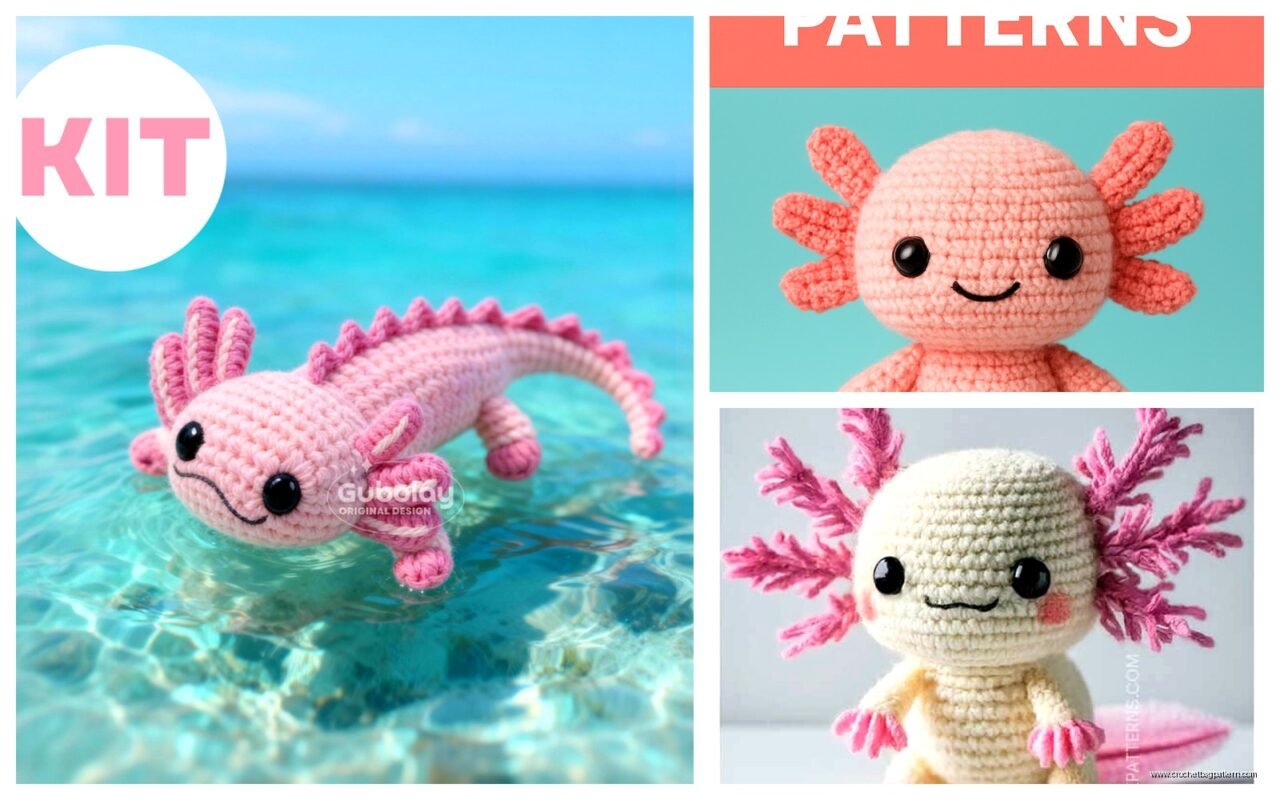
okay so the axolotl thing – I made one last spring 2023 when I was supposed to be doing literally anything else but my sister wanted one for her desk at work and I figured why not. The body is basically just a tube shape which sounds simple but you gotta get the proportions right or it looks more like a weird sausage than a salamander.
Start with a magic ring, 6 single crochets into it. Then you’re gonna increase every stitch in round 2 so you have 12 stitches total. Round 3 is the classic *sc, inc* pattern repeated around to get 18 stitches. Keep going with this increase pattern – *2sc, inc* for 24 stitches, then *3sc, inc* for 30 stitches. I usually stop at 30 or 36 depending on how chunky I want the axolotl to look.
The annoying part here is that you need to work in continuous rounds without joining and honestly I always lose track of where my round starts even with a stitch marker. I was using this pink yarn from Hobby Lobby’s I Love This Yarn line and the color was called Bubblegum or something, and it was impossible to see my stitches clearly because of how bright it was. My cat kept trying to sit on the whole project while I worked too which didn’t help.
After you get to your desired width, you just crochet even – meaning no increases or decreases – for like 20-25 rounds. This creates the body length. The axolotl body should be kinda stubby and round, not long and snake-like, so don’t go overboard here.
The Legs Are Where It Gets Fiddly
So you need four legs and they’re all the same which is nice I guess. Make a magic ring with 6 sc, then just work even for about 8-10 rounds. They should look like little stumps basically. Don’t stuff them too much or they get weird and stick straight out instead of hanging naturally.
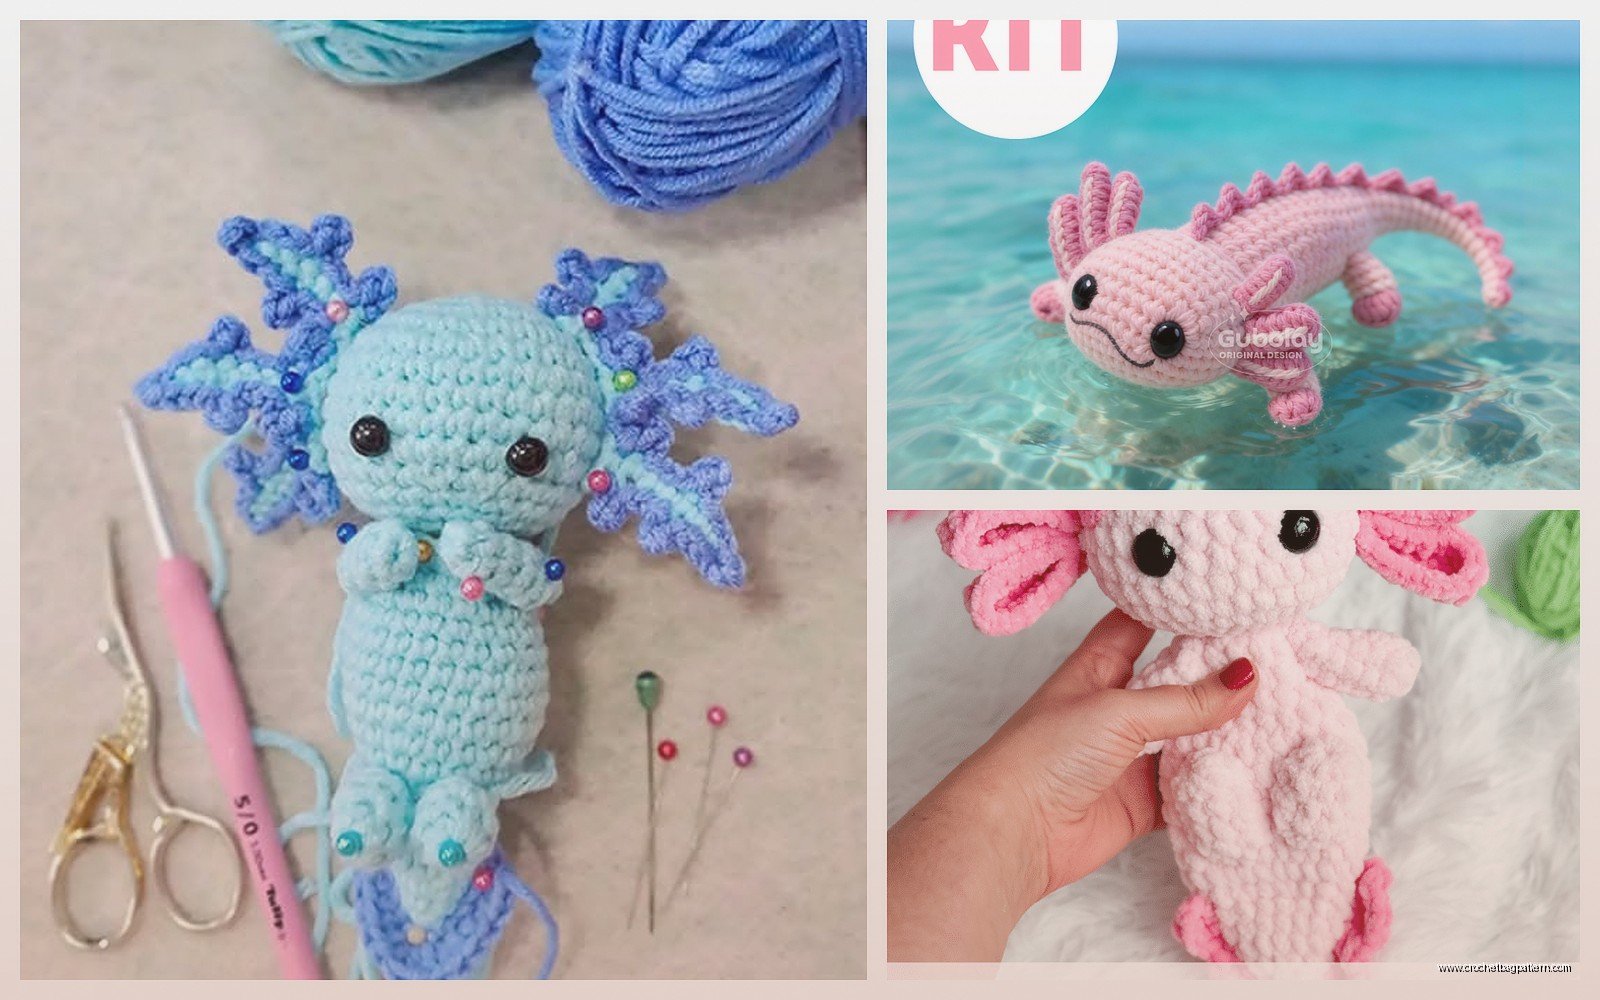
The thing that really annoyed me about this whole pattern was attaching the legs because there’s no good way to make them look evenly spaced. I tried counting stitches from the center line and marking where each leg should go but they still ended up slightly wonky. You’re supposed to attach them to the body with yarn and a needle, sewing them on securely, but getting them to point slightly outward and downward like actual axolotl legs is harder than it sounds.
I used Bernat Softee Baby yarn for the white belly part on another one I made and that yarn is really nice to work with actually, very smooth. But for the pink one I was talking about earlier with the I Love This Yarn brand, that one had more texture which made it look more… organic? But also showed every mistake.
The Gills Are Honestly the Best Part
Axolotls have those frilly external gills on the sides of their heads and that’s what makes them recognizable. There’s a few ways to do this but the easiest is to make little branching pieces that stick out.
For each gill branch you chain about 8-10, then slip stitch back down the chain. Make like 5 or 6 of these branches, then gather them together at the base and sew them onto the head area. You need three gills on each side of the head. They should be positioned kind of where ears would be if axolotls had ears, which they don’t obviously.
Some patterns tell you to use wire inside the gills so they stick out more dramatically but I never bothered with that because it seemed like extra work and also I was watching this show on Netflix about con artists and got distracted halfway through – anyway the gills look fine without wire, they’re just softer and floppier.
You can use a darker shade of your main color for the gills or even a contrasting color. I’ve seen people do pink bodies with red gills or white bodies with pink gills. The one I made for my sister had the same pink for everything because I didn’t wanna buy another skein of yarn honestly.
Head Shaping and Face Details
The head is really just the front portion of the body but you need to think about where you’re placing the eyes and mouth. Before you close up the body tube completely, stuff it pretty firmly. Not rock hard but firm enough that it holds its shape and doesn’t flop around.
For eyes I used 12mm safety eyes because that’s what I had in my stash. You place them pretty far apart on the top of the head – axolotls have that derpy wide-eyed look. Position them before you stuff the head because you can’t get the safety backs on after it’s stuffed, learned that the hard way on a different project.
The mouth is just a curved line of black embroidery floss or yarn. You want it to look like a little smile, that’s what gives axolotls their friendly appearance. I use a regular sewing needle and just do a backstitch or running stitch in a gentle curve. Some people do a straight line but the curve looks more… I dunno, more characteristic?
Oh and before I forget – taper the body slightly at the tail end before you start the actual tail fin. So like do a round of *4sc, dec* or whatever makes sense for your stitch count to bring it down a bit. Then you’re gonna make the tail.
Tail Fin Construction
The tail fin is flat and vertical, sticking up from the back of the body. This is different from how you’ve been working because now you’re gonna work in rows instead of rounds, or some people do it as a flat piece and attach it.
I usually just continue from the body and start working back and forth in rows. Chain 1, turn, sc across. You want the fin to be taller than it is wide. So if your body ended at like 18 stitches around, you might work the tail fin over just 8-10 of those stitches on the top side of the body.
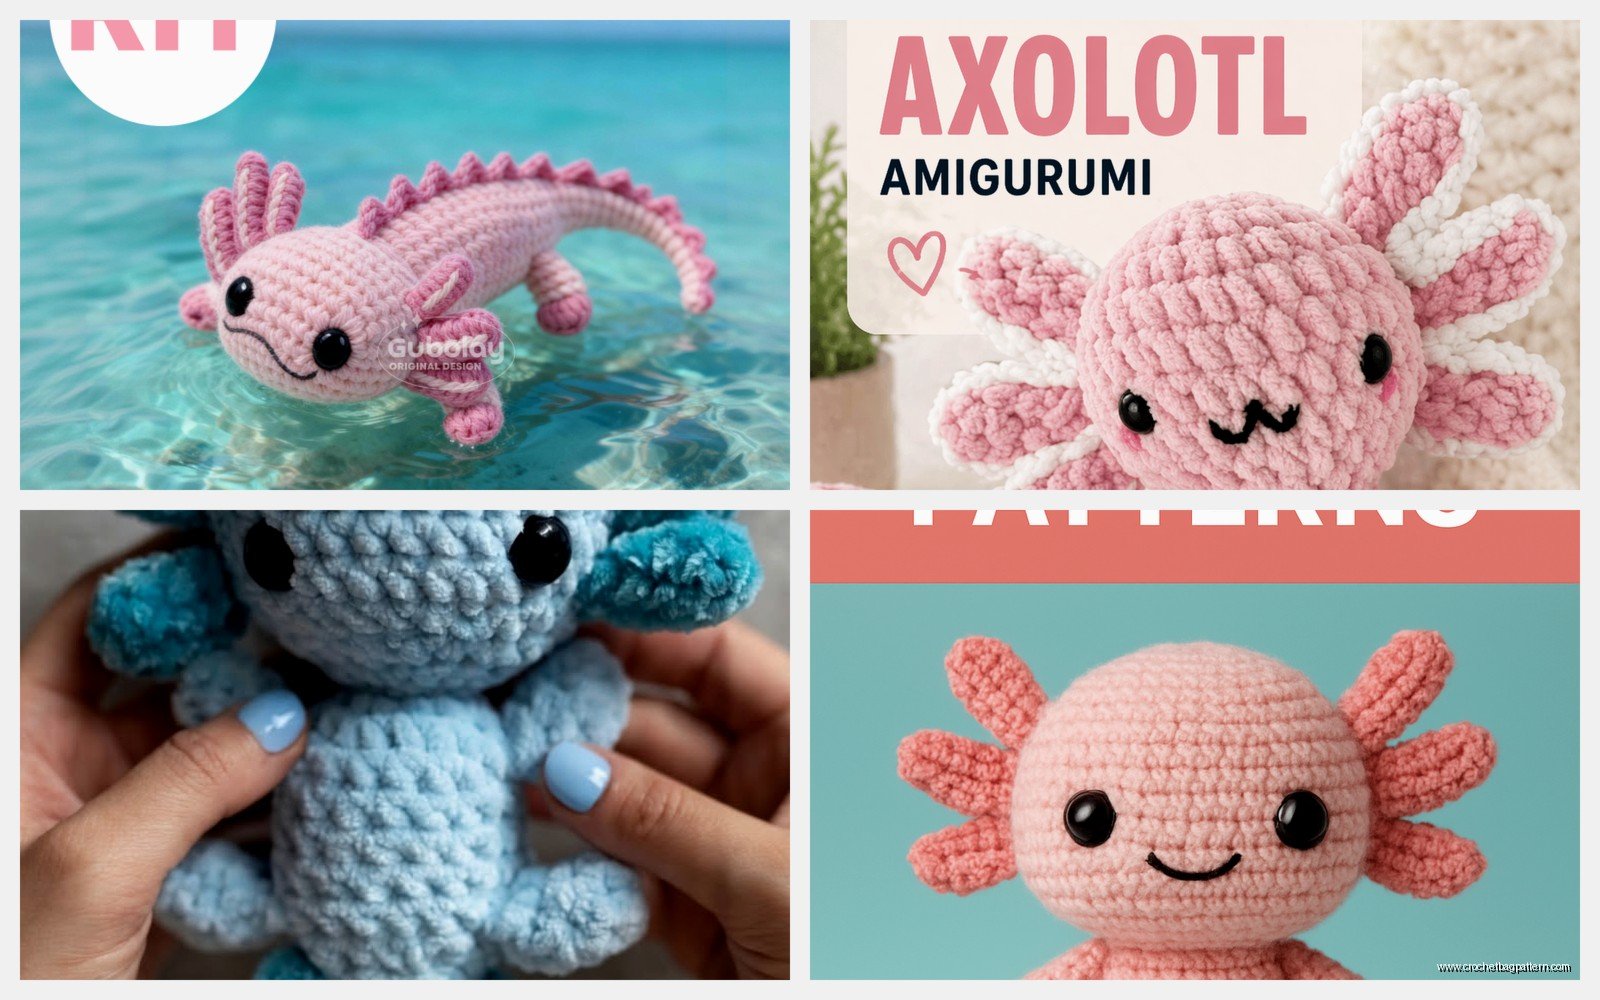
Work back and forth for maybe 10-12 rows to create height, then decrease on both sides every row or every other row to bring it to a point at the end. It should look kinda like a rounded triangle or teardrop shape when you’re done.
The tail fin wants to flop over a lot of the time which is just… it is what it is. You can add a little extra stiffness by crocheting tighter or working an extra layer, but mostly you just gotta accept that it’s gonna be a bit floppy. That’s actually pretty accurate to how axolotls look in water anyway.
Color Variations and Yarn Choices
Real axolotls come in different colors – pink/leucistic ones are super popular, but there’s also brown/wild type, golden, and black ones. The pink ones are what most people think of though.
If you’re doing a pink axolotl, Red Heart Super Saver in Pink is actually a decent choice even though people talk trash about that yarn. It’s cheap and holds up well. For a white/leucistic one, Caron Simply Soft in White or Off-White looks really nice and has good stitch definition.
I tried using Lion Brand Wool-Ease once for a brown axolotl and it was fine but felt kinda stiff for amigurumi work. The acrylic blends work better in my opinion because they’re more forgiving and you can squeeze and reshape them if needed.
For a black axolotl you’d think any black yarn would work but some blacks look really flat and dull. I liked Bernat Super Value in Black because it has a tiny bit of sheen to it without being sparkly or weird.
Assembly Tips That Actually Matter
When you’re sewing pieces onto the body, use the same yarn you crocheted with and a yarn needle. Regular sewing thread isn’t strong enough and it also doesn’t blend in as well. Go through the body and the piece you’re attaching multiple times – like at least 3-4 passes – so it’s really secure.
The legs need to be positioned on the lower sides of the body. Front legs go roughly 1/3 of the way back from the head, back legs go roughly 2/3 of the way back. But honestly just eyeball it and pin them with regular pins first to see how it looks before you commit to sewing.
One trick I figured out is to attach all the pieces on one side first, then use those positions as reference points for the other side. Like attach the left front leg, left gill cluster, and left back leg, then measure or count stitches to place the right side pieces in matching spots.
The gills should angle slightly backward, not stick straight out to the sides. This makes it look more natural and also they don’t get in the way as much when someone’s carrying it around or setting it on a shelf.
Sizing and Stitch Count Math
Most axolotl patterns end up around 8-12 inches long depending on your yarn weight and hook size. If you’re using worsted weight yarn (the most common), go with a 3.5mm or 4mm hook. I usually use 3.75mm because that’s my favorite hook size and I have like three of them scattered around my apartment.
For a smaller palm-sized axolotl, use sport weight yarn and a 3mm hook. The proportions stay basically the same, you just work fewer rounds for the body length.
If you want a really big one – like bigger than a loaf of bread – you’d need bulky yarn and a 5mm or 5.5mm hook, and you’d increase up to maybe 48 or 54 stitches for the body width instead of stopping at 30-36. I haven’t personally made one that big because where would I even put it, but the math works out.
Common Problems and Fixes
The most common issue is the body looking lumpy or uneven. This usually happens from inconsistent tension or not stuffing it evenly. When you stuff, add small amounts of polyfill at a time and push it into all the corners and edges with the end of your hook or a chopstick or whatever.
If your legs keep falling off, you didn’t sew them on securely enough. It’s boring and tedious but you really do need to go through multiple times with the yarn and pull it tight. The stitches should be basically invisible when you’re done.
Sometimes the gills end up looking limp and sad instead of frilly and alive. You can fix this by making more branches per gill cluster – like 7 or 8 instead of 5 or 6 – or by making the chains slightly longer. Also fluff them up with your fingers after you attach them.
The tail fin flopping over too much is just gonna happen honestly. You can try working it in double crochet instead of single crochet for more structure, or work two layers and crochet them together, but it’s still probably gonna flop at least a little bit.
Variations and Extra Details
Some people add little spots or freckles to their axolotls using embroidery or fabric paint. Real axolotls have these sometimes, especially the darker colored ones. You can do French knots with embroidery floss in a darker shade for this.
You could also make a rainbow axolotl with stripes by changing colors every few rounds on the body. Carry the unused color along inside your work so you don’t have a million ends to weave in later – or actually just weave them in as you go because otherwise you’ll have this huge pile of yarn tails at the end that you’ll avoid dealing with for like three weeks. Not that I would know anything about that.
For a more detailed version, some patterns include a separate belly piece in white or cream that you sew onto the underside of the body. This is more work but does look pretty good and more realistic.
Little accessories are fun too – you can make a tiny flower crown with chain loops and attach it between the gills, or a small scarf wrapped around the neck area. My sister’s coworkers apparently loved the one I made so much that three other people asked for them, and I made one with a little bow tie for someone’s desk.
The basic pattern is really versatile once you understand the structure. You could make the body longer and thinner for a more realistic proportion, or shorter and fatter for a super cute chibi style. Experiment with different eye sizes and placements too – closer together looks younger and cuter, farther apart looks more realistic.
Just start with the basic version first before you get all fancy with modifications though. Get comfortable with the body shaping and attachment process, then mess around with variations on the next one you make.
