
Jun
Getting Started With Amigurumi Animals
So basically you need a smaller hook than you think. Like way smaller. I was making this frog in summer 2022 and used a 4mm hook because that’s what I had and the stuffing kept poking through the stitches which was super annoying. Get a 2.5mm or 3mm hook depending on your yarn weight. The whole point is tight stitches so nothing shows through.
For yarn I usually grab Red Heart Super Saver because it’s cheap and comes in a million colors. Hobby Lobby’s I Love This Yarn works too. Sometimes I’ll use Bernat Premium if I want something softer but honestly for little animals the cheaper stuff is fine because you’re not using that much anyway. Just make sure it’s acrylic so you can actually wash these things when they get gross.
The Magic Ring Thing Everyone Talks About
Okay so most amigurumi starts with a magic ring and I gotta say I avoided this for like a year because it seemed complicated. It’s not really, you just wrap the yarn around your fingers in a specific way and crochet into the loop, then pull it tight. There’s definitely videos that show it better than I can explain in text. But here’s the thing – if you hate it you can also just chain 2 and do your starting stitches in the first chain. It leaves a tiny hole in the center but stuffing usually covers it.
The magic ring is better though. I finally learned it properly when I was making a whole bunch of bees as gifts and got tired of the little holes. Once you do it like ten times it becomes automatic.
Reading Patterns vs Just Winging It
Most amigurumi patterns are written in this shorthand that looks confusing at first. Like “Rnd 1: 6 sc in magic ring [6]” or “Rnd 5: (sc, inc) x 6 [18]” but you get used to it fast. The number in brackets is your stitch count for that round which is super helpful for catching mistakes.
Inc means increase (2 stitches in one stitch). Dec means decrease (combining 2 stitches into one). Sc is single crochet obviously. Most patterns are just variations of increasing rounds to make it bigger, straight rounds to make a tube, then decreasing rounds to close it up.
I made this octopus in spring 2023 while binge watching The Bear and honestly just followed the pattern without thinking too hard about it. The body was easy but making eight identical tentacles was where I wanted to quit. They never came out exactly the same length even though I followed the same pattern every time.
Stuffing Is More Important Than You Think
Use polyfil stuffing, not like cotton balls or fabric scraps or whatever. Poly-Fil brand is good, Fairfield is fine too. The cheap stuff from dollar stores gets lumpy. You want it firm but not rock hard – there’s this balance where it feels squishy but still holds its shape.
Stuff as you go, especially with small pieces. Don’t wait until the end because you can’t get your hand in there to distribute it evenly. I learned this the hard way with a bunny that ended up with a lumpy weird head because I thought I could stuff it after closing most of the way. Had to pull out like 15 rows and redo it.
For really small parts like ears or arms you can use the back end of your hook or a chopstick to push stuffing in. My cat keeps trying to steal the stuffing every time I open the bag which is… distracting.
Body Shapes and Basic Construction
Most amigurumi animals are just spheres and cylinders stuck together in different ways. A bear is basically a round head, oval body, four leg cylinders, two arm cylinders, two ear circles, and a tiny nose bump. Once you realize this you can kinda make up your own patterns.
The typical progression for a round shape is:
- Start with 6 stitches in magic ring
- Increase every stitch (12 stitches)
- Increase every other stitch (18 stitches)
- Increase every third stitch (24 stitches)
- Keep going with this pattern until it’s as wide as you want
- Work even rounds (no increases) for the middle section
- Decrease in reverse order of how you increased
For cylinders you just increase to the width you want then work even rounds without any increases or decreases. Easy.
Attaching Parts Without Losing Your Mind
This is the part that annoyed me SO MUCH when I was learning. Sewing pieces onto the body always looked messy and I couldn’t figure out why. Turns out you’re supposed to use the same color yarn as the piece you’re attaching, and you ladder stitch it on by going under both the body stitches and the piece stitches alternating back and forth. Also pinning everything in place first with regular pins helps a lot.
Some people leave a long tail when they finish each piece specifically for sewing it on later. I forget to do this constantly and end up attaching new yarn which means more ends to weave in. Do what I say not what I do I guess.
Safety eyes are easier than embroidering eyes but you have to put them in before you finish stuffing and close up the piece. They have a washer that snaps on the inside and once it’s on you can’t remove it without cutting. So like, really commit to the placement before you push that washer on. I’ve made some creatures with eyes that were definitely too close together or uneven and there’s no fixing it.
Specific Animals That Are Good For Starting
Blobs are your friend when you’re beginning. Things that are supposed to be round and simple. I made a whole family of little round birds in summer 2024 when I was stuck at home with a sprained ankle and they were perfect for learning because if they came out slightly wonky it didn’t matter – birds are round anyway.
Easy animals to try:
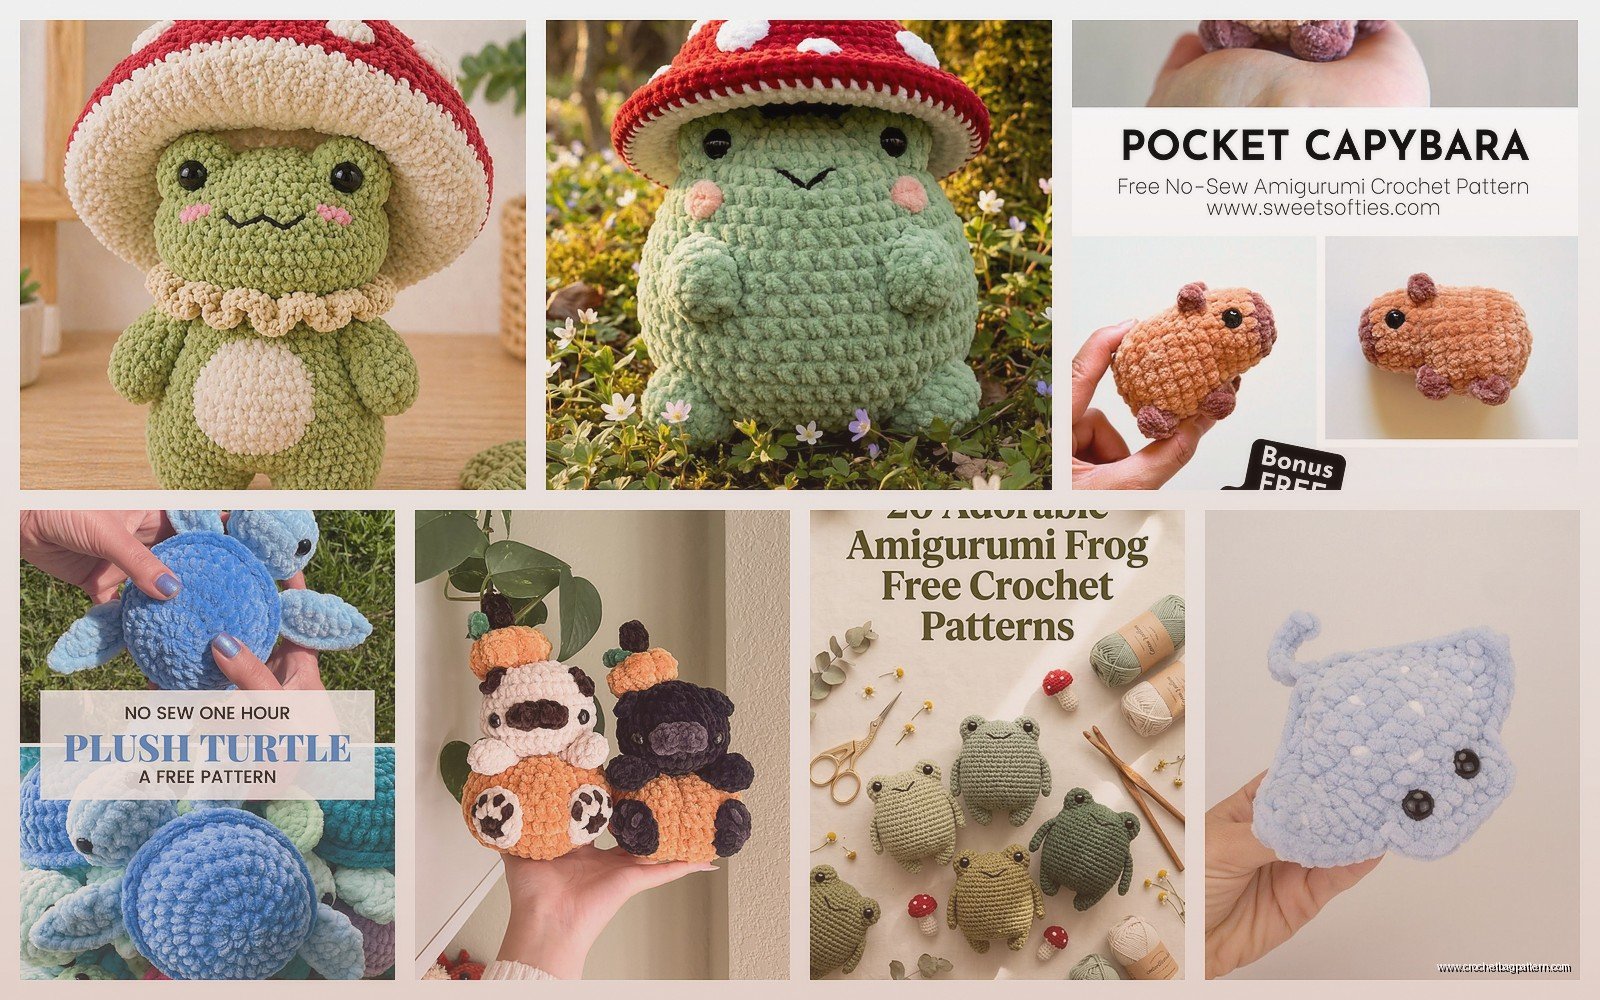
- Octopus (round head, simple tentacles that are just tubes)
- Bees (oval body, tiny wings)
- Basic teddy bear (all simple shapes)
- Whale (basically a tube with fins)
- Mushrooms if you count those as creatures
Harder animals to avoid at first:
- Dragons with wings and spikes and scales
- Realistic dogs with proper snouts and positioned legs
- Birds with actual wing shaping
- Anything with tiny detailed parts
Color Changes and Stripes
When you need to switch colors you just drop the old color and pick up the new one. The trick is to do the last pull-through of the stitch before the change with the new color. This makes the color change look cleaner on the right side.
For stripes like on a bee or a cat you’re gonna carry the yarn up the inside as you work. Don’t cut it after every stripe or you’ll have a million ends to weave in. Just drop it, work with the other color, then pick it back up. The unused yarn gets hidden inside with the stuffing.
I made this raccoon pattern that had like eight color changes for the tail stripes and it was tedious but looked really good when finished. Used Red Heart Super Saver in Grey Heather and White.
Common Problems and Fixes
Your circle is ruffling and not laying flat? You’re increasing too much. Your circle is cupping and curling up? You’re not increasing enough. The standard increase pattern usually works but sometimes depending on your tension you need to adjust.
Stitches are loose and you can see stuffing through them? Smaller hook or tighter tension. This was my biggest issue starting out because I naturally crochet loose for regular projects.
Can’t figure out where to put your hook for the next stitch? Amigurumi is worked in continuous spirals usually, not joined rounds. Use a stitch marker on the first stitch of each round so you know where you are. Bobby pins work fine as stitch markers if you don’t have the actual thing.
Your decreases look lumpy? Try invisible decreases instead of regular ones. You go through the front loops only of the two stitches you’re combining, then yarn over and pull through. Makes it look smoother.
Embroidery Details
For faces and details you’ll need embroidery. Black yarn or embroidery floss works for simple features. Satin stitch for noses (just a bunch of straight stitches next to each other). Backstitch for mouths or smile lines.
I usually sketch where I want features with a water-soluble marker first because I’ve definitely sewn on a smile that was way too high or too low and had to pick it all out. The marker washes away when you’re done or you can dab it with a wet cloth.
Some patterns call for felt details glued on which is… fine I guess but it feels like cheating to me? Plus hot glue never sticks as well as I want it to. I’d rather embroider or crochet the details.
Pattern Resources
You can find free patterns all over the internet. Ravelry has tons though you gotta make an account. Pinterest links to patterns but half of them are broken links or go to spam sites trying to get your email. YouTube has video patterns which are actually super helpful when you’re starting because you can see exactly what they’re doing.
Paid patterns from established designers are usually better written and tested though. Like they’ve actually made the thing multiple times and know the instructions work. I’ve bought a few pattern bundles from Etsy shops when they go on sale.
Once you make like five or six animals from patterns you start understanding the construction enough to modify things. Want bigger ears? Add more increase rounds. Want shorter legs? Work fewer even rounds in the middle. It’s pretty forgiving.
Yarn Weight Considerations
Most patterns specify worsted weight yarn (size 4) with a 3mm or 3.5mm hook. If you use thinner yarn you’ll get a smaller animal, thicker yarn makes it bigger. Pretty straightforward but your stitch counts stay the same.
I tried making a tiny keychain bunny with embroidery floss once and it was… okay? Really small and fiddly. Used a 1.5mm hook. Took forever for something that ended up being like two inches tall. Probably not worth it unless you really want miniatures.
Chenille yarn is trendy right now for amigurumi – Bernat Blanket or Chenille Home. Makes really soft plushy animals but it’s harder to see your stitches while you work. Also way bulkier so you need like a 6mm hook and patterns turn out huge.
Actual Time Investment
A simple small animal maybe takes 2-3 hours if you’re moving along. Something more complex with lots of parts and details can be 6-8 hours easily. I made an elaborate unicorn with a curly mane and tail and embroidered details that took probably ten hours total across several days.
The nice thing is you can work on them in chunks. Finish the body one day, make the legs another day, attach everything when you feel like it. They’re portable too – throw your current piece and a ball of yarn in your bag.
During that breakup in winter 2023 I made like fifteen little creatures in two weeks because I needed something to do with my hands while watching TV and crying. They were mostly blobs and not particularly cute but whatever, it kept me occupied and now I have a basket full of random amigurumi.
Tension Consistency
Your tension matters more in amigurumi than in like a blanket or scarf. Loose stitches show stuffing, tight stitches make it hard to get your hook in. Try to keep it consistent throughout the project.
I noticed my tension gets tighter when I’m stressed and looser when I’m tired or watching something really engaging on TV. Sometimes I have to frog a few rounds because the size suddenly changed and it’s obvious when you look at it.
If you’re working on something over multiple days your tension might shift between sessions. Not much you can do about this except try to be aware of it.
Storage and Organization
You’re gonna end up with partial balls of yarn in random colors. I keep mine in a big plastic bin organized by color roughly. Sandwich bags work for keeping small amounts of yarn from tangling together.
Safety eyes come in different sizes – I have a small organizer box with compartments for 6mm, 8mm, 10mm, and 12mm eyes in black. Sometimes you can find them at craft stores but ordering bulk sets online is way cheaper.
Keep your hooks together. I have a case but honestly they usually just live in a mug on my desk. The small sizes you need for amigurumi are easy to lose.
Finished pieces that aren’t gifts I just… have in a basket? They pile up fast if you make a lot. Some people sell them but that seems like a lot of work for not much money considering the time investment.
