
Jun
Getting Started with Disney Characters
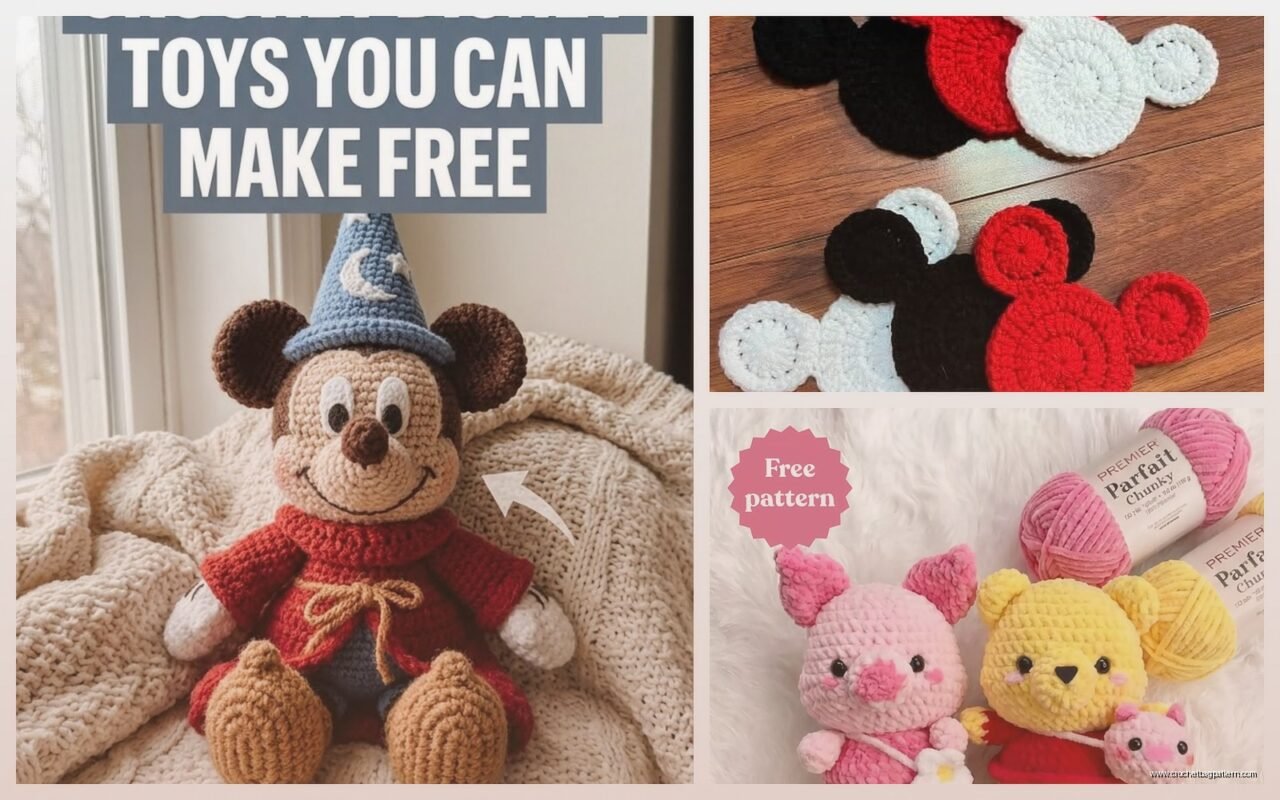
So the main thing with Disney crochet patterns is you gotta decide if you’re doing amigurumi or flat stuff like blankets because that changes everything. I made my first Mickey Mouse in summer 2022 while binging The Crown and honestly it was way harder than I thought it’d be. The ears kept being lopsided.
Most Disney characters work best as amigurumi which is just the Japanese style of making stuffed things with crochet. You work in continuous rounds instead of joining each row, and you need stitch markers because you WILL lose track of where you are. I use those little plastic ones from Amazon, the colorful pack of like 50 for five bucks.
Yarn Choices That Actually Matter
For yarn, I always go with Red Heart Super Saver or Caron Simply Soft. Red Heart is cheaper and comes in literally every color you’d need for Disney characters. Like they have this perfect yellow for Winnie the Pooh called “Bright Yellow” and a red called “Cherry Red” that’s spot on for Mickey’s shorts. Caron Simply Soft is nicer to work with though, softer on your hands during long projects.
You want worsted weight yarn which is the medium thickness. Some patterns call for sport weight but honestly just size up or down your hook to match whatever yarn you have. A 3.5mm or 4mm hook works for most character projects. I use a 3.75mm Boye hook that I’ve had forever, the handle is kinda scratched up from my cat knocking it off the table repeatedly.
Black and white yarn you’ll need tons of. Almost every Disney character has black details or white for eyes and stuff. Buy the big skeins because running out of black in the middle of embroidering Mickey’s smile is annoying as hell.
Finding Patterns
Etsy has thousands of Disney patterns but the quality varies wildly. Some are super detailed with clear photos for every step, others are basically just a list of abbreviations that assume you already know what you’re doing. I look for patterns with lots of reviews and photos from people who actually made them.
There’s also free patterns on blogs and Pinterest but you get what you pay for sometimes. I found a free Stitch pattern once that didn’t include the arms at all? Like it just stopped after the body and head. Had to figure out arms myself.
The paid patterns I’ve bought are usually between $3-7 and they’re worth it if you want something that actually looks like the character. The proportions matter so much with Disney stuff because everyone knows exactly what Mickey or Elsa should look like.
Reading Pattern Language
Disney patterns use standard crochet abbreviations but here’s what shows up constantly:
- sc = single crochet, your basic stitch
- inc = increase, putting 2 stitches in one stitch
- dec = decrease, combining 2 stitches into one
- MR = magic ring, how you start most amigurumi
- ch = chain
- sl st = slip stitch for joining
The patterns write rounds like “Rnd 3: [sc 2, inc] x 6” which means you do that sequence in brackets 6 times around. Gets repetitive but it’s how you shape things.
Character-Specific Tips
Mickey and Minnie are actually good starter characters because they’re basically the same body with different accessories. The ears are the annoying part I mentioned earlier – you make them as flat circles and sew them on, but getting them symmetrical is harder than it looks. I measure with a ruler now before pinning them.
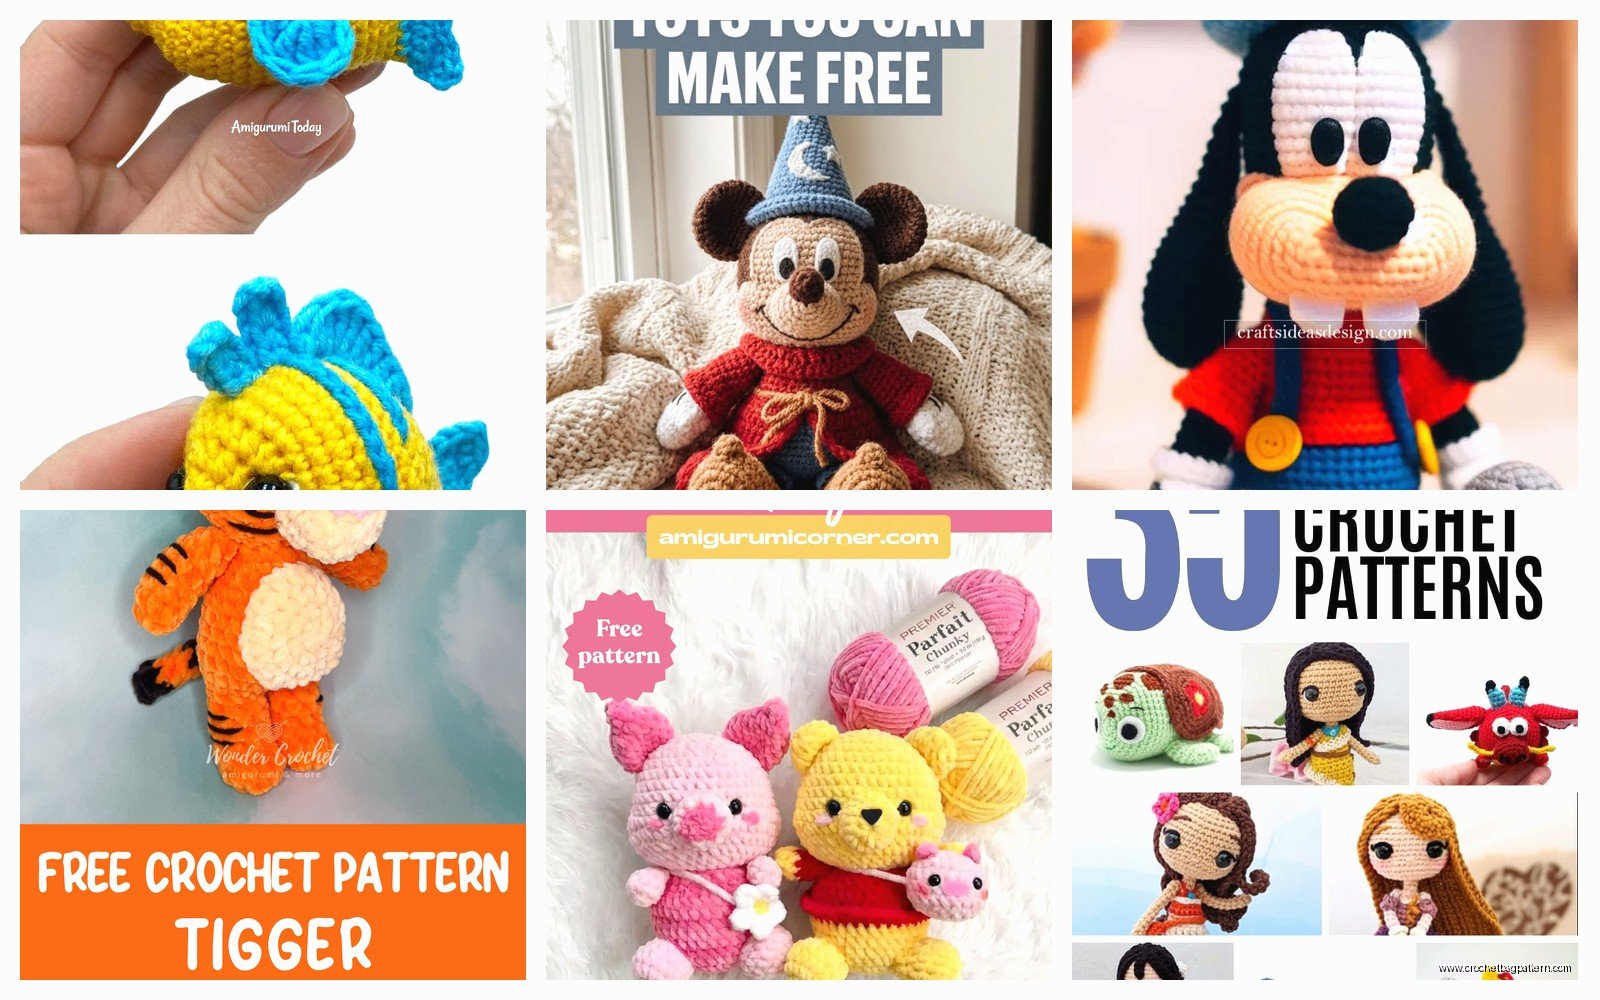
Pooh Bear needs a red shirt which sounds simple but getting the shirt to sit right on the body without bunching up took me three tries. Spring 2024 I made one for my friend’s baby and the shirt kept riding up in the back. Had to add extra rows to make it longer.
Stitch requires a lot of color changes between blue and purple. You’ll be weaving in so many ends. Like, so many. I watched half a season of Succession just weaving in ends on a Stitch project. The pattern I used had you change colors every two rounds for his back markings.
Princesses are tricky because of the dresses and hair. Elsa’s braid alone is its own whole project – you make a long chain and then single crochet back along it, then braid three of those together. Her dress needs that ombre effect from dark to light blue which means either holding two strands of yarn together in different ratios or buying that expensive gradient yarn.
Donald Duck needs stuffing in his butt to make him sit right. That sounds weird but the pattern actually says to stuff the bottom heavier than the top or he tips forward. His sailor shirt with the little tie is cute but fiddly to attach.
The Assembly Process
This is where I always get frustrated honestly. You spend hours crocheting all these pieces and then you have to sew them together and somehow make it look good. I use the same yarn for sewing that I used for the piece, with a yarn needle. Thread it through the stitches on both pieces you’re joining.
Stuffing matters more than you’d think. Poly-fil is the standard stuffing, get the bag from Walmart or Joann’s. You want pieces firmly stuffed but not so tight that the stitches stretch apart. Arms and legs need less stuffing than the head and body.
Safety eyes are those plastic eyes with the washer backs. You push them through the fabric and snap the washer on the inside before you stuff and close up the piece. Once they’re in, they’re IN. Can’t change your mind. I always place them with pins first to check the positioning because I made a Mickey where the eyes were too far apart and he looked drunk.
For smaller characters or anything for babies, embroider eyes instead of safety eyes. Just use black yarn and make little circles with satin stitch or French knots or whatever. Safer and honestly sometimes looks better anyway.
Details That Make It Look Right
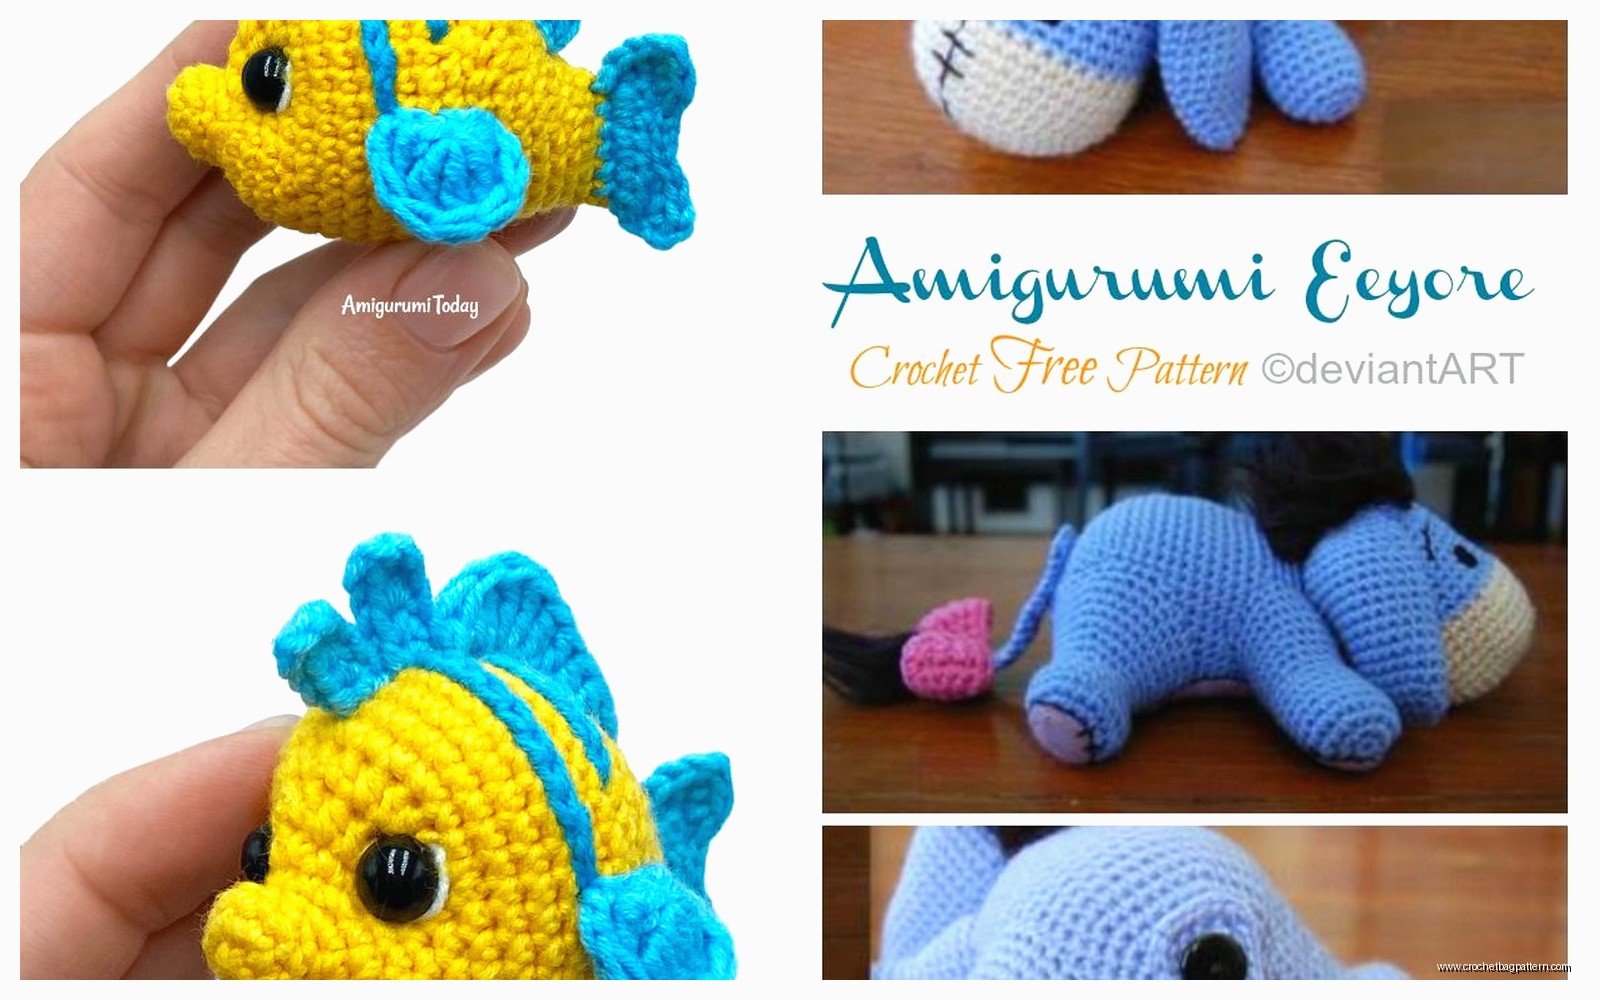
Embroidery is how you add faces, clothing lines, all that. You need embroidery floss or just yarn in the right colors. Mickey’s smile gets embroidered in black, Pooh’s nose and mouth in black, Stitch’s nose in dark purple. Look at reference images while you work because getting the smile shape wrong makes the whole character look off.
Some patterns include wire in the arms or legs so you can pose them. I’ve tried this and it’s… okay? The wire pokes through eventually if someone plays with it a lot. Better for display pieces than toys.
Problem Solving Common Issues
When your piece curves or warps instead of staying flat, you’re either increasing too much or not enough. Count your stitches at the end of each round. The pattern should tell you how many you should have.
If the character looks lumpy, you stuffed it unevenly. Take some stuffing out and redistribute it, pushing it into corners with the back of your hook or a chopstick.
Colors looking wrong even though you followed the pattern could mean your yarn brand has different color tones. Red Heart’s yellow is more golden than Caron’s yellow which is brighter. Sometimes you need to switch brands mid-project or just accept your character will be slightly off-palette.
Tension issues show up as gaps between stitches where the stuffing shows through. Work tighter by holding your yarn with more tension or go down a hook size. I crochet pretty loose naturally so I usually use a 3.5mm hook even when patterns call for 4mm.
Time Investment Reality Check
A small character like a palm-sized Mickey takes maybe 4-6 hours total if you know what you’re doing. Bigger characters that are 12-15 inches tall can take 15-20 hours spread over several days. Princesses with elaborate dresses and hair, maybe 20-25 hours.
I made a Baymax (technically Disney since they own Marvel now) in summer 2024 during a really bad heat wave and it took forever because he’s all white so every smudge showed up. Had to keep washing my hands. That one was maybe 10 hours because he’s basically a round body with simple limbs, but getting him to stand up required extra stuffing in the feet.
Modifying Patterns
Once you’ve made a few characters you can start changing stuff. Want a bigger Mickey? Add more increase rounds at the beginning of each body part. Smaller? Skip some rounds or use thinner yarn with a smaller hook.
You can mix and match too – use Minnie’s body pattern but change the bow to make Daisy, or use the basic mouse pattern but change colors and accessories for different characters. The basic construction is the same for a lot of Disney characters, it’s just the details that make them specific.
Sometimes patterns don’t include an outfit you want so you gotta figure it out. I made a Moana without a pattern for her skirt, just crocheted a rectangle the right size and wrapped it around her waist. Her necklace was just a chain with a small shell charm from the craft store tied on.
Yarn Amounts
Most small characters need less than one skein of each color. Like for Mickey you might use half a skein of black, quarter skein of beige for the face, tiny bits of red, yellow, and white. Patterns usually tell you yardage but I just buy one skein of each color and I’ve always had plenty left over.
Bigger projects like character blankets obviously need way more. A granny square blanket with different Disney characters in each square could need 10-15 skeins depending on size. Those are more about planning your colors and layout than actual difficulty though.
What Annoyed Me Most
The thing that annoyed me most about Disney crochet is how the patterns assume you’ll get everything perfect on the first try. Like they’ll say “sew ears onto head” with one photo showing the finished product. But WHICH stitches exactly? How far apart? At what angle? I’ve had to redo attachments so many times because the pattern wasn’t specific enough about placement.
Also patterns that use weird yarn brands I can’t find locally. If your pattern calls for some boutique yarn only available from one shop in the UK, I’m gonna substitute and then the colors won’t match the photos and I’ll wonder if I did something wrong when really it’s just different yarn.
Display vs Play
If you’re making these for kids to actually play with, reinforce everything. Sew limbs on multiple times through different stitches. Use safety eyes rated for children’s toys. Accept that it might fall apart eventually because kids are rough.
For display pieces you can use hot glue for accessories, add wire for posing, use fancy yarns with sparkles or fuzz. I made an Elsa with this sparkly light blue yarn that shed glitter everywhere but looked amazing on a shelf.
Cleaning handmade toys is annoying – you can’t just throw them in the washing machine usually. Spot clean with a damp cloth or hand wash in cold water and air dry completely. The stuffing takes forever to dry inside.
Copyright Stuff Nobody Talks About
Technically you can’t sell finished Disney characters without a license because Disney owns the characters. Patterns are a gray area – you’re selling instructions not the actual character. But if you make a bunch of Mickeys and sell them at a craft fair, Disney could theoretically come after you. Do people do it anyway? Yeah, all over Etsy and Facebook marketplace. Just saying it’s technically not allowed.
Making them for personal use or gifts is totally fine obviously. That’s what most people do anyway.
Okay so that’s basically everything I’ve learned from making probably 15-20 Disney characters over the past couple years. Start with something simple like Mickey or a Tsum Tsum style character before attempting Rapunzel with her 10 feet of hair or whatever. And buy extra black yarn. You’ll need it.
