
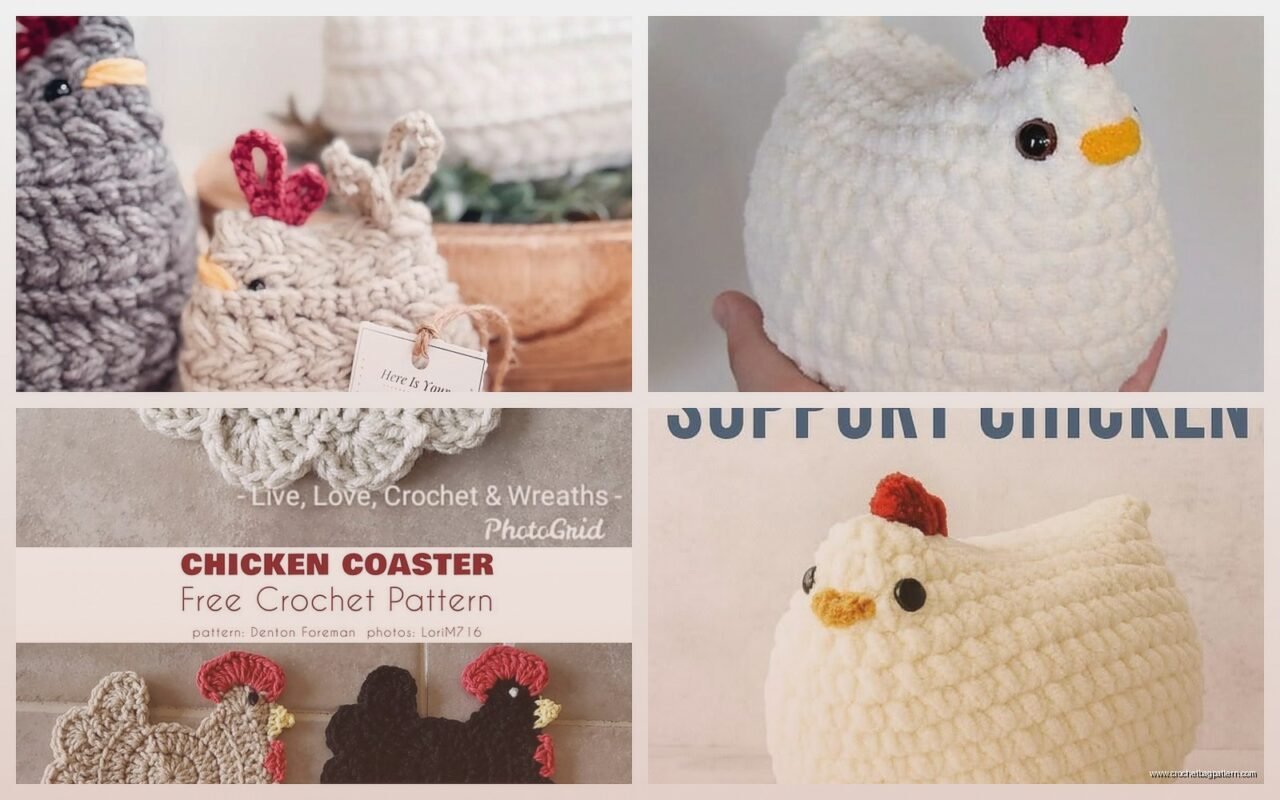
Jun
Getting Started With Your Chicken
So basically you’re gonna want to start with the body first, not the head like some patterns tell you. I made my first chicken in spring 2022 when I was stuck at home with the flu and honestly the body-first approach just makes more sense because you can stuff it better and the head sits on top more naturally.
Grab some worsted weight yarn – I used Red Heart Super Saver in their bright yellow color because it was literally the only yellow I had, but if you want something softer maybe go with Caron Simply Soft. The Red Heart gets the job done though and it’s cheap which matters when you’re making like five chickens because everyone suddenly wants one after they see the first.
Materials You Actually Need
- Yellow yarn for the body (worsted weight)
- Orange or red yarn for the comb, wattle, and feet
- Small amount of white and black for eyes, or just use safety eyes
- 3.5mm or 4mm hook depending on how tight you crochet
- Polyfill stuffing
- Yarn needle for sewing parts together
- Stitch markers because you will lose count
The Body Pattern
Start with a magic ring. If you don’t know how to do a magic ring just YouTube it, it’s way easier to watch someone do it than read instructions. Put 6 single crochets in that ring.
Round 2: increase in every stitch so you have 12 stitches total.
Round 3: *sc 1, inc 1* repeat around for 18 stitches.
Round 4: *sc 2, inc 1* repeat around for 24 stitches.
Round 5: *sc 3, inc 1* repeat around for 30 stitches.
Round 6-12: just single crochet in every stitch, no increases. This is the main body part and honestly it’s kinda boring but you can watch TV while you do this part. I was watching some cooking show I don’t even remember what it was called.
Round 13: *sc 3, dec 1* repeat around for 24 stitches.
Round 14: *sc 2, dec 1* repeat around for 18 stitches.
Start stuffing here before the opening gets too small. Pack it pretty firm but not rock hard.
Round 15: *sc 1, dec 1* repeat around for 12 stitches.
Round 16: decrease around until you can close it up, then fasten off and weave in the end.
The Head Part
The head is basically the same concept but smaller. Magic ring with 6 sc again.
Round 2: inc in every stitch for 12.
Round 3: *sc 1, inc* around for 18.
Round 4: *sc 2, inc* around for 24.
Round 5-8: sc in every stitch around.
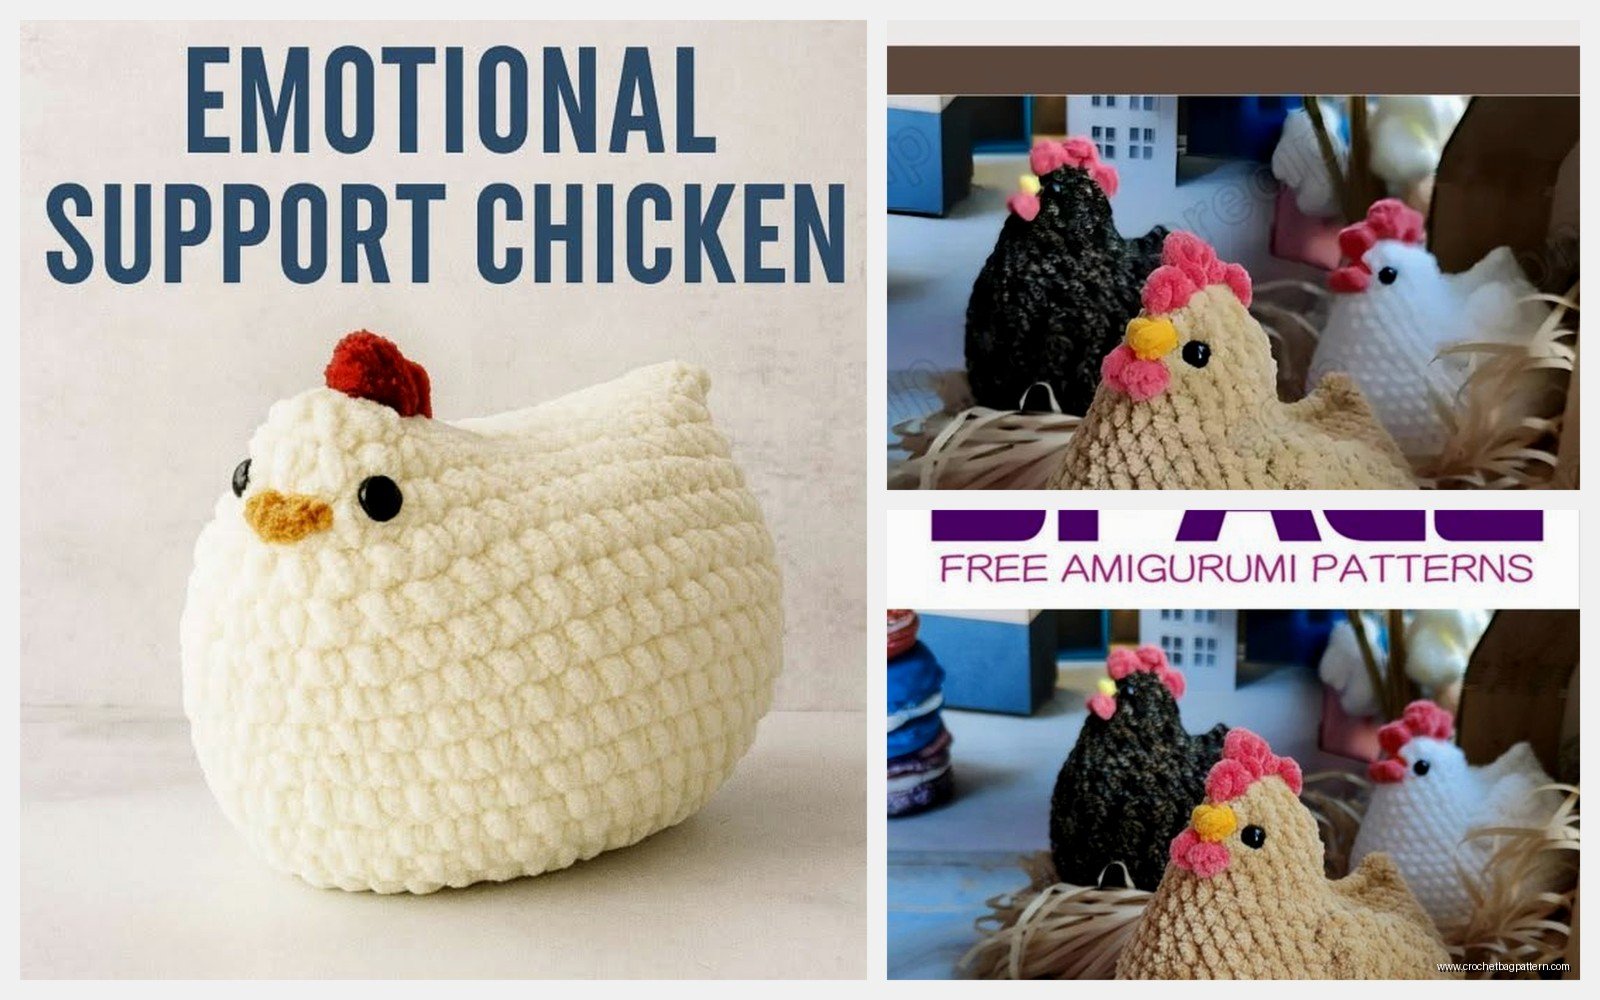
This is where it gets annoying – you have to decide where to put the eyes before you start decreasing. I always mess this up and put them too close together or too far apart. If you’re using safety eyes, put them between rounds 5 and 6, about 6 or 7 stitches apart. The thing that really annoyed me about making the chicken was getting the eyes even because the head is so small and once those safety eyes are in, they’re IN.
Round 9: *sc 2, dec* around for 18 stitches.
Round 10: *sc 1, dec* around for 12 stitches.
Stuff the head firmly.
Round 11: dec around until closed, fasten off leaving a long tail for sewing.
The Beak
Switch to orange yarn. This is tiny so it works up fast.
Magic ring with 4 sc.
Round 2: *sc 1, inc* around for 6 stitches.
Round 3-4: sc around.
Fasten off with a long tail. Don’t stuff this, it looks weird stuffed. Just flatten it into a little triangle shape and sew it onto the face between and slightly below the eyes.
Comb and Wattle Situation
Okay so the comb is that red thing on top of the chicken’s head and honestly there’s like a million ways to make it. The way I do it is probably not traditional but it works.
With red yarn (I used Red Heart again, just whatever red was in my stash), chain 8.
Row 1: starting in 2nd chain from hook, slip stitch, sc, hdc, dc, hdc, sc, slip stitch.
This makes a little bumpy curved thing. Fasten off and sew it onto the top of the head. It should curve from front to back.
For the wattle – that’s the dangly bit under the chin – I just made two small chains about 5 chains long each, then went back with slip stitches. Attach them under the beak area. They’re gonna look a little weird no matter what you do honestly, but that’s part of the charm I guess.
Wings Are Optional But Recommended
Make 2 of these with yellow yarn.
Magic ring with 6 sc.
Round 2: inc around for 12.
Round 3: *sc 1, inc* around for 18.
Round 4-5: sc around.
Round 6: *sc 1, dec* around for 12.
Don’t stuff these. Flatten them and sew them to the sides of the body. Position them kinda in the middle, maybe slightly toward the back. My cat kept trying to bat at the wings while I was sewing them on which was super helpful obviously.
Feet Are Weirdly Complicated
This is the part that trips people up. Chicken feet have three toes pointing forward and sometimes one pointing back but for amigurumi we’re just gonna do three toes because we’re not making a biology textbook here.
With orange yarn, make 2 feet.
Chain 4, slip stitch back to start to make first toe.
Chain 4 again, slip stitch back for second toe.
Chain 4 again, slip stitch back for third toe.
Now chain about 6 for the leg part, then fasten off with a long tail.
Make two of these and sew them to the bottom of the body. The chicken won’t really stand up on its own unless you do some kind of wire armature thing which I’ve never bothered with – mine just sits there and that’s fine.
Assembly Is Where Everything Comes Together Or Falls Apart
So you’ve got all your pieces and now you gotta attach them. I use the yarn tails I left and just sew them on with a yarn needle, going through the stitches multiple times to make sure they’re secure.
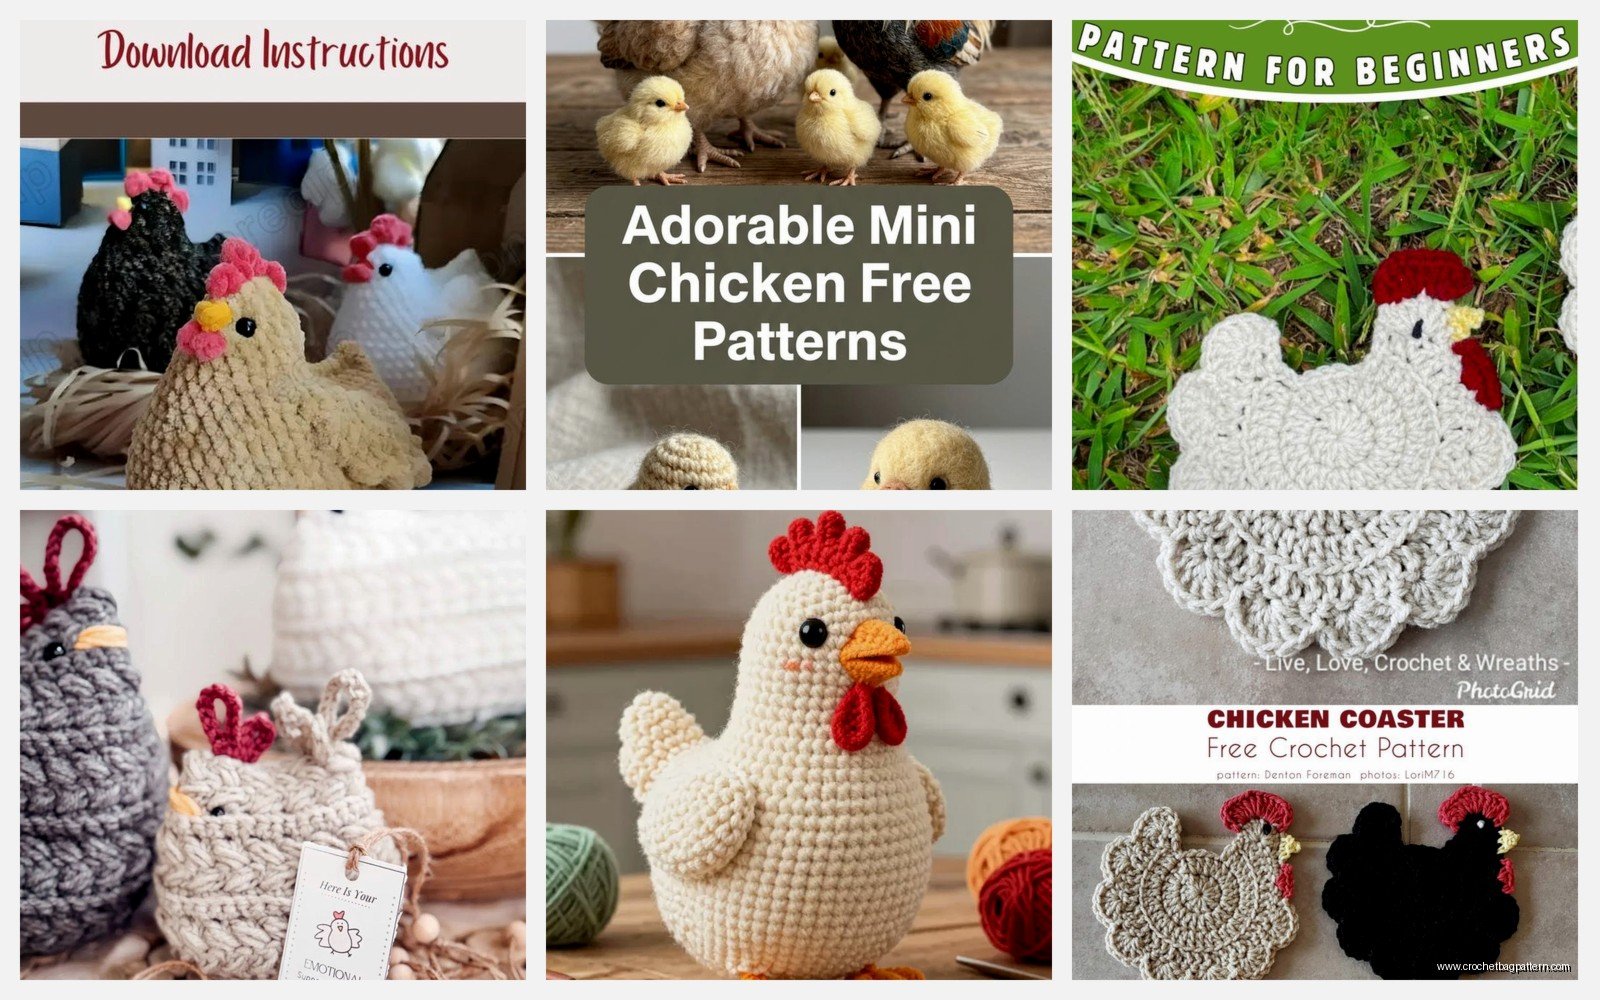
Order doesn’t really matter but I usually do: head to body first, then wings, then feet, then the facial features. The beak and comb and wattle go on the head before you attach the head to the body – that’s way easier than trying to sew tiny pieces onto an already-assembled chicken.
When you sew the head to the body, position it slightly forward, not directly centered on top. Chickens have their heads kinda forward if you look at actual chickens or… I mean you probably know what a chicken looks like.
Tension and Sizing Notes
If you crochet really loose, your chicken is gonna be floppy and the stuffing might show through. Use a smaller hook if that’s happening. I crochet pretty tight so I used a 4mm hook with worsted weight yarn and my chicken ended up being about 5 inches tall sitting down.
If you want a bigger chicken just use bulkier yarn and a bigger hook. If you want a tiny one, try sport weight yarn with a 3mm hook but honestly those tiny ones are kinda annoying to make because the pieces are so small.
Color Variations and Customization
You don’t have to make a yellow chicken. Real chickens come in white, brown, black, speckled, whatever. I made a brown one using Caron Simply Soft in Taupe and it looked pretty good. You could also do stripes or use variegated yarn if you want something funky.
For the comb and wattle, red is traditional but you could do pink or even skip them entirely if you want like a baby chick look. Baby chicks are just yellow and don’t have the red bits developed yet.
Some people add a tail by making a few small pom-poms or some loop stitches on the back end of the body. I usually skip this because it’s extra work and the chicken looks fine without it but you could definitely add one.
Common Problems I’ve Run Into
The head being too heavy and flopping forward – this happens if you stuff it too much or if you didn’t sew it on securely enough. Make sure you’re going through multiple stitches when attaching the head and maybe don’t pack the head quite as full.
Eyes looking derpy – honestly this is gonna happen sometimes and you just gotta embrace it. Handmade stuff isn’t supposed to look perfect. If it really bugs you, you can carefully remove safety eyes with pliers and reposition them, but I’ve broken the fabric doing this before so be careful.
Running out of yellow yarn halfway through – always buy more than you think you need or make sure you have at least 100 yards of the main color. There’s nothing worse than being almost done and running out.
The body being lumpy – this usually means your tension is inconsistent or you’re not increasing/decreasing evenly around. Stitch markers help with this, put one at the beginning of each round so you know where you are.
What Yarn Actually Works Best
I’ve tried a bunch of different yarns for these chickens and here’s what I found: Red Heart Super Saver is cheap and works fine but it’s kinda squeaky and not super soft. Caron Simply Soft is much nicer to work with and softer but costs more. I tried Bernat Blanket yarn once thinking a chunky chicken would be cute but it was too thick and looked bloated.
For the orange parts, anything works honestly since they’re such small pieces. I’ve used embroidery floss before when I didn’t have orange yarn and that actually looked pretty good for tiny details.
If you’re making this for a kid, definitely go with acrylic yarn because it’s washable. Cotton would work too but it doesn’t have as much give and the chicken might end up stiffer.
How Long Does This Actually Take
If you sit down and just crank it out, maybe 3-4 hours total? But that’s if you know what you’re doing and don’t mess up. Your first one will probably take longer because you’re figuring out the pattern and where things go.
I usually make these over a couple days, doing the body one day and then the other pieces the next day because my hands get tired. The assembly part takes longer than you’d think – probably like 45 minutes of sewing everything together and making it look decent.
Variations on the Basic Pattern
You can make a rooster instead by adding a longer, fancier tail and making the comb bigger and more dramatic. Use multiple colors for the tail feathers – like red, orange, yellow, green in individual strands that you attach to the back.
For a sitting hen, you could make the body a bit wider and flatter on the bottom, like she’s sitting on eggs. Some people even make little white egg shapes to put underneath.
Easter chickens are fun – make them in pastel colors like lavender or mint green or baby pink. Add a little bow or put them in an egg shell (just make half an egg with white yarn in a bowl shape).
There’s also the option to make clothes for your chicken which sounds ridiculous but I’ve seen people make tiny overalls or little hats and it’s actually pretty cute. Not my thing but you do you.
The pattern is pretty forgiving overall so you can adjust as you go. If your chicken looks a little off, just call it “rustic” or “handmade charm” and move on. Nobody’s gonna measure your stitch count or judge your slightly crooked beak except maybe you.
