
Jun
Getting Started With Your Oogie Boogie
okay so I made an Oogie Boogie last spring 2022 when I was binge-watching some cooking show on Netflix and honestly the pattern itself isn’t as hard as people make it seem but there’s definitely some annoying parts I’ll get into
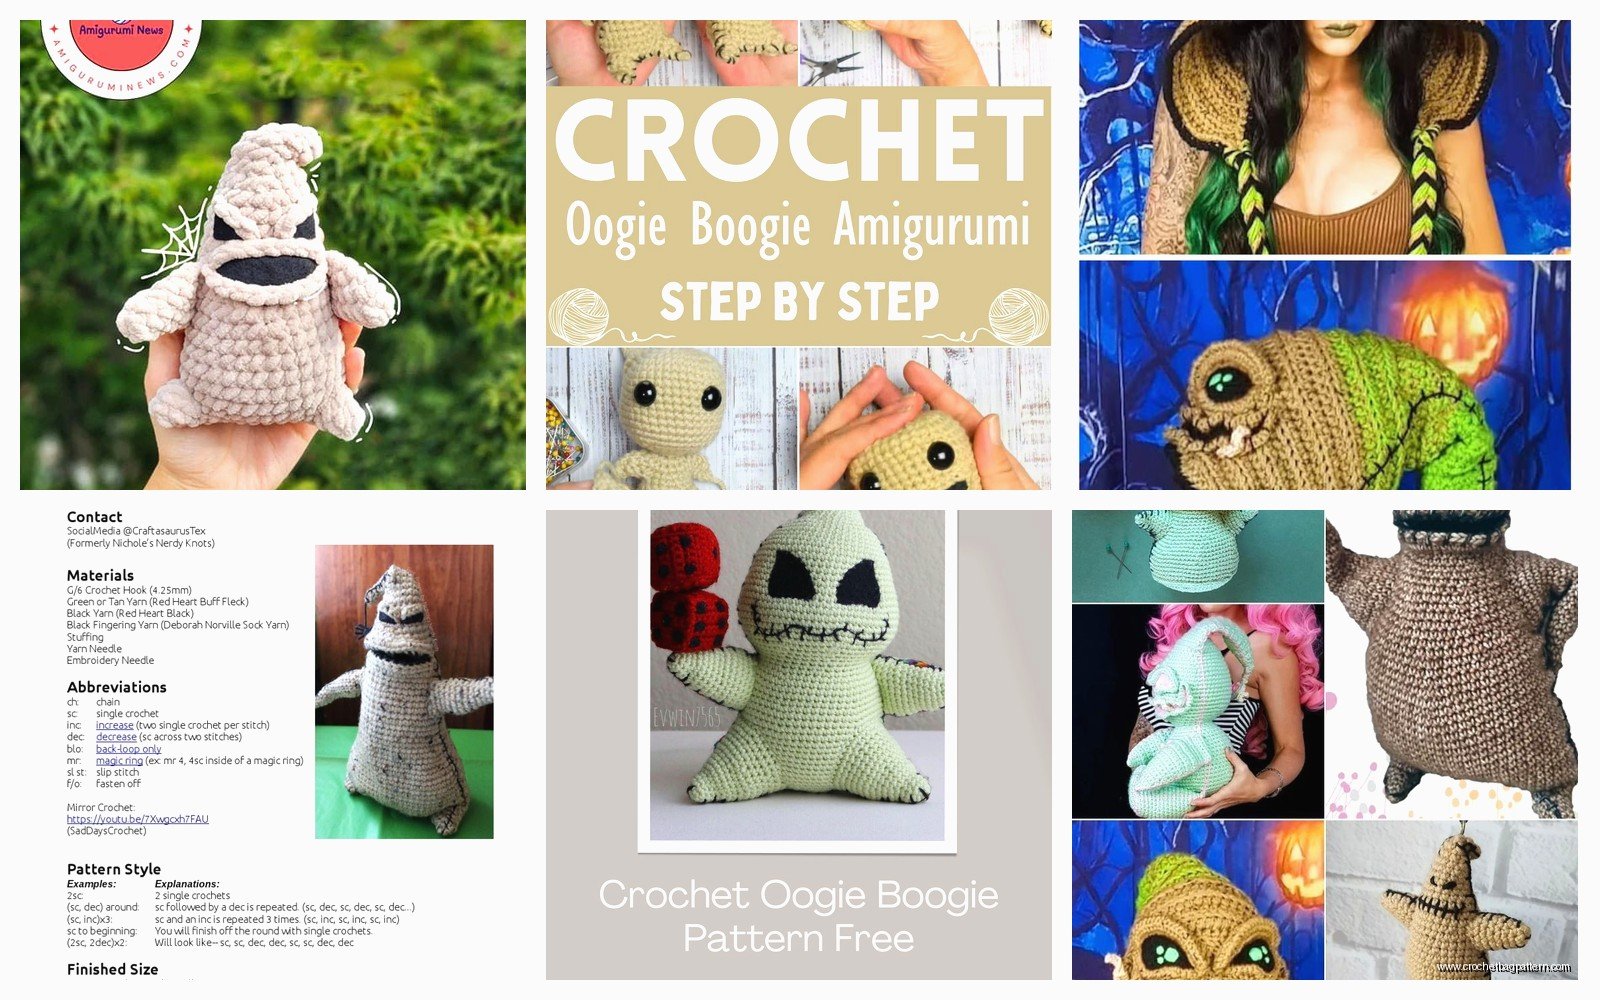
First thing you gotta know is you need a good burlap-colored yarn. I used Caron Simply Soft in Bone which worked pretty well but if you can find something a bit more textured that’s even better. Some people use Lion Brand Vanna’s Choice in Oatmeal and that gives it more of that sack texture vibe. The whole point is Oogie Boogie is literally a burlap sack full of bugs so you want something that looks worn and rough, not like… pristine white or cream
For the body you’re basically making an oval shape or like a bean shape? It’s wider at the bottom and tapers up toward the neck area. I started with a magic ring and worked in continuous rounds because I hate joining rounds with slip stitches, but you can do it either way honestly
The Basic Body Structure
Start with about 6 single crochet in your magic ring. Then you’re gonna increase pretty rapidly for the first few rounds to get that wide base. Something like:
- Round 1: 6 sc in magic ring
- Round 2: inc in each stitch (12)
- Round 3: sc, inc around (18)
- Round 4: sc 2, inc around (24)
- Round 5: sc 3, inc around (30)
Keep going like that until you hit around 48-54 stitches depending on how big you want him. Mine ended up being about 10 inches tall which felt right for a display piece. My cat kept trying to knock it over while I was working on it which was super helpful obviously
Once you get to the widest part you just work even for a bunch of rounds. Like maybe 15-20 rounds of just straight single crochet all the way around. This creates the main body bulk. The annoying thing here is it gets SO BORING. Just round after round of the same stitch and you’re like is this ever gonna be done? But you need that height or he looks too squat
Tapering and Shaping
When you get close to where the neck should start, you begin decreasing. I did it gradually like sc 3, dec around for one round, then sc 2, dec around, then sc, dec around. You want the neck to be pretty narrow compared to the body because that’s where his head sits and it needs to look like it’s cinched
The head is basically another oval but smaller and rounder. Same concept – start with a magic ring, increase rapidly, work even for several rounds, then decrease. The head should be maybe 2/3 the width of the body at its widest point? I didn’t measure anything I just eyeballed it which is how I do most things and sometimes it works out and sometimes… well
The Face Is Where It Gets Interesting
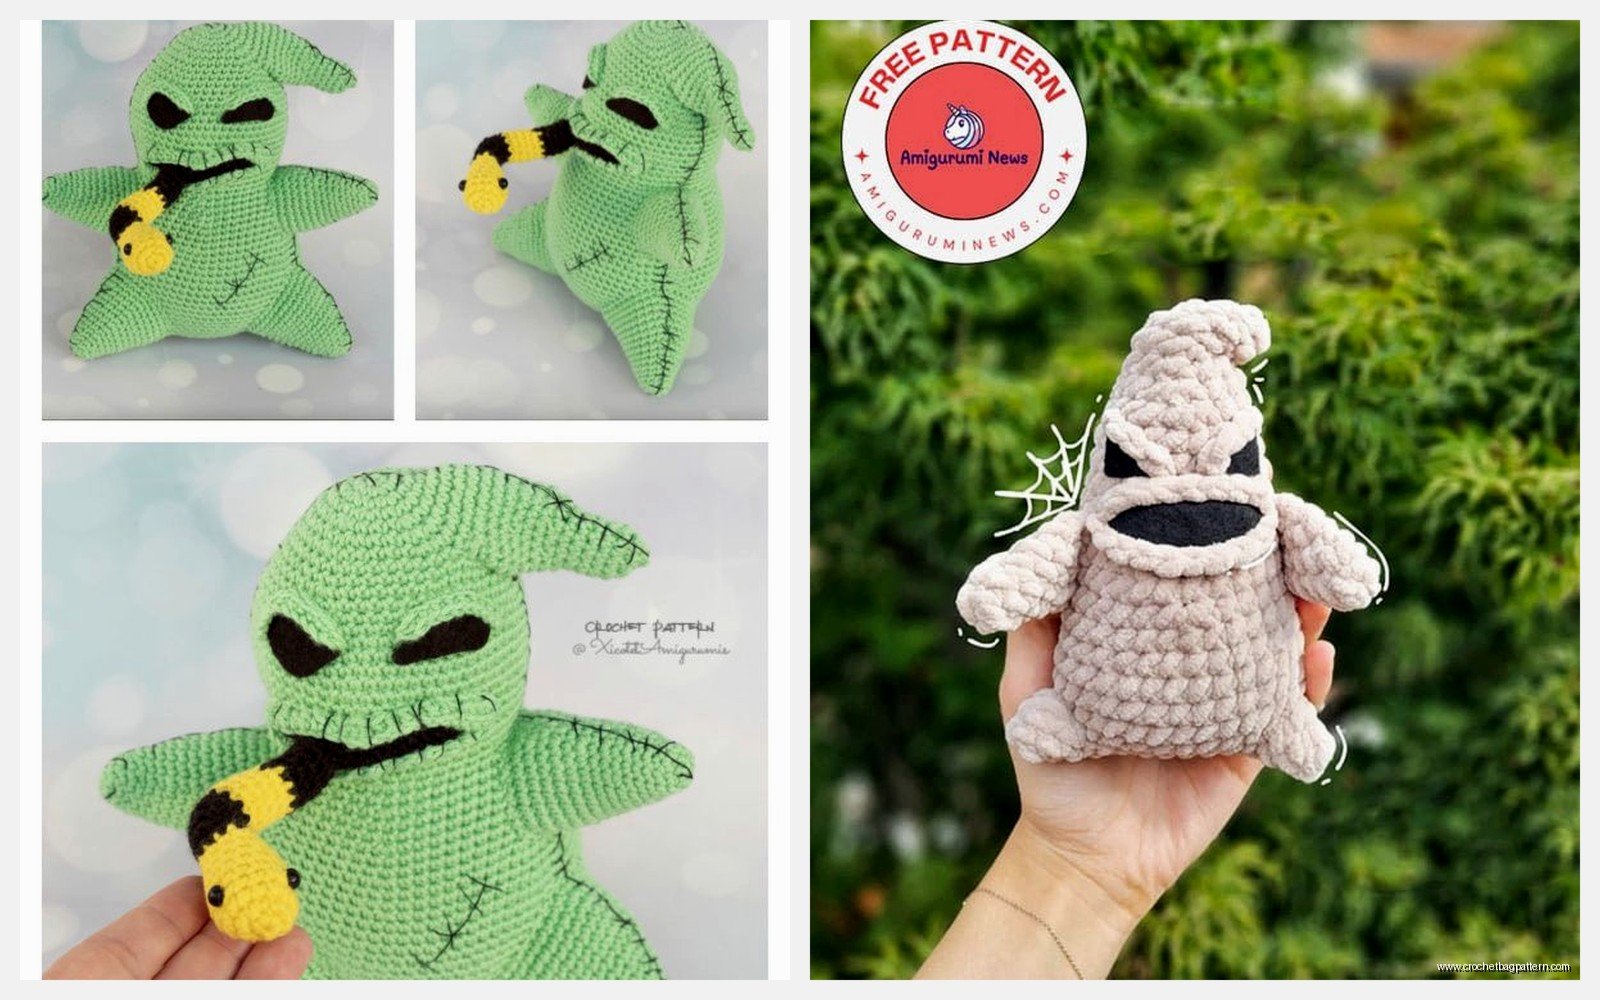
So the mouth is what makes Oogie Boogie actually look like Oogie Boogie and not just a lumpy sack. You need black yarn for this – I used Red Heart Super Saver in Black because it’s cheap and I had a bunch already. The mouth is basically a curved line made with chain stitches that you sew onto the face
Make a chain that’s long enough to curve across the face in that creepy grin. Then you can either single crochet back along the chain to make it thicker or just use the chain as-is and sew it down in a curve. I did like three rows of single crochet back and forth to make the mouth pretty prominent because otherwise it looked too subtle
The stitching on his face – those X marks and lines – you can do with black embroidery floss or just use your black yarn. I freehanded the placement because trying to count and make it symmetrical was making me crazy. Just do some X stitches scattered around and some straight lines to look like seams. It doesn’t have to be perfect, burlap sacks aren’t perfect
Eyes and Details
The eyes are these oval shapes that are kind of sideways? Like lazy eyes almost. I crocheted two small ovals in black – just chain a few stitches, sc around the chain working 3 sc in each end to create the oval shape, then work around in a spiral for a round or two. They don’t need to be big, just visible
Position them above the mouth at slightly different heights because that gives him that unhinged look. If you make them too symmetrical he looks too friendly which is not the vibe
One thing that really annoyed me about this whole process was stuffing the body evenly. Because the shape is irregular and lumpy on purpose, getting the polyfil distributed right was a nightmare. It kept bunching up at the bottom or making weird lumps on the sides. I ended up using a chopstick to push stuffing into the corners and neck area but it still wasn’t perfect. Just accept that it’s gonna be a little wonky – actually that kind of works for the character anyway
Arms and Legs Situation
okay so the limbs are pretty straightforward but there’s a trick to making them look right. They’re basically tubes that taper at the ends. For arms start with a magic ring, maybe 5 sc, then increase slightly to get to like 8-10 stitches, work even for the length of the arm, then decrease at the end for the hand
The hands can be simple rounded nubs or you can get fancy and make individual fingers but honestly I did nubs because who has time for tiny fingers. Make two arms obviously and sew them onto the upper sides of the body
Legs are similar but slightly thicker. Start with 6 sc in the ring, increase to about 12 stitches, work even for the leg length. The feet – I made these flat oval shapes kind of like… pancakes? Chain about 6, sc around the chain working multiple sc in the ends, then do one more round around. Sew these to the bottom of the legs so they stick out sideways
Position the legs at the bottom of the body angled outward a bit. He’s got that slouchy posture in the movie so the legs shouldn’t be straight down, more like he’s sitting or leaning
Dice Accessories
If you want to make the dice that go with him – because he’s a gambling man or whatever – those are just cubes. I used white yarn (same Caron Simply Soft but in White) and crocheted six squares, then seamed them together into a cube. Stuff it firmly so it holds the shape
For the dots use black yarn or felt circles. I was lazy and used a black Sharpie to draw dots on mine which probably isn’t the “proper” way but it worked fine and saved time. Make the dots in the right pattern for dice – one dot on one side, two on the opposite, three and four, five and six
You can make multiple dice in different sizes if you want. I made two and just set them next to the figure
Bugs Spilling Out (Optional But Fun)
Since Oogie Boogie is full of bugs you can add some spilling out of the neck or a hole in the side. I didn’t do this on my first one but I’ve seen people crochet tiny bugs – little ovals in brown or black with legs made from yarn or pipe cleaners
Or you can buy those little plastic bugs from craft stores and hot glue them peeking out. That’s probably easier than crocheting a bunch of tiny beetles honestly
Some people make a opening in the body with a flap that you can lift to see bugs inside which is cool but seems like a lot of extra engineering. I was already tired of the project by the time I finished the basic figure so I skipped that
Assembly Tips
When you’re sewing everything together use the same yarn you crocheted with and a yarn needle. I used whip stitch for most seams because it’s fast. Make sure to stuff each piece before you sew it closed – like stuff the head before attaching it to the neck, stuff the arms before sewing them to the body
The neck connection between head and body is the trickiest part. I sewed around the neck opening twice to make sure it was secure because the head is heavy-ish and I didn’t want it flopping around or coming off
For positioning the facial features I laid everything out first and took a picture to see if it looked right before sewing. Moving pieces around once they’re attached is annoying so it’s worth taking that extra minute to check
Yarn Weight and Hook Size
oh yeah I should mention I used mostly worsted weight yarn (the medium/size 4 stuff) and a 5mm hook. Some people go bigger with bulky yarn if they want a really large Oogie but I think worsted gives you better stitch definition for the details
If you use a smaller hook than recommended for your yarn you’ll get a tighter fabric which is good for amigurumi because you don’t want gaps where the stuffing shows through. I used a 5mm with yarn that calls for 5.5mm and that worked fine
Color Variations People Do
Most people stick with the tan/beige/oatmeal color for the body but I’ve seen some cool variations. Someone made a glow-in-the-dark version using glow yarn for the bugs and details which would be sick for Halloween. You could also do the whole thing in blacklight reactive yarn
The mouth and stitching details could be dark brown instead of black if you want a more subtle look, or even dark green to match his lighting in the movie scenes? I stuck with black because it’s the most recognizable
There’s no official pattern that I know of that’s licensed or whatever, so everyone kind of interprets him differently. Some people make him really lumpy and irregular, others make him smoother and more polished. Both work depending on what you’re going for
Time Investment
The whole thing took me maybe 8-10 hours spread over a few days? The body alone was probably 4 hours because it’s just so much single crochet. The head, arms, legs were maybe another 3 hours combined. Then assembly and details another hour or two
If you’re a faster crocheter or if you make him smaller it’ll obviously go quicker. I tend to crochet while watching TV so I’m not like speed-running it
Display and Durability
Mine has held up pretty well sitting on a shelf. The arms sometimes droop a bit if the stuffing settles so you might need to reshape them occasionally. If you’re giving it to a kid or someone who’s gonna actually play with it, reinforce all the seams really well and maybe use safety eyes instead of crocheted ones
I didn’t use safety eyes because I think the crocheted oval eyes look more accurate to the character but safety eyes are definitely more durable if that matters to you
The black mouth stitching has stayed put without any issues. If you used felt for details instead of yarn that might start peeling off over time so yarn or embroidery floss is probably more permanent
anyway that’s basically how you make an Oogie Boogie, it’s not complicated just takes some time and patience with all the rounds of single crochet for the body which is mind-numbing but you get through it
