
Jun
Getting Started with the Pink Puffball
okay so you wanna make kirby right, honestly it’s one of the easier amigurumi characters because he’s literally just a sphere with some stubby limbs. i made one back in spring 2022 when i was binge-watching that terrible reality show about people buying storage units and honestly the repetitive rounds were perfect for that kind of mindless TV watching.
the main thing you need is pink yarn obviously. i used Red Heart Super Saver in Pink for mine because it was like three dollars at walmart and kirby doesn’t need to be fancy. some people get all precious about using expensive yarn for amigurumi but honestly when you’re stuffing something til it’s rock hard the yarn quality matters way less than you think. just make sure it’s acrylic because wool will felt over time with handling and that gets weird.
Yarn and Hook Size
so for the pink you want worsted weight, that’s the medium thickness stuff. i think i used a 3.5mm hook? maybe 3.75mm? the goal with amigurumi is to crochet tight enough that the stuffing doesn’t show through the stitches. if you can see white polyfil poking out between your stitches your hook is too big or you’re crocheting too loose. go down a hook size or two from what the yarn label recommends.
you’ll also need tiny amounts of black and dark pink or red for the eyes and blush. i just used whatever scraps i had laying around. and if you’re doing the feet you need red yarn but honestly the feet are optional because kirby’s proportions are so weird that sometimes he looks better without them.
The Basic Sphere Body
kirby’s body is a magic ring situation. you start with 6 single crochets in a magic ring then increase every round until you get to the size you want. the formula is pretty straightforward:
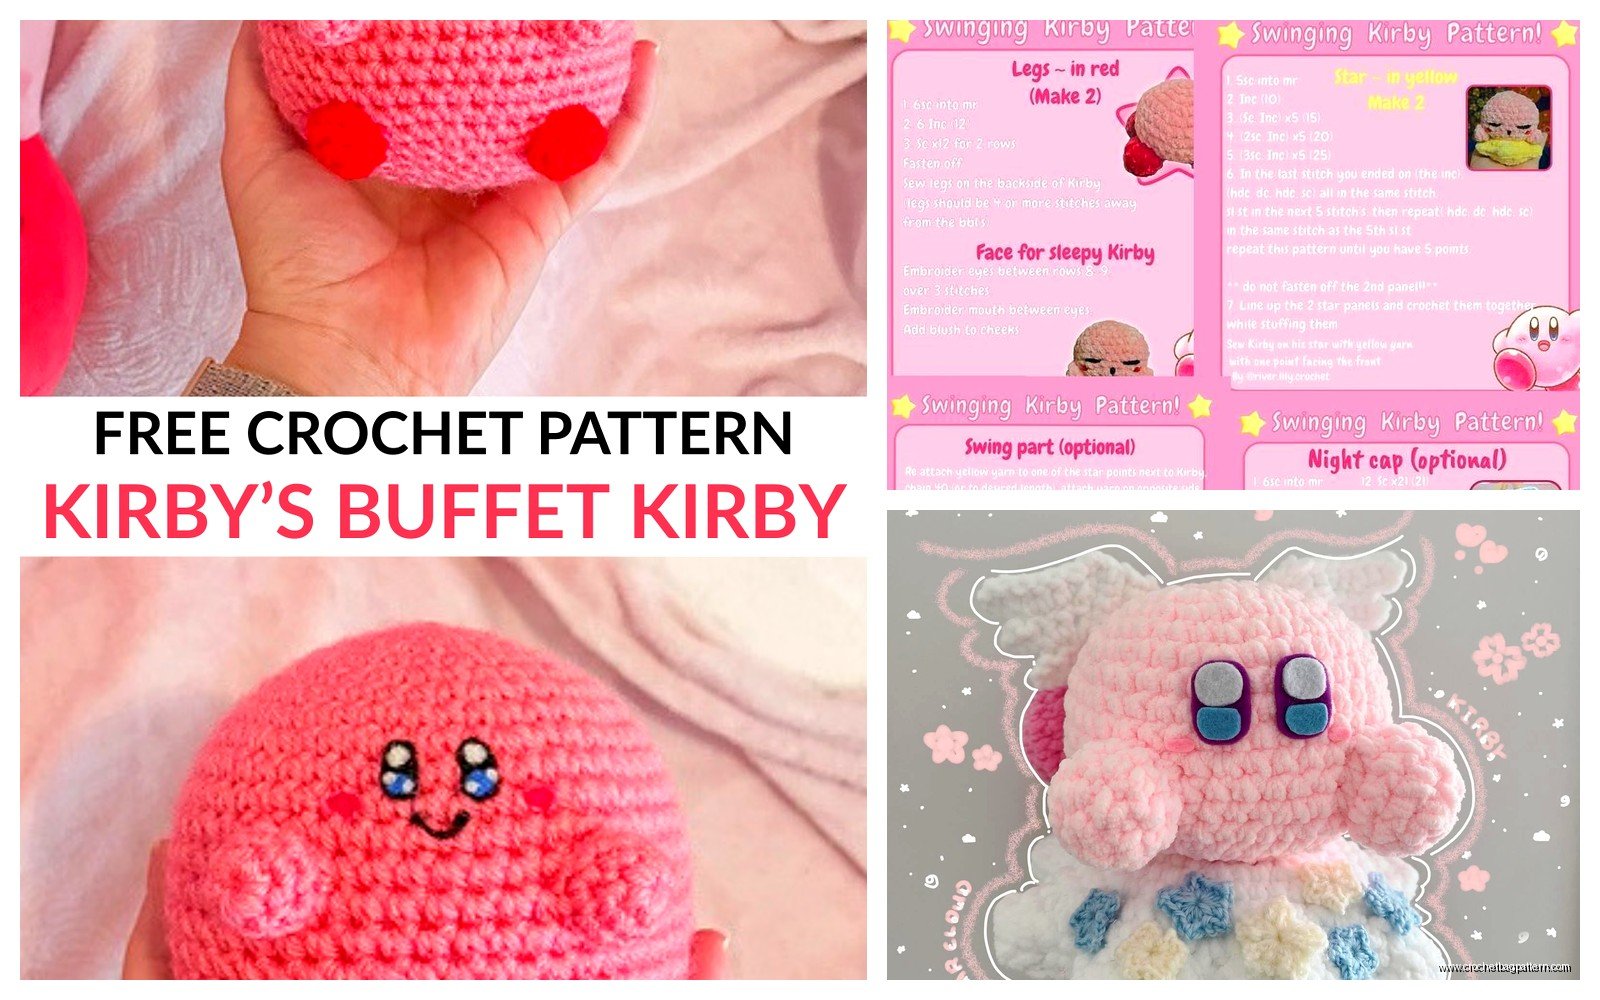
- round 1: 6 sc in magic ring
- round 2: inc in each stitch (12 stitches)
- round 3: sc, inc around (18 stitches)
- round 4: sc in 2, inc around (24 stitches)
- round 5: sc in 3, inc around (30 stitches)
you keep going like this, adding one more sc between increases each round. i usually go up to like 54 or 60 stitches depending on how big i want kirby. a 54 stitch kirby ends up being about 4 inches tall which is a decent size. 60 stitches gets you closer to 5 inches.
once you hit your max width you just sc in every stitch for a bunch of rounds. this creates the middle section of the sphere. for a 54 stitch kirby i do maybe 8-10 rounds of straight sc. you want the body to be taller than it is wide or he looks too flat and squished.
Decreasing and Stuffing
then you start decreasing in the exact reverse of how you increased. this is where it gets annoying because you gotta start stuffing while you’re still crocheting and i always wait too long and then can’t get my hand in there properly. start stuffing when you have like 5-6 decrease rounds left or you’ll regret it.
the thing that really annoyed me about making kirby was getting the stuffing distributed evenly. polyfil gets lumpy SO easily and because kirby is supposed to be this perfect round shape every lump shows. i ended up using the wrong end of my crochet hook to like poke and prod the stuffing around through the stitches which worked but took forever. my cat kept trying to steal the polyfil too which didn’t help.
when you get down to the last few stitches stuff it FIRM. like way firmer than you think. amigurumi always relaxes a bit after you finish and if you don’t overstuff it’ll end up saggy. then close up the hole and weave in your end.
The Arms
kirby’s arms are basically tiny ovals. start with another magic ring, maybe 5 or 6 sc, then increase a bit in the first round or two til you have like 8-10 stitches. sc for several rounds to make the length, then decrease back down and close it off.
you don’t really stuff the arms much, just a tiny bit at the tip so they have some shape but stay floppy. if you stuff them firm they stick out weird. make two obviously and sew them onto the sides of the body roughly where you think arms should go. kirby’s anatomy is not consistent across different games so just eyeball it honestly.
i usually position them slightly forward on the body not straight out to the sides because it looks more dynamic. like he’s reaching for something or waving.
The Feet Situation
okay so feet are optional like i said but if you’re doing them you need red yarn. they’re similar to arms but shorter and you usually do them in two colors – start with pink for the leg part then switch to red for the foot.
the pattern is basically: magic ring with 6 sc, increase to 12, sc for a few rounds in pink, then switch to red and sc for 2-3 more rounds, then decrease and close. stuff them lightly same as the arms.
the switching colors mid-work is kind of a pain if you’ve never done it before. you basically work the last stitch before the color change until you have two loops on your hook, then yarn over with the NEW color and pull through. it creates a clean transition but your tension might be weird the first few times.
honestly though i’ve made kirbys both with and without feet and the ones without feet are cuter in my opinion. he’s just a round boy with arms. the feet make him look too grounded or something, less floaty.
Attaching Limbs
sewing on the arms and feet is straightforward but takes longer than you expect. i use the yarn tail from when i finished each piece and just whipstitch around the edge where it meets the body. go around twice for security because if a limb falls off that’s just sad.
some people use safety eyes for the attachment points but that seems like overkill to me. just regular sewing with yarn is fine.
The Face Details
this is where kirby either looks cute or looks cursed there’s no in between. the eyes are big black ovals and they need to be positioned pretty high on the face and close together. if you put them too low or too far apart he looks wrong in a way that’s hard to fix.
i’ve done the eyes different ways. sometimes i embroider them with black yarn using satin stitch to fill in an oval shape. sometimes i’ve used black felt and fabric glue. the felt is honestly easier and looks cleaner but feels like cheating? even though it’s not really.
for embroidered eyes you’re gonna want embroidery floss or like a really thin black yarn. the Red Heart Super Saver is too thick for detailed embroidery. make the ovals taller than they are wide and add a tiny white highlight in each eye using white yarn or a fabric paint pen. the highlight makes such a difference it’s ridiculous.
The Blush Cheeks
kirby has those little blush marks on his cheeks which are just pink/red ovals positioned below and to the outside of each eye. i usually use a darker pink than the body or a light red. same technique as the eyes just smaller ovals.
the mouth is optional depending on which kirby you’re going for. sometimes he has no mouth, sometimes he has a little smile, sometimes he’s got his mouth open. i usually skip the mouth entirely because it’s hard to make it look good at small scale and honestly he’s cute enough without it.
Common Problems and Fixes
if your kirby ends up lopsided it’s probably because your tension was inconsistent. this used to happen to me all the time before i figured out how to hold my yarn the same way every time. you can try blocking it by getting it damp and shaping it while it dries but with acrylic that doesn’t work great.
if the stuffing shows through your stitches you either need a smaller hook or tighter tension or both. you can also double strand the yarn which makes it thicker and fills in gaps better but then you need a bigger hook which defeats the purpose so… yeah.
if the limbs keep falling off you didn’t sew them on secure enough. go back and add more stitches. i know it’s annoying but it’s more annoying to have an arm fall off.
the magic ring slipping open is another thing that happens. when you start the magic ring pull that tail TIGHT before you close up the center. like uncomfortably tight. and when you weave in the end from the magic ring weave it through a bunch of stitches not just two or three.
Variations You Can Try
once you’ve made basic kirby you can get weird with it. different color kirbys are easy – just use different colored yarn. there’s yellow kirby, blue kirby, green kirby, whatever. the pattern is exactly the same.
you can also add the little marks on his feet if you’re doing feet. those are just pink ovals embroidered or sewn onto the red foot part. i’ve never bothered because they’re so small you can barely see them.
some people make kirby with his mouth open and add a pink tongue or make him swallowing something. that requires modifying the face pretty significantly and honestly it’s beyond what i’ve tried. you’d need to create an opening and structure it so it holds shape which sounds complicated.
there’s also different ability kirbys like sword kirby or chef kirby where you add accessories. i made a regular kirby and then crocheted a tiny chef’s hat separately and just placed it on his head. didn’t attach it so i could take it on and off. the hat was just a white circle with sides added basically.
Yarn Amounts and Time
you don’t need much yarn for this. like maybe 50 grams of pink? probably less honestly. the arms and feet use barely anything. i’ve made multiple kirbys from one skein of Red Heart Super Saver.
time-wise it depends how fast you crochet but i can usually finish a kirby body in like 2-3 hours. the limbs are maybe another hour total. the face details take the longest because you’re gonna sit there positioning and repositioning the eyes trying to get them right and that’s just how it goes.
total project time maybe 5-6 hours spread over a few days? or one long weekend day if you’re motivated.
Pattern Resources
there’s a bunch of free kirby patterns online. i started with one from a blog that i can’t remember the name of anymore and then just modified it based on what looked right to me. the nice thing about kirby is he’s such a simple shape that you don’t really need to follow a pattern exactly.
once you understand the basic sphere construction you can adjust the size and proportions however you want. want a bigger kirby? add more increase rounds. want him rounder? add more straight rounds in the middle. it’s pretty forgiving.
some patterns get really specific about exact stitch counts and placement but honestly just eyeball most of it. the only thing that really matters is getting the face positioning right because that’s what makes it look like kirby.
i’ve also seen patterns that use safety eyes instead of embroidered eyes which would be easier but safety eyes are expensive and you gotta install them before you finish the body which means you gotta commit to the positioning early. embroidery lets you fix mistakes.
anyway that’s basically it for making a kirby. start with the sphere body, add stubby limbs, get the face right, and you’re done. it’s a good beginner amigurumi project because the shapes are simple and if it’s not perfect it still reads as kirby because he’s just a pink ball with a face.
