
Jun
Getting Started With The Gengar Pattern
So I made my first Gengar back in spring 2022 when I was supposed to be studying for this certification exam but honestly just needed something to do with my hands while rewatching old Pokemon episodes. The thing about Gengar is he’s actually not as complicated as he looks because he’s basically round with spiky bits, which is way easier than like, Pikachu with all those specific proportions.
You’re gonna need purple yarn obviously. I used Red Heart Super Saver in Purple the first time because it was what I had lying around and honestly it worked fine. Some people get all fancy with that fancy wool stuff but acrylic holds its shape better for amigurumi anyway. You’ll also need black for the eyes and mouth, white for the teeth and eye highlights, and maybe a tiny bit of red if you want to do the mouth detail really accurately.
The Body Shape Thing
Start with a magic ring. If you don’t know what that is just YouTube it real quick, but basically it’s how you start most round crochet things so there’s no hole in the middle. Do 6 single crochet in the ring, then you’re gonna increase every round for a bit to make the sphere shape.
Round 2 is 12 stitches (increase in each stitch). Round 3 is 18 stitches (sc, inc repeated). Round 4 is 24 stitches (sc, sc, inc repeated). You get the pattern right? Keep going until you hit about 54 or 60 stitches depending on how big you want your Gengar. Mine was about 54 and he ended up being roughly the size of a grapefruit which felt right.
The annoying thing about this whole project was definitely the decreasing part because Gengar has that specific shape where he’s round but also kind of squat, not like a perfect sphere. So you have to decrease at a weird rate and I kept losing count of where I was. I must’ve frogged and restarted the decrease section like four times because he kept coming out too tall or too flat.
Working The Decreases
Once you get to the widest part you’re gonna work even (no increases or decreases) for maybe 6-8 rounds. This gives you that middle bulk. Then start decreasing but not as fast as you increased. I did something like: decrease every 8 stitches for one round, then every 7, then every 6, but honestly I was just kinda winging it based on how it looked.
Stuff as you go. Like don’t wait until the end because you can’t get the stuffing in there properly once the opening gets too small. I use polyfil from Walmart, nothing fancy. My cat kept trying to steal the stuffing every time I opened the bag which was… anyway.
The Spikes On His Back
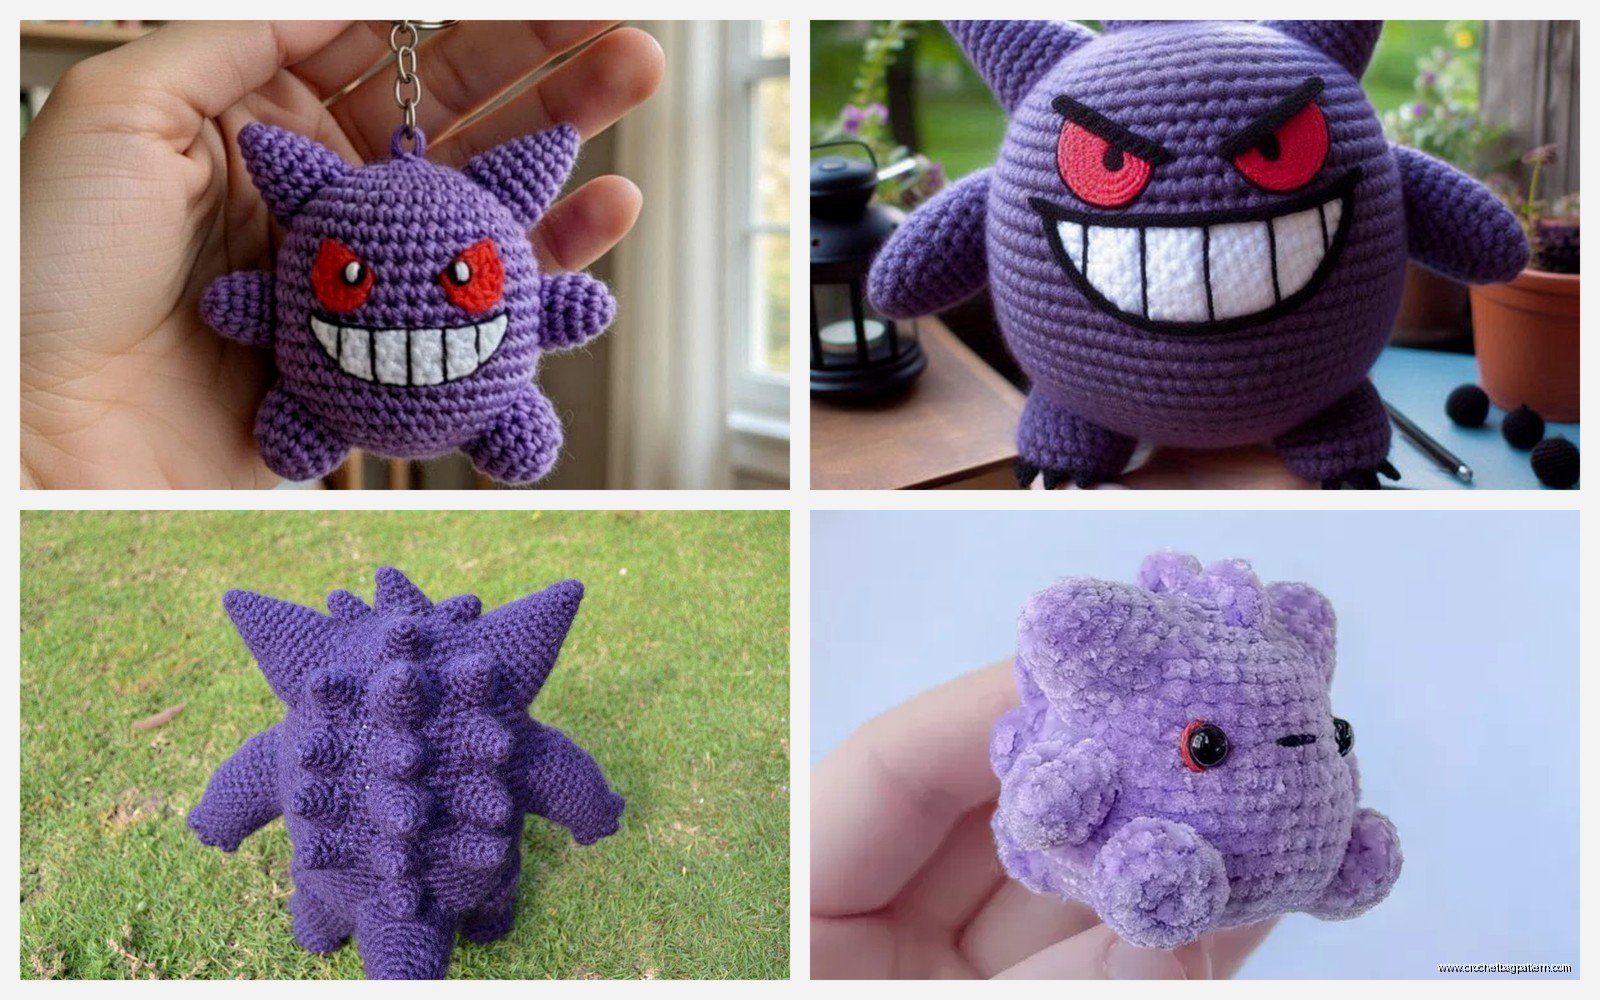
This is where it gets more Gengar-specific. He’s got those spiky things on his back that make him look more ghost-like and less just-a-purple-ball. The way I did it was to chain like 6 or 7, then slip stitch back down the chain. Make it pointy at the end by doing fewer stitches as you go back, or just do single crochets all the way down and it’ll naturally curl into a spike shape.
You need to make several of these. I think I did five spikes? Three bigger ones in the middle and two smaller ones on the sides. Don’t measure them perfectly or anything, Gengar’s spikes aren’t uniform anyway. Just eyeball it.
Attach them to the back of the body by sewing them on with a yarn needle. Space them out in a row across his back. The middle spike should be at the very top/back of his head area. I found it easier to attach them before fully closing up the body because you can hide the knots inside.
Arms And The Weird Hand Things
Gengar’s arms are stubby and they have three claws each. Start with purple yarn and do a small magic ring, maybe 6 sc, then increase to 12 for one round to make the hand part wider. Then decrease back down to like 8 or 9 stitches and work even for the arm length. Don’t make them too long, his arms are pretty short and stubby.
For the claws I just used black yarn and made three tiny chains, maybe 3 chains each, and sewed them onto the end of the hand part. You could do them more fancy by actually crocheting little claw shapes but honestly from any normal viewing distance you can’t tell the difference.
Make two arms obviously. Sew them onto the sides of the body, positioned kind of forward and low, not up high like human arms. Gengar has that hunched posture thing going on.
The Feet Situation
His feet are similar to the arms but even stubbier. Same concept: magic ring, increase slightly for the foot part, work even for a very short leg. I made mine maybe 4-5 rounds tall total. No toes or anything, just rounded nubs basically.
Position them at the bottom front of the body. He should be able to sit upright on his own if you position the feet right and stuff him firmly enough. If he keeps falling over you either didn’t stuff enough or the feet are too far back.
The Face Is Where It Actually Looks Like Gengar
This is important because you can make a perfect purple round thing with spikes but if the face is wrong it’s just… not Gengar. His eyes are these triangular red eyes with white highlights. I used felt for the eyes instead of crocheting them because trying to crochet tiny triangles is a pain and felt just works better.
Cut two red triangles from felt, pretty wide triangles, like almost as wide as they are tall. The points should face down. Then cut smaller white triangles for the highlights and glue or sew those onto the red. Position the eyes fairly high up on his face and spaced apart, not close together.
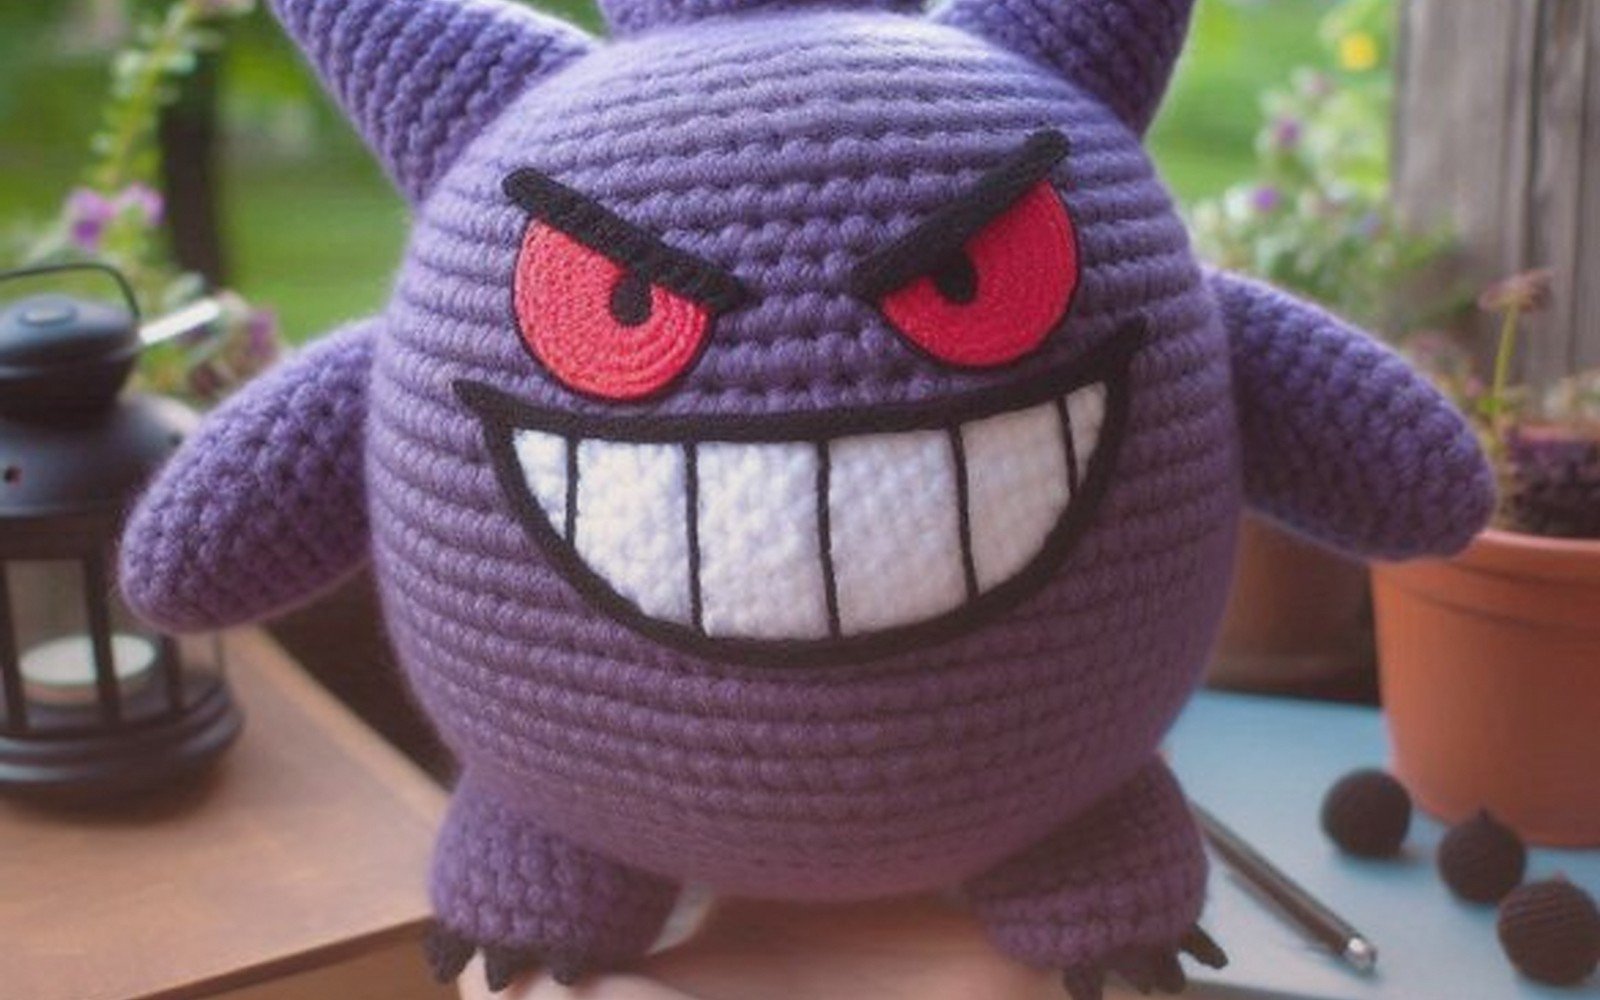
You could also embroider the eyes with yarn if you want it all one material. Use red yarn and basically do a filled-in triangle shape with straight stitches. The white highlight can be a few stitches of white yarn on top.
That Creepy Smile
Gengar has that huge creepy grin which is like his whole thing. I used black yarn to embroider a wide curved line for the mouth. Start it below and between the eyes, curve it down and wide, then back up on the other side. Make it pretty exaggerated, his smile goes almost to where his ears would be if he had ears.
For teeth I cut small white triangles from felt, maybe 6-8 teeth total. Sew or glue them along the top of the mouth line, pointing down. They don’t have to be perfect, uneven teeth actually make him look more mischievous. Some people do the bottom teeth too but I didn’t bother, you can’t really see them anyway.
There’s also that tongue thing he sometimes has but I skipped it because it felt like too much. If you want it though just crochet a small oval in red and attach it in the mouth somewhere.
Ears Or Whatever Those Things Are
I almost forgot about these but Gengar has those little pointed ear things on top of his head. They’re not really ears, more like horn nubs? Make two small cones with purple yarn. Magic ring with 6 sc, work even for maybe 3 rounds, then decrease to close it off into a point.
Attach them to the top sides of his head, angled out slightly. They’re small, don’t make them too big or he’ll look like a devil instead of a ghost type.
Yarn Weights And Hook Sizes Because I Guess That Matters
I used a 5mm hook (H hook) with Red Heart Super Saver which is worsted weight. That gave me a Gengar that was about 6 inches tall sitting down. If you want bigger use a bigger hook or thicker yarn. If you want smaller, well, good luck because once you get below like 3.5mm hooks with thin yarn it becomes really tedious.
For summer 2024 I made another one as a gift and used Bernat Blanket yarn which is that super chunky stuff, with like a 9mm hook, and he came out huge and squishy. Honestly pretty cute but less detailed because the yarn is so thick you can’t do fine details. The felt eyes worked better for that one than embroidery would have.
Tension And Shape Issues
If your Gengar is coming out lumpy it’s probably a tension thing. Try to keep your stitches consistent, not too tight or too loose. Too tight and he’ll be stiff and dense, too loose and you’ll see the stuffing through the gaps.
The other thing is stuffing amount. You want him firm but not rock hard. He should hold his shape but still have a little give when you squeeze him. I under-stuffed my first one and he was kind of floppy and sad looking, like a deflated balloon.
If the spikes on his back are drooping, you either need to stuff them a tiny bit (like put a small piece of polyfil in each one before attaching) or use stiffer yarn or even put a pipe cleaner inside them for structure.
Color Variations Because Why Not
The regular Gengar is purple but shiny Gengar is white/light gray with blue accents instead of red for the eyes. If you want to make shiny version just swap the colors. I haven’t done this yet but it’s on my list.
There’s also Mega Gengar which has that third eye thing on his forehead and some other details but that’s more complicated and I haven’t attempted it. Regular Gengar is enough work honestly.
Time Investment Reality Check
My first Gengar took probably 8-10 hours total? Spread across several days while I was watching TV. The body goes pretty fast, it’s all the little detail parts that take time. Sewing everything on takes longer than you’d think because you want it to look right and not lopsided.
If you’re a fast crocheter or you’ve done amigurumi before you could probably knock it out faster. If you’re newer to crochet give yourself more time and don’t get frustrated if it doesn’t look perfect immediately.
What I’d Do Different Next Time
I’d probably use safety eyes instead of felt for a cleaner look, but then you gotta remember to put them in before closing the body which I always forget. The felt works fine though and you can position it exactly where you want it after the fact.
Also I’d make the arms slightly longer, mine came out a bit too stubby even for Gengar. Like maybe add 2-3 more rounds to each arm.
The spike placement took me forever to figure out because I kept second-guessing where they should go. Next time I’d just mark the spots with pins first before sewing anything down permanently. Would save a lot of time and re-doing.
Oh and using a stitch marker to track the beginning of each round is basically required or you’ll lose track constantly. I learned that the hard way by having to count all my stitches like five times because I got lost.
