
Jun
Getting Started With Your Hippo
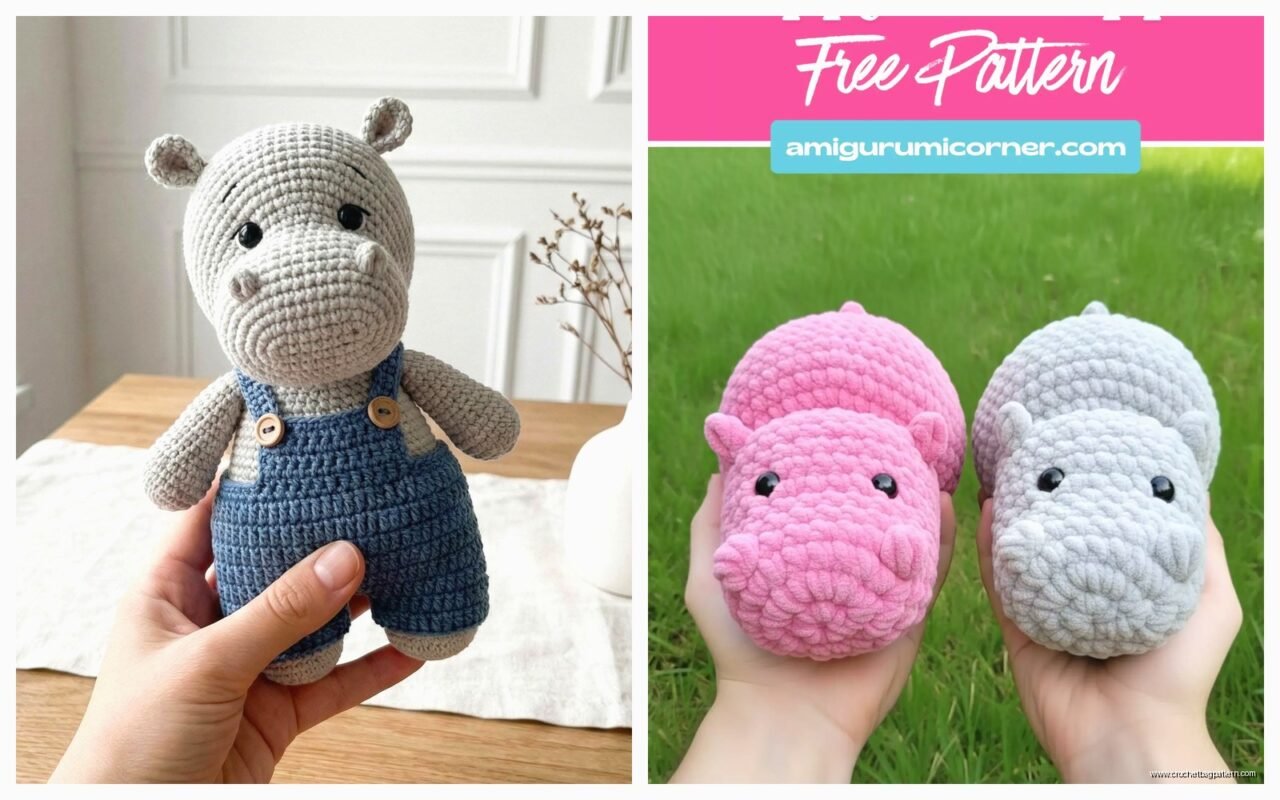
So the first time I actually finished a hippo was summer 2023 when my sister asked me to make one for her kid and honestly I didn’t think it would be that hard but there’s this whole thing with the legs that I’ll get to later. Anyway you’re gonna need some yarn obviously and I used Bernat Blanket yarn for that one which was maybe not the best choice because it’s so thick but it worked out kinda chunky and cute.
The basic supplies are pretty standard stuff. You need yarn in whatever color you want your hippo to be – gray or purple are popular but I’ve seen pink ones too. A crochet hook that matches your yarn weight, so if you’re using worsted weight go with like a 4mm or 5mm hook. Stuffing, and this is important, get the poly-fil stuffing not the cheap stuff that gets lumpy. Safety eyes if you want them, I usually use 12mm or 15mm depending on how big I’m making the hippo. Stitch markers are helpful because you’re working in the round and it’s easy to lose track of where you started.
The Head Is Where You Start
Most patterns start with the head and that’s what I do too. You make a magic ring with 6 single crochets, then you increase every round until you get to the size you want. The hippo head is pretty round and bulky so you’re gonna do more increases than you would for like a bear or something.
Here’s roughly how it goes – start with 6sc in magic ring, then next round do 2sc in each stitch so you have 12, then the pattern is usually *1sc, inc* around to get 18, then *2sc, inc* to get 24, and you keep going. I usually go up to about 60 stitches for a decent sized hippo head but it depends on your yarn thickness.
Once you hit your max width you work even for several rounds, maybe 8-10 rounds of just straight single crochet with no increases or decreases. This creates the main body of the head. My dog kept trying to steal my yarn ball during this part when I was making that summer 2023 one, super annoying.
Then you start decreasing to close it up. Same pattern in reverse basically – *2sc, dec* around, then *1sc, dec*, until you’re back down to a small opening. Before you close it completely you gotta stuff it really firmly. Like more than you think. Hippos should be chunky and solid feeling.
The Snout Thing That’s Tricky
Okay so the snout is what makes it actually look like a hippo instead of just a blob. You make a separate piece that’s basically a short cylinder. Start with magic ring again, maybe 6 or 8 stitches, increase once or twice to get it wider, then work even for a few rounds.
The annoying part – and this is what really got on my nerves – is attaching it to the head in a way that looks good. You can’t just sew it on flat because then it looks weird and flat. You need to stuff it lightly first, then pin it to the face where you want it, and sew it on while kind of smooshing it into the head so it blends naturally. I had to redo this three times on my first hippo because it kept looking wrong.
Position the snout in the lower half of the head, kind of centered but maybe slightly down. The nostrils you can either embroider with black yarn or just use the natural gaps in your stitches if you’re lucky with placement.
Ears Are Actually Easy
The ears are probably the easiest part honestly. You make two small oval shapes – start with a chain of like 4 or 5, then single crochet around the chain working 3 stitches in the last chain to curve around the end, continue down the other side, 3 more in the other end. Then you can do one more round around to make them slightly bigger if you want.
Don’t stuff the ears, just fold them slightly and sew them onto the top sides of the head. They should stick out a bit to the sides, not straight up like bunny ears. Hippo ears are small and round.
The Body Shape
For the body you’re making basically an oval cylinder shape. Start the same way as the head with a magic ring and increases, but you don’t need to go quite as wide. Maybe go up to 48 stitches if your head was 60, something like that to keep proportions.
Work even for longer than the head though, because the body needs to be barrel-shaped. I usually do like 15-18 rounds of even single crochet. Then decrease rounds at the end to close it up, stuff it really full before closing.
Some patterns have you make the body and head as one piece but I think making them separate gives you more control over the shape and you can position the head at a slight angle when you attach it which looks more natural.
The Legs That Made Me Want to Quit
Okay so the legs. You need four of them obviously and they need to be sturdy enough to support the body if you want your hippo to stand up. This is where I used Red Heart Super Saver for one hippo and it actually worked better than the Bernat because it’s firmer.
Each leg starts with magic ring, increase a bit to make the foot, then work even for the length of the leg. The thing is you need to stuff them REALLY firm, like use a chopstick or something to pack the stuffing down tight. If they’re too soft the hippo just flops over.
I usually make the legs about 10-12 rounds long after the foot part. The foot itself is just like 2-3 rounds of increases then maybe one round even before you start the leg portion.
Here’s what annoyed me most about the whole project – getting all four legs the same length. I kept making them slightly different and having to redo them because when I attached them the hippo would wobble or lean. Use a ruler or just count your rounds carefully and actually pay attention unlike me.
Attaching Everything
So once you have all your pieces you need to assemble them and this is where it either comes together or looks like a disaster. I was watching some cooking show while doing this part, not even paying full attention which probably didn’t help.
Start with attaching the head to the body. Position it so there’s a slight angle, not straight on. Hippos have their heads kind of forward and down a bit. Use matching yarn and a yarn needle, sew around the whole connection at least twice to make it secure.
For the legs, lay the body down and figure out where each leg should go. They should be positioned so the body sits stable. I usually put them slightly under the body, not directly on the sides. Sew them on really firmly, going around multiple times. This is structural so it needs to be strong.
The tail is just a small chain, maybe 6-8 chains, then you can single crochet back down if you want it thicker or just leave it as a chain. Attach it to the back end of the body.
Face Details and Final Touches
If you’re using safety eyes, you should’ve put those in before closing up the head – I usually put them in around round 12 or 13 of the head, positioned above where the snout will go. Space them pretty far apart, hippos have wide-set eyes.
If you’re embroidering eyes instead, use black yarn or embroidery floss and make simple circles or ovals. You can add a tiny white highlight with white thread if you wanna get fancy but it’s not necessary.
Some people add eyebrows or eyelashes but I think that makes it look too cartoonish unless that’s what you’re going for. I like mine to look more like actual hippos, just cute chunky versions.
You can embroider a little smile or mouth line under the snout if you want. Just a simple curved line in black or dark gray.
Yarn Weight Stuff That Matters
I’ve made hippos with different yarn weights and it really changes the final size and look. With bulky yarn like that Bernat Blanket I mentioned, you get a big squishy hippo that’s great for little kids because it’s soft and huggable. But it’s harder to get clean details.
Worsted weight like Red Heart Super Saver or Caron Simply Soft gives you more control and the hippo comes out medium-sized, good for like a shelf decoration or gift. The stitches are more visible though so your tension needs to be consistent or it looks messy.
I tried making one with sport weight yarn once and it took forever because everything was so small and delicate, but it came out really cute and detailed. Used Hobby Lobby’s I Love This Yarn in sport weight I think.
Color Variations and Personality
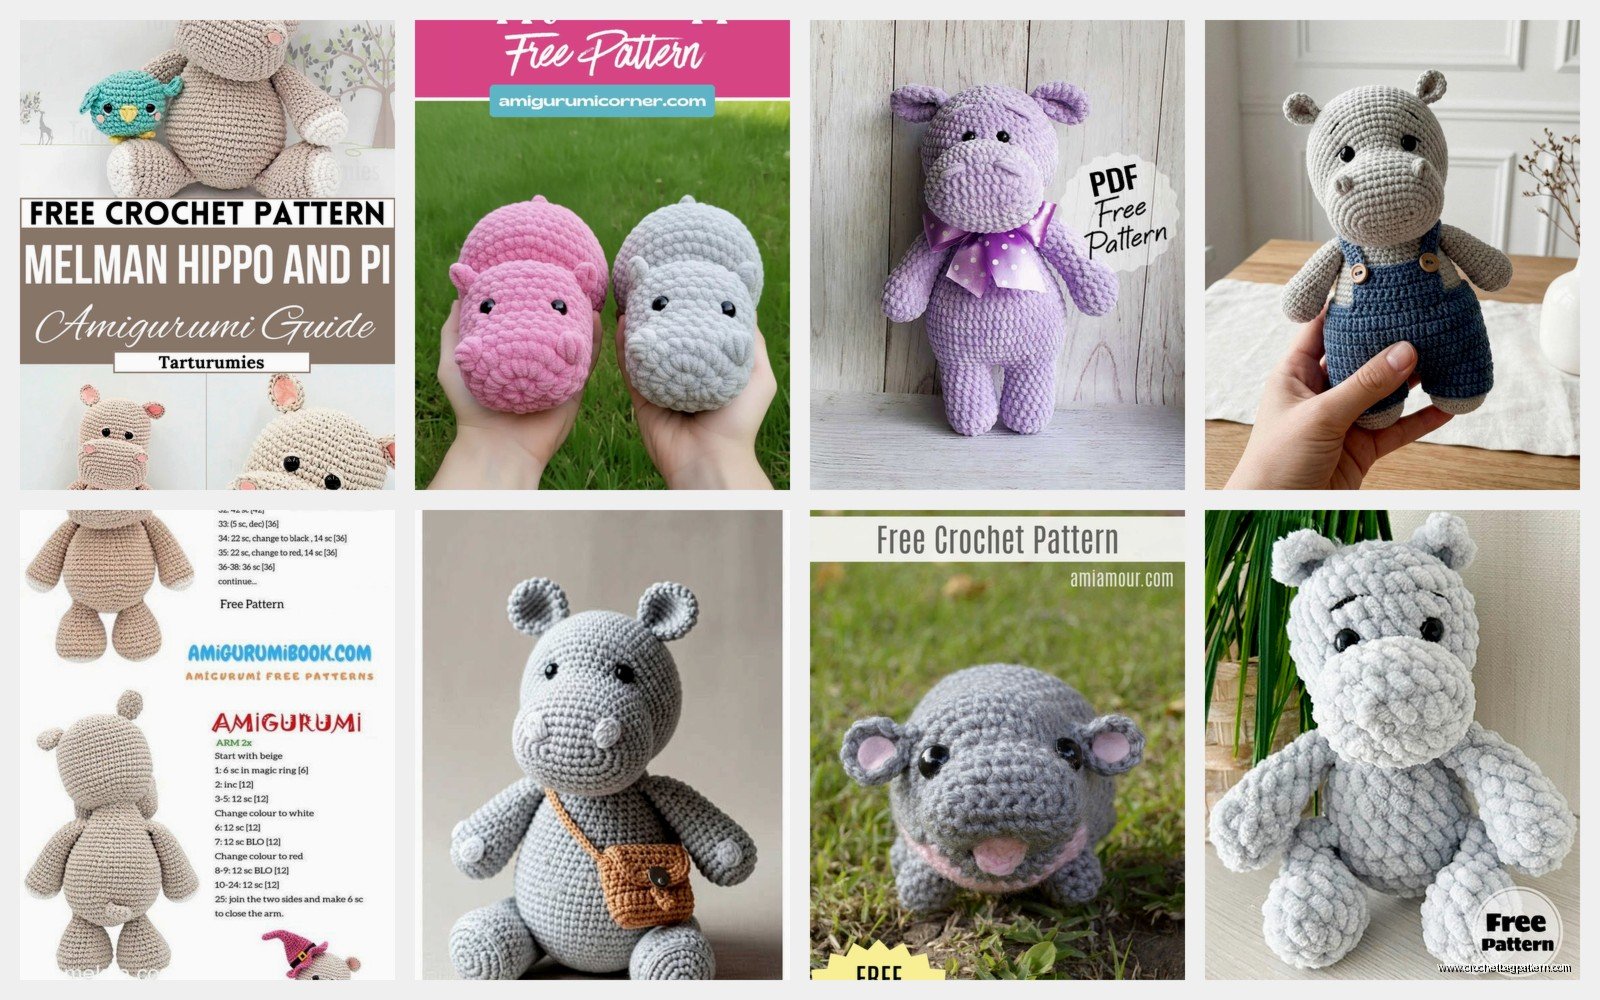
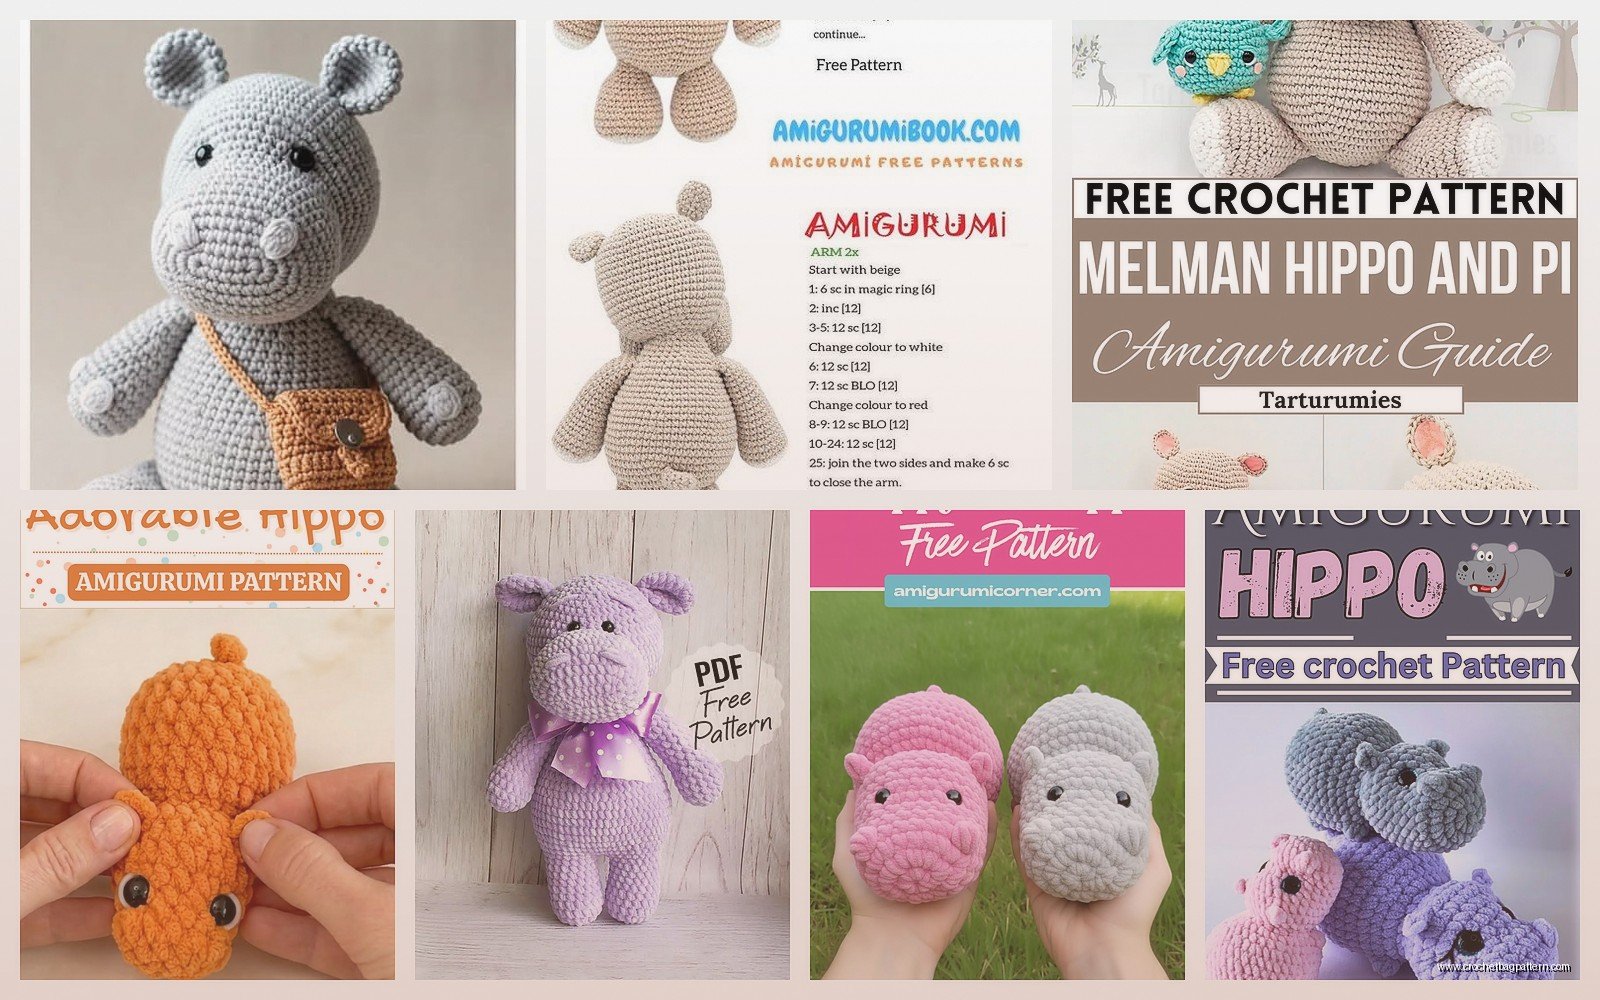
Traditional hippo colors are grays and browns but honestly you can make them whatever color you want. I made a purple one for my niece and it was adorable. Pink is popular too, kind of gives it a more fantasy creature vibe.
You can do a lighter color for the belly area if you want to get detailed – just switch colors partway through the body rounds. Or add spots or patches with surface crochet or embroidery after.
Some patterns include little details like a vest or bow tie which I think is cute but also kind of… I don’t know, it can be too much? Depends on what you’re going for I guess.
Common Problems I’ve Run Into
The head being too heavy and making the whole thing tip forward – this happens if you don’t stuff the body firm enough or if you make the head too big compared to the body. Fix it by adjusting proportions or adding more stuffing to the back of the body.
Lumpy stuffing showing through the stitches – use smaller pieces of stuffing and work with tighter tension. If your stitches are too loose you’ll see the stuffing poking through which looks bad.
Legs not matching – already mentioned this but seriously just count your rounds and measure them against each other before attaching.
The snout looking flat or weird – this takes practice honestly, you just gotta keep adjusting how you attach it until it looks right. Sometimes I add an extra round or two to the snout to make it puffier.
Sizing the Whole Thing
If you want a specific size hippo you need to do some math based on your gauge. I usually just wing it though and see how it comes out. A typical worsted weight hippo with a 5mm hook comes out around 8-10 inches long for me.
For a bigger hippo use thicker yarn and bigger hook. For smaller use thinner yarn and smaller hook, pretty straightforward. You can also just add more rounds to each section to make it bigger while keeping the same yarn weight.
Pattern Notes That Help
Most patterns use abbreviations like sc for single crochet, inc for increase, dec for decrease. If you see a number in parentheses at the end of a round like (24) that’s your stitch count, use it to check you did the round correctly.
When a pattern says *something* around, that asterisk means repeat that section all the way around the circle. So *2sc, inc* around means you do 2 single crochets then an increase, then repeat that pattern until you get back to the beginning.
Magic ring is the standard start but if you can’t do that you can chain 2 and work into the first chain instead, just pulls tighter with magic ring.
Working in the round means you’re making a spiral, not joining each round with a slip stitch unless the pattern specifically says to join. This is why you need stitch markers to track your rounds.
I keep a little notebook where I write down what I actually did for each project because sometimes I modify patterns as I go and then can’t remember what I changed. Super helpful when someone asks you to make another one exactly like the first.
