
Jun
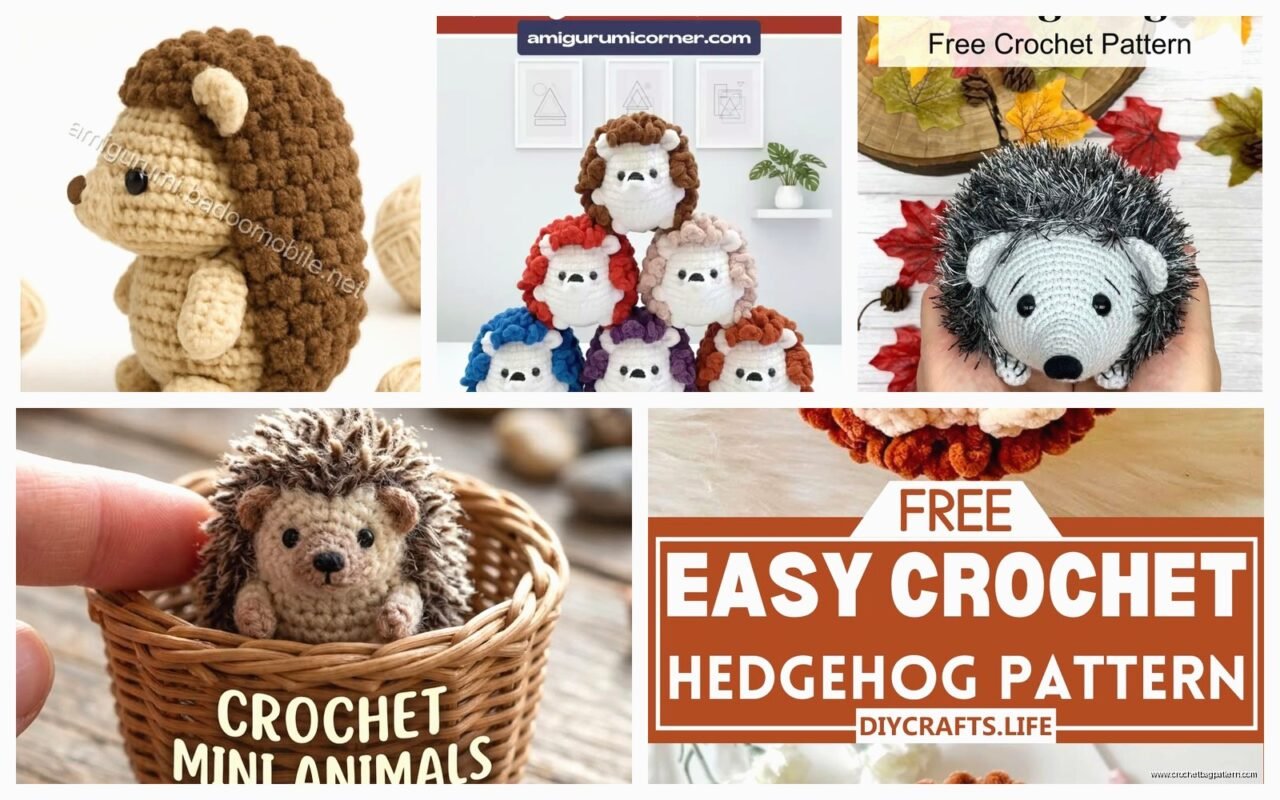
okay so hedgehog amigurumi
So you’re gonna need some worsted weight yarn basically, and I used Red Heart Super Saver in like tan or taupe or whatever they call it for the body when I made one last spring 2022 when I was stuck at home with a sprained ankle. The brown color was also Red Heart because honestly it’s cheap and everywhere and works fine for this stuff even though people get weird about it.
You need a smaller hook than what the yarn label says. Like if it says size H use an F or G hook because you want the stitches tight enough that stuffing doesn’t show through. This is actually super important and I messed it up on my first attempt and you could see white polyfil poking through which looked terrible.
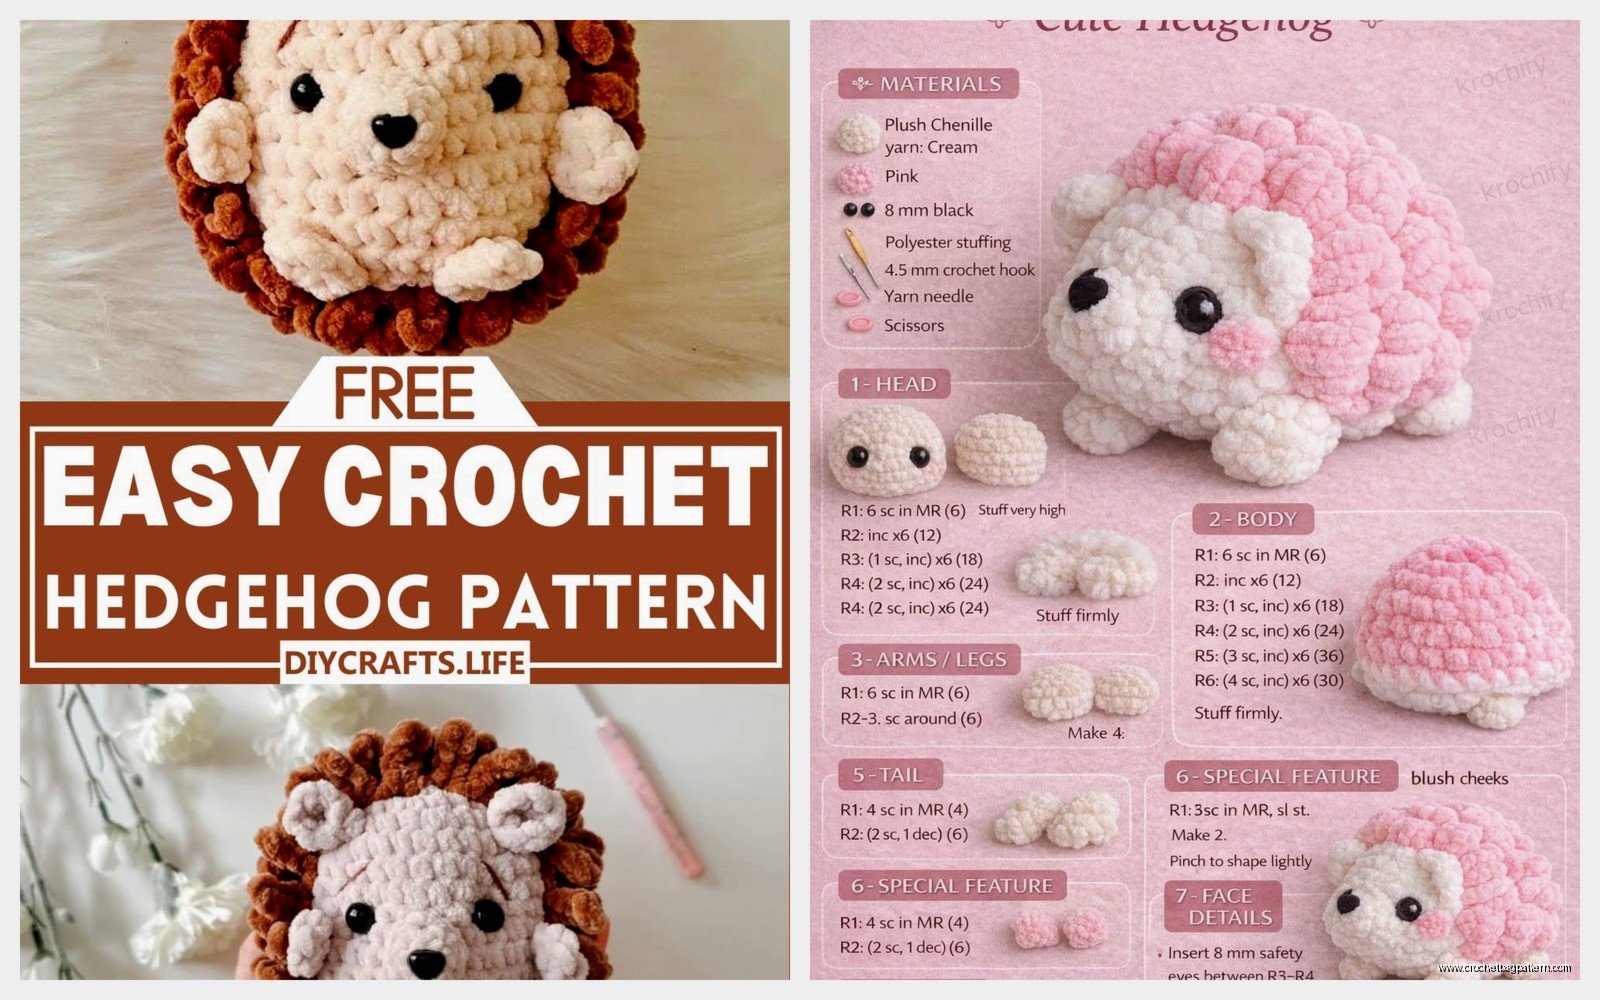
Start with the body which is basically just a ball shape. Make a magic ring with 6 single crochets. Then you increase every round for like 6 rounds until you get to about 36 stitches or so, depends on how big you want your hedgehog honestly.
the actual body construction
Round 1: 6 sc in magic ring
Round 2: inc in each stitch (12)
Round 3: sc, inc around (18)
Round 4: sc in 2, inc around (24)
Round 5: sc in 3, inc around (30)
Round 6: sc in 4, inc around (36)
Then you work even without increases for maybe 8-10 rounds. I never count properly tbh I just keep going until it looks right. The thing that really annoyed me about making hedgehogs is that the spikes take FOREVER and my cat kept trying to attack the yarn while I was working on them which made everything take twice as long.
After the straight part you start decreasing the same way you increased but backwards. So sc 4, dec around, then sc 3, dec around, etc. Before you close it up completely you gotta stuff it really firmly. Like more than you think. It’ll compress a bit over time.
the head part
The head is basically the same process but smaller. Start with 6 in the magic ring, increase up to maybe 24 stitches, work a few rounds even, then decrease back down. The snout is what makes it actually look like a hedgehog instead of just a blob though.
For the snout you’re gonna do like a cone shape. Magic ring with 6 sc, then increase to 12, maybe one more round to 18, then work even for like 4-5 rounds before stuffing it and sewing it onto the face. I usually place it pretty low on the head because hedgehogs have their noses close to the ground obviously.
The eyes are just safety eyes, I use 6mm or 8mm usually. Put them in before you close up the head completely because you can’t get them through the finished fabric. Place them kinda wide apart and above the snout. If you don’t have safety eyes you can embroider them with black yarn but it doesn’t look as clean honestly.
the spikes which are the worst part
Okay so this is the part that takes ages. You need to make like 30-40 little spike things and sew them all onto the back of the body. Some patterns tell you to crochet them directly onto the body but I find that harder to control the placement.
For each spike: chain 6 or 7, then starting in the second chain from hook do slip stitch, sc, hdc, dc, then slip stitch back down to create a point. Leave a long tail for sewing. Make a million of these while watching TV or something because it’s mind-numbing. I was watching that show Succession when I made mine and I still associate hedgehog spikes with that theme music.
The spacing is kinda important – you want them close enough that they cover the whole back area but not so close that it looks crowded or weird. Start from the back of the head and work towards the rear, placing them in sort of curved rows. I usually do like 3-4 rows of spikes.
You can use the same color as the body or go darker, I’ve seen people use dark brown or even black which looks good. Lily Sugar n Cream in brown actually works well if you want cotton instead of acrylic, though mixing fiber types is… whatever it’s fine for a small project like this.
feet and assembly stuff
The feet are tiny and kind of optional honestly. Some people skip them entirely. But if you want them, make 4 little ovals – magic ring with 6 sc, increase to 12, work 2 rounds even, then flatten and sew closed. Attach them to the bottom of the body where feet would logically go.
Ears are even smaller. Like magic ring with 5 or 6 sc, work one round even, flatten and sew to the sides of the head. They’re barely visible under the spikes usually but they add something.
The nose is just a bit of black or dark brown yarn embroidered at the tip of the snout. I do like a triangle shape usually or just a small circle, whatever looks good.
yarn amounts and gauge things
You don’t need much yarn at all. Like maybe 100 yards total for the whole hedgehog including spikes. I’ve made them from leftover yarn from other projects plenty of times. The gauge doesn’t matter that much as long as your stitches are tight enough to hold stuffing.
If you use a different weight yarn just adjust your hook size accordingly. I made one with some fingering weight yarn once using like a C hook and it came out tiny and actually pretty cute. Bulky weight would work too with a bigger hook but then you need bigger safety eyes and more stuffing.
Caron Simply Soft is another good option if you want something softer than Red Heart. It’s slightly more expensive but goes on sale at Michaels pretty regularly. The color selection is better too if you want like a gray hedgehog or something less traditional.
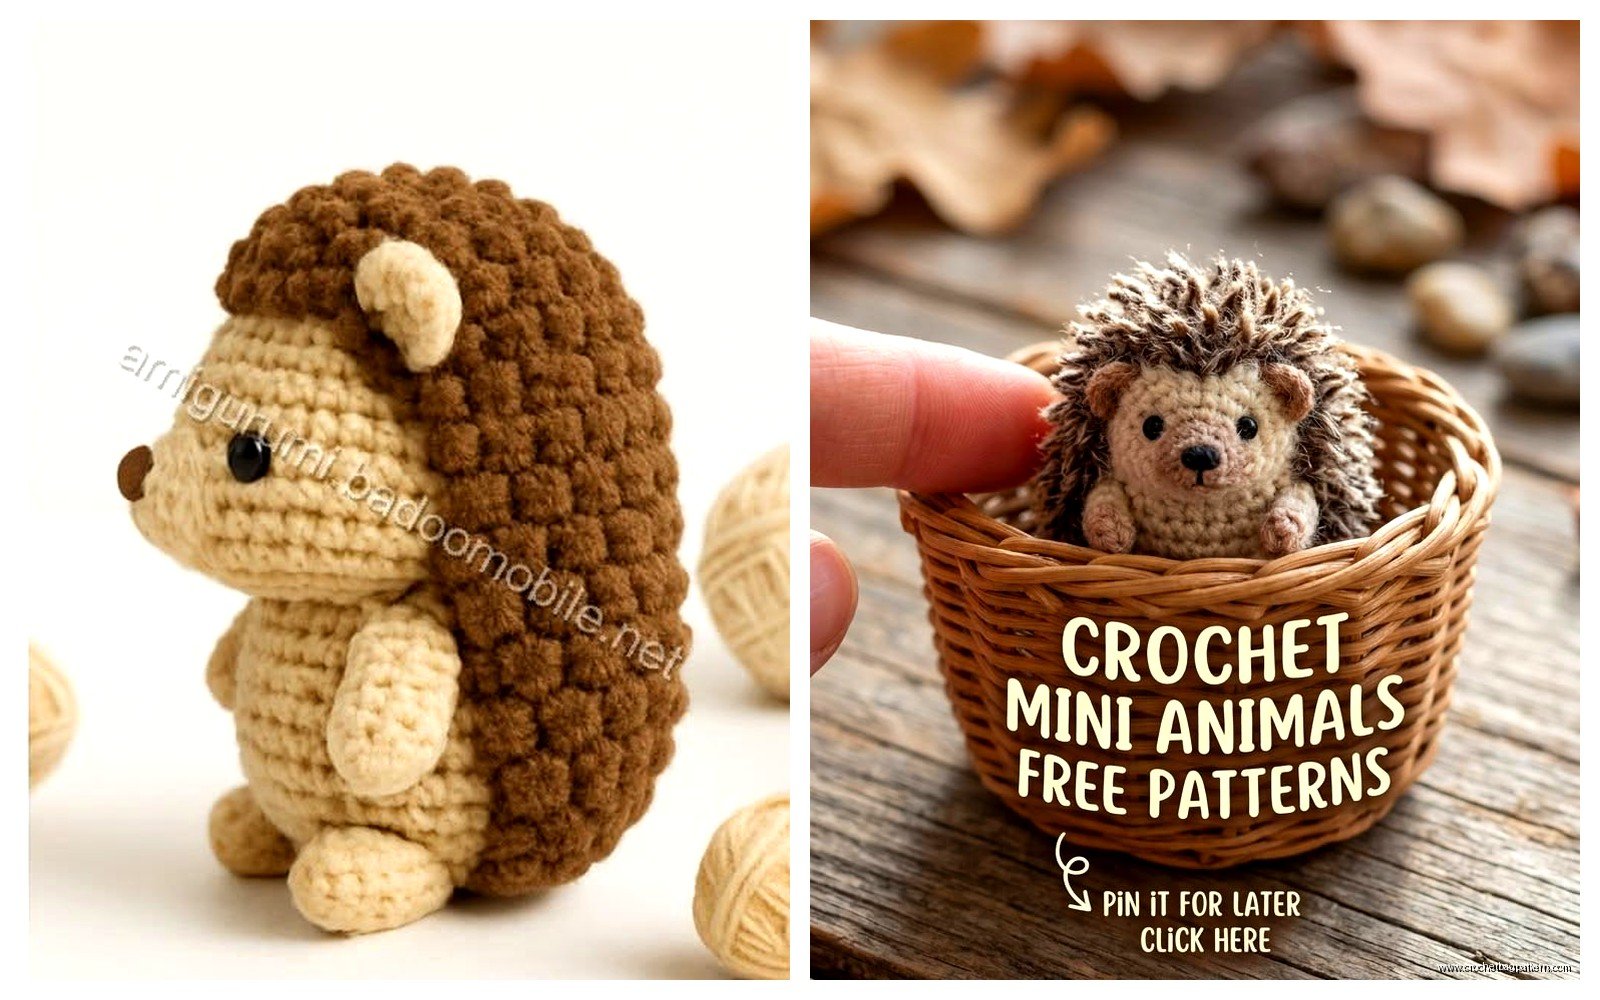
construction order that makes sense
Make the body first and stuff it. Then make the head and snout separately, stuff those, attach the snout to the head, add eyes, then sew the head onto the body. The head should be at a slight angle not straight up, because hedgehogs kind of hunch forward.
Then make all your spikes which again takes forever but you can do it over a few days while doing other stuff. Sew those on starting from the head area and working back. Add feet if you’re doing feet. Add ears. Embroider the nose last.
The whole thing probably takes 3-4 hours not counting spike-making time. The spikes add another 2-3 hours depending on how many you make and how fast you work.
variations you could do
You can make the spikes different lengths for a more natural look – like mix in some chain 5 spikes with the chain 7 ones. Some people do the spikes in multiple colors which looks kind of cool, like brown tips fading to tan.
Baby hedgehogs are just smaller versions, maybe start with 4 in the magic ring instead of 6 and don’t increase as much. They’re cute but honestly harder to work with because everything is so tiny.
I’ve seen people add little accessories like a tiny scarf or a leaf on their back or whatever. Not really my thing but you could do that if you want it more decorative I guess.
common problems I’ve had
The magic ring coming undone after you’ve already worked several rounds – this is why I always leave a long starting tail and weave it through the center stitches really well before I keep going. Nothing worse than having the bottom of your hedgehog start opening up.
Spikes falling off if you don’t sew them securely enough. Use the tails to sew through the body multiple times and tie off really well inside the body where it won’t show. I had one spike fall off a hedgehog I gave to my niece and she was devastated so yeah, secure those well.
The head being too heavy and flopping around. This happens if you make the head too big relative to the body or don’t attach it securely. Sew it on with strong thread or yarn and go around multiple times, maybe even use a dab of fabric glue inside where the pieces connect if you’re really worried.
Lumpy stuffing showing through the stitches. Pull apart your polyfil really well before stuffing and add small amounts at a time, pushing it into all the corners with like a chopstick or the end of your hook.
the pattern I loosely follow
I don’t really use written patterns anymore but when I first started making these I found a free one online somewhere, maybe on Ravelry or a blog. They’re all pretty similar though – ball body, smaller ball head, cone snout, tiny ears and feet, lots of spike triangles.
You can honestly just freehand it once you understand the basic construction. Like the exact stitch counts don’t matter that much as long as the proportions look right. I’ve never made two identical hedgehogs because I just eyeball everything.
If you want specific measurements mine usually end up about 4 inches tall and maybe 5 inches long including the snout, using worsted weight and an F hook.
what to do with finished hedgehogs
They make decent gifts for kids though watch out with the safety eyes if it’s for really small children. You could embroider eyes instead to make it safer. They also just sit on shelves looking cute I guess, I have three of them on my bookshelf right now from different times I’ve made them.
You could make a whole family in different sizes which some people do. Or make them in weird colors like blue or purple if you want something less realistic. The construction is the same regardless of color choices.
They’re good beginner amigurumi projects because the shapes are simple and if the proportions are a bit off it still reads as a hedgehog because of the distinctive spikes. Like you can mess up the body shape somewhat and the spikes will still make it obvious what it’s supposed to be.
The spike-making is tedious but it’s also kind of meditative once you get into a rhythm with it, just chain 7, work back down, chain 7, work back down, over and over. I usually make them all in one sitting while watching something that doesn’t require much attention because you can do it basically on autopilot.
