
Jun
Getting Started with Your Dachshund Pattern
So I made my first wiener dog back in spring 2022 when I was binge-watching The Office for like the third time and honestly the whole thing took way longer than I expected. The body is basically just a really long tube which sounds simple but you’re gonna be crocheting that tube forever because dachshunds are literally just body with tiny legs.
First thing you need is the right yarn. I used Red Heart Super Saver in Cafe for the brown one because it was cheap and I wasn’t sure if this would even work out. The texture is a bit stiff but actually that helps the dog keep its shape. Some people use Bernat Blanket yarn if they want a bigger chunkier dog but honestly that stuff splits like crazy when you’re trying to do decreases. Lion Brand Vanna’s Choice is probably the best middle ground – soft enough but still has structure.
You’ll want a 3.5mm or 4mm hook depending on how tight you crochet. I crochet really loose naturally so I went with 3.5mm and it still came out kinda floppy.
The Body Part That Goes On Forever
Start with a magic ring and do 6 single crochets. Then you’re gonna increase until you get to about 24 or 30 stitches around depending on how chubby you want your dog. For a standard sized dachshund with worsted weight yarn I usually do:
- Round 1: 6 sc in magic ring
- Round 2: inc in each stitch (12)
- Round 3: sc, inc around (18)
- Round 4: 2 sc, inc around (24)
- Round 5: 3 sc, inc around (30)
Then you just work even for like 40-50 rounds. YES. FORTY TO FIFTY ROUNDS. This is the part that annoyed me so much because you think you’re making progress but you look at the dog and it’s still not long enough. My cat kept trying to steal the body while I was working on it because it looked like a snake.
The thing is dachshunds are shaped weird – they’re not perfectly cylindrical. The belly should be a bit flatter than the back so some patterns tell you to work in rows instead of rounds for the body but honestly I never bothered with that. Just stuff it firmly and it’ll look fine.
When to Start Decreasing
You’ll know you’re at the butt end when your body is about 8-9 inches long for a small dog or 12 inches for a bigger one. Then start decreasing same way you increased but in reverse. Don’t decrease too fast or the butt looks pointy and weird.
The Head and Snout Situation
The head starts separate from the body. Make another circle starting with 6 sc in a magic ring and increase up to like 24 stitches. Work even for maybe 8-10 rounds to make the main head part.
Here’s where it gets tricky – the snout. You need to make a smaller tube that attaches to the front of the head. I usually chain like 8, join it into a ring, then work 8 sc around for about 6 rounds. It should look like a little toilet paper tube basically.
Before you close up the head you gotta stuff it and then sew the snout onto the front. The snout placement is honestly what makes or breaks the whole project because if you put it too high the dog looks shocked and if you put it too low it looks… I don’t know, sad? Aim for center or slightly lower than center.
Those Ridiculous Little Legs
This is where I always get lazy because you need FOUR of these things and they’re small and fiddly. Each leg is basically:
- 6 sc in magic ring
- Inc around (12)
- Work even for 2 rounds
- Dec back to 6 stitches
- Work even for like 6-8 more rounds
The first few rounds make the paw and then the leg is just a thin tube. You can stuff just the paw part and leave the legs unstuffed so they’re floppy, or stuff the whole thing if you want the dog to stand up. Mine never stand up properly even when I stuff them because the body is so heavy compared to the legs.
When I made one in summer 2024 for my friend’s birthday I tried using pipe cleaners in the legs to make them poseable but that was actually more annoying than helpful because they poked through the yarn after a while.
Attaching the Legs
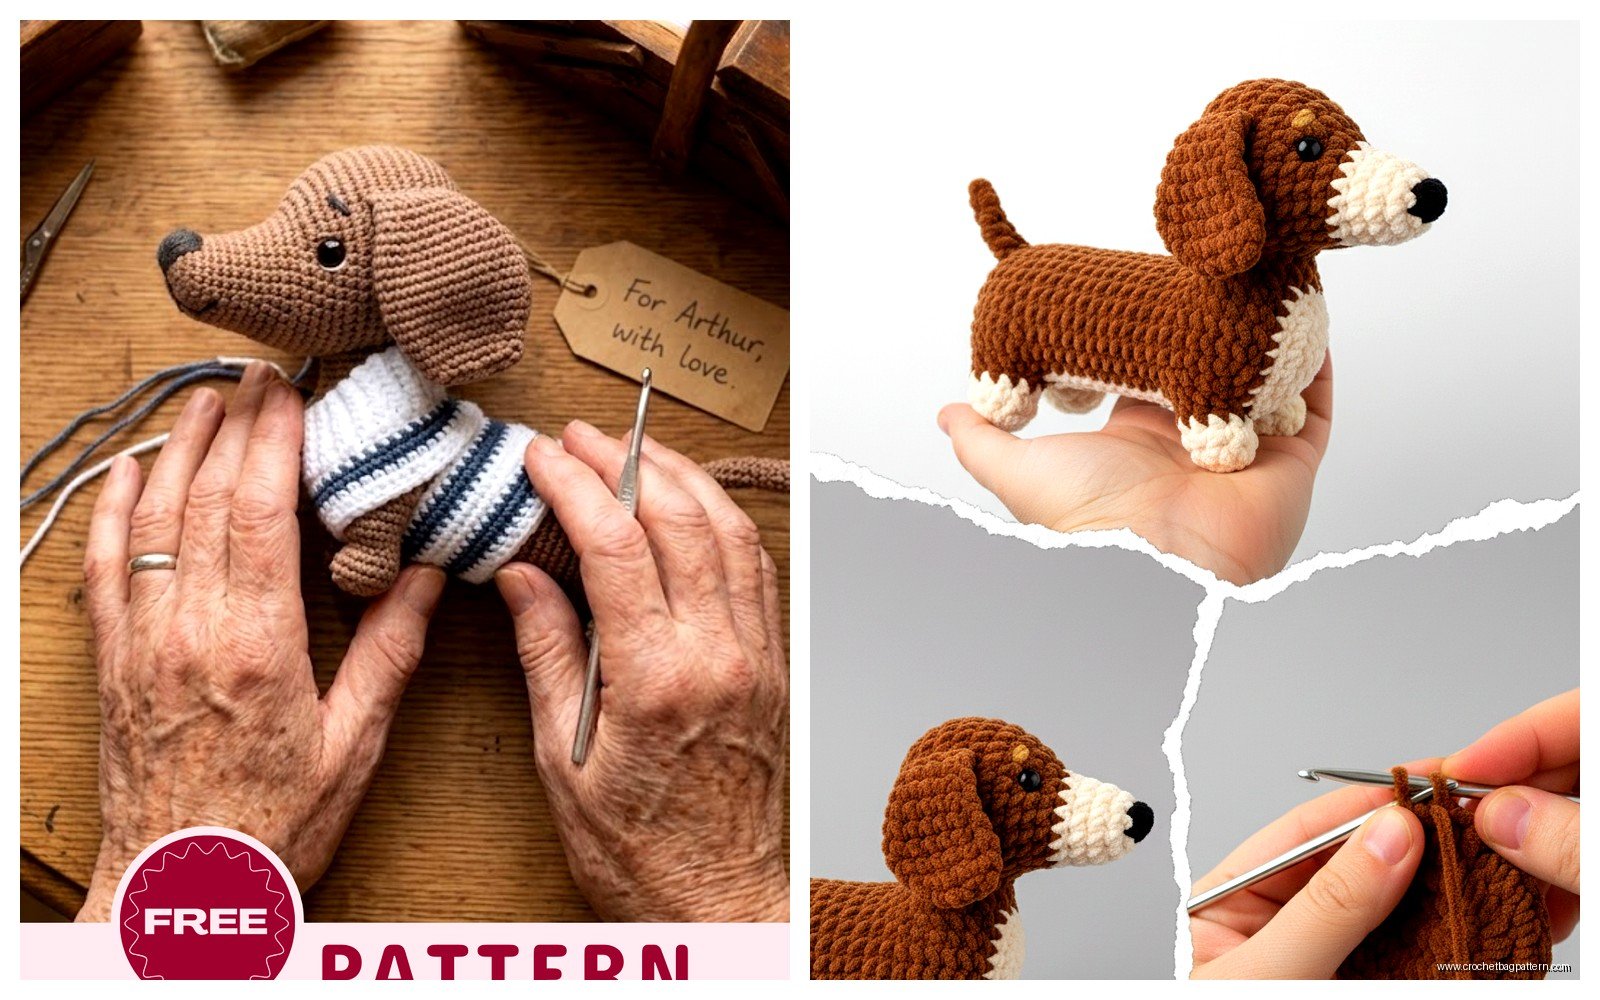
Front legs go pretty close to the head – like maybe 2-3 rounds back from where the neck area would be. Back legs should be closer to the butt end but not RIGHT at the end or it looks like the dog is doing a handstand. I usually eyeball it at about one third from the back.
Sew them on with the same color yarn and go around each leg like twice to make sure they’re secure. Nothing worse than a leg falling off.
Ears Are Actually Fun
Dachshund ears are long and floppy which means they’re way easier than trying to make pointy ears stand up. You can either crochet them flat by working in rows or make them as flat ovals.
For flat rows I chain like 8, then:
- Row 1: sc across, chain 1, turn
- Row 2-10: sc across, chain 1, turn
Just make a rectangle basically. You could taper it at the bottom if you want but rectangles work fine. Make two of these and sew them to the sides of the head just behind where the snout attaches. They should hang down past the chin area.
The Tail Thing
Some people make elaborate tails but honestly for a dachshund you just need a little pointy thing. Chain 10 or 12, then slip stitch back down the chain. Or if you want it slightly thicker, chain 10, then sc back down starting in the second chain from hook. Sew it onto the butt end pointing slightly upward.
Face Details That Make It Look Like a Dog
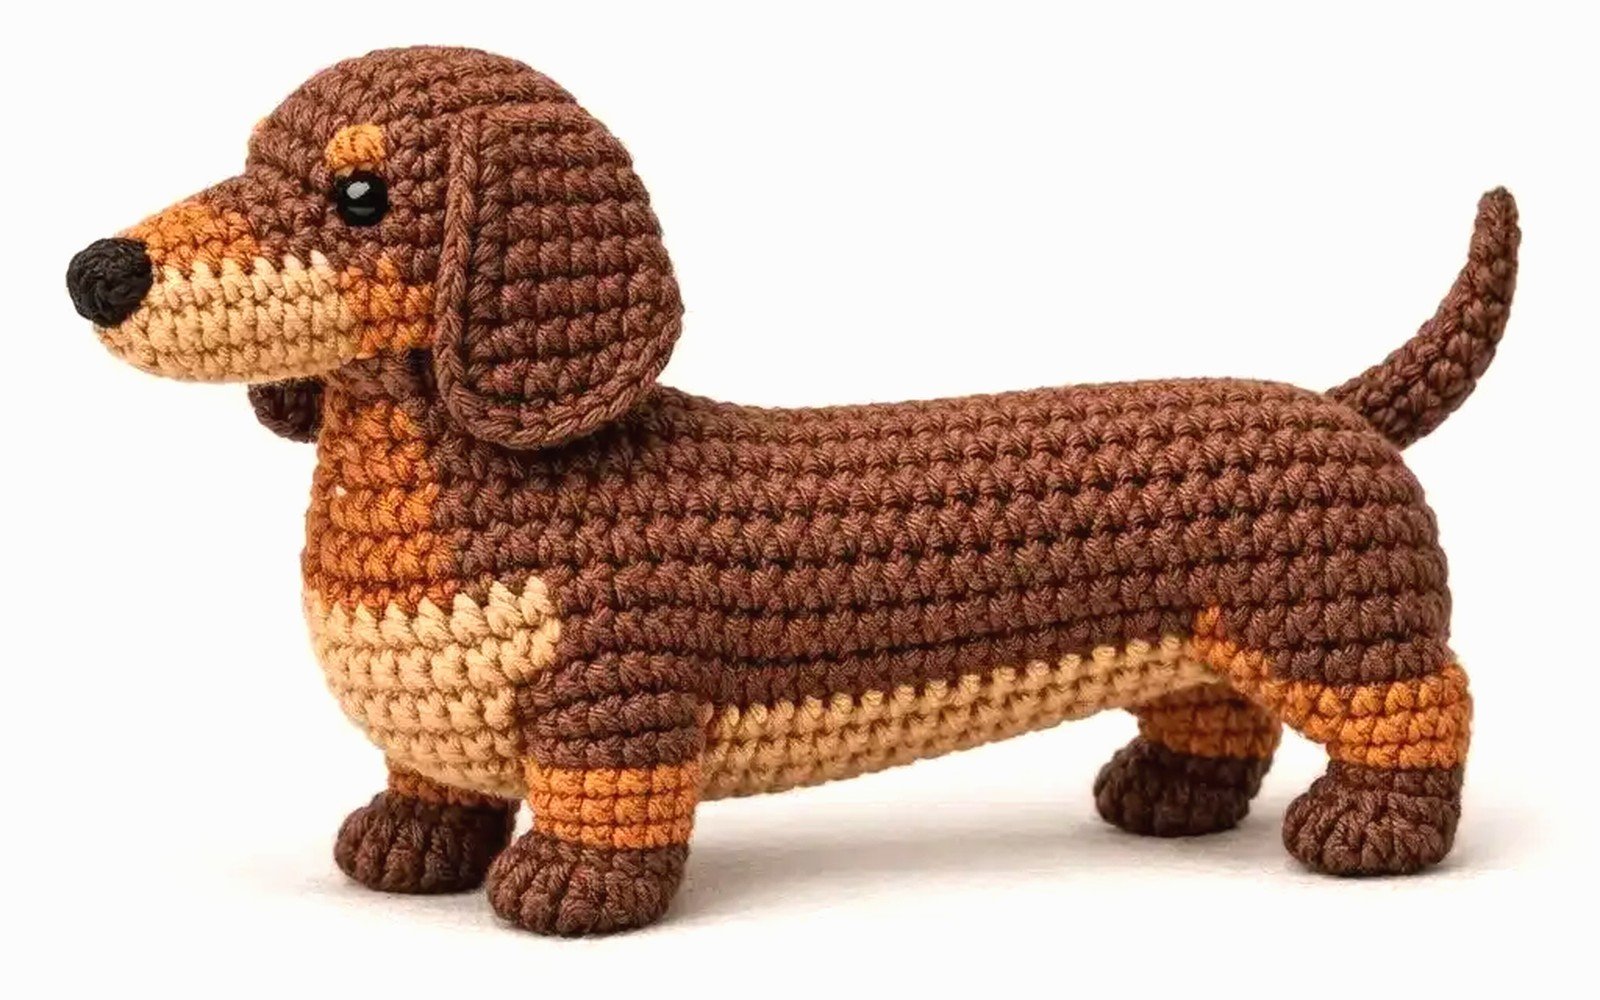
This is where you can’t really mess up too bad. For eyes I usually use 9mm or 12mm safety eyes in black. Place them on the head above the snout, spacing them pretty far apart because dachshund faces are kinda wide. If you don’t have safety eyes just embroider circles with black yarn or sew on buttons.
The nose is just a little triangle of black yarn embroidered onto the end of the snout. I do like 3 or 4 stitches in a triangle shape and call it done. Some people get really elaborate with embroidering a mouth line but I think it looks weird when amigurumi have mouths so I skip that.
Optional Collar
If you wanna make a collar just chain enough to go around the neck (probably like 20-25 chains with worsted weight), then sc in each chain, fasten off. Sew it around the neck area. You can add a little felt tag or a tiny jingle bell if you’re feeling fancy.
Color Variations and Patterns
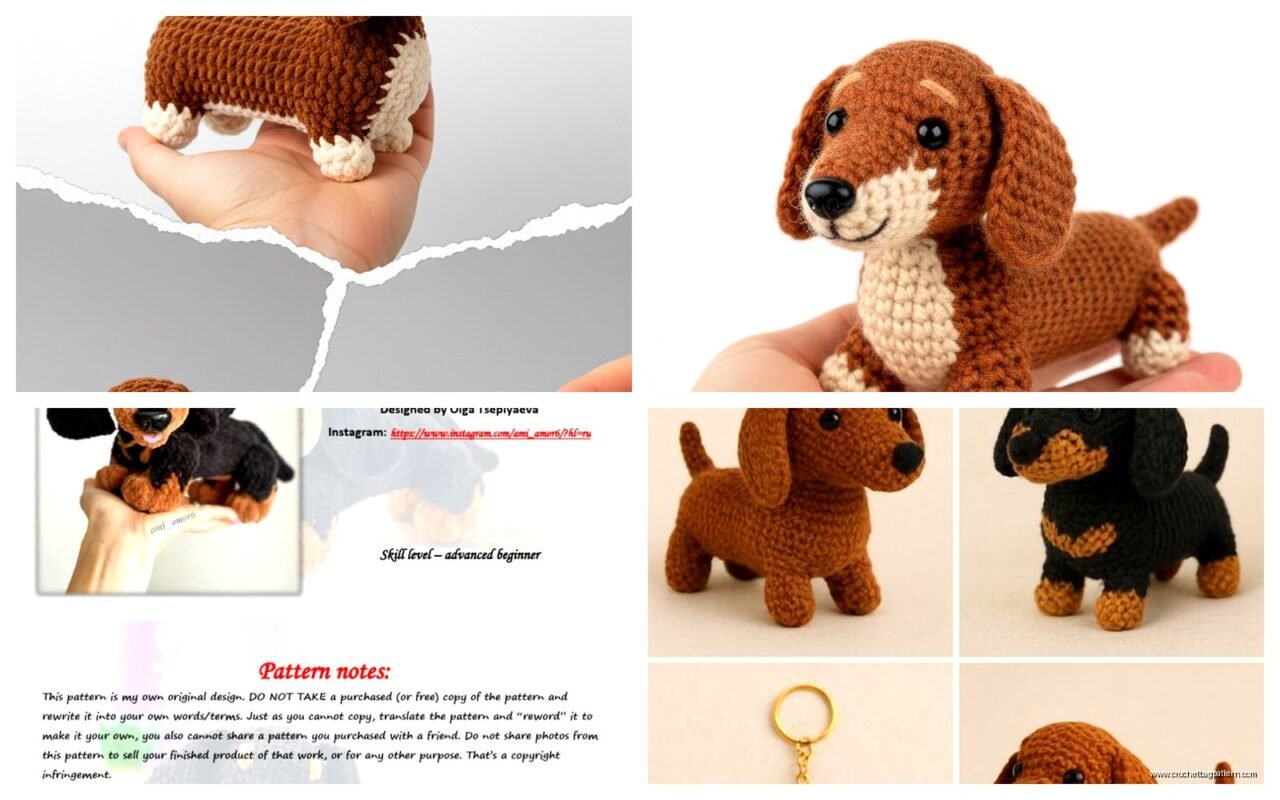
Solid brown or tan is classic but you can also do black and tan which is pretty common for dachshunds. For that you’d make the body and head in black, then the snout, paws, and little eyebrow spots in tan. The eyebrow spots are just little circles sewn above each eye.
I’ve seen people do dapple patterns by holding two colors together or switching colors randomly but that seems like a lot of extra work. Red Heart Super Saver has this color called Tiger Stripe that actually looks pretty cool for a brindle-ish effect.
Wire-haired dachshunds are supposedly doable if you use a fuzzy yarn like Lion Brand Homespun or that one fuzzy Red Heart yarn but I haven’t tried it because fuzzy yarn makes me want to throw my hook across the room when I’m trying to see my stitches.
Sizing the Whole Thing
With worsted weight yarn and a 3.5mm hook you’ll end up with a dog that’s maybe 10-12 inches long and 3-4 inches tall. If you want a bigger one use bulky yarn and a bigger hook. If you want a tiny one… good luck, I tried with sport weight once and gave up because the legs were too small to work with.
The body-to-leg ratio should be pretty extreme. Like the body should look way too long for the legs and that’s correct. If your proportions look normal it’s not a dachshund it’s just a regular dog.
Common Problems I Had
The body twisting – this happened when I didn’t mark my rounds properly. Use a stitch marker at the beginning of each round or you’ll end up with a spiral situation that makes the body curve weird.
Head too heavy – if you stuff the head really full and the neck isn’t reinforced the head just flops forward. I learned to sew the head onto the body by going through both pieces multiple times in a circle to create a strong connection.
Lumpy stuffing – use small bits of polyfil at a time and push it into the nose and tail areas with like a chopstick or the back of your hook. Big chunks make it look lumpy and weird or–wait actually sometimes I use the eraser end of a pencil that works better.
Legs pointing the wrong direction – when you sew them on make sure all four are oriented the same way. I once made one where the back legs were rotated 90 degrees from the front legs and it looked like the dog was doing yoga.
How Long This Actually Takes
If you’re crocheting while watching TV or whatever, probably 6-8 hours total? The body alone is like 3-4 hours because it’s so repetitive. The legs and ears go pretty fast maybe an hour total for all of them. Assembly and sewing everything together is another hour or two depending on how perfectionist you are about it.
I’m definitely not someone who sits down and finishes a whole project in one session though. Usually I do the body over a couple days then get bored and work on something else then come back and finish it.
Yarn Amounts
One small skein of Red Heart Super Saver (about 200 yards) is enough for a whole dog if you’re doing solid color. If you’re doing two colors you’ll need like 150 yards of the main color and 50 yards of the accent color. I always buy two skeins anyway because I’m paranoid about running out but I’ve never actually needed the second one.
Polyfil stuffing you don’t need much. Like a handful? Maybe two handfuls for a bigger dog. The dollar store bags of stuffing work fine you don’t need fancy stuff.
Safety eyes come in packs usually so you’ll have extras. The 9mm size looks more realistic but 12mm is easier to work with if you have trouble getting them placed right before closing up the head.
Making It Your Own
Once you understand the basic construction you can mess with it however you want. I made one with really exaggerated long ears that hung down to the ground which looked ridiculous but my friend loved it. You could make the snout longer or shorter, add spots with embroidery, make a little sweater for it.
Some people add wire armature to the whole body so it can pose but that seems like it defeats the purpose of a soft squishy amigurumi. Plus then you can’t throw it in the wash if it gets dirty.
The pattern is forgiving enough that you can kind of wing it with the proportions and it’ll still obviously be a dachshund as long as you keep the body really long and the legs really short. That’s literally the only requirement.
