
Jun
Getting Started with the Mickey Pattern
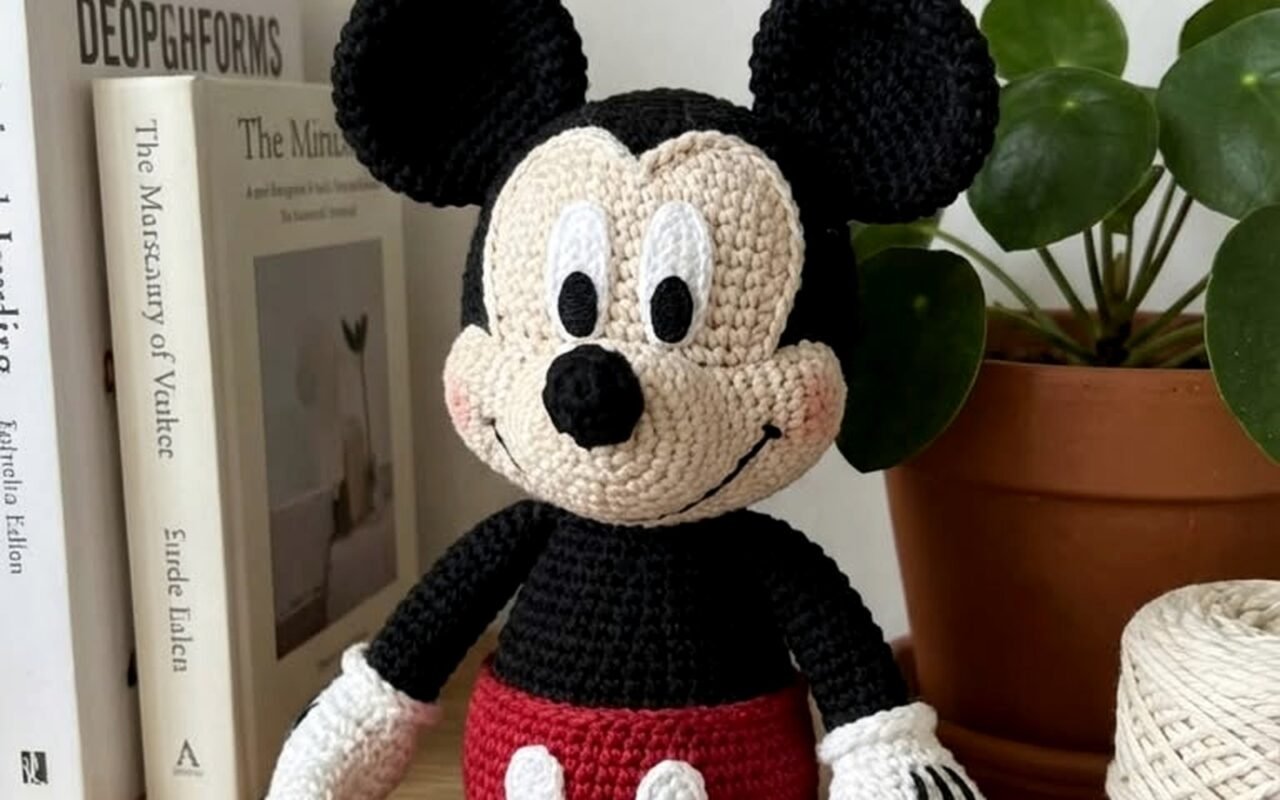
So the first time I actually finished a Mickey was summer 2023 when my niece kept bugging me about wanting one and I figured why not, I’d tried before but never finished. The pattern itself isn’t super complicated but you gotta understand that Mickey’s head is basically just a big sphere with two smaller spheres attached and if you can’t do a decent sphere you’re gonna have problems.
Start with black yarn obviously. I used Red Heart Super Saver in black because it was what I had and honestly it works fine for amigurumi even though people get all weird about it being too splitty. Yeah it splits sometimes but it’s cheap and you need a LOT of black for Mickey. The pattern I followed called for worsted weight and a 3.5mm hook but I actually went down to 3.25mm because I wanted tighter stitches so the stuffing wouldn’t show through.
The Head Construction
You’re making a magic ring to start. Six single crochets in the ring, then you increase every stitch in round 2 so you have 12. Round 3 is sc, inc around for 18 stitches. Keep going with the standard sphere increases until you hit like 54 or 60 stitches depending on how big you want him. I made mine kinda small, maybe 4 inches for the head because I didn’t want to use a ton of stuffing.
The annoying thing and this drove me CRAZY is that the ears never look symmetrical no matter what you do. You make two separate spheres for the ears, stuff them pretty firmly, and then you’re supposed to sew them onto the head at like a specific angle but every tutorial shows them slightly different. I spent probably 45 minutes just holding the ears up to the head trying to figure out where they should go. My cat knocked one across the room twice while I was doing this which didn’t help.
For the ears I did the same increasing pattern but stopped at 24 stitches around. Made them smaller than the head obviously. Stuff them BEFORE you close them up completely because trying to stuff through a tiny opening is basically impossible.
Body and Limbs
The body is where you switch colors if you’re doing the classic Mickey with red shorts. I used Caron Simply Soft in red which is way softer than the Red Heart but whatever, you can use any red. Start the body the same way as the head with a magic ring but you don’t increase as much because the body should be smaller than the head or it looks weird.
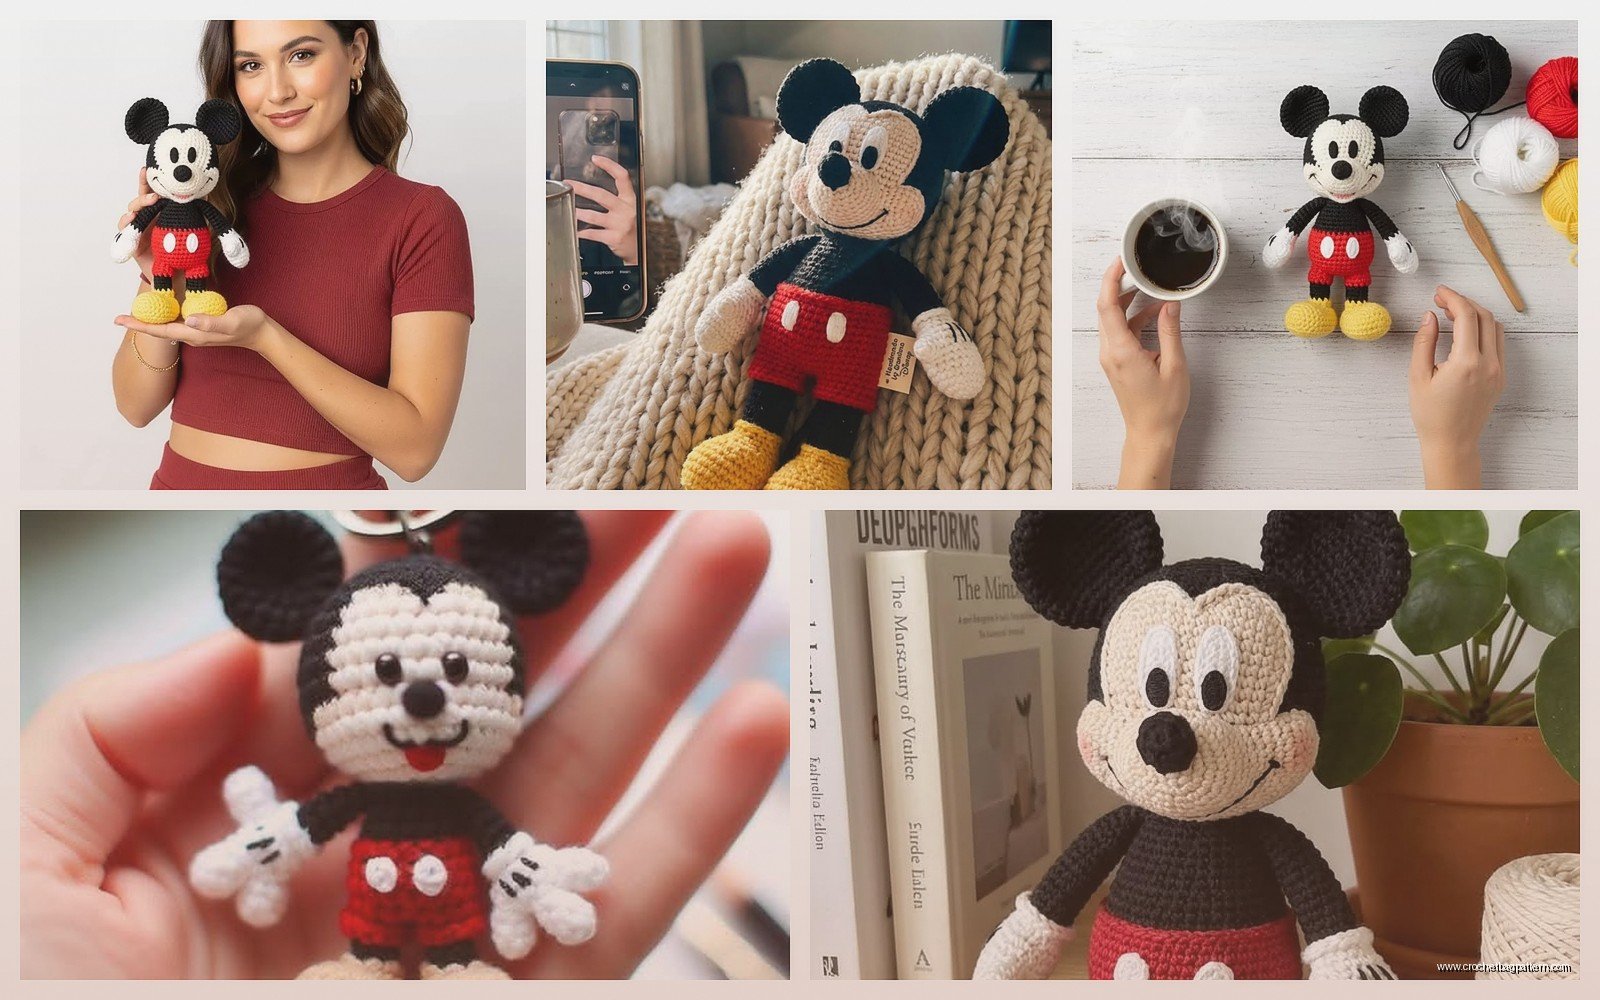
You work the black part first for like 6-8 rounds depending on your pattern, then you switch to red. When you change colors, carry the black yarn inside if you want but I usually just cut it and weave in the ends later because carrying yarn through amigurumi makes it bulky. The red section should have two white buttons on the front. I just used white yarn and made tiny circles, sewed them on afterward.
Arms and Legs
Arms are straightforward tubes basically. Start with white for the gloves, work maybe 8-10 rounds of white, then switch to black for the arms. The pattern I used had you make the thumb separate and sew it on but honestly I skipped that because it seemed fussy and you can barely tell. Just make tube arms, stuff them, leave the top open to sew onto the body later.
Legs are the same concept but you do black for the legs and then yellow or tan for the shoes. I used Lily Sugar’n Cream in yellow because I had it leftover from a dishcloth or something. Work the shoe first going in rounds, stuff it firmly so it holds its shape, then continue up with black for the leg portion. Some patterns have you make the whole leg and shoe as one piece, others have you attach shoes separately but doing it all in one is way easier.
One thing about the legs though is getting them positioned so Mickey can actually sit up or stand. If you attach them too far forward he tips backward, too far back and he falls on his face. I usually pin them first with regular sewing pins, check if he balances, then sew them permanently.
The Face Details
This is where it either looks like Mickey or looks like some weird mouse creature. You need tan or beige yarn for the face/snout area. I think I used Vanna’s Choice in beige or maybe it was called linen, can’t remember exactly. You make an oval shape by chaining like 6, then working around both sides of the chain with increases at the ends to make it oval instead of circular.
Work in rows or rounds depending on your pattern until the oval is big enough to cover the lower half of Mickey’s face. Stuff it lightly so it puffs out a little, then sew it onto the head. The placement is kinda low, like the bottom of the snout should be maybe a third of the way up the head? Hard to explain but you’ll know when it looks right.
Eyes and Nose
Safety eyes are the easiest option. I used 12mm black safety eyes and positioned them above the snout, kinda wide apart. The trick is to place them before you stuff the head completely because you need to access the inside to attach the backs. If you forget and stuff it first you’re basically screwed and have to pull stuffing out which is a pain.
The nose is just a black oval, smaller than the face piece. Make it the same way with a chain and working around it but only do like 3-4 rounds. Sew it onto the tan snout area, stuff it just a tiny bit so it has dimension. Some people use a black pom pom for the nose which actually looks pretty good and saves time.
I was watching that show about the chef, The Bear, while I was sewing on all the face parts and I kept getting distracted and having to redo stitches because I wasn’t paying attention to whether they were even.
Assembly Process
Okay so you’ve got all these pieces and now you gotta put them together which honestly takes longer than crocheting all the parts. I use regular sewing thread in matching colors and a yarn needle, go back and forth between the body part and the limb multiple times to make sure it’s secure. Kids will yank on these things.
Attach the head to the body first. I usually sew all the way around twice for strength. Then do the arms, positioning them at the sides of the body where the color changes from black to red. The legs go on the bottom, angled slightly forward so he can sit.
The tail is just a black rope basically. Chain a long strand, slip stitch back down the chain, leave it loose and floppy. Sew it onto the back of the body at the bottom. Some people skip the tail entirely and honestly Mickey looks fine without it if you’re gonna forget anyway.
Optional Details
If you wanna get fancy you can add the white glove lines. I just used white embroidery floss and made a few stitches across the wrists to indicate the glove cuffs. You can also add eyebrows with black embroidery floss, just two small curved lines above the eyes. Makes him look more expressive but it’s not necessary.
For the shorts you can add yellow buttons on the front of the red section, same technique as the white buttons. Just tiny circles sewn on. The classic Mickey has two buttons but I’ve seen patterns with four arranged in a square which also looks good.
Yarn Weights and Substitutions
Most patterns call for worsted weight which is category 4. You can use DK weight if you want a smaller Mickey but you’ll need to adjust your hook size down to like 3mm or even smaller. I tried making one with bulky yarn once thinking it would work up faster but it just looked chunky and weird, wouldn’t recommend.
Cotton yarn works great if you want a firmer amigurumi that holds its shape better. The Lily Sugar’n Cream I mentioned earlier is cotton and it makes really sturdy pieces. Acrylic is softer and usually cheaper though. Red Heart, Caron, Vanna’s Choice, I Love This Yarn from Hobby Lobby, any of those brands work fine. People get really particular about yarn but for a basic Mickey it doesn’t matter that much as long as the weight is consistent.
If you’re using different brands for different colors just make sure they’re all the same weight category or your proportions will be off. Like don’t use worsted weight black and DK weight red because the colors sections will look different sizes.
Stuffing Tips
Use polyester fiberfill, the cheap stuff from any craft store works. Don’t overstuff or the stitches will stretch and you’ll see gaps. Don’t understuff or it’ll be floppy and sad looking. You want it firm but not hard.
For the head especially, add stuffing gradually and shape it as you go. Push stuffing into the ears before you attach them, really pack it in there so they stand up properly instead of flopping. The body can be a bit less firmly stuffed than the head since it’s supporting less weight.
Some people use plastic pellets in the bottom of the body to add weight and help with stability. I’ve never bothered but it might help if your Mickey keeps tipping over. You can also use dried beans or rice but then you can’t wash it if it gets dirty so probably just stick with fiberfill.
Common Problems
If your Mickey looks lumpy it’s probably because your tension is inconsistent or you’re not stuffing evenly. Try to keep your stitches the same tightness throughout. If you crochet really tight naturally, go up a hook size. If you crochet loose, go down a size.
Ears falling off or looking wonky is super common. Sew them on really securely, going through multiple times. The positioning matters more than you think, like they should be angled slightly back not straight out to the sides. Look at actual Mickey Mouse pictures for reference.
Color changes looking messy happens when you don’t plan where the color change falls. Try to make color changes at the back or side of the piece where they won’t show as much. Carry yarn up the inside if you’re alternating colors in stripes rather than cutting and rejoining every time.
Size Variations
You can make Mickey any size by changing hook and yarn size together. Bigger hook plus thicker yarn equals bigger Mickey. Thread crochet with a tiny hook makes miniature versions but that’s really tedious. I stick with worsted weight and a 3.25-3.5mm hook for a Mickey that’s maybe 8-10 inches tall total.
If you want a specific size, make a test sphere first and measure it to see if it’s the size you want before committing to the whole project. Way easier to adjust at the beginning than to finish and realize it’s way too big or small.
Pattern Modifications
You can definitely modify the basic pattern to make different outfits. I’ve seen people make Mickey in different colored shorts, add a little vest, make a Christmas version with a Santa hat. The basic structure stays the same, you just change colors or add pieces.
Some patterns include hands with fingers instead of just mitten hands which looks more detailed but takes longer. There are also patterns for Minnie with a dress and bow which uses the same head construction. Once you’ve made one Mickey you can pretty much figure out how to adapt it however you want.
The thing that annoyed me most honestly was how long the assembly took compared to the actual crocheting. I could make all the pieces in like 4-5 hours but then spent another 2-3 hours just sewing everything together and weaving in ends. There are SO MANY ends to weave in with all the color changes. I started just tying them in knots and trimming instead of properly weaving them because who’s gonna know.
